That rounded front edge of each stair tread has a name: the nosing. When you run vinyl plank flooring up a staircase, you cannot just bend the planks over the edge and hope for the best. Purpose-made vinyl stair nosing caps each step with a matching, durable edge that takes the daily beating of shoes, boots and winter grit. This guide walks you through the profiles, the fitting and the costs, so your stairs look like they were always meant to be vinyl.
Below you will find ten practical ideas, each with a real photo, covering everything from measuring to maintenance. If your stairs sit near the front door, they also collect road salt all winter, so read our tips for cleaning salt stains off floors before you start. A staircase is often the first thing guests see, and these hallway decorating ideas pair nicely with a fresh stair finish.
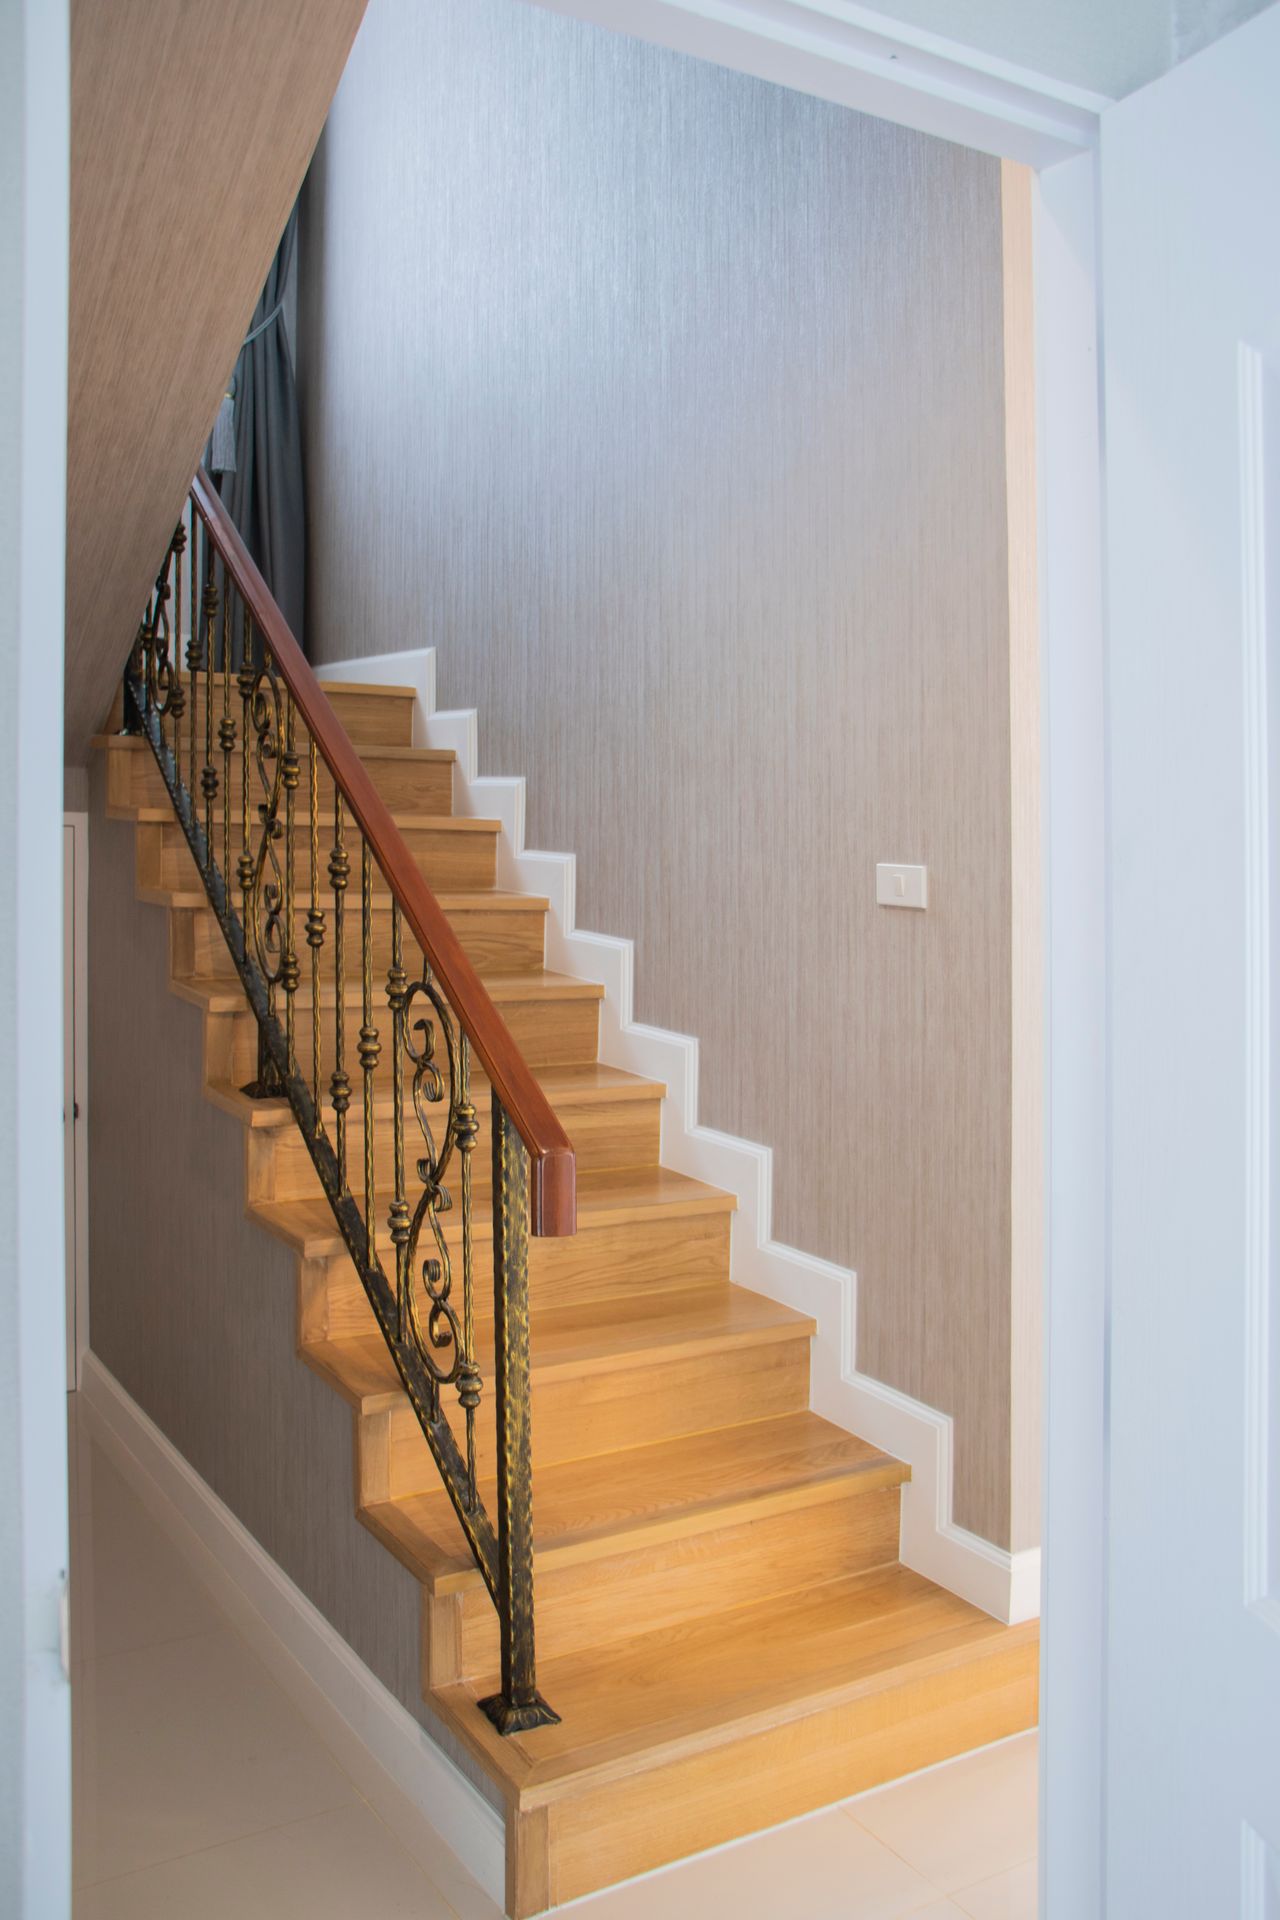
Table of Contents
- 1. What stair nosing actually is
- 2. Why vinyl plank stairs need proper edging
- 3. Overlap vs flush-mount profiles
- 4. Matching your floor colour
- 5. Measuring your stairs the right way
- 6. Installing it yourself
- 7. What changes on carpeted stairs
- 8. Safety: grip and contrast
- 9. When to replace instead of repair
- 10. What it costs in Canada
- Frequently Asked Questions
1. What stair nosing actually is
The nosing is the protruding front edge of a stair tread, the part your shoe hits first on every step. On a finished staircase it usually extends 2 to 3 cm past the riser below, giving your foot a little extra landing room and protecting the tread's edge from chipping. Building codes in most Canadian provinces expect a nosing projection between about 2 and 3 cm on stairs with solid risers.
A vinyl nosing strip is simply a factory-made version of that edge, shaped to cap the front of a tread that has been covered in vinyl plank. It is typically sold in lengths of about 2.4 m, with a rounded or square front and a flat tail that overlaps the plank. Once glued and pinned, it reads as one continuous surface with the floor.

2. Why vinyl plank stairs need proper edging
Vinyl plank is thin, usually 4 to 8 mm, and its click-lock edge was never designed to survive as a stair nosing. If you wrap a plank over the tread edge, the fold point becomes a stress line: it cracks, peels and collects dirt within a year or two of daily use. A dedicated nosing piece is thicker, solid through its profile, and made to take impact.
There is also a safety angle. Stair edges take more abuse than any other part of a floor, especially in Canadian homes where wet boots and salt hit the stairs all winter. The nosing is the sacrificial part by design: when it wears, you replace a strip, not the whole tread. That is far cheaper than re-cladding steps.

3. Overlap vs flush-mount profiles
Overlap nosing is the common choice: the strip sits on top of the tread plank and its rounded front wraps down over the riser, hiding the plank's cut edge completely. It is forgiving to install because small cutting errors disappear under the overlap, and it suits most standard staircases. The trade-off is a slight lip, usually 4 to 6 mm, at the front of each tread.
Flush-mount (or flush stair nose) profiles sit level with the plank surface for a seamless, modern look. They demand much more precise cutting, because any gap shows, and they work best on stairs where the sub-tread is perfectly flat. For a first-time DIYer, overlap is the safer bet; for a minimalist renovation, flush looks sharper.

4. Matching your floor colour
The best-looking stair jobs use nosing from the same manufacturer and colour line as the floor planks. Vinyl dye lots vary, so a "warm oak" strip from one brand can clash with "warm oak" planks from another. Buy the nosing at the same time as the flooring, and check the match in daylight before you open the glue.
If exact matching pieces are discontinued, go one shade darker rather than lighter: darker nosing reads as an intentional border, while a lighter strip looks like a mistake. Some homeowners deliberately contrast, for example a dark walnut nosing on pale oak stairs, which also improves step visibility. Keep the contrast consistent on every tread for a tailored finish.

5. Measuring your stairs the right way
Measure every single tread, not just one. In older Canadian homes, tread widths often vary by a centimetre or more from top to bottom as the house settles. Record the width of each step, the tread depth (usually 25 to 28 cm) and the riser height (typically 18 to 20 cm) on a numbered sketch before you buy anything.
Order about 10 percent extra. You will miscut at least one piece, and stair nosing profiles get discontinued without warning, so a spare length in the basement is cheap insurance. If your stairs have a landing, remember the landing edge needs nosing too, and winders (angled steps on turning stairs) each need an individually cut piece.

6. Installing it yourself
A patient DIYer can absolutely do this job. The basic sequence is: remove the old nosing or carpet, make the sub-tread flat and solid, dry-fit the vinyl plank on the tread and riser, then glue the nosing with a polyurethane adhesive and pin it with 18-gauge brad nails into the sub-tread. Let the adhesive cure a full 24 hours before heavy use.
The two mistakes that ruin the job are a hollow sub-tread and rushing the glue. If the old tread flexes or squeaks, screw it down to the stringer first; nosing glued over movement will pop within months. And keep the room above 15 degrees Celsius during installation, because cold vinyl is stiff and adhesives cure slowly in a chilly house.

7. What changes on carpeted stairs
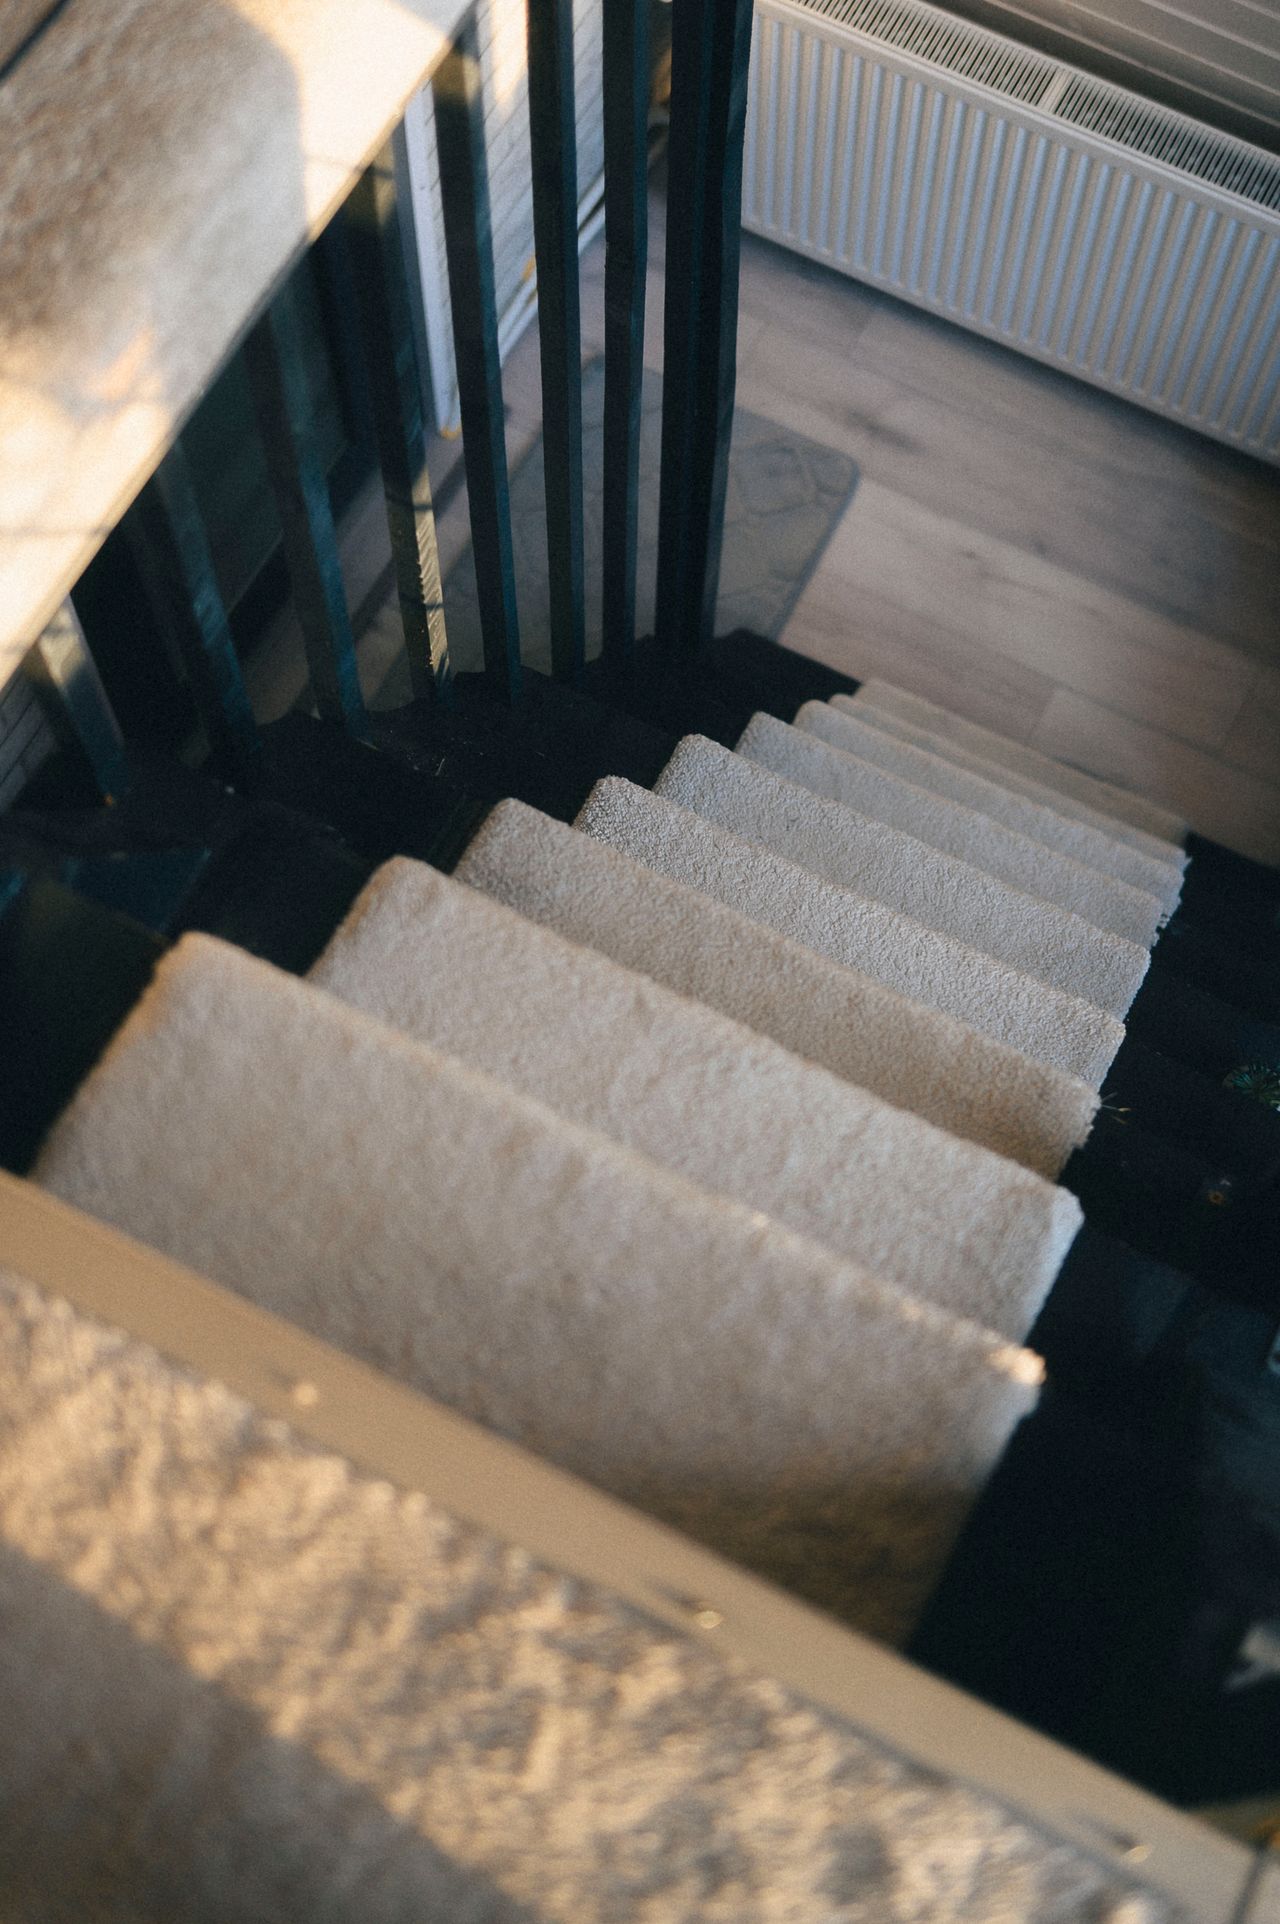
Vinyl nosing is designed for hard-surface stairs, so if your steps are currently carpeted you have a decision to make. You can remove the carpet and clad the whole staircase in vinyl plank with matching nosing, which is the most popular route, or keep the carpet and skip the vinyl altogether. Mixing carpet treads with vinyl nosing rarely looks right.
One exception is the stair runner look: some homeowners install vinyl plank and nosing on the full tread, then lay a narrow carpet runner down the centre. It softens the sound and feels warm underfoot in winter while showing off the vinyl edges. Just be sure the runner is properly fixed so it cannot slip.

8. Safety: grip and contrast
Stairs are the most fall-prone spot in the house, so treat the nosing as safety equipment, not just trim. Many vinyl nosing strips come with a slightly textured surface; choose it. A glossy smooth nosing looks sleek in the showroom and slippery in socks, which is exactly how most stair falls happen at home.
Contrast helps too, especially for older eyes. A nosing a shade darker than the tread makes each step edge visible, reducing missteps in dim evening light. Pair that with decent stair lighting, a switch at both top and bottom, and a secure handrail, and your vinyl stairs become safer than the carpeted ones they replaced.
9. When to replace instead of repair
A scuffed nosing can often be revived: light scratches buff out, and small chips can be filled with a colour-matched repair kit. But when the wear layer is gone across the whole front edge, when the strip has lifted, or when the profile is cracked through, replacement is the honest fix. Patching a failed nosing just delays the same job by a season.
The good news is that replacing one strip is a small job. Score the old adhesive, pry the strip gently, clean the sub-tread and glue a new length in place. If you kept a spare from the original batch, the colour will match perfectly. This is the strongest argument for buying that extra 10 percent at the start.

10. What it costs in Canada
Expect to pay roughly 8 to 15 CAD per linear foot for the nosing strips themselves, with premium or extra-long profiles at the top of that range. For a typical straight staircase of 13 or 14 treads, the nosing material usually lands between 150 and 300 CAD. Adhesive, brad nails and colour-matched caulking add another 40 to 60 CAD.
Hiring an installer generally doubles the material cost, so a professional job often totals 400 to 800 CAD for the nosing portion of a standard staircase. Get the nosing quoted as part of the whole vinyl stair cladding, not as an afterthought, because the planks and strips must come from the same dye lot to match.

Frequently Asked Questions
Can I fit stair nosing over my existing wooden stairs?
Yes, as long as the existing treads are solid, flat and squeak-free. Screw down any movement first, then clad with plank and nosing as normal.
Do I need a special nosing for each step, or one long strip?
Nosing comes in long lengths of about 2.4 m that you cut to fit each tread. Measure every tread individually, since widths often vary slightly.
Will the nosing match my vinyl plank exactly?
It will if you buy the manufacturer's matching profile in the same colour line and dye lot. Order flooring and nosing together to be safe.
How long does stair nosing last?
On a residential staircase, expect 10 to 15 years. Entry stairs that take winter boots and grit wear faster than bedroom stairs.
Is overlap or flush nosing better for resale?
Both are fine, but a neat overlap installation photographs well and suits traditional homes, while flush profiles suit modern listings. Quality of fit matters more than the profile.
Final Thoughts
Stair nosing is a small trim with an outsized job: it protects the hardest-working edge in your home while tying the staircase to the rest of your flooring. Measure twice, buy the matching profile from the same dye lot, and give the adhesive a full day to cure. Finish the surrounding space with thoughtful entryway decor ideas and the whole entrance will feel intentional, safe and built to last.
Sources
Gallery



No comments:
Post a Comment