A built-in niche can change how a bathroom feels every single morning. Instead of bottles balanced on the floor or a rusty caddy hanging from the showerhead, everything has one tidy home in the wall. If you are planning a renovation in Australia, a shower recess is one of the smallest changes that makes the biggest daily difference, and it suits small ensuites just as well as large family bathrooms.
This guide keeps things simple. You will find ten practical ideas below, plus honest advice on height, depth, waterproofing and cost. Every idea works with Australian homes, metric measurements and everyday products, from tall shampoo pumps to small soap bars. Read the whole list first, then pick the shape that fits your wall, your tiles and the people who will actually use the shower.
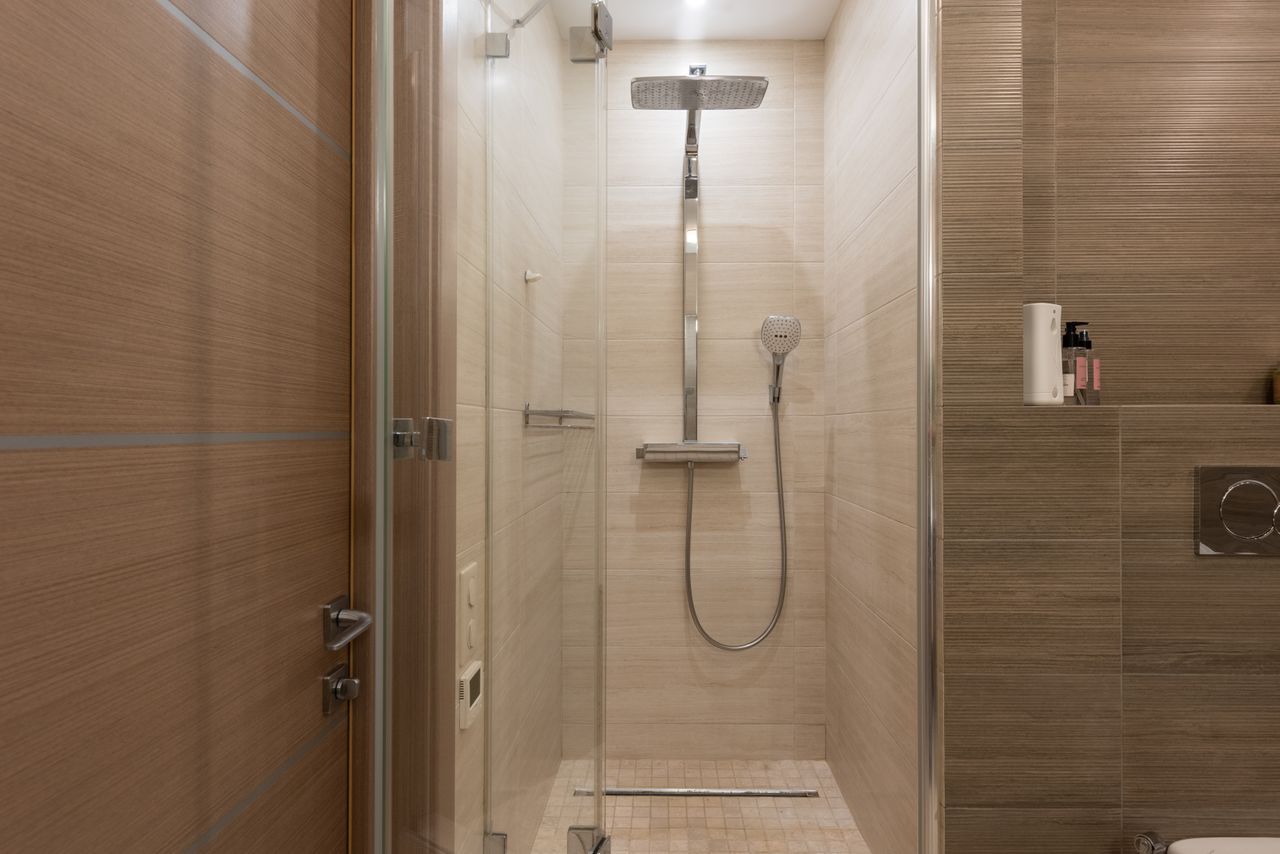 A clean beige glass shower with a rain showerhead. This is a general shower scene with no built-in niche visible, but it shows the calm, tiled look a well-planned niche suits. Photo via Pexels.
Contents
- 1. The Classic Single Niche at Chest Height
- 2. The Long Horizontal Niche
- 3. The Tall Vertical Niche
- 4. Double Niches for Shared Bathrooms
- 5. The Bold Feature-Tile Niche
- 6. The Marble-Look Luxury Niche
- 7. The Soft LED-Lit Niche
- 8. The Corner Niche for Small Showers
- 9. The Warm Timber-Look Niche
- 10. The Waterproofing-First Niche
- Frequently Asked Questions
- Final Thoughts
- Sources
- Gallery
1. The Classic Single Niche at Chest Height
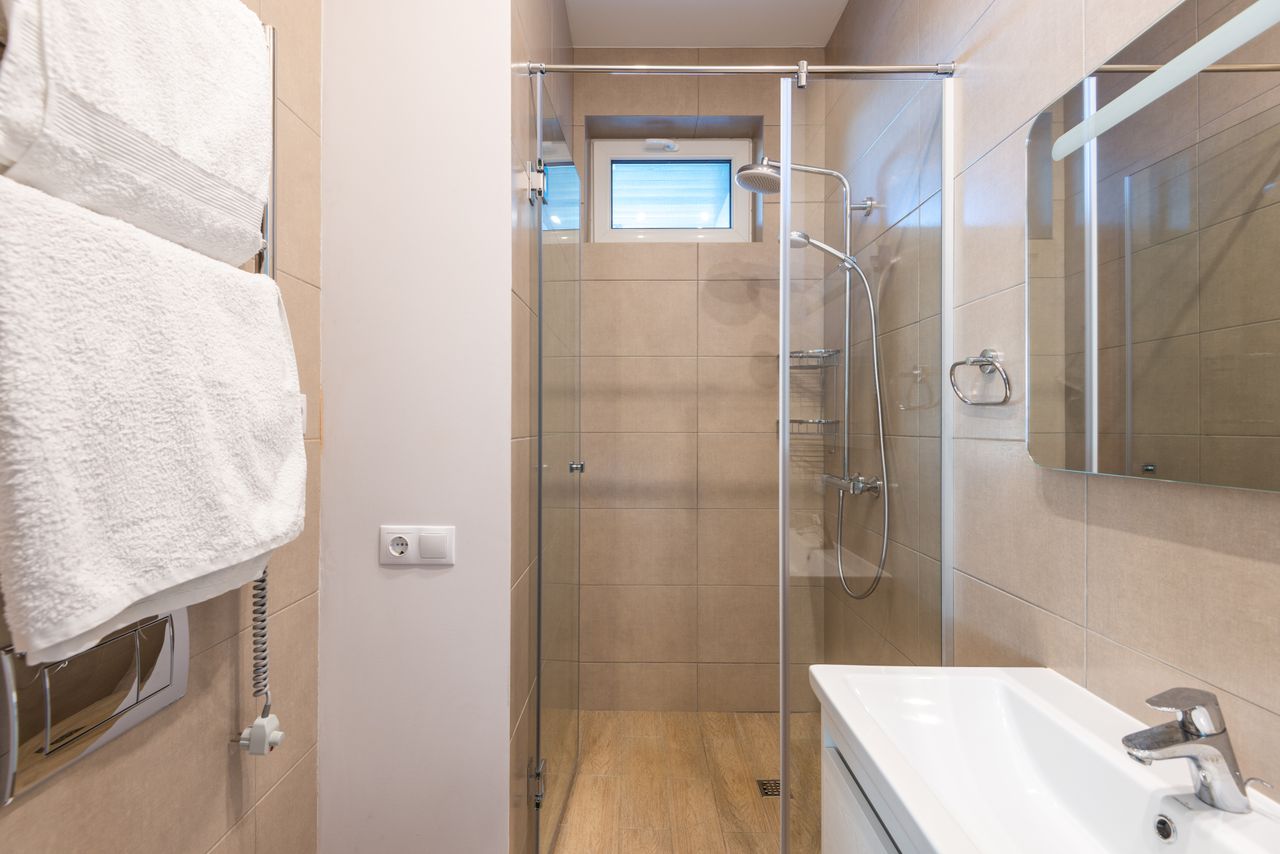 A bright beige tiled shower with a glass screen. This is a general shower scene with no built-in niche visible. Photo via Pexels.
The classic single niche is popular for a good reason: it is simple, it is easy to clean, and it holds what most people actually use. Aim for the base of the niche at about 120 cm from the finished shower floor, which puts bottles at chest height for most adults, so you can reach shampoo without bending or stretching under running water. A width of 30 to 45 cm and a height of 30 to 40 cm suits one or two people, and a depth of 10 to 15 cm fits most standard bottles without them sticking out into the shower. Before you lock in any size, line up your tallest pump bottle on the bench and measure it, because a niche that is 2 cm too short will annoy you every day. For more detail on getting the height right, see this guide to shower niche height and placement, which walks through reach, bottle clearance and family bathrooms.
Placement matters just as much as size. Put the niche on a side wall or the back wall, away from the direct spray of the showerhead, so bottles stay cleaner and water does not pool around them. Ask your tiler to line the niche up with full tiles where possible, because that avoids thin, awkward tile slivers around the opening and gives a neat, built-in look. Slope the base very slightly towards the shower so water drains out instead of sitting in a puddle, and keep the number of bottles low. A niche looks calm when it holds four or five daily products, and cluttered when it holds fifteen half-empty bottles, so decant favourites into matching bottles or move rarely used products to the vanity cupboard.
2. The Long Horizontal Niche
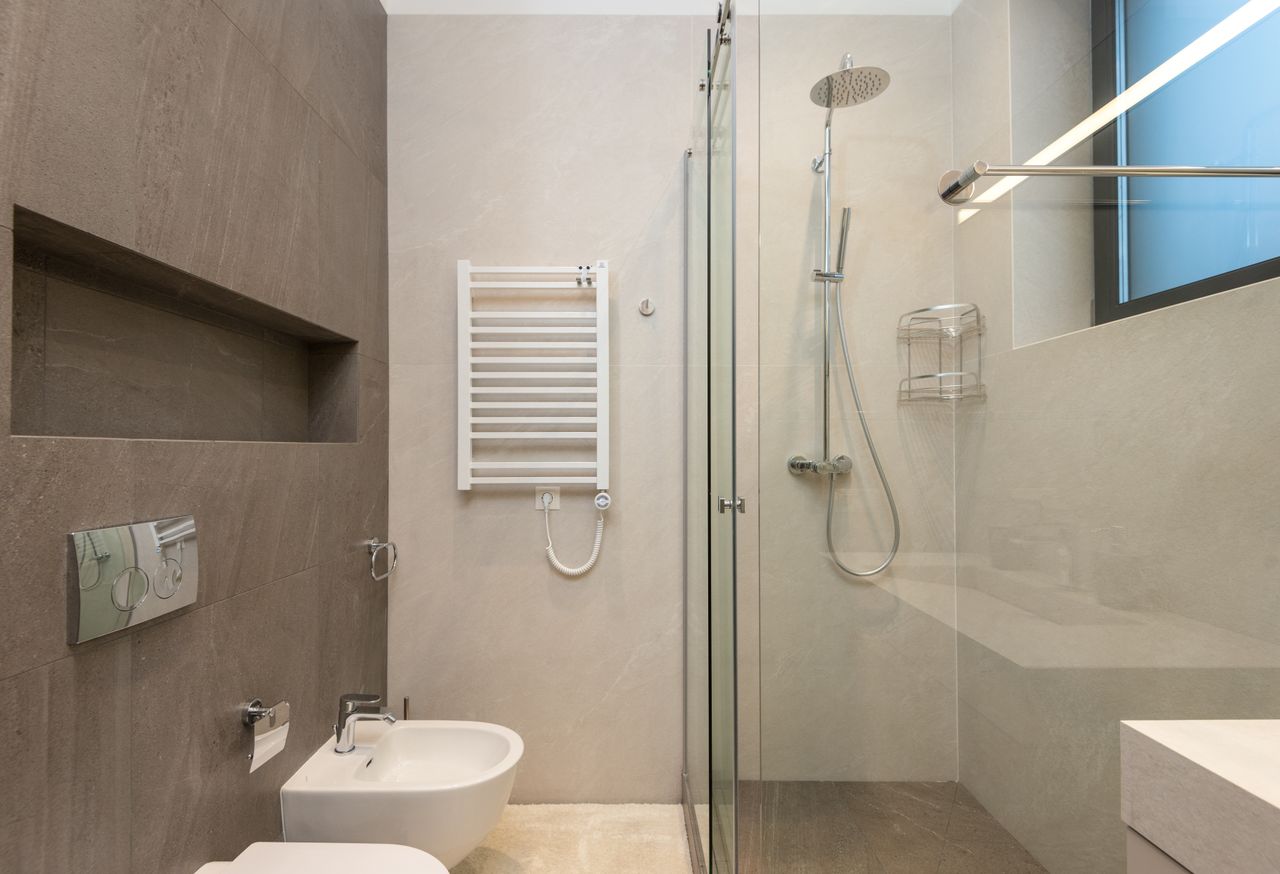 A long horizontal wall niche in dark tiles on the bathroom wall beside a glass shower. The niche shown here sits on the wall next to the shower rather than inside it. Photo via Pexels.
A long horizontal niche runs across much of the shower wall, and it is a beautiful choice for a wide walk-in shower or a shower over a bath. It gives you one generous shelf instead of several small pockets, so tall bottles, soap dishes and even a small plant in a waterproof pot can sit in a neat row. Because the shelf is wide, you can group products by person or by routine, with shampoo and conditioner on one side and body wash and face wash on the other. In a long bathroom, a horizontal niche also draws the eye across the room and makes the shower feel wider, which is a clever trick in a narrow ensuite where a tall niche might feel cramped.
The trade-off is structure. A wide niche usually spans more than one wall-stud bay, so your builder may need to reframe part of the wall and your tiler will need extra care with waterproofing and tile cuts. That work is best done during a full renovation, not as a quick weekend job, and it is worth getting a written quote before tiles are ordered. Keep the depth at 10 to 15 cm so bottles sit safely, and avoid placing the niche directly under the showerhead, where falling water will splash everything. If your wall cannot take a very wide opening, a medium-width niche of 60 to 90 cm still gives you that long, hotel-style line without the extra framing cost.
3. The Tall Vertical Niche
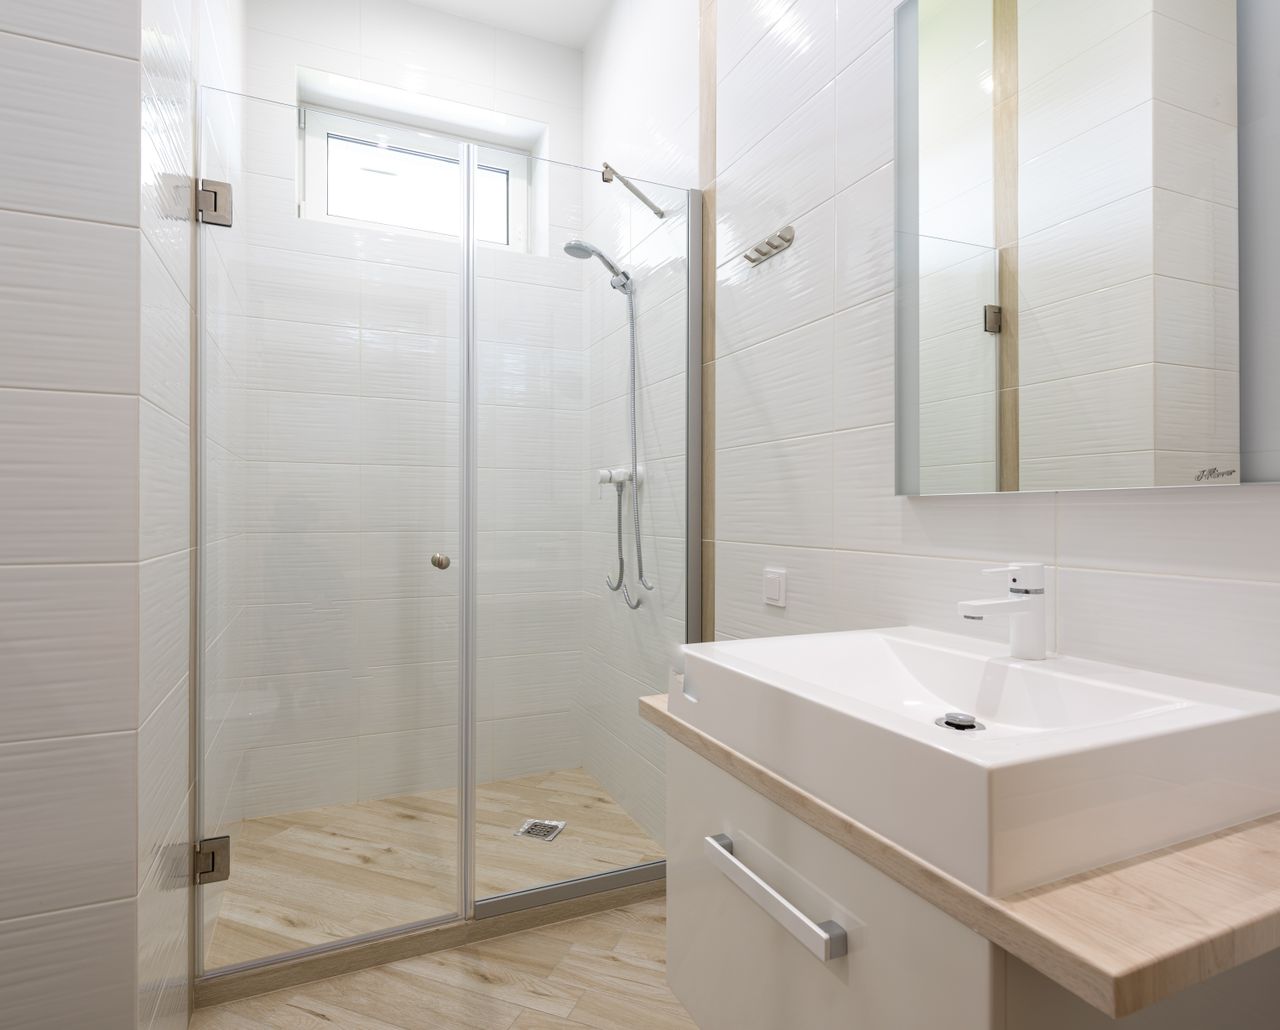 A bright white tiled shower with a timber-look floor. This is a general shower scene with no built-in niche visible. Photo via Pexels.
A tall vertical niche is the best friend of a small shower. It fits neatly between two wall studs, so it often needs less reframing than a wide niche, and it gives you stacked storage without taking up much wall width. With one or two divider shelves, a vertical niche can hold tall pump bottles at the top, everyday shampoo in the middle and soap or a razor at the bottom. That stacking is also handy in a rental-friendly renovation or a compact apartment ensuite, where every centimetre of wall counts and a wide niche simply would not fit. Choose a width of about 30 cm and a total height of 60 to 90 cm, then divide it so each shelf has at least 30 cm of clear height for tall bottles.
Think about who reaches each shelf. Put the most-used products at chest to shoulder height, around 120 to 150 cm from the floor, and use the lower shelf for soap, foot scrub or children's products. If two people share the shower, give each person a shelf and keep a small rule: one shelf each, and anything that does not fit gets stored outside the shower. A vertical niche also looks smart when it is lined up with a vertical strip of feature tile or a matching grout colour, because the eye reads it as part of the design rather than a hole cut into the wall. Wipe the shelves once a week and the whole shower will keep feeling fresh.
4. Double Niches for Shared Bathrooms
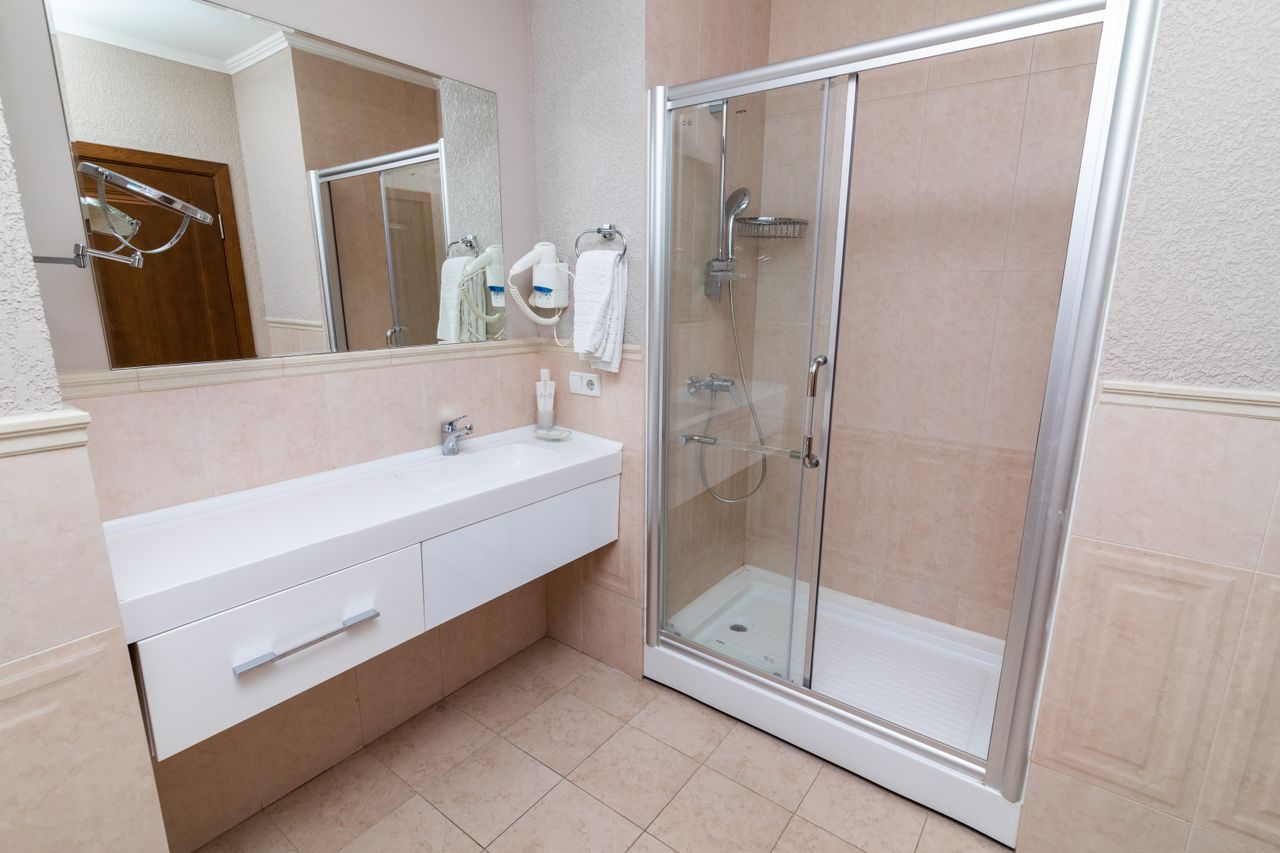 A beige bathroom with a glass shower cabin and a floating vanity. This is a general shower scene with no built-in niche visible. Photo via Pexels.
In a family bathroom, one niche is rarely enough. Two stacked niches, or two side-by-side niches, end the daily argument over whose bottles fell over and whose shampoo ran out. You can give adults the higher niche and children a lower one, at about 75 to 90 cm from the floor, so kids can reach their own soap without climbing or asking for help. A lower niche also works well for seated users and for anyone who prefers to wash while sitting on a shower bench. Keep each niche simple, with one shelf at most, so cleaning stays quick and bottles do not hide behind each other.
Double niches need a little more planning, because two openings mean twice the waterproofing detail and twice the tile cutting. Ask your tiler to set both niches out on the same tile grid so the grout lines run cleanly across the wall, and keep the gap between the niches wide enough for a full tile if you can. Budget-wise, a second niche adds labour and membrane work, but it is far cheaper to add during the first renovation than to cut in later. If your wall space is tight, a single tall niche with a solid divider shelf gives you almost the same result for less work, and it still keeps everyone's products in their own zone.
5. The Bold Feature-Tile Niche
 A purple and green tiled shower with a small built-in niche visible on the left wall. Photo via Wikimedia Commons.
A feature-tile niche turns storage into the prettiest part of the shower. Line the inside of the niche with mosaic tiles, kit-kat tiles, patterned encaustic-look tiles or a bold colour that contrasts with the main wall, and the whole shower suddenly has a focal point. This works beautifully in Australian bathrooms where the main tiles are calm and neutral, because one small burst of colour feels deliberate rather than busy. The photo above shows the idea in a confident purple and green scheme, with a small niche tucked into the left wall, and it proves that even a modest niche can carry a strong design when the tile choice is brave. Keep the feature tile inside the niche only, or as one narrow border, so the effect stays crisp.
Practical tips still apply. Small mosaic tiles mean more grout lines, so choose a grout colour that you are happy to clean, and seal the grout as your tiler recommends. A mid-grey or warm-grey grout hides soap marks far better than brilliant white, and it still lets the tile pattern shine. If you love a handmade-look tile with uneven edges, ask your tiler to check the niche depth carefully, because thicker tiles can eat into your 10 to 15 cm of usable depth. Order a few spare feature tiles too, because a cracked mosaic sheet years later is much easier to repair when you already have matching tiles in the garage.
6. The Marble-Look Luxury Niche
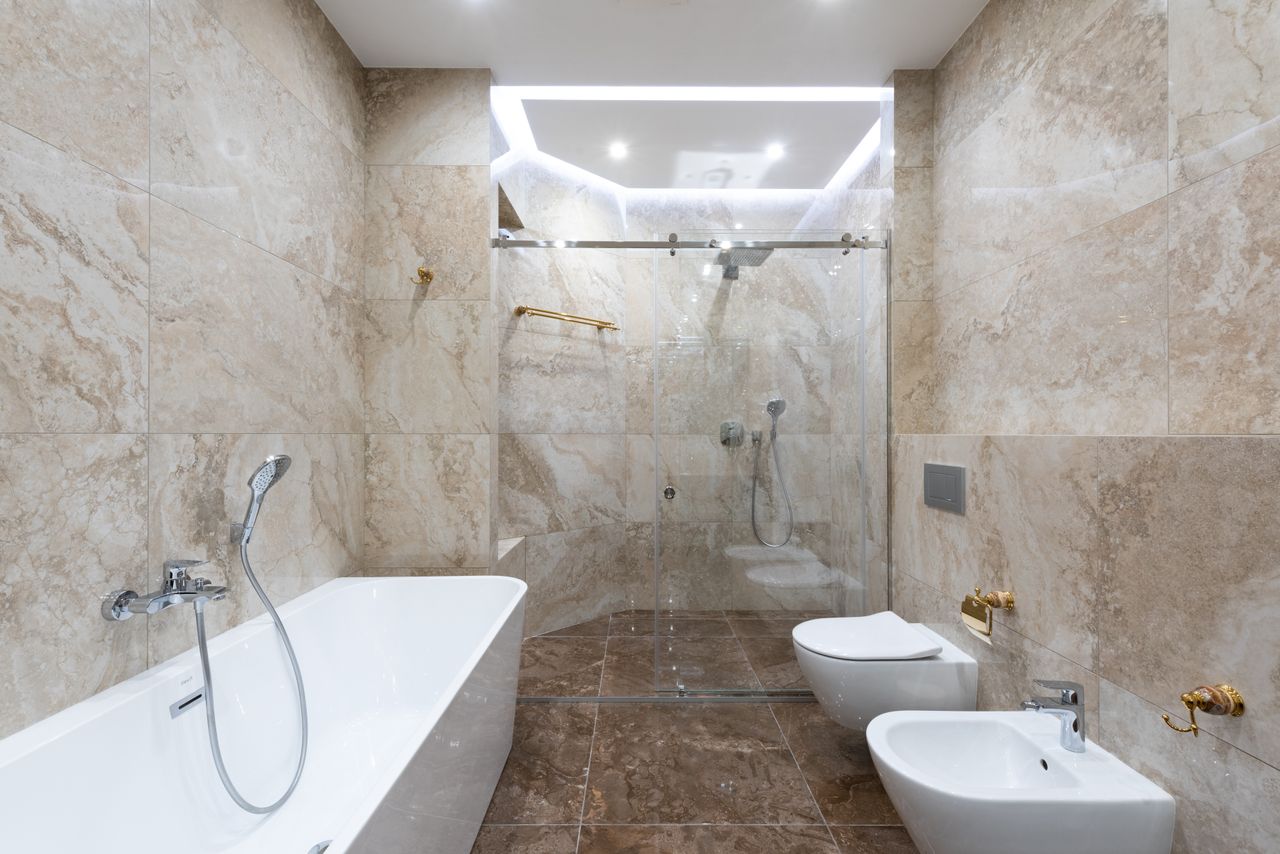 A marble-look bathroom with a bath and a glass shower at the back. This is a general shower scene with no built-in niche visible. Photo via Pexels.
For a calm, hotel-style bathroom, a marble-look niche is hard to beat. Large-format porcelain tiles printed with soft marble veining give you the luxury look without the sealing and etching worries of real marble, and they keep grout lines to a minimum inside the niche. Pair the niche with brushed brass or brushed nickel tapware, warm white lighting and one timber stool or timber bath mat, and the whole room feels softer and more expensive. This is the look many Australian renovators choose for a main ensuite, because it photographs beautifully and it still feels restful after the novelty wears off. If you want more luxury bathroom inspiration, browse these modern luxury bathroom ideas and borrow only the details that suit your budget and your tiles.
Luxury does not have to mean fragile. Porcelain is dense and less absorbent than ceramic, which suits a wet niche, and a simple stone-look shelf inside the niche is easy to wipe down. Keep styling minimal: two or three quality bottles, one small soap dish and nothing else. If you use real marble anywhere in the niche, seal it as directed and wipe up shampoo drips promptly, because acidic products can mark the surface over time. A marble-look niche also pairs well with a frameless glass screen, because the glass lets the tile work show through instead of hiding it behind a heavy frame.
7. The Soft LED-Lit Niche
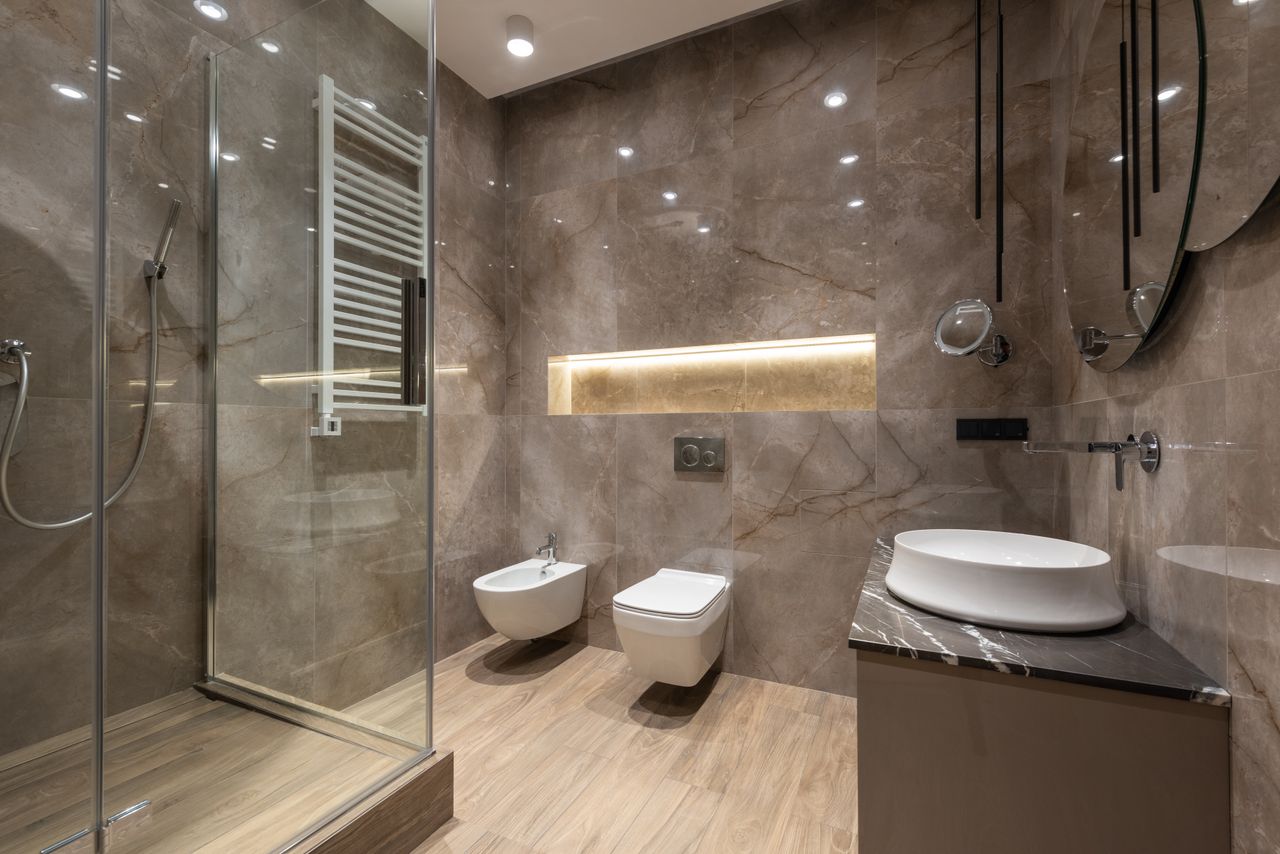 A lit horizontal wall niche in a marble bathroom, beside a glass shower. The niche shown here sits on the wall next to the shower area rather than inside it. Photo via Pexels.
A waterproof LED strip inside a niche adds a gentle glow that makes early-morning showers feel calmer and late-night showers feel safer. The light also shows off feature tiles and makes it easy to find the right bottle without turning on harsh overhead lights. Choose a warm white strip, around 2700 to 3000K, rather than a cold blue-white, because warm light flatters skin and tile alike. The strip must be rated for wet areas, with its driver and connections kept outside the shower and installed by a licensed electrician, and it should sit in a small channel or behind a lip so you see the glow, not the bare diodes. A dimmer is a lovely extra if your budget allows it.
Plan lighting early, because retrofitting a lit niche after tiling is messy and often impossible without damage. Talk to your electrician and tiler together before waterproofing starts, so cable routes, membrane details and tile depths all agree. For the rest of the room, the same warm-white thinking applies, and this guide to vanity light height and placement is a useful companion when you are setting mirror lights and sconces. Keep the niche light on its own switch if you can, so you can enjoy a low-glow shower in the evening without lighting the whole bathroom.
8. The Corner Niche for Small Showers
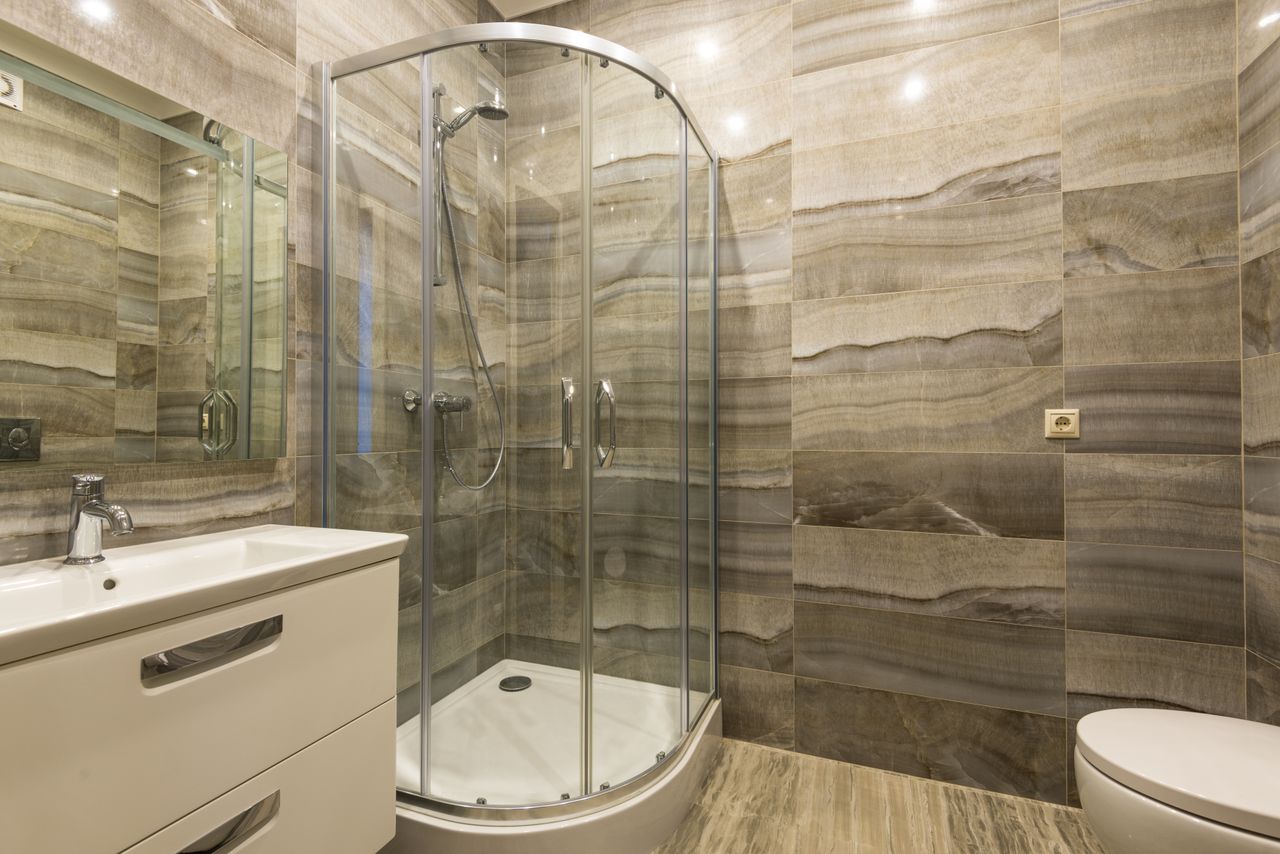 A curved corner glass shower with stone-look wall tiles. This is a general shower scene with no built-in niche visible. Photo via Pexels.
A corner niche is a clever answer when the shower is small and the flat walls are already busy with the showerhead, mixer and glass screen. Tucking the niche into the corner uses dead space where two walls meet, and it keeps bottles within easy reach without stealing width from the main wall. A compact corner niche of about 30 cm wide and 30 to 40 cm tall is plenty for one person's daily products, and it suits corner showers, small ensuites and older Australian units where the bathroom footprint cannot grow. If the corner is awkward, a small stainless-steel insert niche can give you a clean, ready-made box that your tiler sets into the wall during the renovation.
Be honest about the limits. A corner niche will not hold a family's full collection, and bottles placed in a tight corner can be harder to wipe around, so keep the count low and choose bottles that are easy to grip with wet hands. Slope the base towards the shower, use silicone rather than grout where the niche meets the wall at a change of plane, and check that the corner wall is not an external wall before you cut in. External walls carry insulation and weatherproofing that you do not want to disturb, so if the only corner is external, ask your builder about a surface-mounted shelf or a niche on an internal wall instead.
9. The Warm Timber-Look Niche
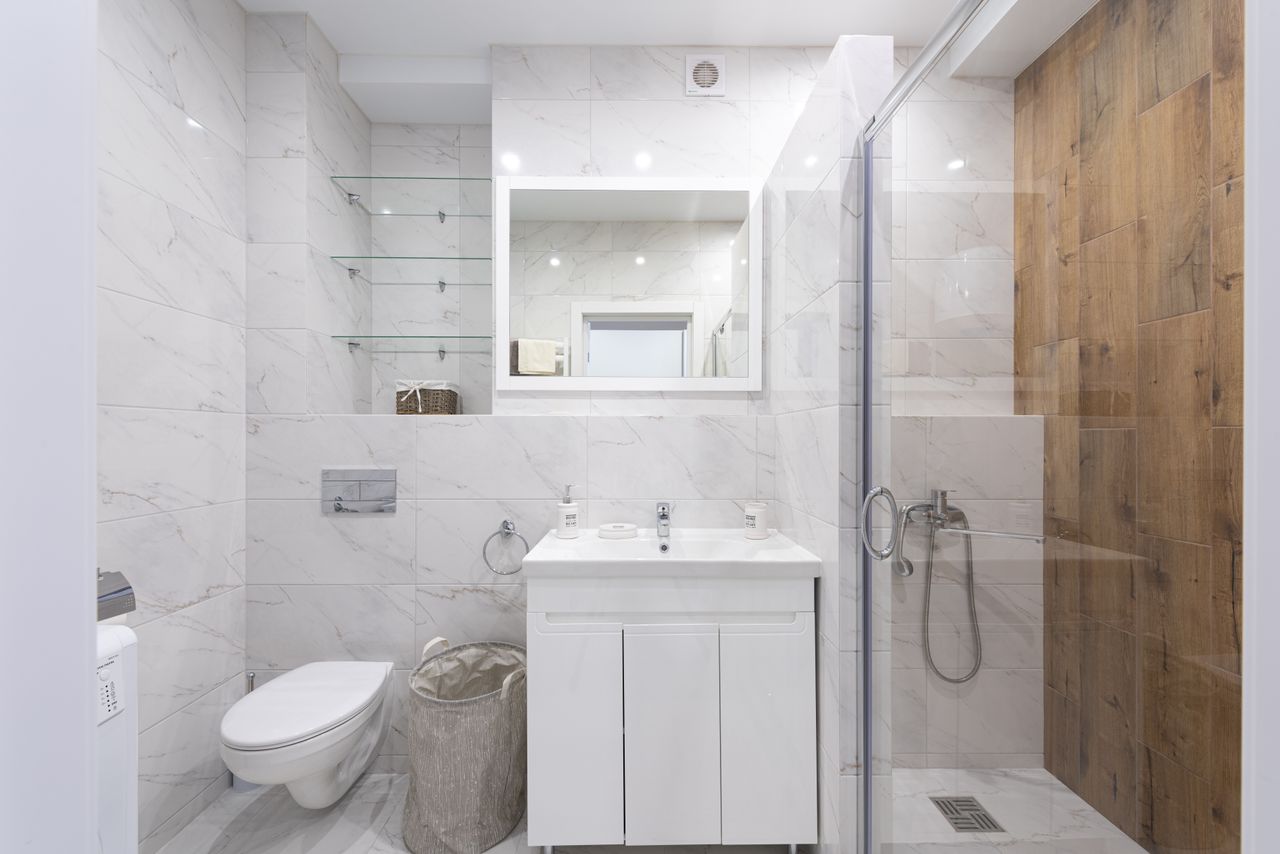 A white marble bathroom with a timber-look shower wall. This is a general shower scene with no built-in niche visible. Photo via Pexels.
Timber-look tiles bring instant warmth to a bathroom that might otherwise feel cold and clinical, and they pair beautifully with a niche. Use timber-look porcelain inside the niche, or on the wall around it, and keep the rest of the shower in soft white or warm grey so the timber tone stands out. The result feels like a coastal or Scandinavian bathroom, even in a suburban brick home, and it works well with green plants on the vanity, natural cotton towels and brushed brass fittings. Timber-look porcelain is a practical choice here, because real timber inside a wet niche would need constant care, while porcelain gives you the grain and warmth with a simple wipe-down.
Watch the details. Timber-look tiles often come in long planks, so ask your tiler how the plank joints will fall inside a small niche, because a joint in the wrong spot can look untidy. A smaller timber-look mosaic or a short plank cut can sit more neatly in a compact opening. Keep the niche depth at 10 to 15 cm and avoid overfilling it, because a timber-look niche looks best when the grain can still be seen around the bottles. Finish with one timber accessory outside the shower, such as a bath mat or a stool, to tie the whole room together without turning the bathroom into a timber box.
10. The Waterproofing-First Niche
 A walk-in shower under construction, with a red waterproofed niche clearly visible in the tiled wall. The room is unfinished, which shows the build stage honestly. Photo via Wikimedia Commons.
The most important niche idea is also the least glamorous: get the waterproofing right before anyone talks about tiles. A niche is a hole in your shower's waterproofing, so it is the most vulnerable spot in the whole room. The membrane must run continuously into the niche on all sides, corners must be reinforced as your waterproofer directs, and the base must slope slightly outwards so water drains instead of pooling. The photo above shows this stage honestly, with the red membrane visible inside the opening before the job is finished, and it is a useful reminder that a beautiful niche starts with careful, boring prep work. In Australia, waterproofing is regulated work, so use a licensed waterproofer where your state requires one, and keep the compliance certificate with your renovation paperwork.
A few habits protect your niche for years. Use flexible silicone, not hard grout, at the joint where the niche meets the surrounding wall, because buildings move slightly and grout can crack at that junction. Recheck the silicone once a year and replace it when it peels or darkens. Avoid harsh abrasive cleaners inside the niche, and give the shelves a quick squeegee after long showers in hard-water areas. Budget honestly too: a prefabricated stainless niche insert can cost roughly AUD 150 to AUD 600 for the unit alone, while a fully custom tiled niche in a renovation can add roughly AUD 800 to AUD 2,500 depending on size, framing and tiling, and those figures exclude the broader bathroom renovation cost. Paying for proper waterproofing once is far cheaper than repairing a leak inside a wall later.
Frequently Asked Questions
How high should a niche sit in an Australian shower?
For most adults, the base of the main niche at about 120 cm from the finished floor works well, which puts bottles at chest height. Measure your tallest pump bottle first, allow at least 30 cm of clear height per shelf, and lower the niche for children, seated users or a shower over a bath, where reaching from a seated position matters more than standing height.
How deep should a niche be?
A depth of 10 to 15 cm suits most bottles, because standard wall framing gives you about that much usable depth once tiles and membrane are in place. Go shallower only for soap and small items, and slope the base slightly towards the shower so water drains out instead of sitting in the opening.
Can I add a niche to an existing bathroom without a full renovation?
It is possible, but it is not a simple add-on. You need to cut into the wall, check for studs, pipes and wiring, reframe if needed, waterproof the opening and retile the area, so it is best done during a renovation or by a professional. A surface-mounted shelf or a stainless caddy is the cheaper, renter-friendly option when cutting the wall is not practical.
Do niches cause leaks?
A well-built niche does not leak, but a poorly waterproofed one can. Leaks usually come from gaps in the membrane, cracked grout at the wall junction or a flat base that holds water. Continuous waterproofing, flexible silicone at changes of plane and a slight outward slope are the three details that prevent most problems.
Is a niche better than a shower shelf or caddy?
A niche looks cleaner, keeps bottles off the floor and cannot rust or fall off the wall, but it costs more and must be planned before tiling. A shelf or caddy is cheaper, easy to move and ideal for renters, yet it collects soap scum at its joins and can crowd a small shower. Choose a niche for a renovation you own, and a shelf for a short-term or low-budget fix.
Final Thoughts
The best niche is the one that fits your wall, your tallest bottle and your daily routine, not the biggest or most dramatic one you saw online. Start with height and depth, keep the niche out of direct spray, insist on continuous waterproofing, and let one thoughtful detail, such as feature tile, warm lighting or timber-look porcelain, give it character. A calm, well-built niche will quietly serve you every morning for years.
If you are renovating in Australia, get two or three written quotes, ask each tradesperson how they waterproof a niche and how they slope the base, and keep spare tiles for future repairs. Then enjoy the small luxury of a shower where everything has its place, the floor is clear, and the room feels designed rather than just assembled.
Sources
- Yabby – Australian built-in niche ideas and sizing guide
- Home Beautiful Australia – niche, ledge and bench design guide
- Buildmat – niche versus shelf comparison and FAQs
- House Sanctuary Builders – bathroom and shower niche ideas
Gallery
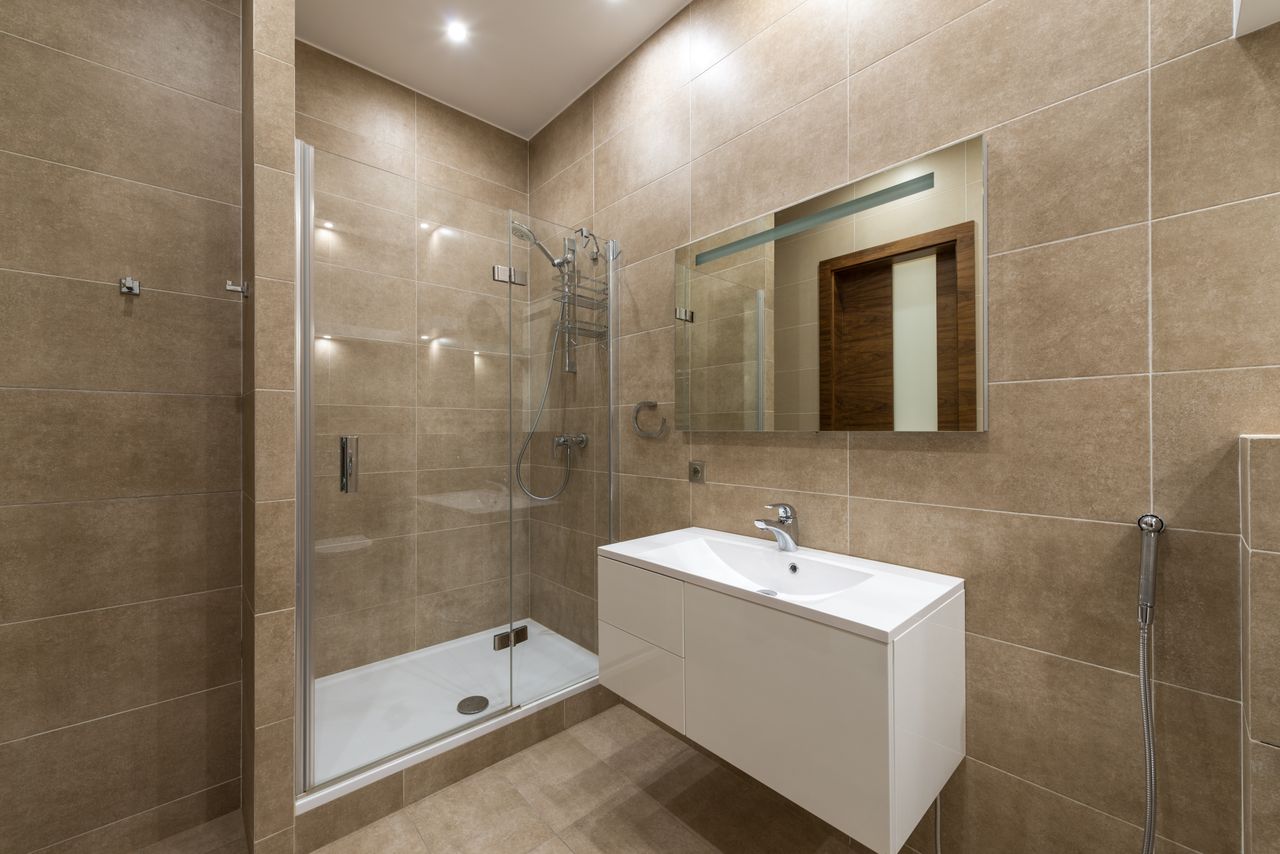 A large-format beige tiled bathroom with a glass shower. This is a general shower scene with no built-in niche visible. Photo via Pexels.
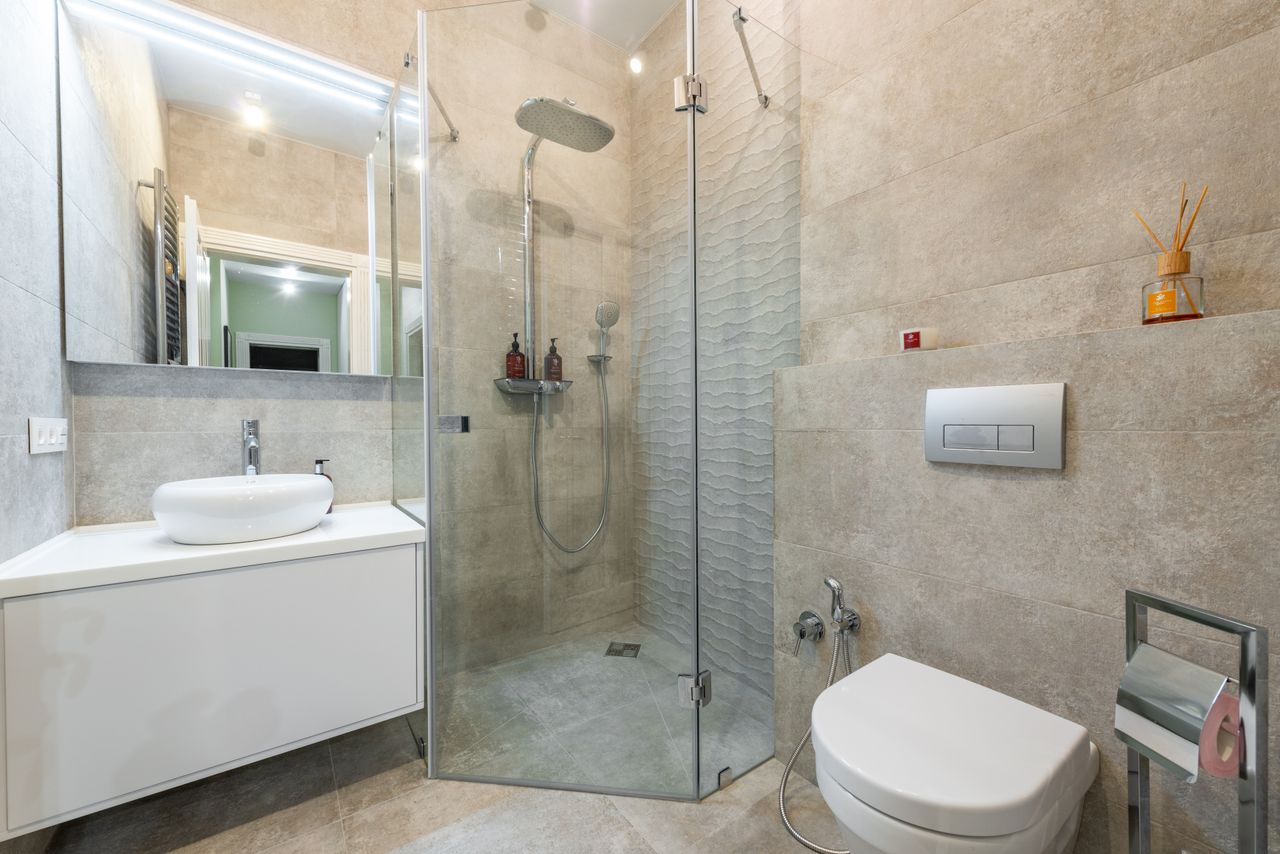 A grey textured tiled shower with a rain head and a small corner shelf. This is a general shower scene with no built-in niche visible. Photo via Pexels.
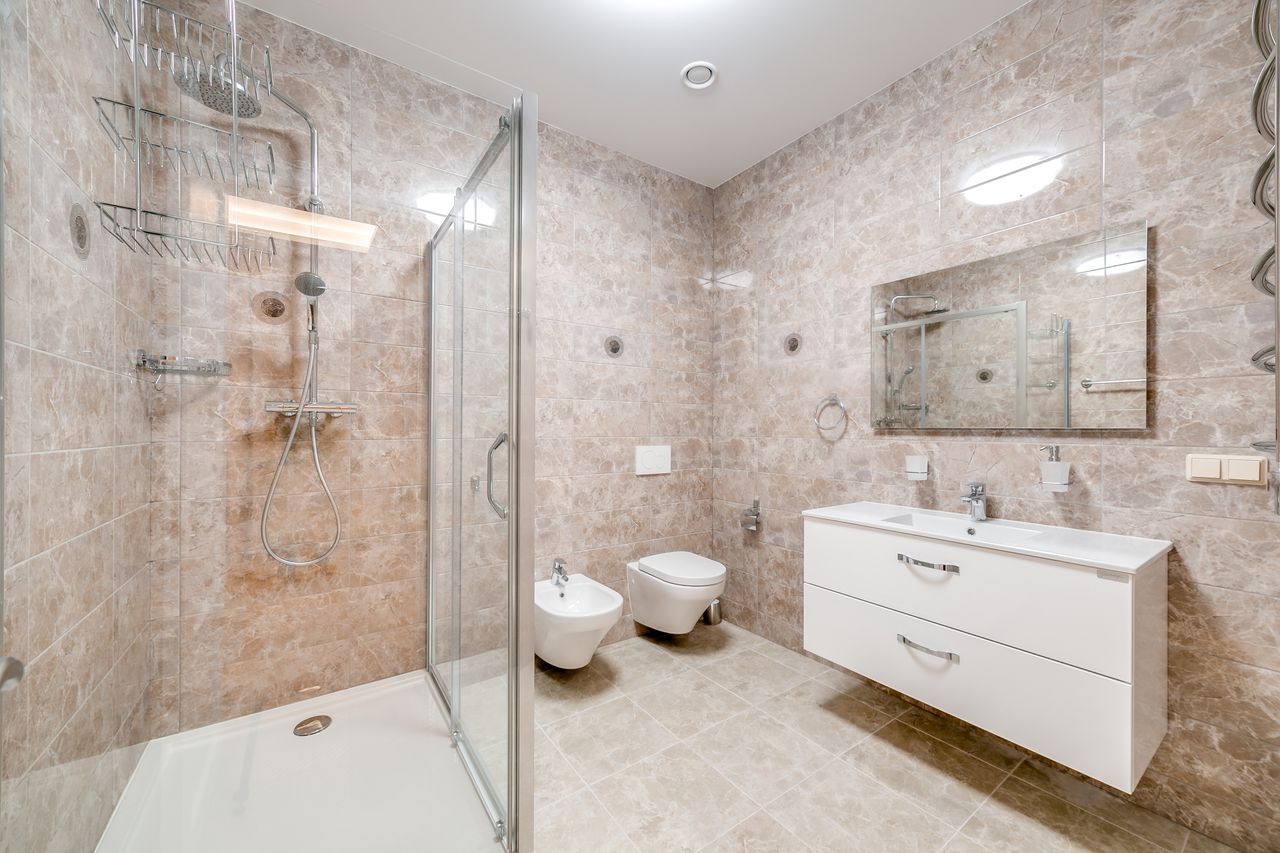 A marble-look bathroom with a glass shower and wire racks. This is a general shower scene with no built-in niche visible. Photo via Pexels.

No comments:
Post a Comment