Fall decorating in the United States often starts at the pumpkin patch, and these painting pumpkins ideas give you a way to join in without a carving knife, a mess of seeds, or a pumpkin that collapses after a few days. A painted pumpkin lasts longer than a carved one, it is safe for young kids, and it can move from the porch to the living room without dripping.
You do not need art training or a big budget to get a good result. A $5 to $10 pumpkin from a grocery store or farm stand, a small set of acrylic paints, and two brushes are enough for most of the looks below. Work in thin coats, let each coat dry, and keep the design simple — bold shapes always read better from the porch than fussy detail.
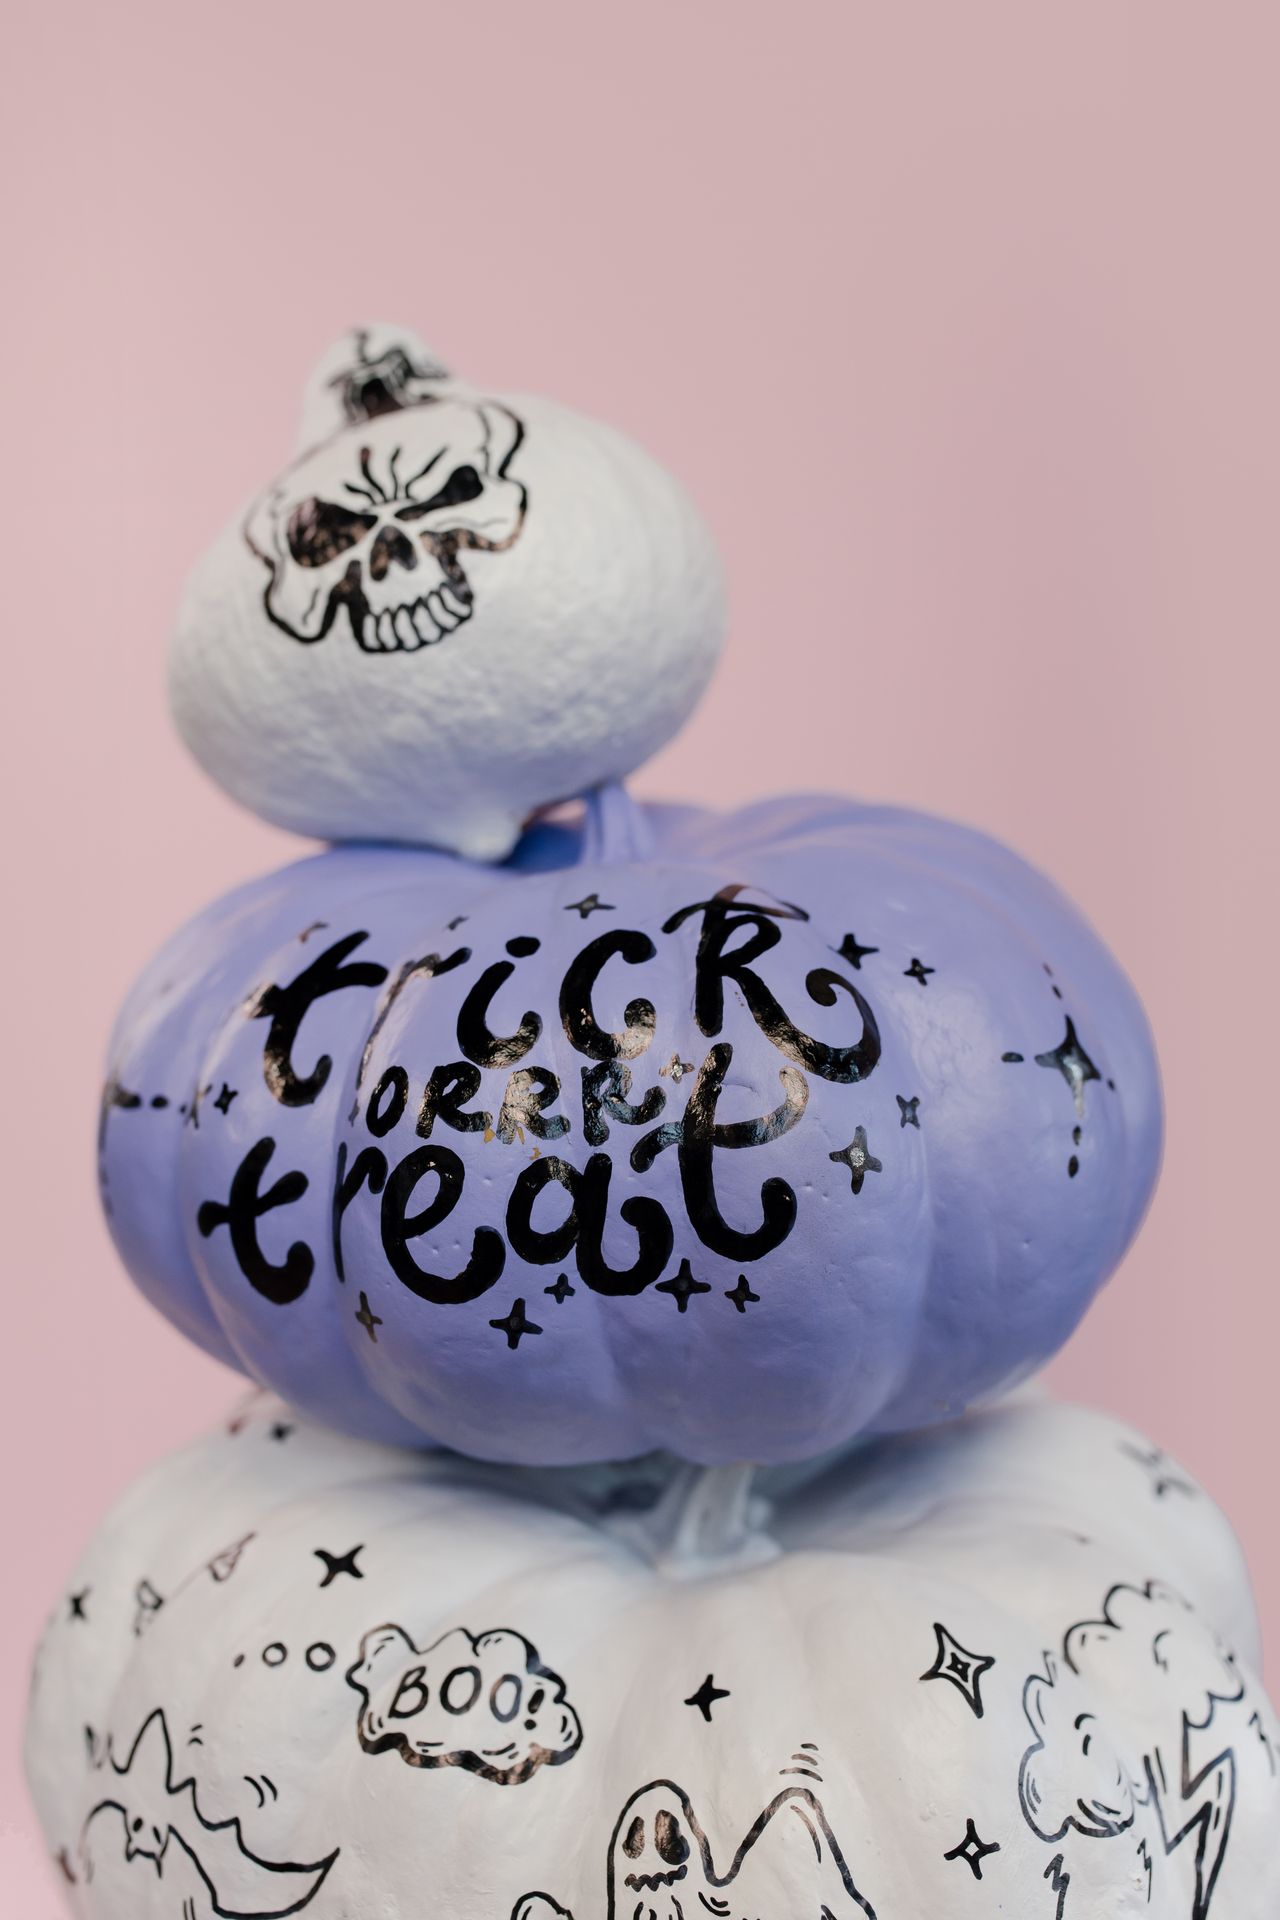
Photo via Pexels. Stacked painted pumpkins in white and purple, with a skull, hand lettering, and a small ghost.
2. Start with a White Base Coat
3. Paint Outdoors with the Kids
4. Pick Smooth, Sturdy Pumpkins First
5. Mix Sizes, Colors, and Shapes
6. Style Them on Hay for the Porch
7. Build a Fall Table Centerpiece
8. Use a Dark Background for Contrast
9. Visit the Patch for the Best Picks
10. Let the Display Tell a Story
1. Paint Together as a Family
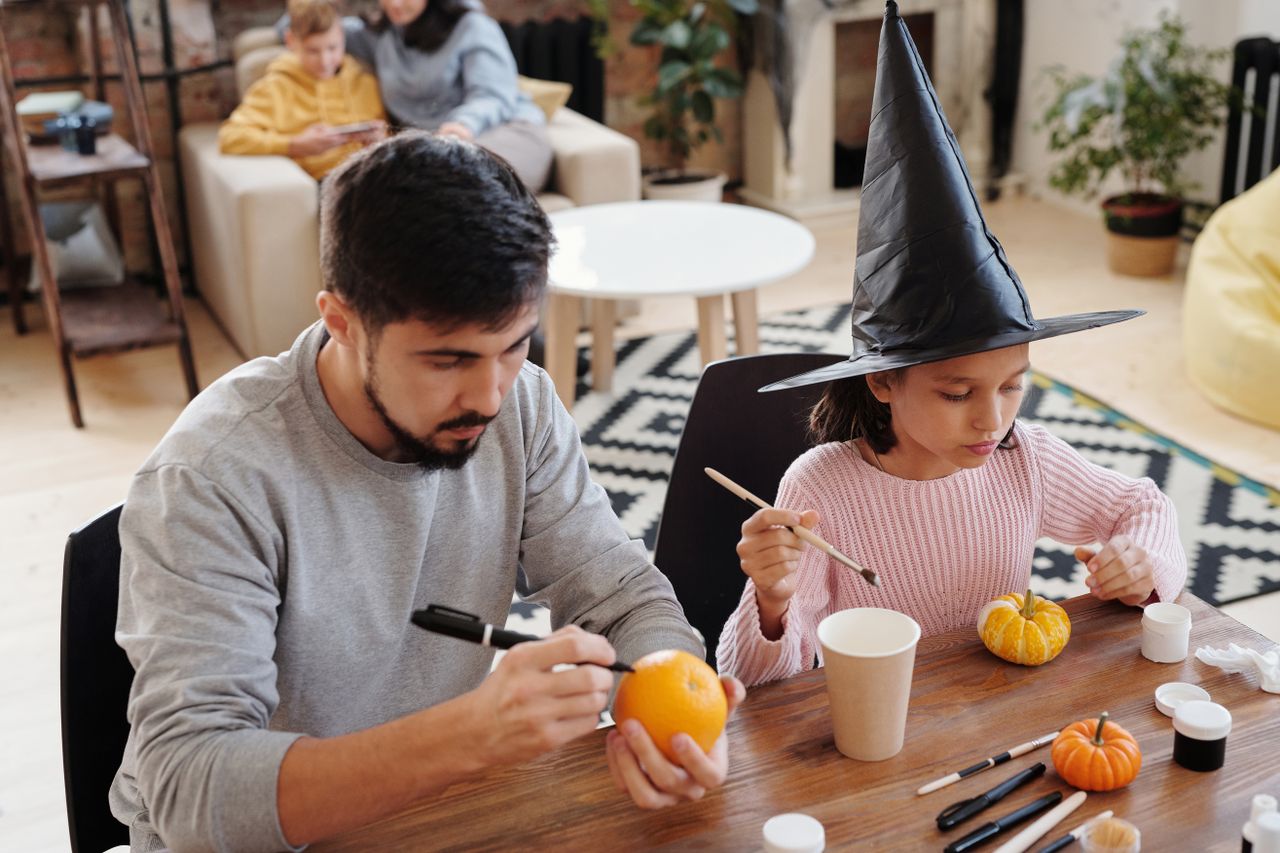
Photo via Pexels. A father and daughter painting small pumpkins together at a table in a living room.
Painting is the easiest fall craft for a mixed-age group because everyone can work at the same table with the same supplies. Give each person a small pumpkin, about 6 to 8 inches across, so the project stays manageable and dries in a reasonable time. Cover the table with newspaper or an old sheet, and keep a damp rag nearby for quick cleanups.
Let kids choose their own design instead of copying one perfect example. A wobbly ghost, a striped pumpkin, or a pumpkin covered in dots all look charming in a group display, and the variety is what makes the finished set feel personal. Adults can help with base coats and sealing, while kids handle the fun details.
2. Start with a White Base Coat
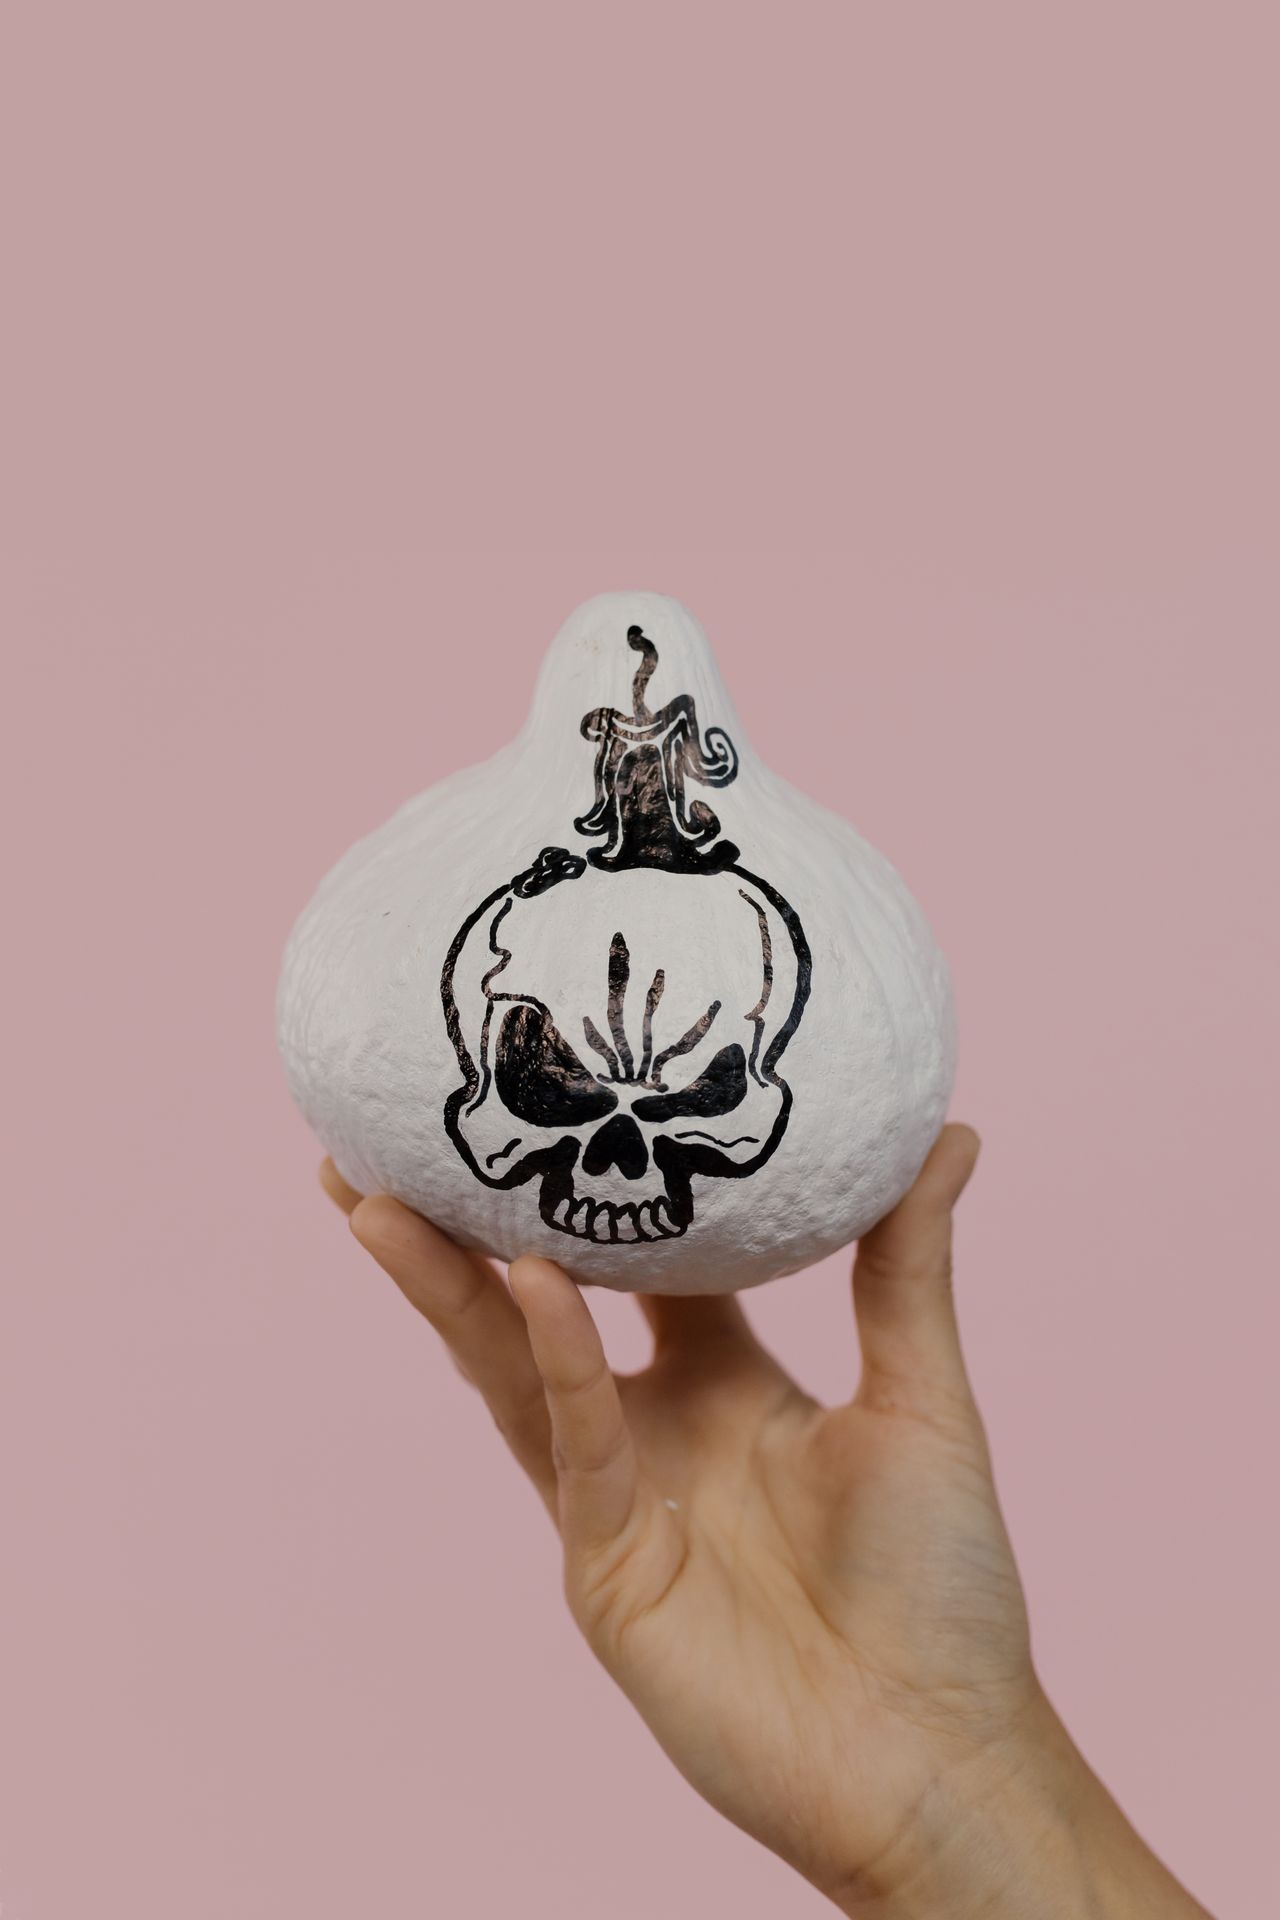
Photo via Pexels. A hand holding a small white pumpkin painted with a bold black skull design.
A white base coat is the fastest way to make any design pop, especially black lettering, faces, and simple line drawings. Use two thin coats of white acrylic paint rather than one thick coat, and let the first coat dry for about 30 minutes before adding the second. Thin coats grip the rind better and are far less likely to crack or peel.
Once the white base is dry, draw your design lightly with a pencil, then go over it with a fine brush or a paint marker. Black on white is striking from several feet away, which is exactly what you want for a porch or entryway piece. Finish with a clear matte sealer if the pumpkin will sit outside.
3. Paint Outdoors with the Kids
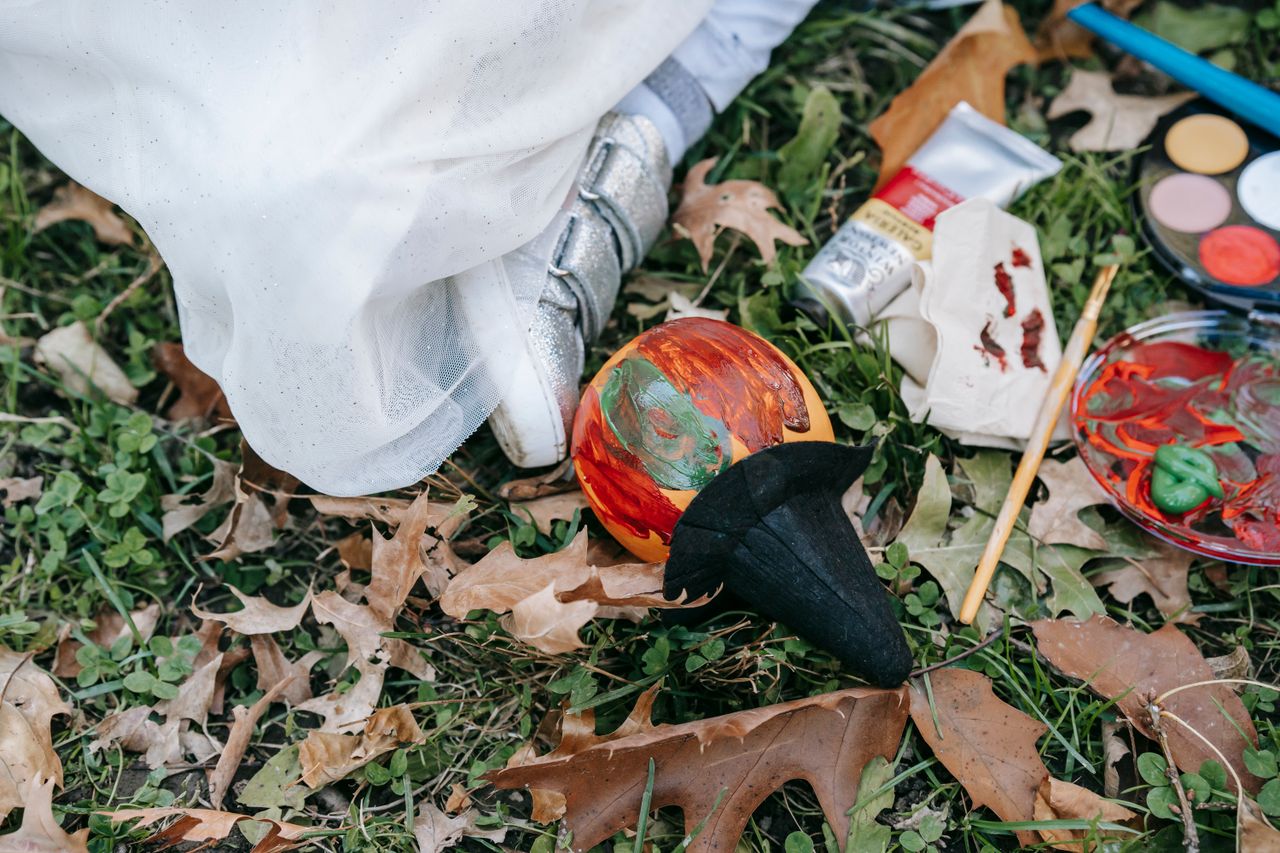
Photo via Pexels. A small painted pumpkin on the grass beside paint tubes, a brush, and a paint palette.
Painting outside takes the pressure off: drips land on grass instead of the rug, and kids can spread out. Set up on a patio table or a blanket, and keep paint pots in a shallow box so they do not tip over. A paper plate works well as a palette, and a jar of water plus old towels handles brush cleaning.
Outdoor light also helps you judge colors honestly, which matters when you are mixing shades. Just bring the pumpkins inside if rain is coming, and do not leave freshly painted pumpkins in direct sun for hours, since heat can make wet paint bubble. A shaded porch is the ideal drying spot.
4. Pick Smooth, Sturdy Pumpkins First
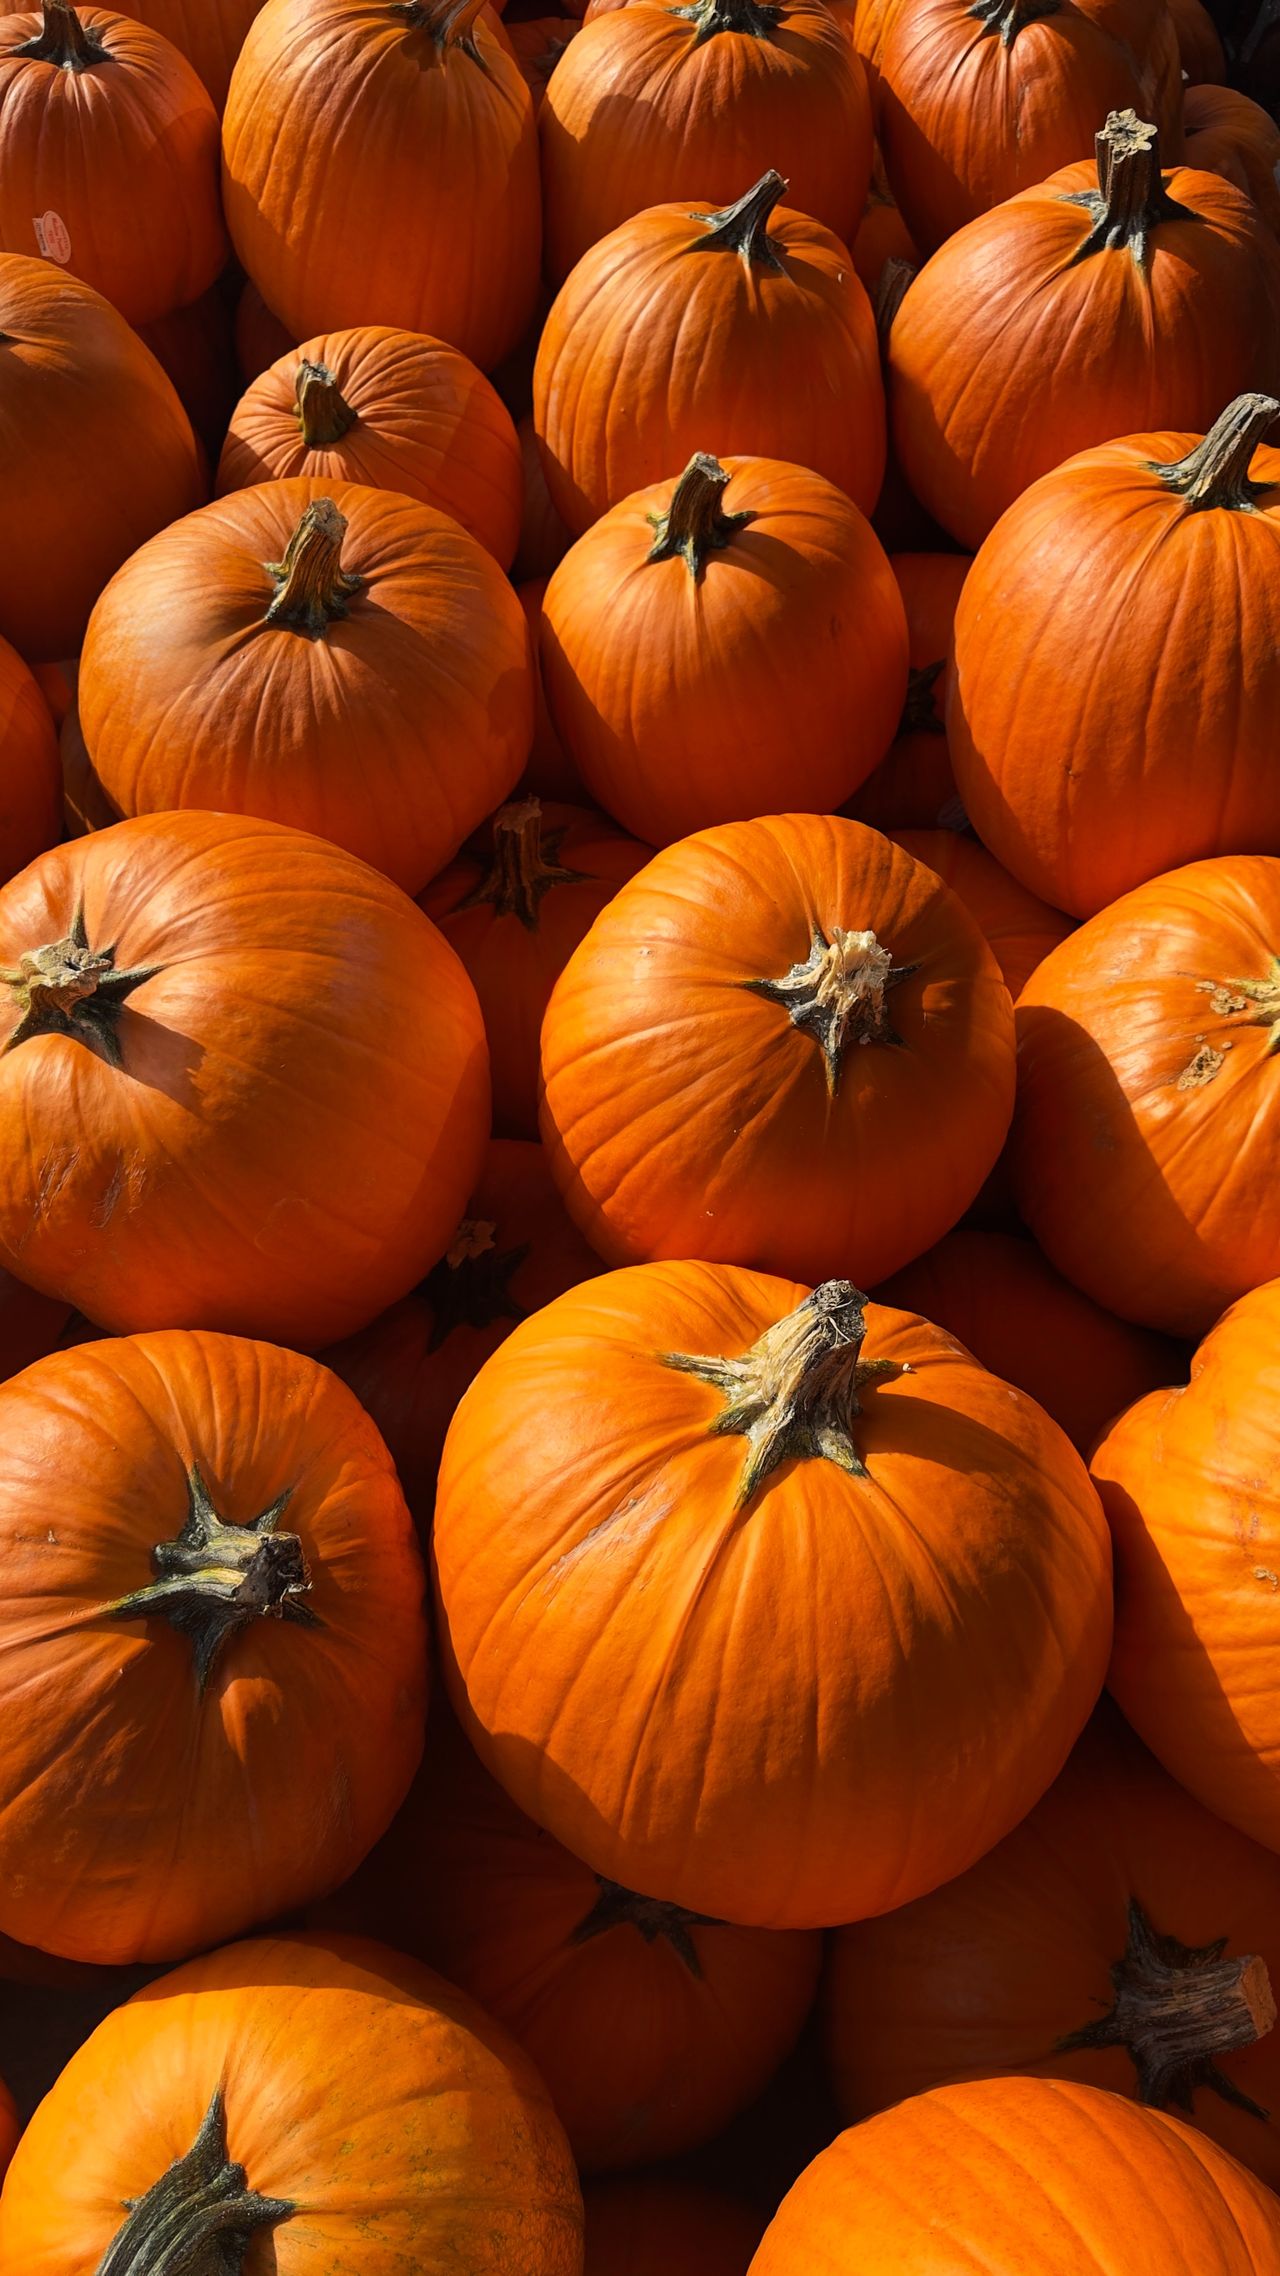
Photo via Pexels. A pile of bright orange pumpkins in sunlight, ready to be picked for decorating.
The best canvas is a pumpkin with smooth skin, a firm rind, and a stem that feels solid, not wobbly. Run your hand over the surface before you buy: deep ridges are fine and even pretty, but soft spots, cuts, or mold mean the pumpkin will not last long. A pumpkin that sits flat without rolling is much easier to paint and display.
Wipe the pumpkin with a damp cloth and let it dry fully before you start. Dirt and moisture stop paint from sticking, and a clean, dry rind can double how long your design looks fresh. If you are buying several, choose a mix of sizes now and plan the display later — you will use them all.
5. Mix Sizes, Colors, and Shapes
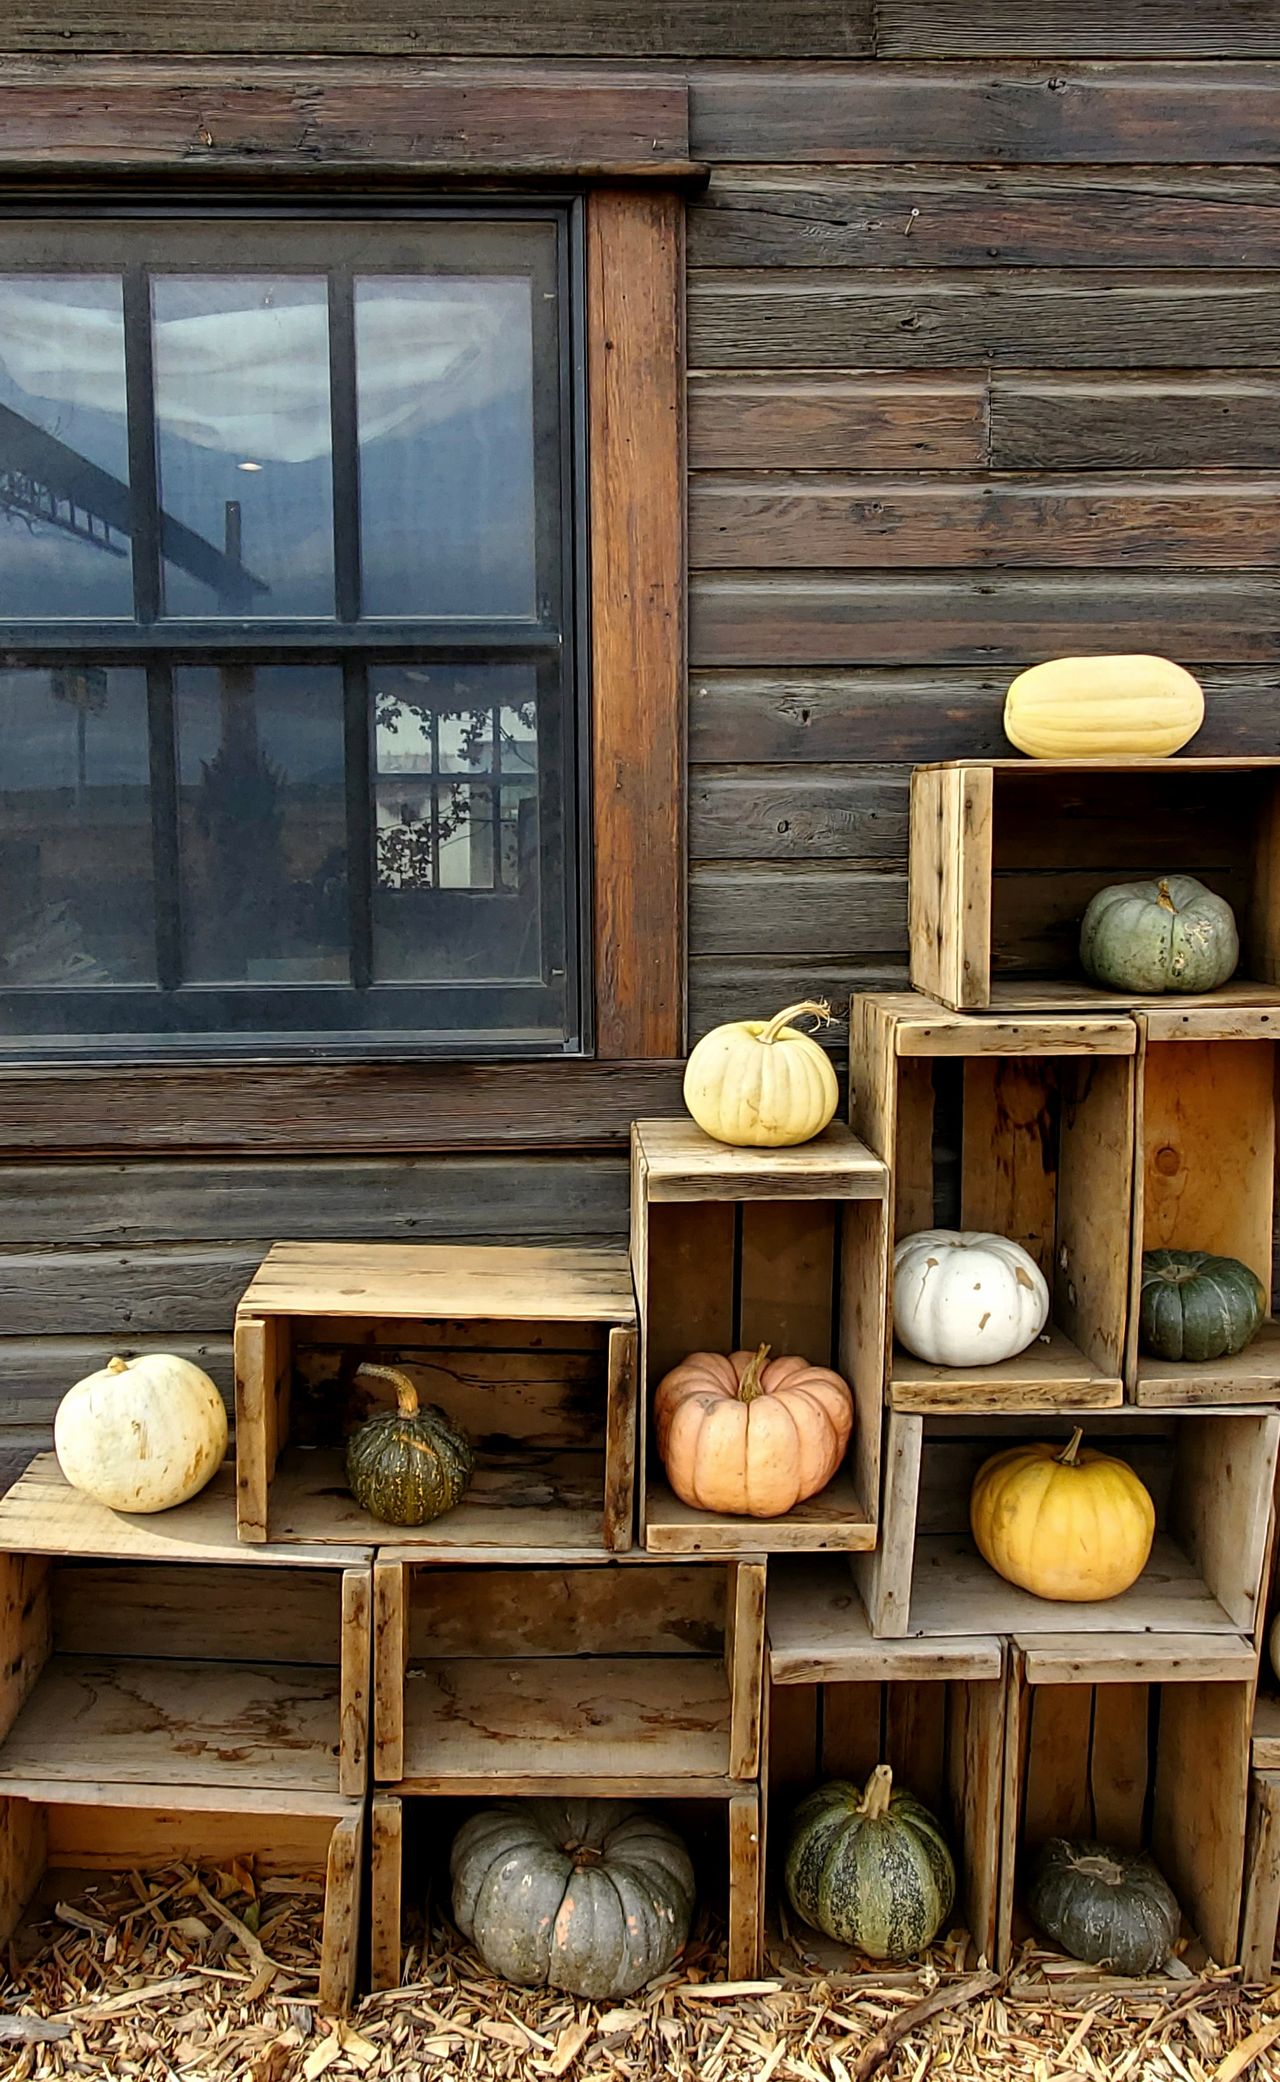
Photo via Pexels. White, green, peach, and yellow pumpkins arranged in stacked wooden crates.
A display of one size and one color looks flat, while a mix of white, green, peach, and classic orange pumpkins looks collected and intentional. Wooden crates, baskets, or a low bench give each pumpkin its own spot and add height without buying new furniture. Odd numbers — three or five pumpkins — tend to look better than even rows.
Use the natural colors as part of the design instead of painting every pumpkin. Leave one or two unpainted, paint one white, and give the rest simple patterns. That balance keeps the display from feeling busy, and it is also less work. For more seasonal entryway styling, see these entryway decor ideas that use the same layering tricks indoors.
6. Style Them on Hay for the Porch
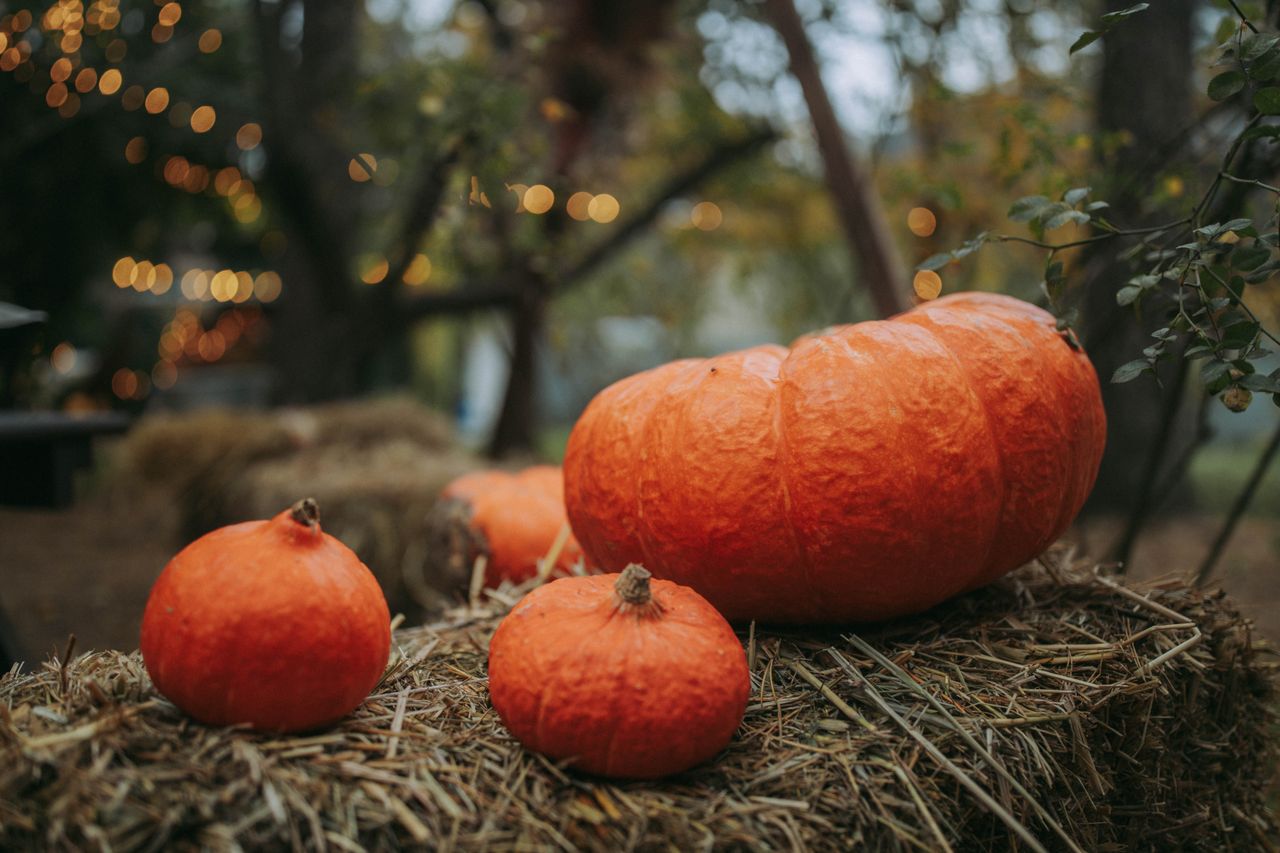
Photo via Pexels. Orange pumpkins of different sizes arranged on a hay bale outdoors.
A small hay bale is the classic porch base for painted pumpkins because it adds height, texture, and a farm-stand feel for very little money. Place the largest pumpkin at the back, medium ones in the middle, and minis at the front so every design is visible from the sidewalk. Tuck a few dried leaves or corn stalks around the edges for a finished look.
Keep painted pumpkins under a covered porch when you can, since rain will soften even sealed paint over time. If your porch is open, bring the painted pieces inside during heavy storms and put plain pumpkins out instead. A quick wipe with a dry cloth keeps dust from dulling the colors.
7. Build a Fall Table Centerpiece
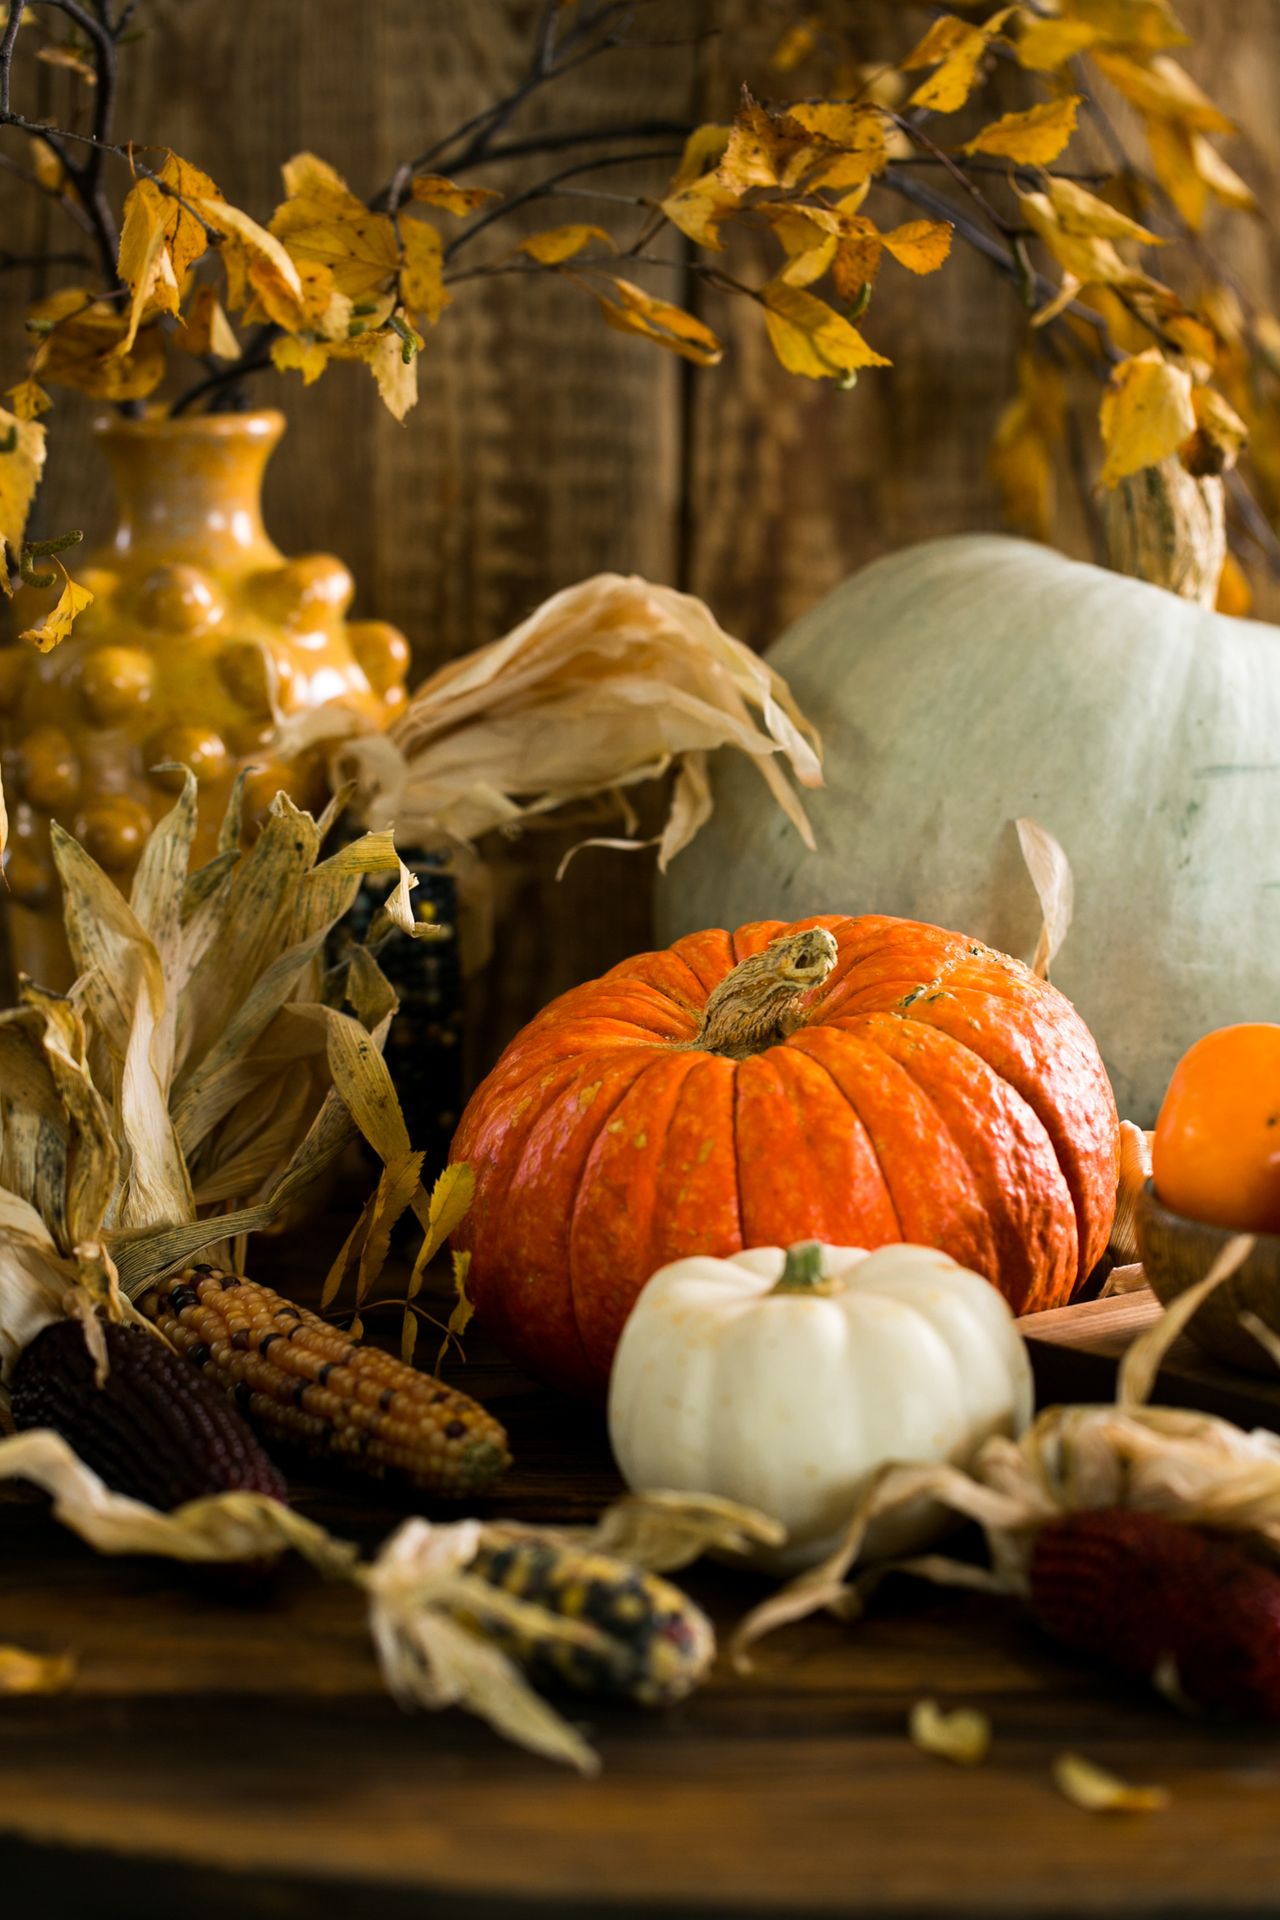
Photo via Pexels. A rustic table still life with orange and white pumpkins, dried corn, and yellow leaves.
One painted pumpkin can anchor a whole table if you build around it with simple, natural pieces. Add dried corn, a few leaves, and a plain candle in a glass holder, and keep the arrangement low so guests can see each other across the table. A wooden board or a linen runner underneath ties the pieces together.
For a dinner table, choose a smaller pumpkin and skip glitter or loose decorations that could fall into food. Battery candles are safer than real flames near dried leaves and paint. This same low, natural approach works for a budget Thanksgiving table, where one strong centerpiece beats a crowded one.
8. Use a Dark Background for Contrast
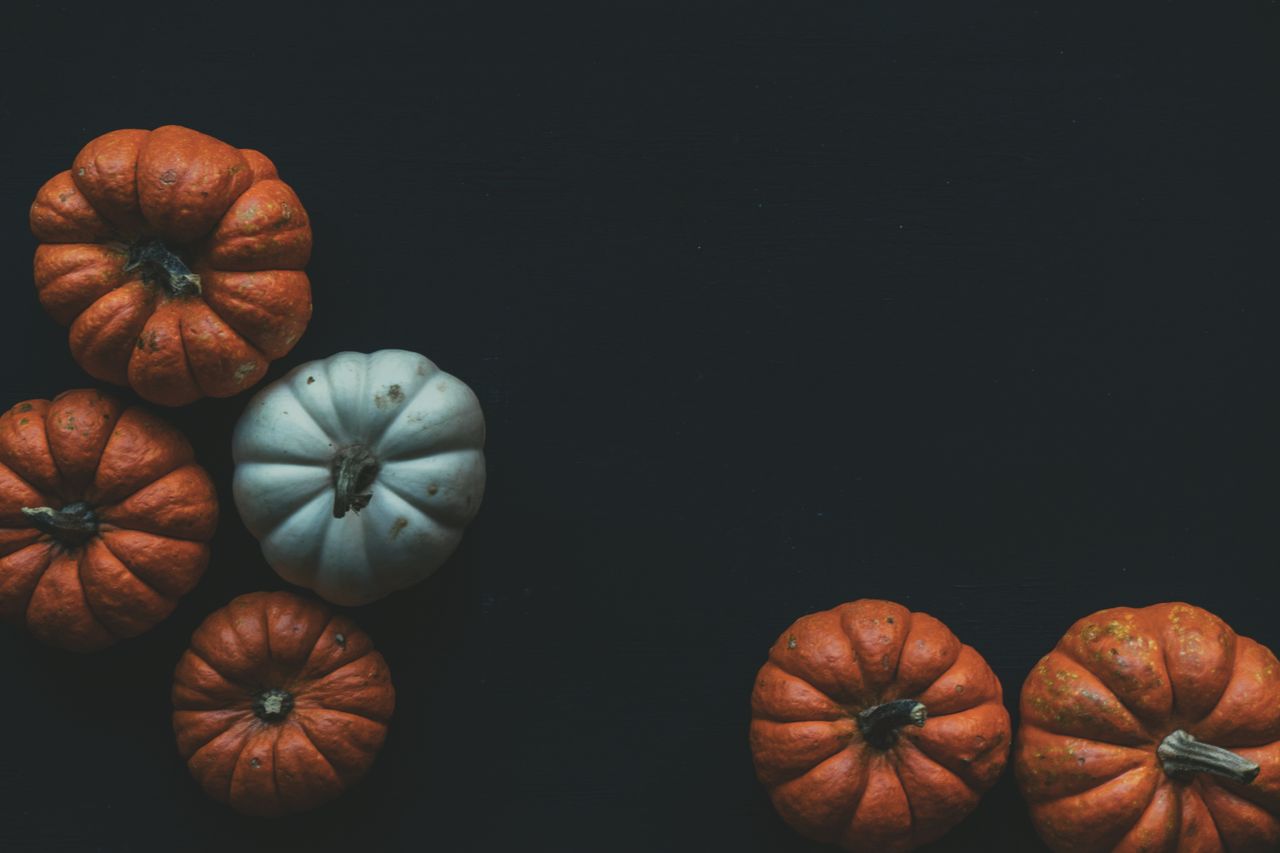
Photo via Pexels. Small orange pumpkins and one white pumpkin arranged on a dark surface.
Orange and white pumpkins stand out beautifully against a dark wall, a black tray, or a deep green door. If your porch or mantel is light-colored, try a dark cloth or a black serving tray underneath the pumpkins to create the same contrast. The darker base makes bright paint colors look richer and cleaner.
This trick also helps photographs: a dark background removes visual clutter and lets the painted design be the star. When you are choosing paint colors, test one brushstroke on the pumpkin first and step back a few feet. Colors that look soft up close often need to be bolder to read well from across the room.
9. Visit the Patch for the Best Picks
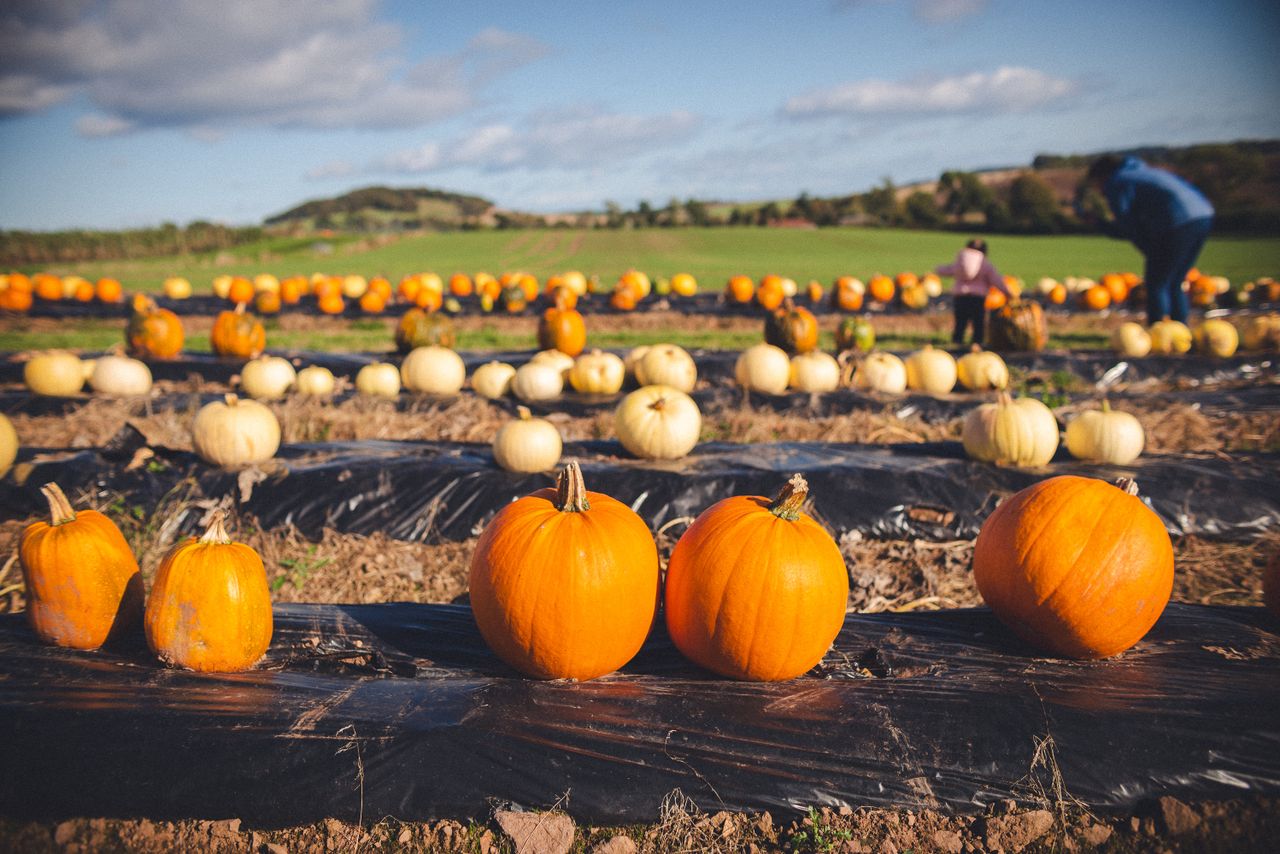
Photo via Pexels. Rows of orange and white pumpkins growing in a sunny patch field.
A pumpkin patch lets you compare shapes, colors, and stem strength in a way a grocery bin never does. Go early in the day for the best selection, bring a wagon or a sturdy bag, and check each pumpkin by lifting it — a good one feels heavy for its size. White pumpkins, often sold as Lumina or Casper varieties, are worth seeking out for painting.
Let kids pick their own pumpkin, even if it is lumpy or oddly shaped. An unusual shape often suggests the design: a tall pumpkin becomes a ghost, a squat one becomes an owl, and a lopsided one makes a funny face. The patch trip is part of the memory, not just the shopping.
10. Let the Display Tell a Story
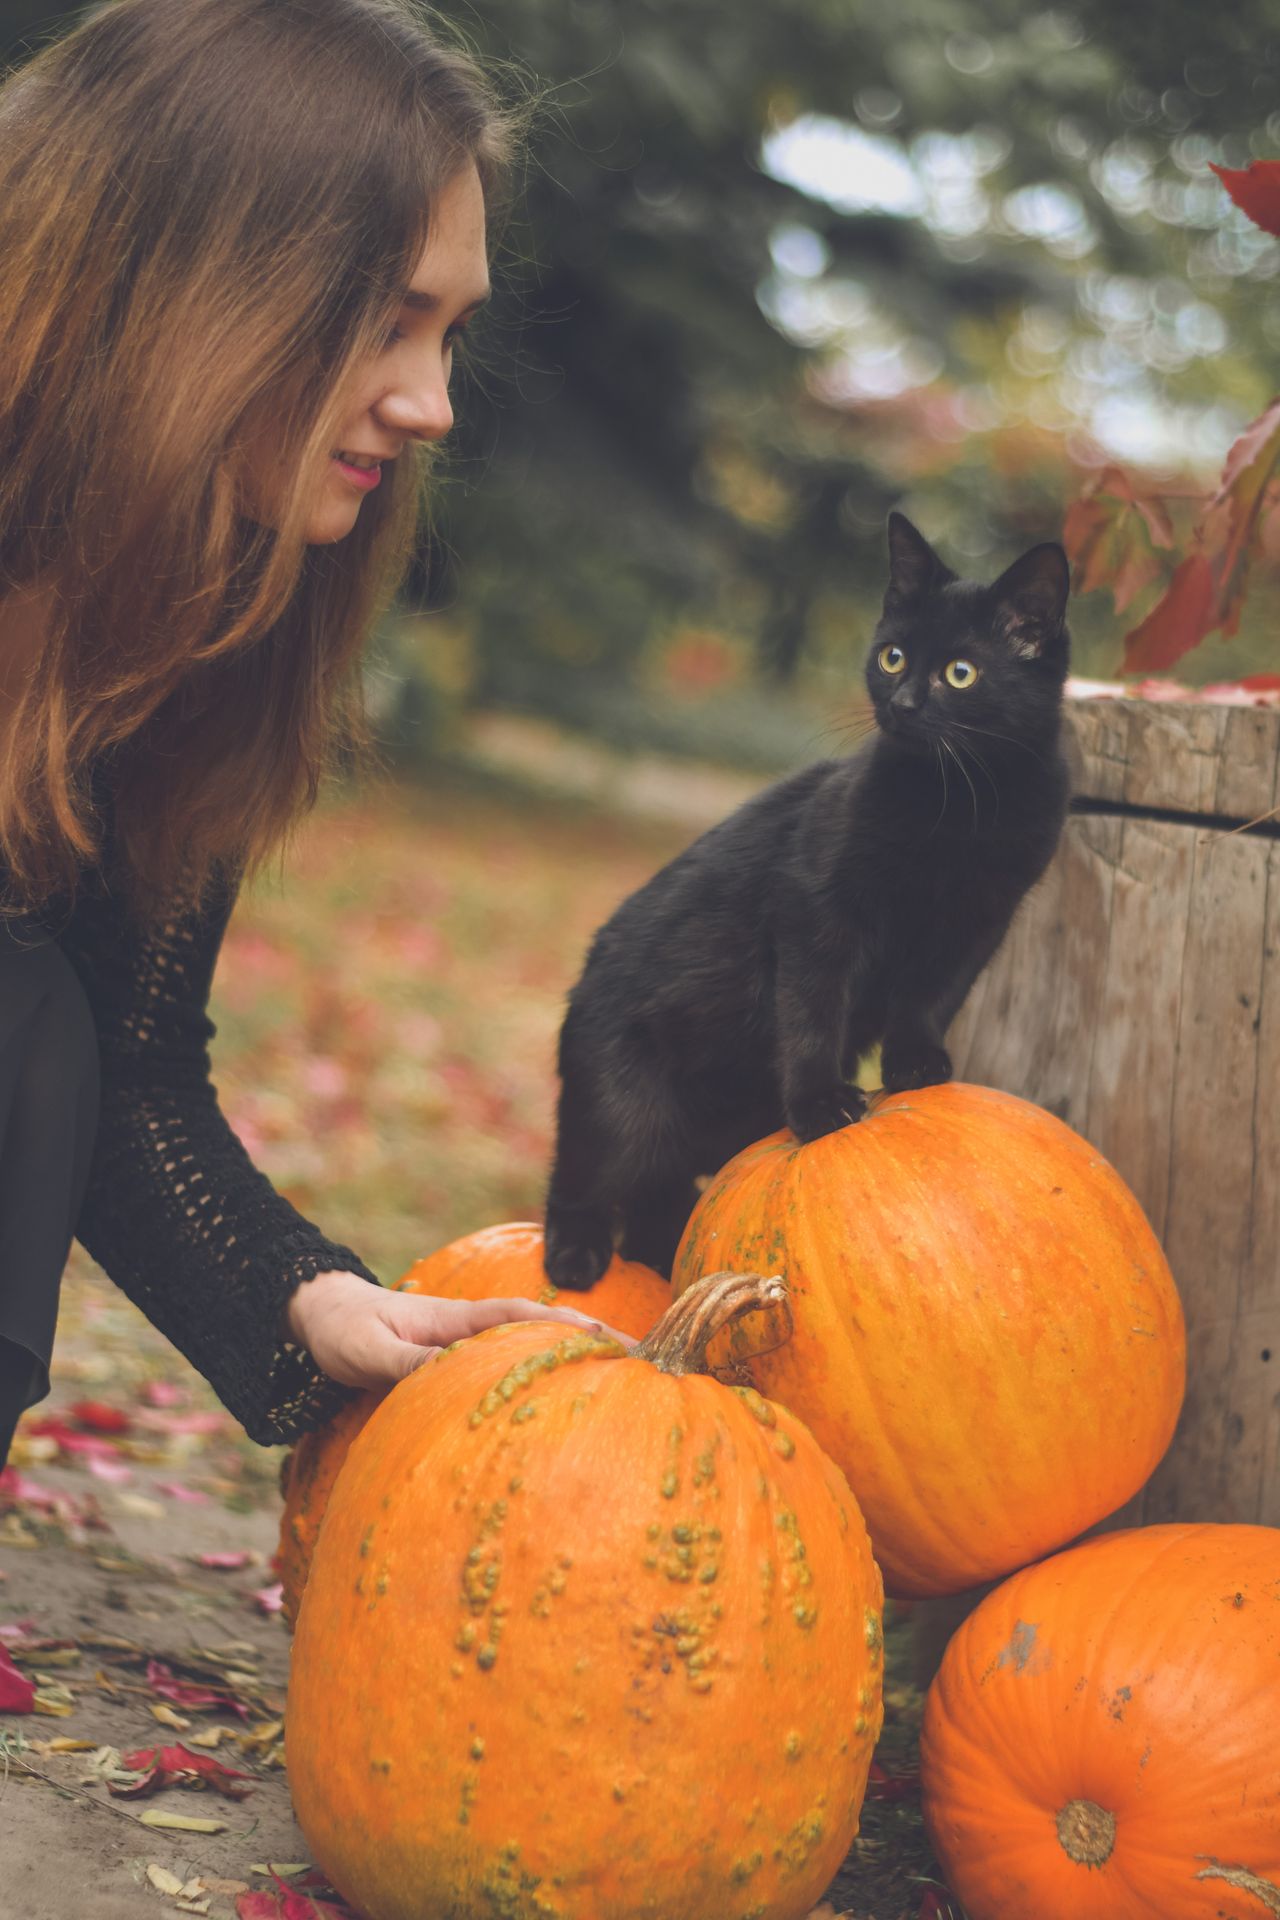
Photo via Pexels. A woman and a black cat beside large orange pumpkins in an autumn setting.
The most memorable displays have a little scene to them: a painted pumpkin beside a lantern, a small black cat figurine, or a stack of books by the door. You do not need many props — two or three well-chosen pieces beat a crowded porch. Keep the story simple, like "spooky but friendly," and let the painted faces do the talking.
Photograph the finished display in daylight before the season ends, so you can repeat the arrangement next year or share it with family. Note which paint colors you used on the back of a photo or in your phone, since matching a shade next fall is much easier with a record. Small notes like this turn a one-time craft into a yearly tradition.
FAQs
What kind of paint works best on pumpkins?
Acrylic craft paint works best for most people: it dries fast, sticks well to a clean rind, and comes in small, cheap bottles. Use thin coats, and add a clear sealer if the pumpkin will live outside.
Do I need to prime a pumpkin before painting?
Priming is not required, but a white base coat acts like a primer and makes bright colors look stronger. For dark designs on an orange pumpkin, you can often skip the base and paint straight on.
How long will a painted pumpkin last?
An uncarved, painted pumpkin kept cool and dry can look good for several weeks, often through October. Heat, rain, and soft spots shorten its life, so check it every few days.
Can kids paint pumpkins safely?
Yes, painting is much safer than carving because no knives are involved. Use washable paints for toddlers, cover clothes with old shirts, and let adults handle sealers and spray products.
Should I seal a painted pumpkin?
Sealing is worth it for outdoor pumpkins: one or two light coats of clear matte sealer protect the design from light rain and handling. Let the paint dry fully first, and spray outdoors or in a well-ventilated area.
Final Thoughts
Painted pumpkins prove that fall decorating does not need to be complicated, expensive, or messy to look good. Pick a sturdy pumpkin, keep the design bold and simple, and let the display grow naturally from one piece to a small group — and if you try these painting pumpkins ideas this weekend, start with just one pumpkin and see how much fun the second one becomes.
Sources
How to Paint Pumpkins: Easy No-Carve Ideas for All Ages
Pumpkin Painting Ideas and Tips
How to Prepare Your Pumpkin for Painting
Gallery
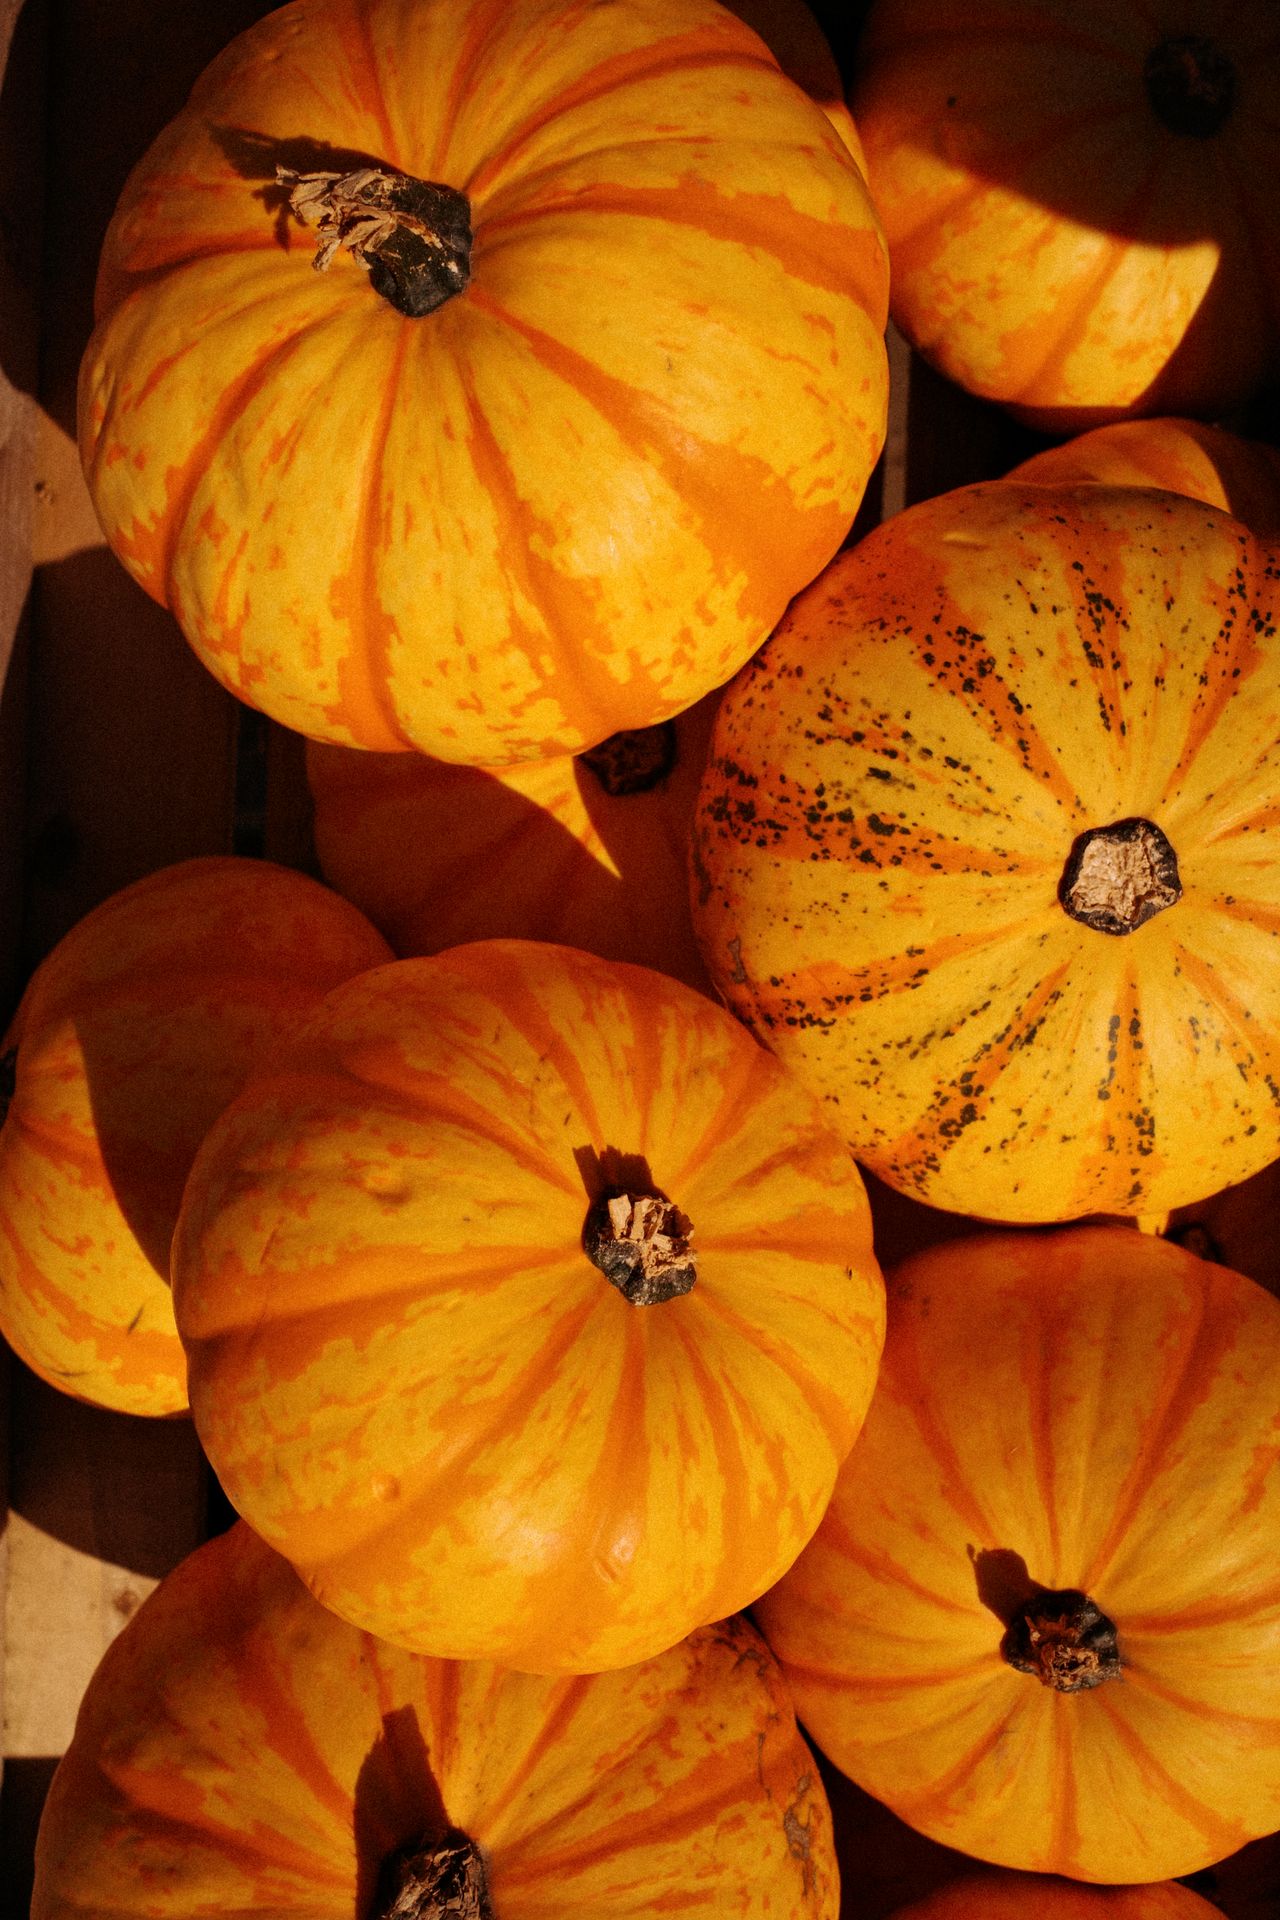
Photo via Pexels. Striped yellow and orange pumpkins piled together in warm sunlight.
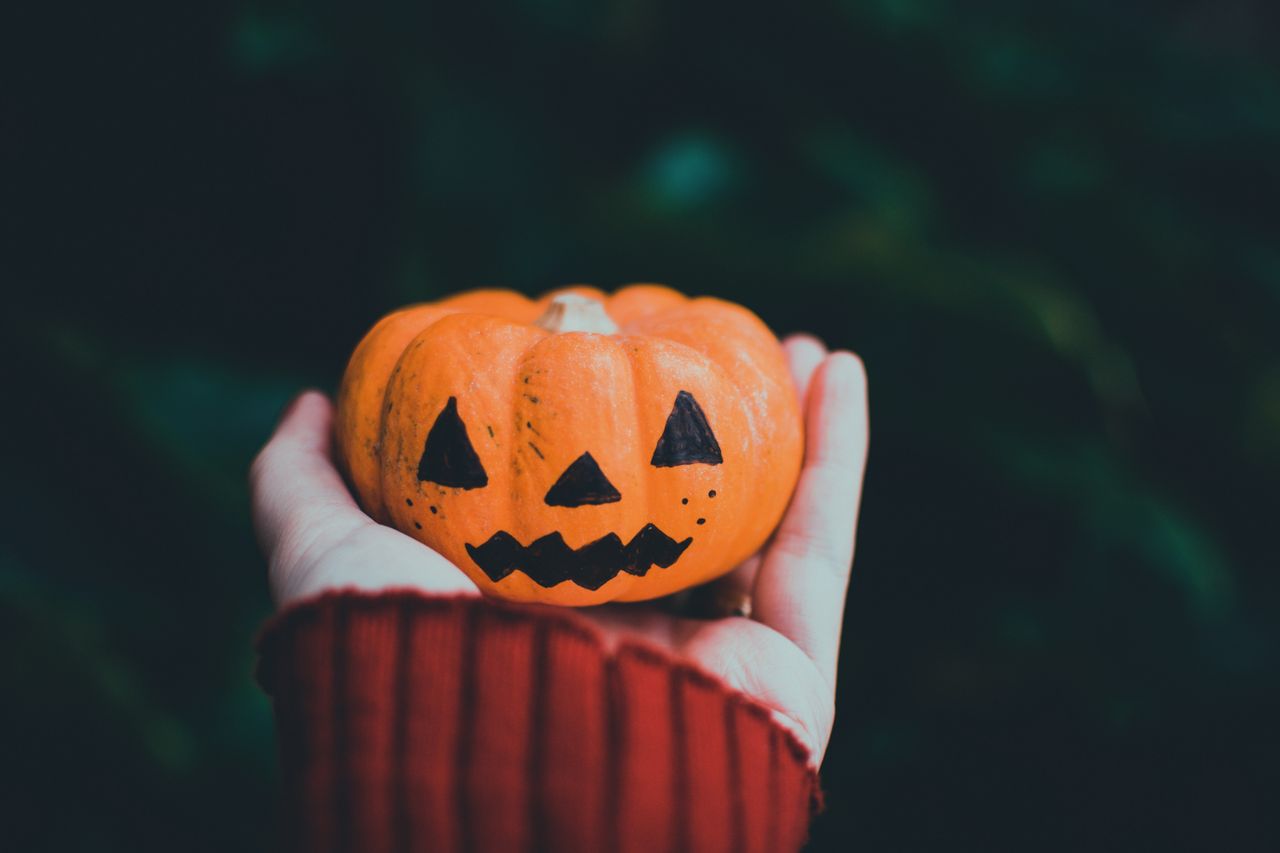
Photo via Pexels. A hand holding a small orange pumpkin with a simple painted jack-o-lantern face.

Photo via Wikimedia Commons. Pumpkins growing in a field, with vines and leaves around them.

No comments:
Post a Comment