Do not throw away the seeds when you carve a pumpkin this fall, because this roasted pumpkin seeds recipe turns them into a crunchy, salty snack in under an hour. The method is simple: clean them, dry them well, toss them with oil and seasoning, and roast them in a single layer until golden.
The secret to crisp seeds, not chewy ones, is dryness. Wet seeds steam in the oven, while dry seeds toast and crackle. Rinse off the pulp, pat them dry with a towel, and let them air-dry for 10 to 15 minutes before they go near the oven. That one step makes more difference than any fancy seasoning.
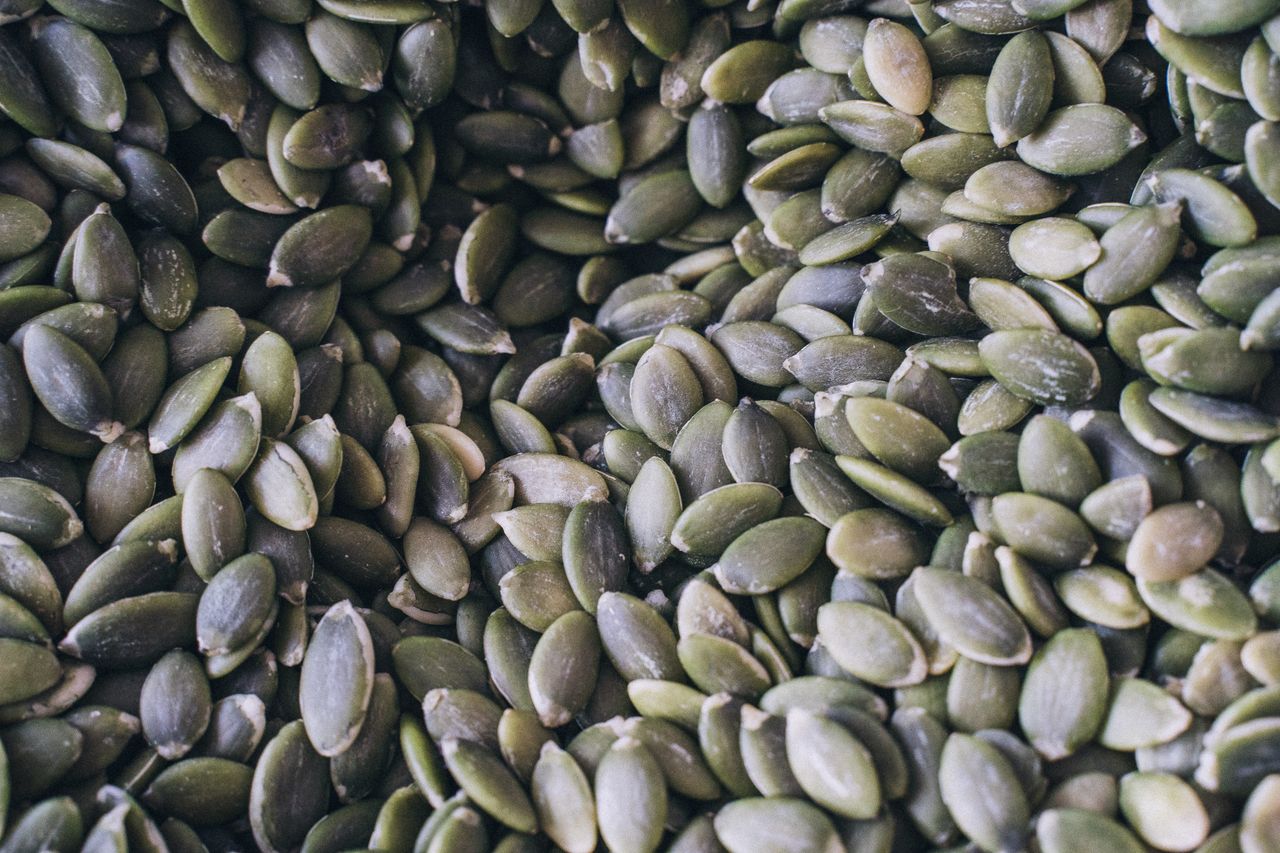
Photo via Pexels. A close-up pile of dried green pumpkin seeds, ready for seasoning and roasting.
3. Try the Classic Salt and Oil Batch
5. Make a Big Batch for the Week
6. Serve Them Warm from the Pan
7. Add Cream and Crunch to Soup Night
8. Bake Them into Seeded Bread
9. Stir Them into Breakfast Bowls
10. Bake a Tray of Crunchy Cookies
1. Scoop and Save Every Seed
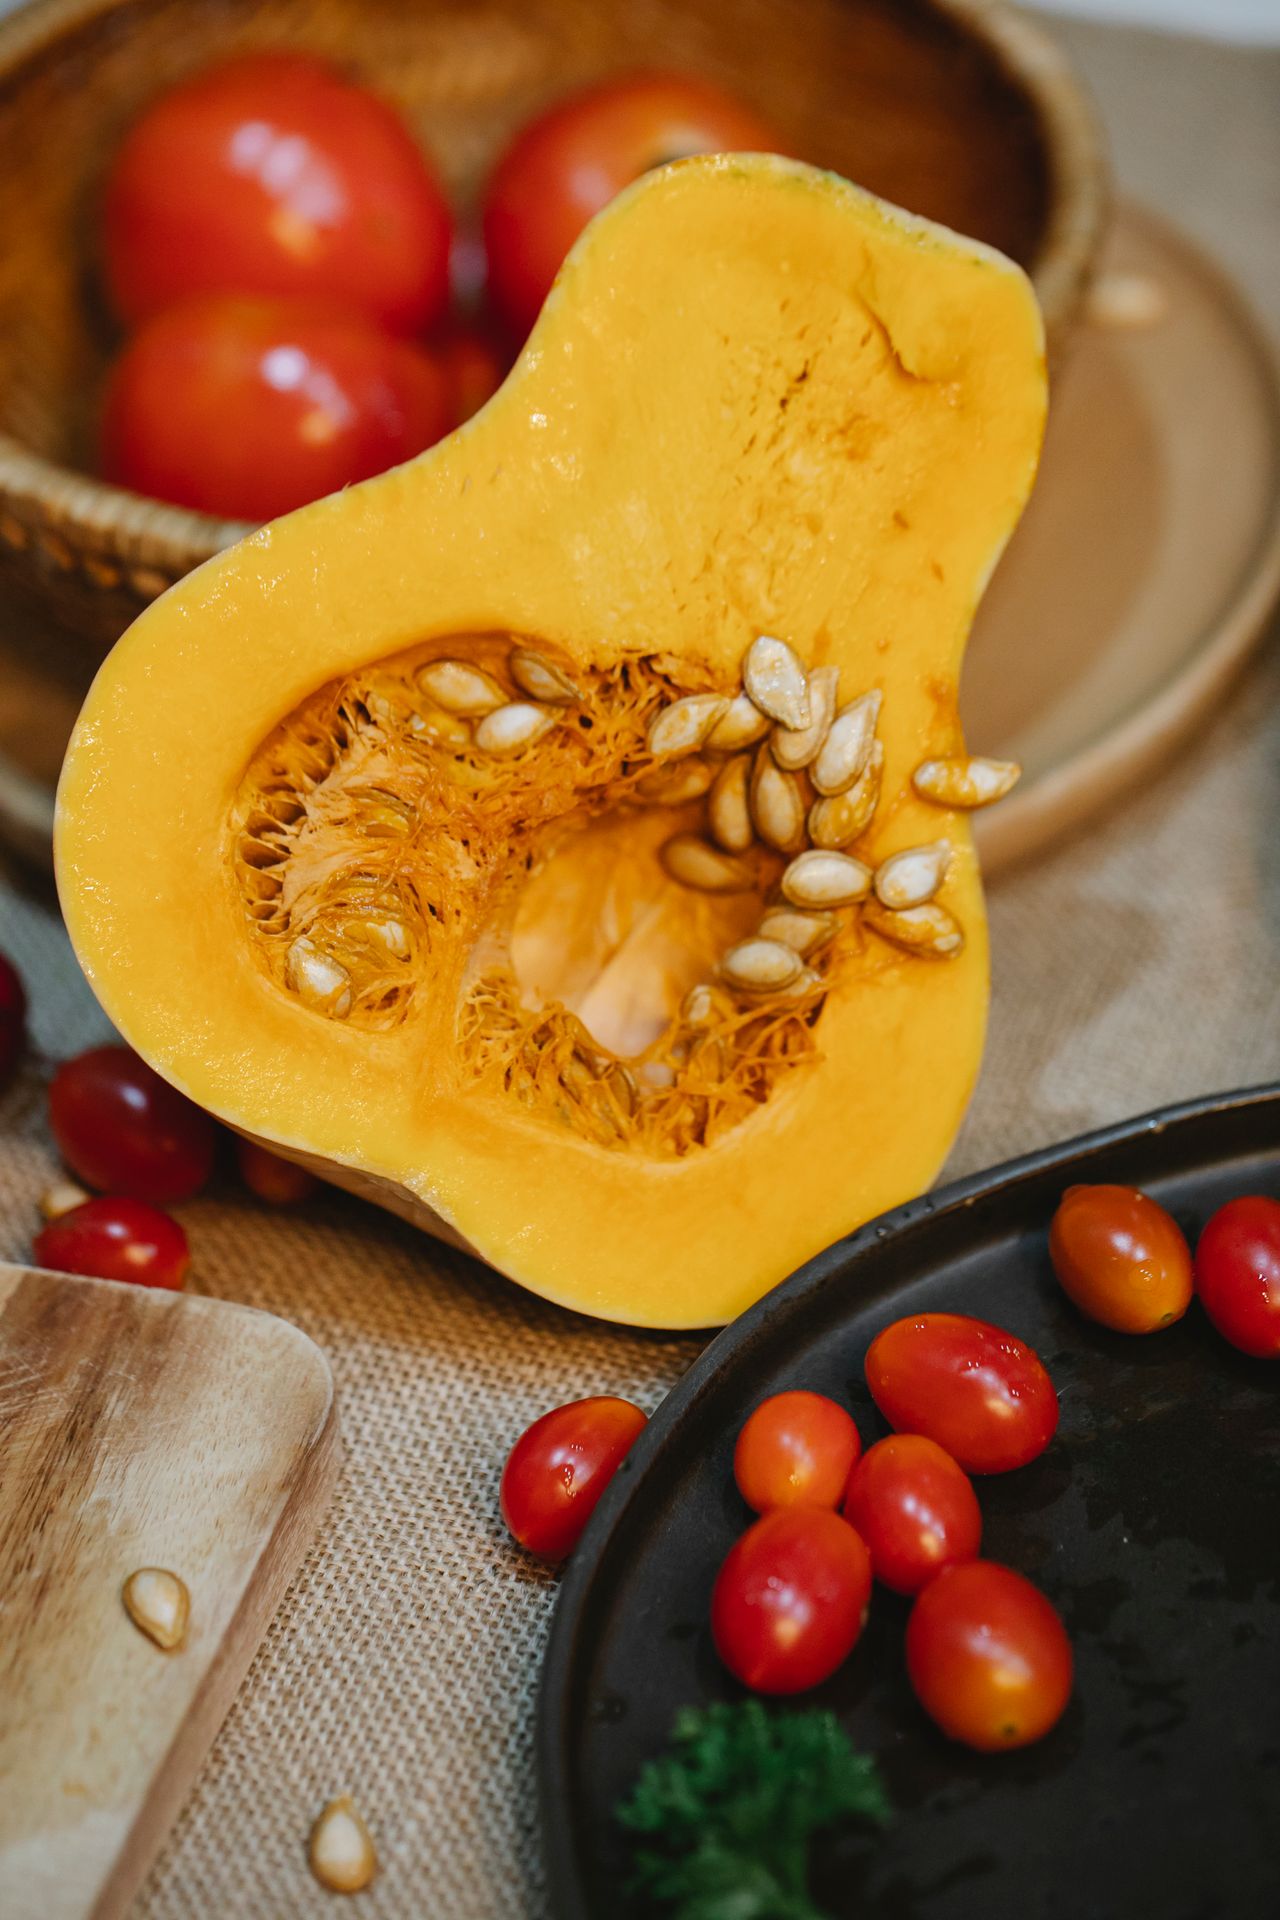
Photo via Pexels. A halved squash showing its seeds and stringy pulp, with cherry tomatoes nearby.
One medium pumpkin usually gives you about 1 to 2 cups of seeds, which is plenty for a generous snack bowl. Scoop them out with a sturdy spoon or an ice cream scoop, and drop them straight into a bowl of cool water. The water loosens the stringy pulp so you can pull the seeds free with your fingers.
Do not worry about removing every last fiber — a little pulp left on the seeds adds flavor and crisps up nicely. Just pull off the big chunks, since large pieces of flesh hold water and slow down roasting. Kids love this job, so hand them the spoon and let them dig in.
2. Dry Them Before You Season
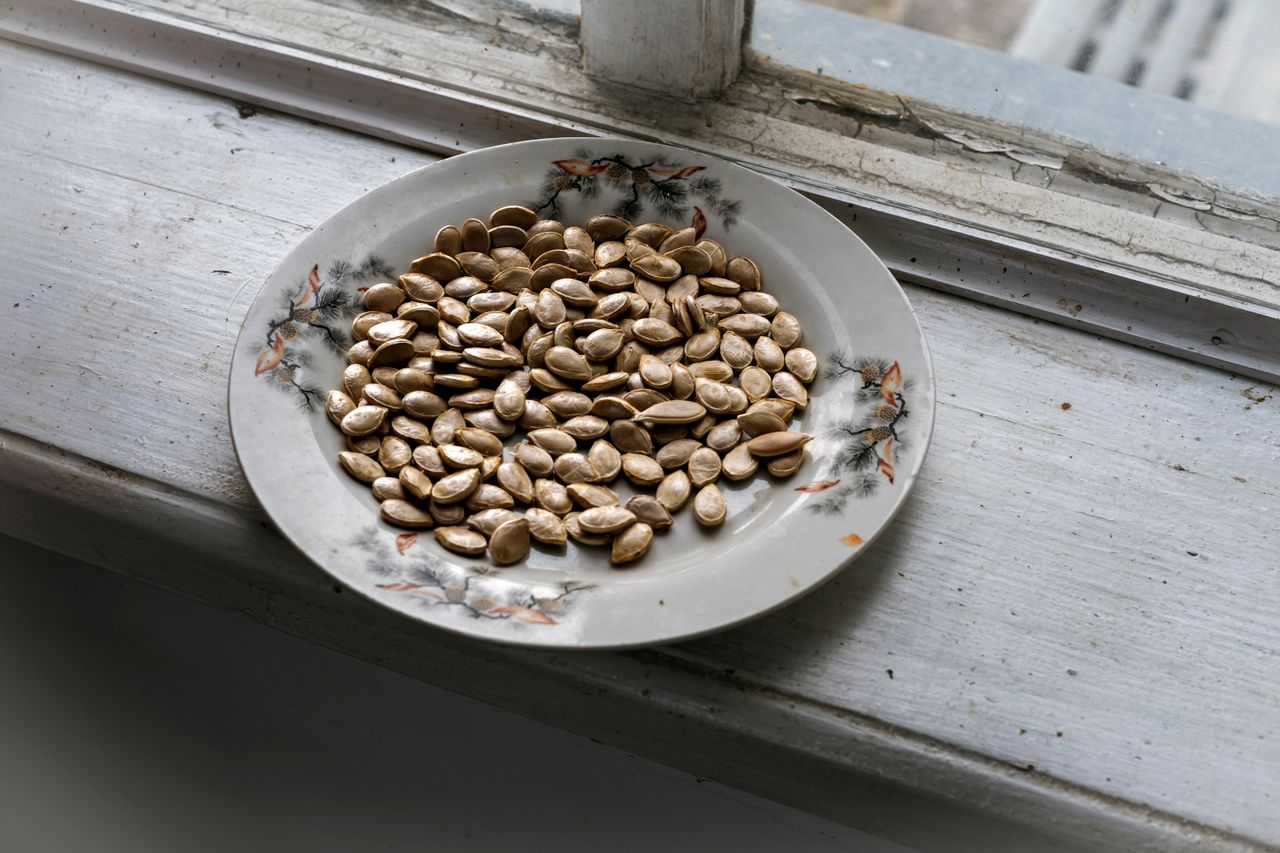
Photo via Pexels. A plate of raw pumpkin seeds spread out to dry on a wooden windowsill.
After rinsing, spread the seeds on a clean kitchen towel and pat them as dry as you can. Then spread them in a single layer on a plate or baking sheet and let them air-dry for 10 to 15 minutes, or longer if you have time. This is the step most people skip, and it is the reason their seeds turn out soft.
If you want extra flavor all the way through, try the salted-water boil many home cooks swear by: simmer the clean seeds in salted water for 10 minutes, drain well, then dry them again. The salt seasons the shells from the inside, so the finished snack tastes seasoned even where the oil did not reach.
3. Try the Classic Salt and Oil Batch
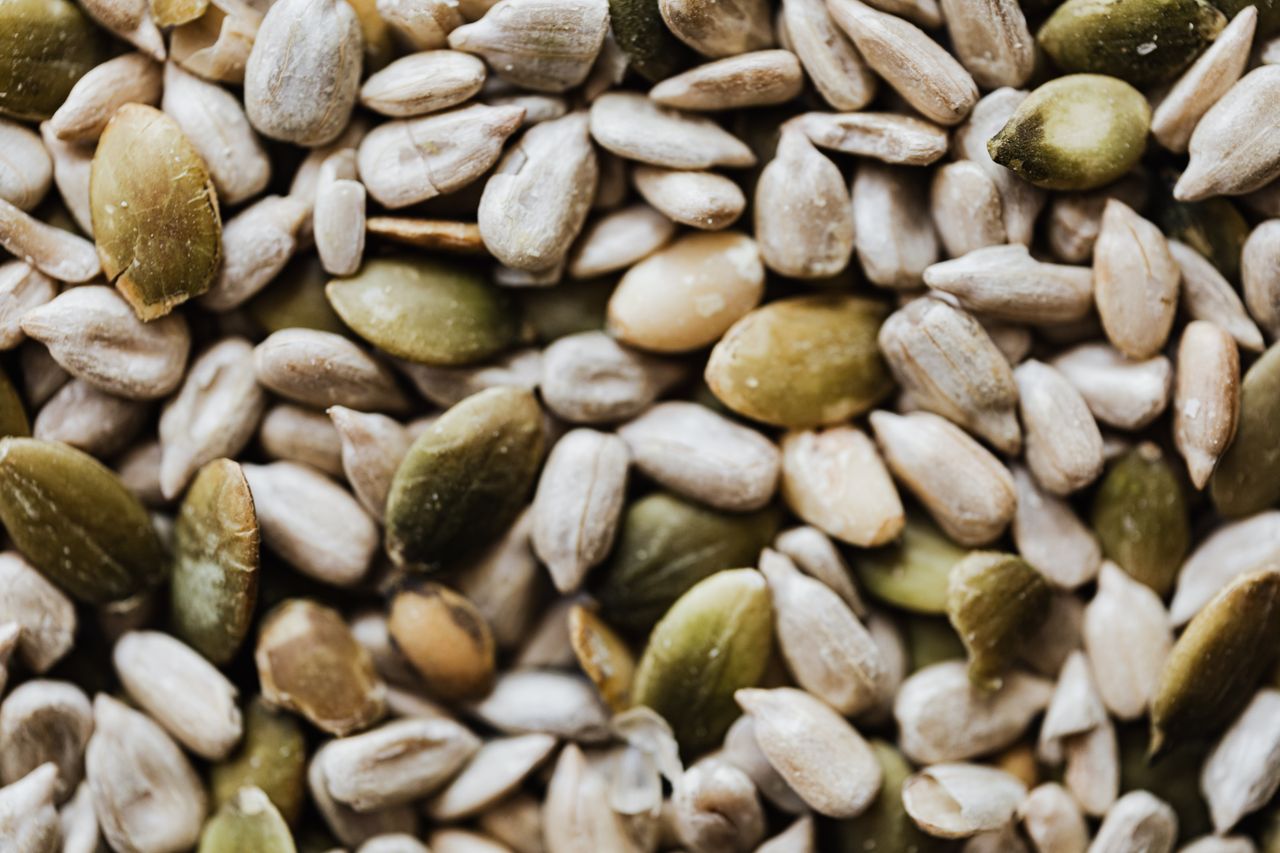
Photo via Pexels. A close-up pile of mixed seeds, including green pumpkin seeds and sunflower seeds.
For your first batch, keep it simple: 2 cups of dry seeds, 1 tablespoon of olive oil, and 1/2 teaspoon of fine salt. Toss them in a bowl until every seed looks lightly coated, then spread them in a single layer on a parchment-lined baking sheet. Crowding the pan is the second-biggest cause of soggy seeds, so use two sheets if needed.
Roast at 350°F for 20 to 25 minutes, stirring once halfway through, until the seeds smell nutty and look lightly golden. They will crisp up more as they cool, so pull them out just before they look done rather than waiting for deep brown. Taste one after cooling and add a pinch more salt if needed.
4. Use Them as a Soup Topping

Photo via Pexels. A mug of creamy pumpkin soup garnished with seeds, rosemary, and spices.
Roasted seeds are one of the best toppings for pumpkin soup because they add crunch to a smooth bowl without changing the flavor. Scatter a small handful over each serving right before you bring it to the table, so the seeds stay crisp. A drizzle of cream and a few herb leaves finish the look.
This trick works for butternut squash soup, tomato soup, and even chili. Keep a jar of plain salted seeds near the stove during soup season and you will reach for them constantly. For more ways to use the whole pumpkin, see these savory pumpkin recipes that go far beyond pie.
5. Make a Big Batch for the Week
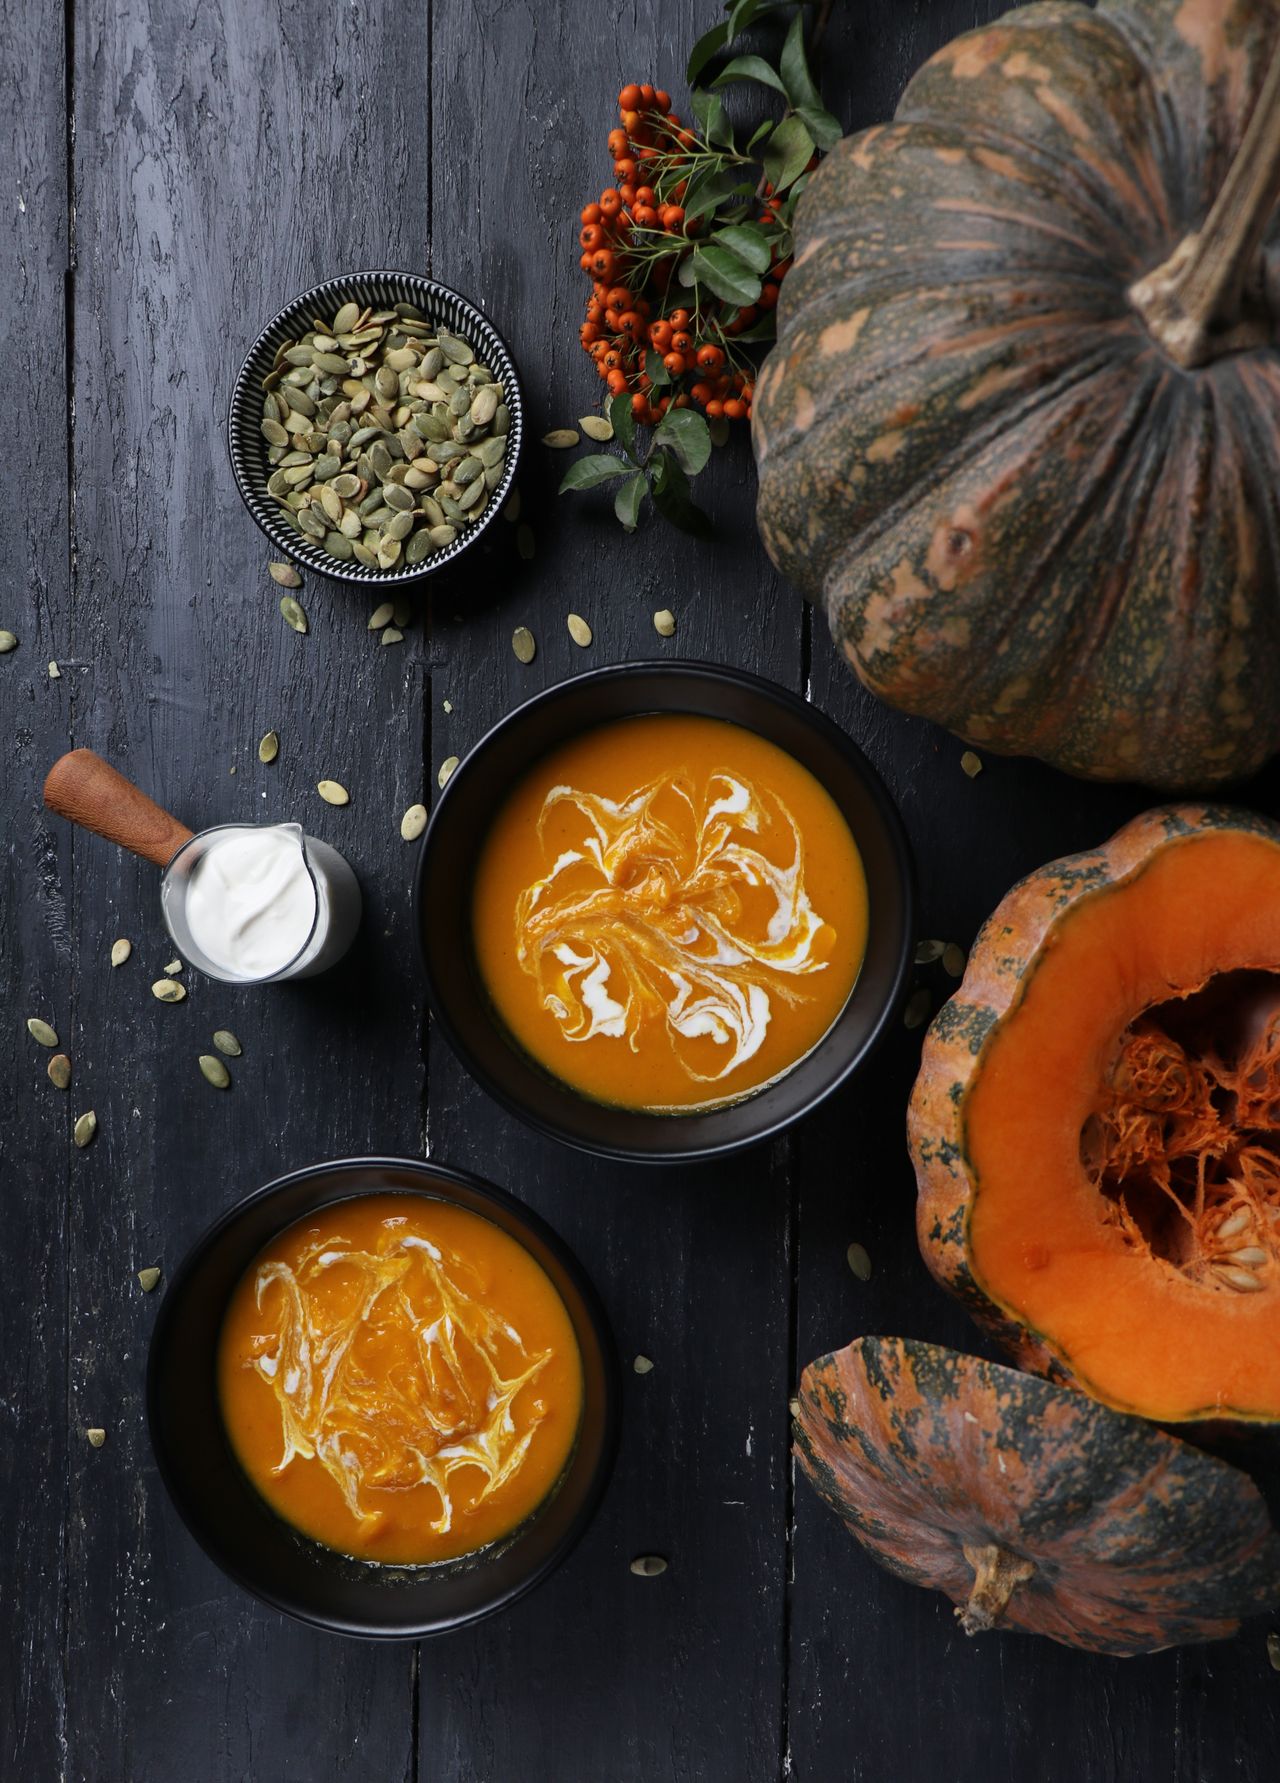
Photo via Pexels. Two bowls of pumpkin soup beside a small bowl of seeds and whole pumpkins on a dark table.
Seeds from two or three pumpkins roast just as easily as seeds from one, as long as you use enough baking sheets. Let the whole batch cool completely, then store it in an airtight jar at room temperature for up to a week. A glass jar also shows off the golden color and reminds you to grab a handful.
Pack small portions into lunchboxes, desk drawers, or hiking bags for the week ahead. A small bowl of these seeds also works as a crunchy soup garnish on a budget Thanksgiving table. A 1/4-cup serving is satisfying without being heavy, and the seeds hold up well without refrigeration. If they start to soften after a few days, a quick 5-minute refresh in a 300°F oven brings the crunch back.
6. Serve Them Warm from the Pan

Photo via Pexels. A bowl of orange pumpkin soup topped with seeds and greens, with a spoon in hand.
There is a short window, about 10 minutes after roasting, when the seeds are at their absolute best: warm, fragrant, and extra crisp. Set the baking sheet on a trivet in the middle of the table and let everyone pick straight from the pan. A small bowl of flaky salt nearby lets each person season to taste.
Warm seeds also make a great welcome snack when guests arrive for a fall gathering. They take almost no effort once the oven is already on for something else, and they smell wonderful. Just warn people they are hot — the shells hold heat longer than you expect.
7. Add Cream and Crunch to Soup Night
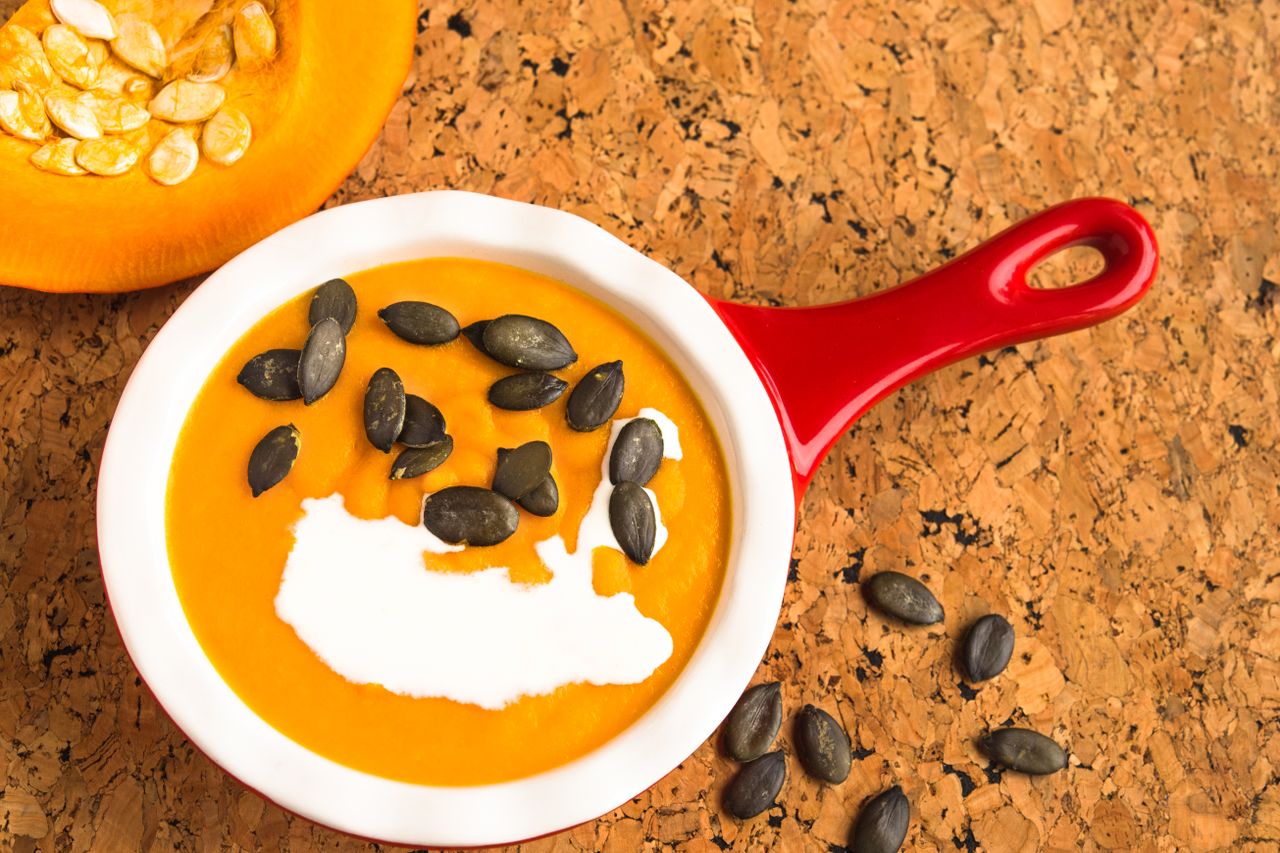
Photo via Pexels. A red-handled bowl of pumpkin soup swirled with cream and topped with dark seeds.
A swirl of cream plus a scattering of dark, toasted seeds turns a plain weeknight soup into something that looks restaurant-made. The cream softens the soup's edges while the seeds add texture, so each spoonful has both smooth and crunchy parts. It is a small effort for a big payoff.
Try this with a smoked paprika or garlic version of the seeds for extra depth. The paprika gives a warm color that matches the soup, and garlic makes the topping taste savory rather than just salty. Keep the topping in a separate bowl if anyone at the table has a seed allergy.
8. Bake Them into Seeded Bread
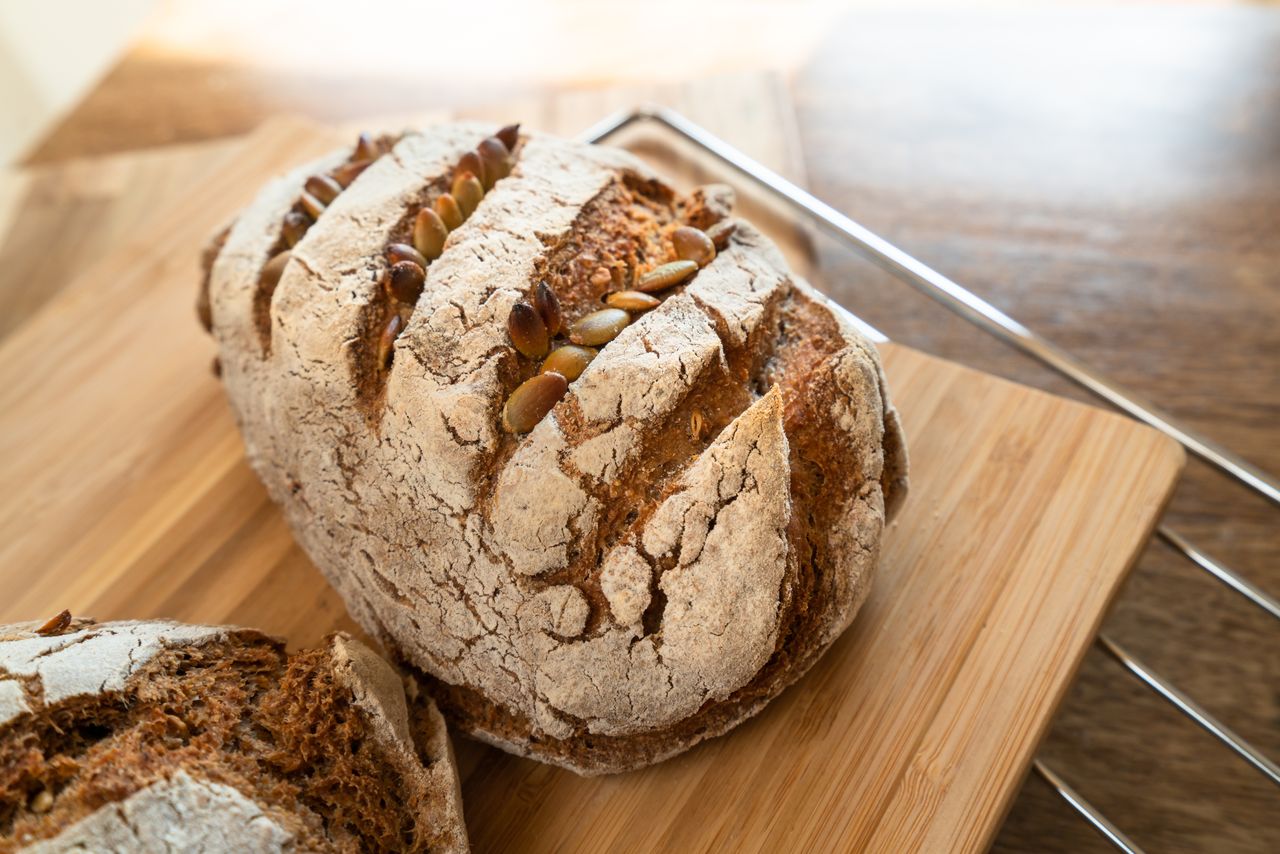
Photo via Pexels. A rustic loaf of rye bread topped with pumpkin seeds on a wooden board.
Roasted seeds pressed into the top of a loaf before baking give bread a nutty crust and a beautiful finish. They work especially well on rye, whole wheat, and rustic country loaves, where their green color stands out against the brown crust. Press them in gently so they do not fall off when the loaf rises.
You can also knead a handful of chopped roasted seeds into the dough itself for crunch in every slice. Toast the slices lightly and top with butter, cheese, or soup for a simple fall lunch. A seeded loaf also makes a thoughtful host gift during pumpkin season.
9. Stir Them into Breakfast Bowls
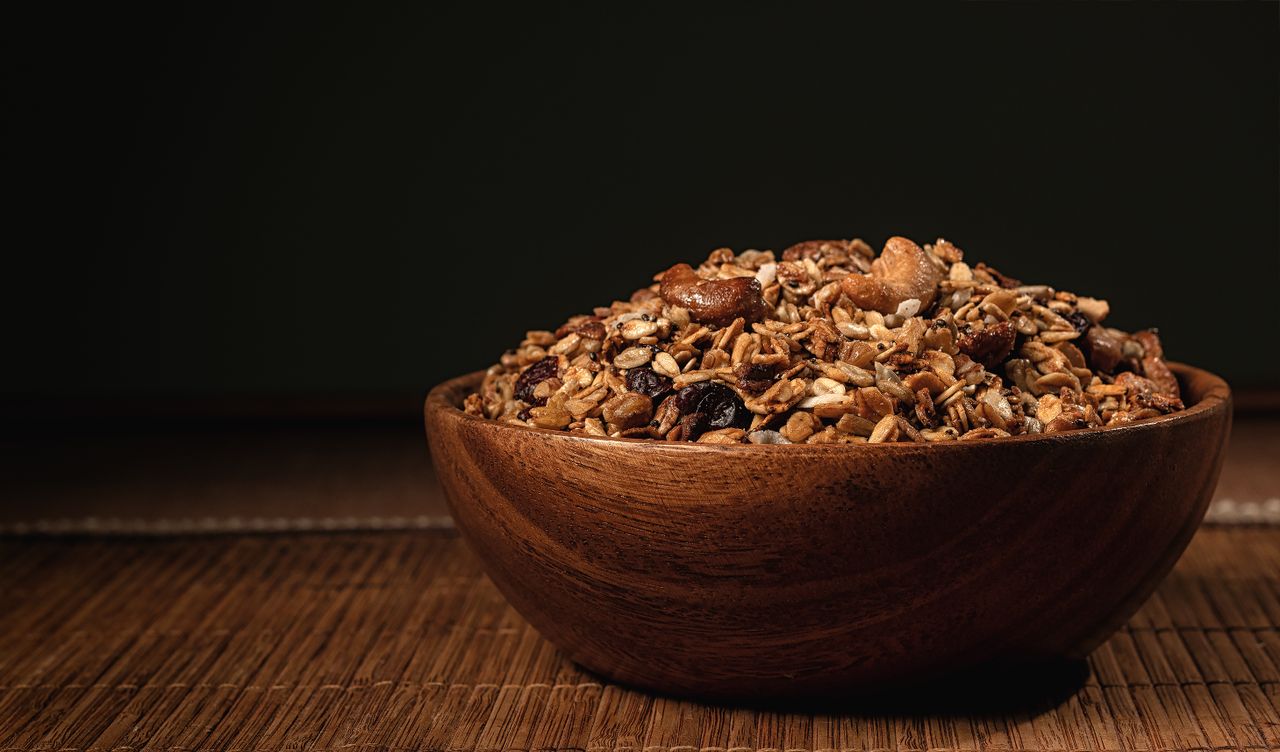
Photo via Pexels. A wooden bowl filled with granola, nuts, dried fruit, and seeds.
Crushed roasted seeds are a natural fit for oatmeal, yogurt bowls, and homemade granola. Stir a spoonful into warm oatmeal with a drizzle of honey, or scatter them over yogurt with sliced apples. They add protein and healthy fats, so breakfast keeps you full longer than a plain bowl of cereal.
For granola, add the seeds during the last 10 minutes of baking so they toast without burning. Mix them with oats, sunflower seeds, and dried cranberries for a fall mix that keeps for weeks in a jar. It is an easy way to use up a big batch before the seeds lose their crunch.
10. Bake a Tray of Crunchy Cookies

Photo via Pexels. Oatmeal cookies with dried fruit cooling on a parchment-lined baking tray.
Chopped roasted seeds folded into oatmeal cookie dough add a nutty crunch that pairs perfectly with cinnamon and raisins. Use about 1/2 cup of chopped seeds per batch, and keep the cookies on the smaller side so the seeds toast evenly. A parchment-lined tray and a 350°F oven give you golden edges and soft centers.
Let the cookies cool on the tray for 5 minutes before moving them, since warm cookies are fragile. They freeze well for up to a month, so bake a double batch while the oven is hot and save half for later. A cookie with seeds in it feels like a fall treat and a sensible snack at the same time.
FAQs
Can I eat pumpkin seeds with the shells on?
Yes, the white shells from a carving pumpkin are safe to eat once roasted and crisp. Shelled green pepitas from the store are softer, but whole roasted seeds have more crunch and fiber.
Why did my seeds turn out chewy?
Chewy seeds are almost always under-dried or crowded on the pan. Dry them well, spread them in a single layer, and roast until golden, then let them cool fully before judging the texture.
How long do roasted seeds keep?
Stored in an airtight container at room temperature, they stay crisp for about a week. For longer storage, refrigerate them for up to a month or freeze them for up to three months.
Can I use a lower oven temperature?
Yes, roasting at 300°F for about 45 minutes, stirring every 15 minutes, gives a very even, gentle toast. It takes longer but is more forgiving if your oven runs hot.
Are these seeds good for kids?
Yes, for children old enough to handle crunchy foods safely. Keep the seasoning mild for young kids, and skip hot spices like cayenne until they ask for heat.
Final Thoughts
The best part of this snack is that it starts as something most people throw away. Clean the seeds, dry them properly, season them simply, and roast them in a single layer — that is the whole method, and it works every time. Once you taste a warm, salty batch straight from the pan, you will never carve a pumpkin without saving the seeds again.
Sources
Roasted Pumpkin Seeds: A Crispy, Savory Snack
How to Make Roasted Pumpkin Seeds
Gallery

Photo via Wikimedia Commons. A small group of pumpkin seeds beside a ruler, showing their size.

Photo via Wikimedia Commons. Large, flat pumpkin seeds arranged on a light surface next to a fingertip for scale.
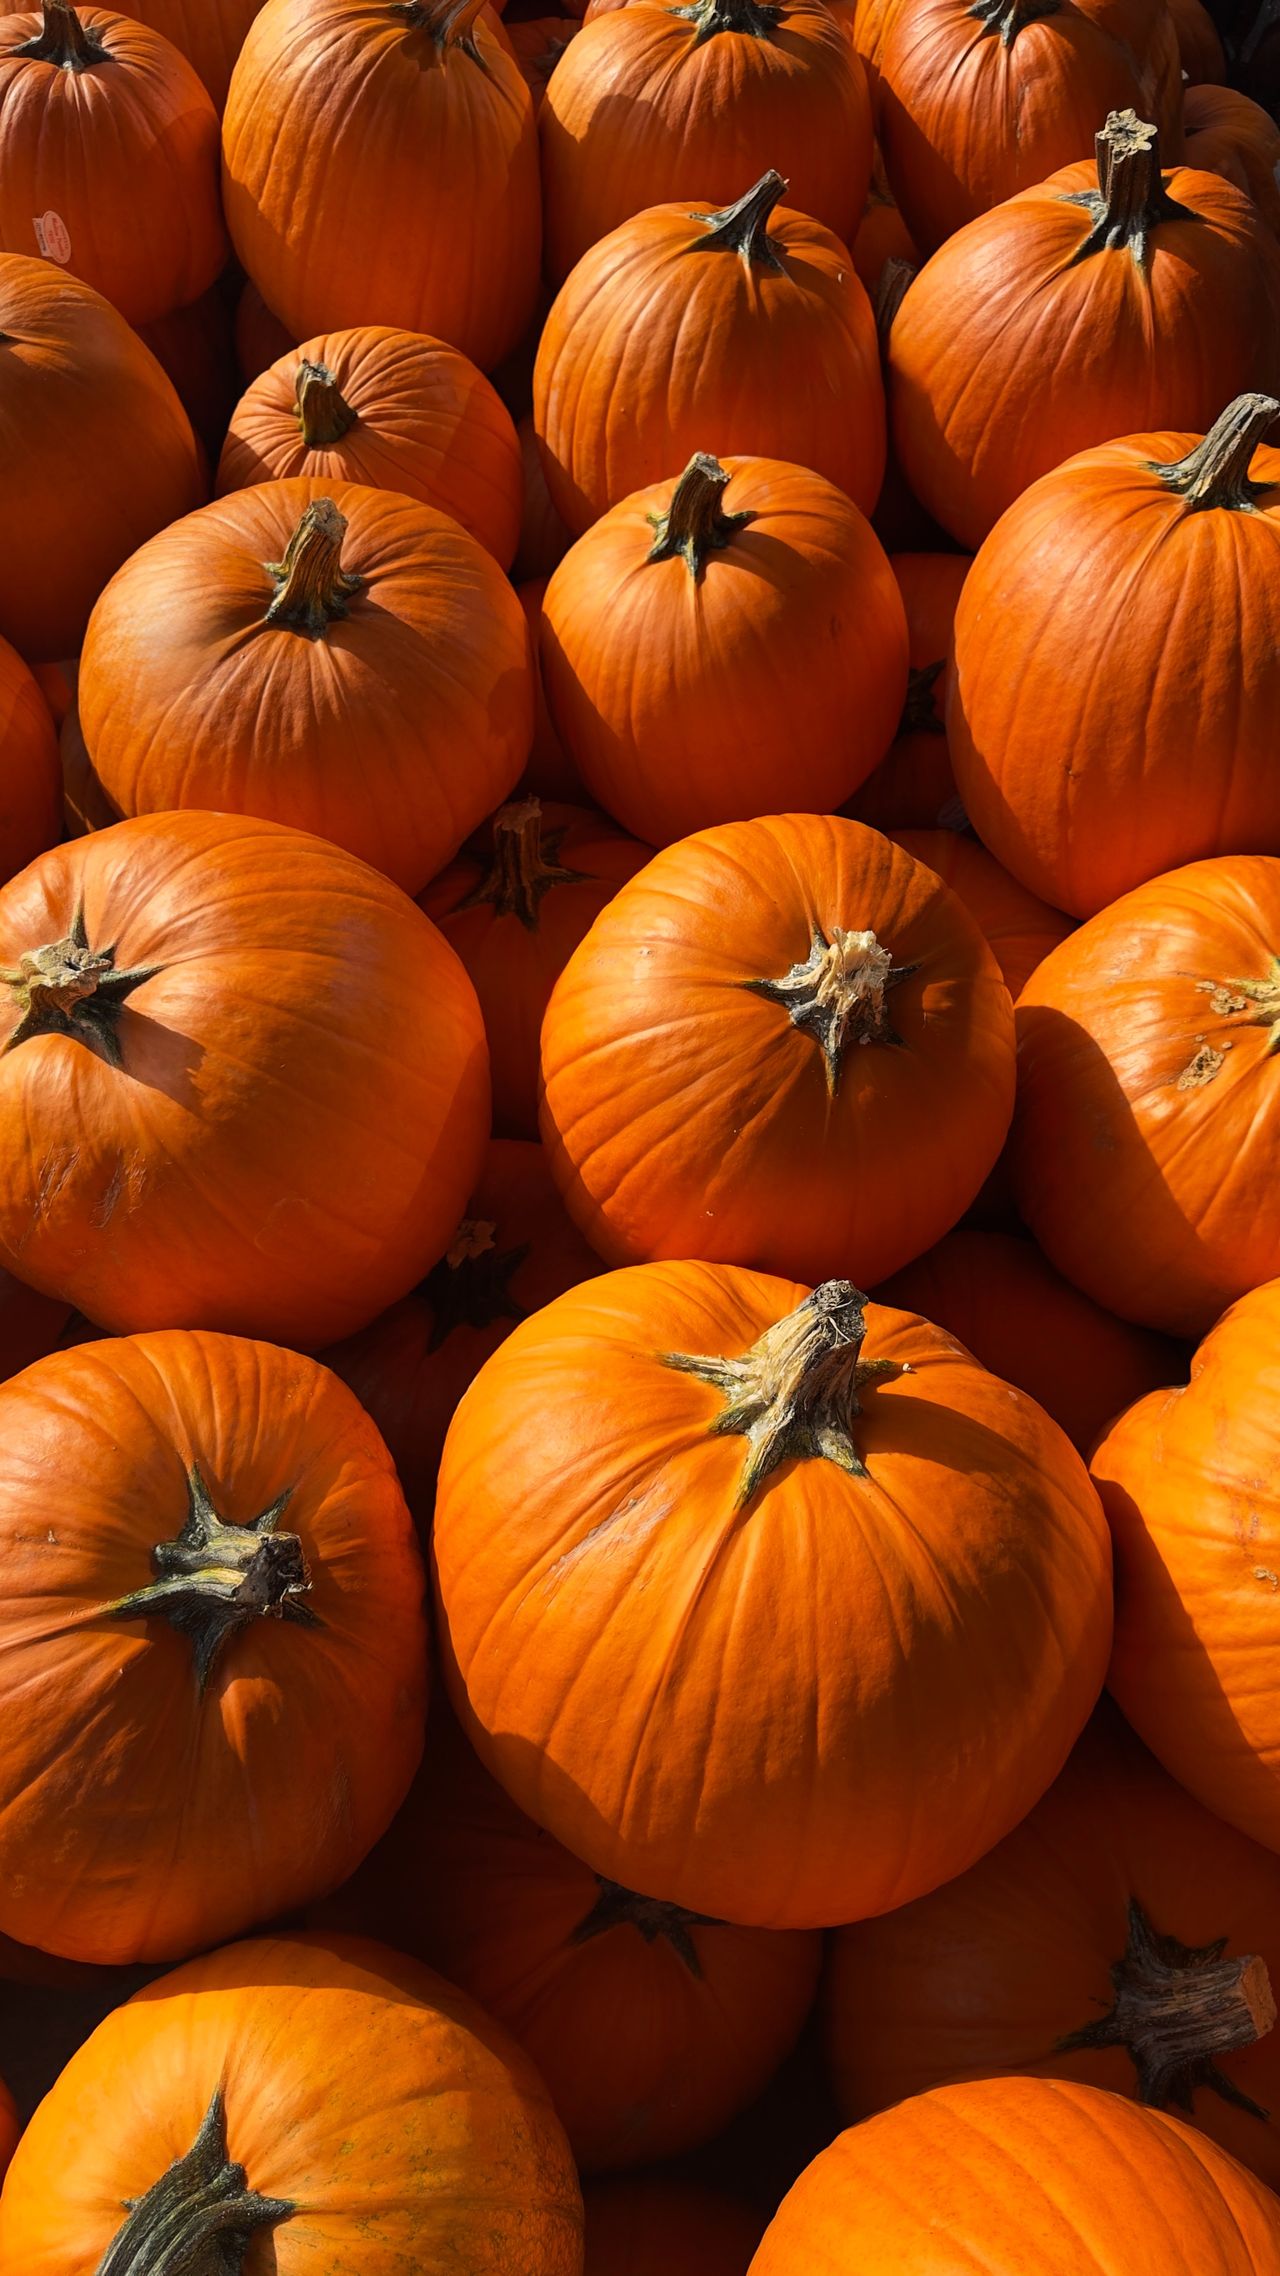
Photo via Pexels. A pile of bright orange pumpkins in sunlight, the source of a fresh batch of seeds.

No comments:
Post a Comment