Few Halloween snacks disappear as fast as mummy hot dogs, the golden crescent-dough bundles with peeking candy eyes that kids grab first and adults quietly eat three of. They need only three main ingredients, take about 25 minutes from fridge to table, and look far more impressive than the effort suggests.
The trick is in the wrapping: thin dough strips, stretched slightly and crossed over each other, with a small gap left near the top for the face. The messier the wrap, the more mummy-like it looks, so this is a forgiving recipe even for first-time bakers. Pat the dogs dry first, or the dough will slide instead of sticking.
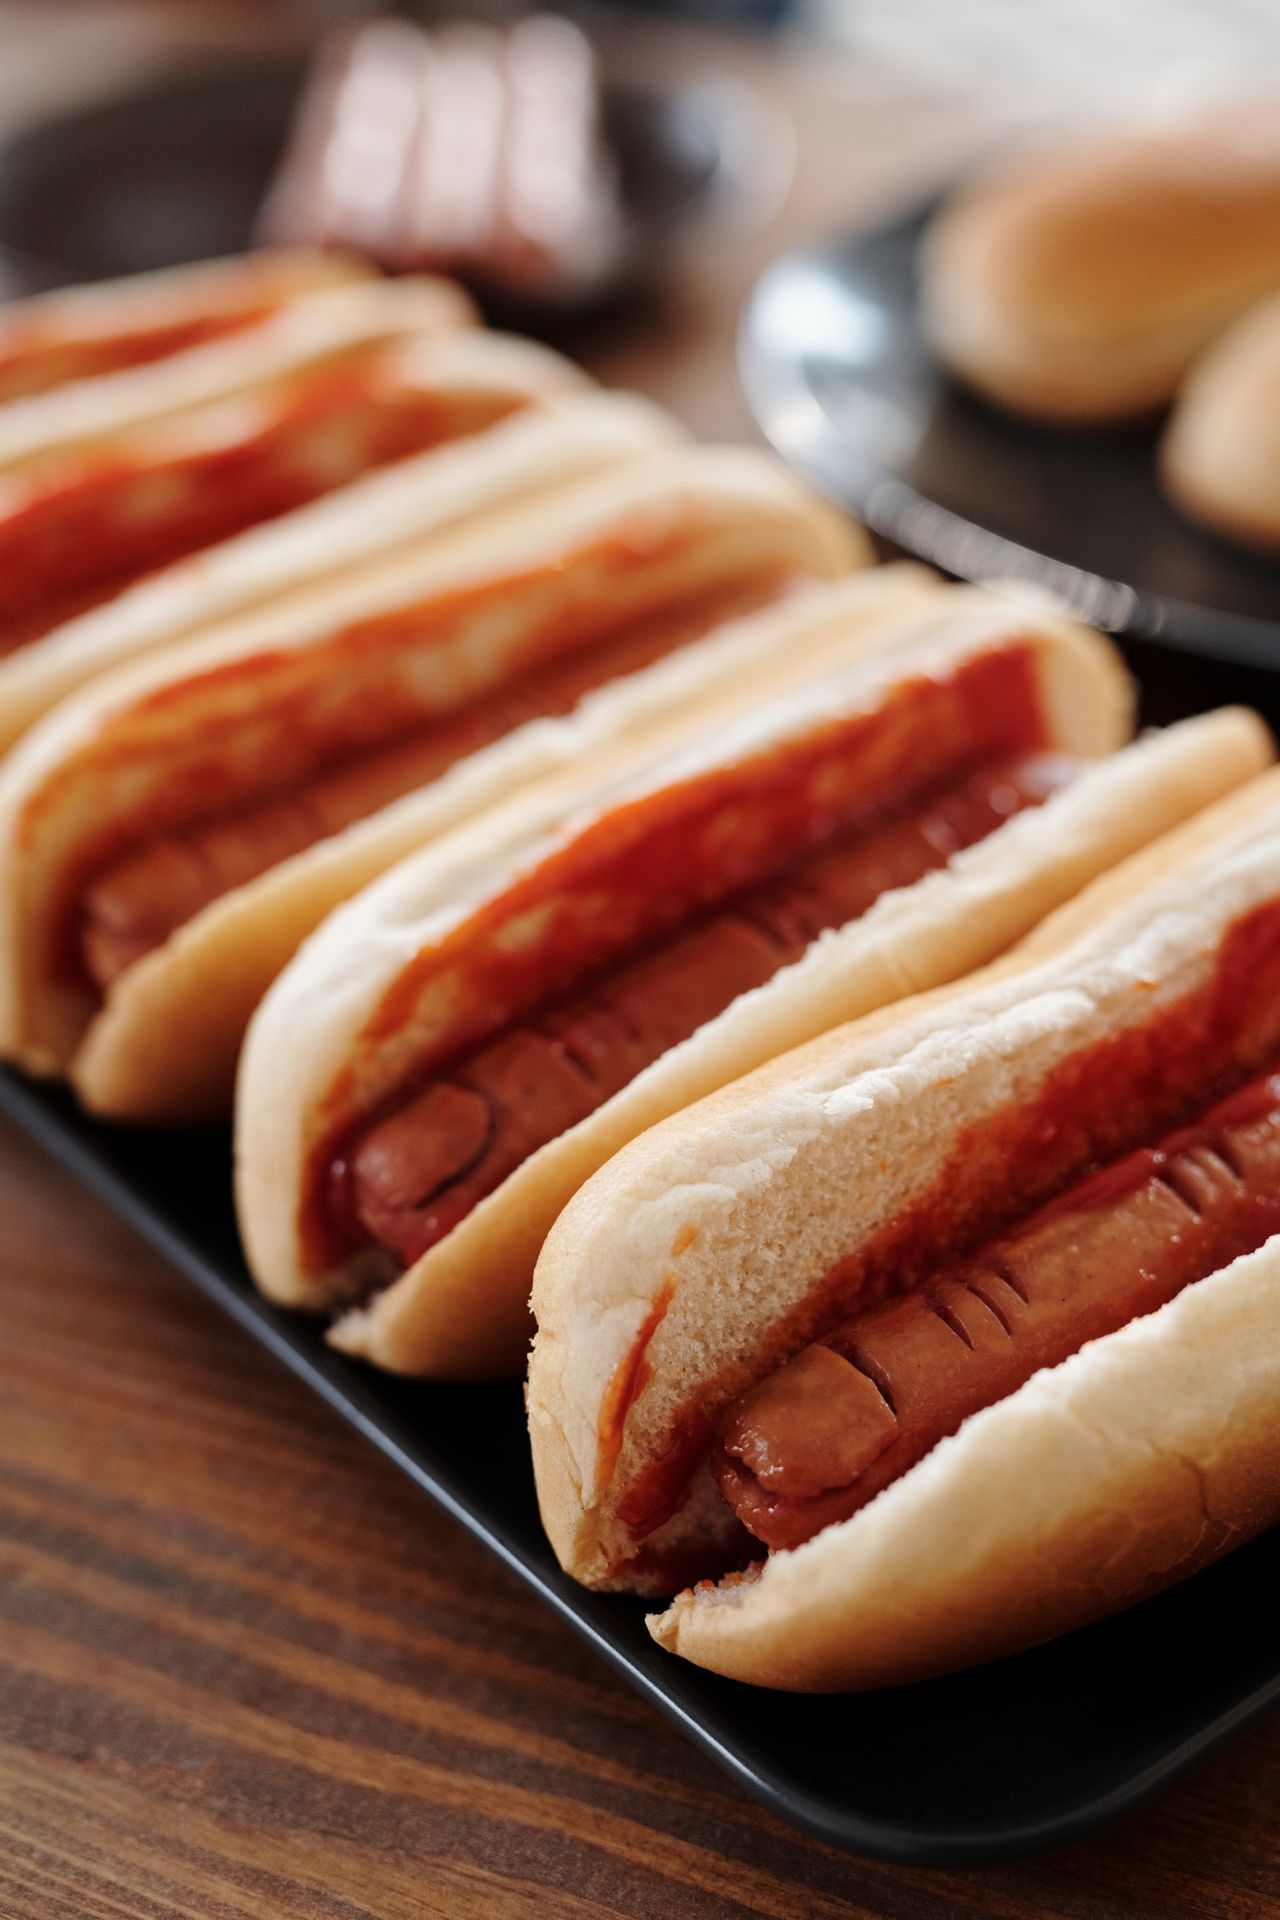
Photo via Pexels. Hot dogs in buns with ketchup lined up on a black tray, ready for a party table.
1. Start with the Classic Crescent Wrap
2. Choose Dogs That Hold Their Shape
3. Keep the Wraps Thin and Messy
4. Add Cheese Under the Bandages
6. Let Kids Build Their Own Mummies
8. Try a Grilled Sausage Version
9. Cook a Crowd Batch on the Grill
10. Stack Skewered Minis for Parties
1. Start with the Classic Crescent Wrap
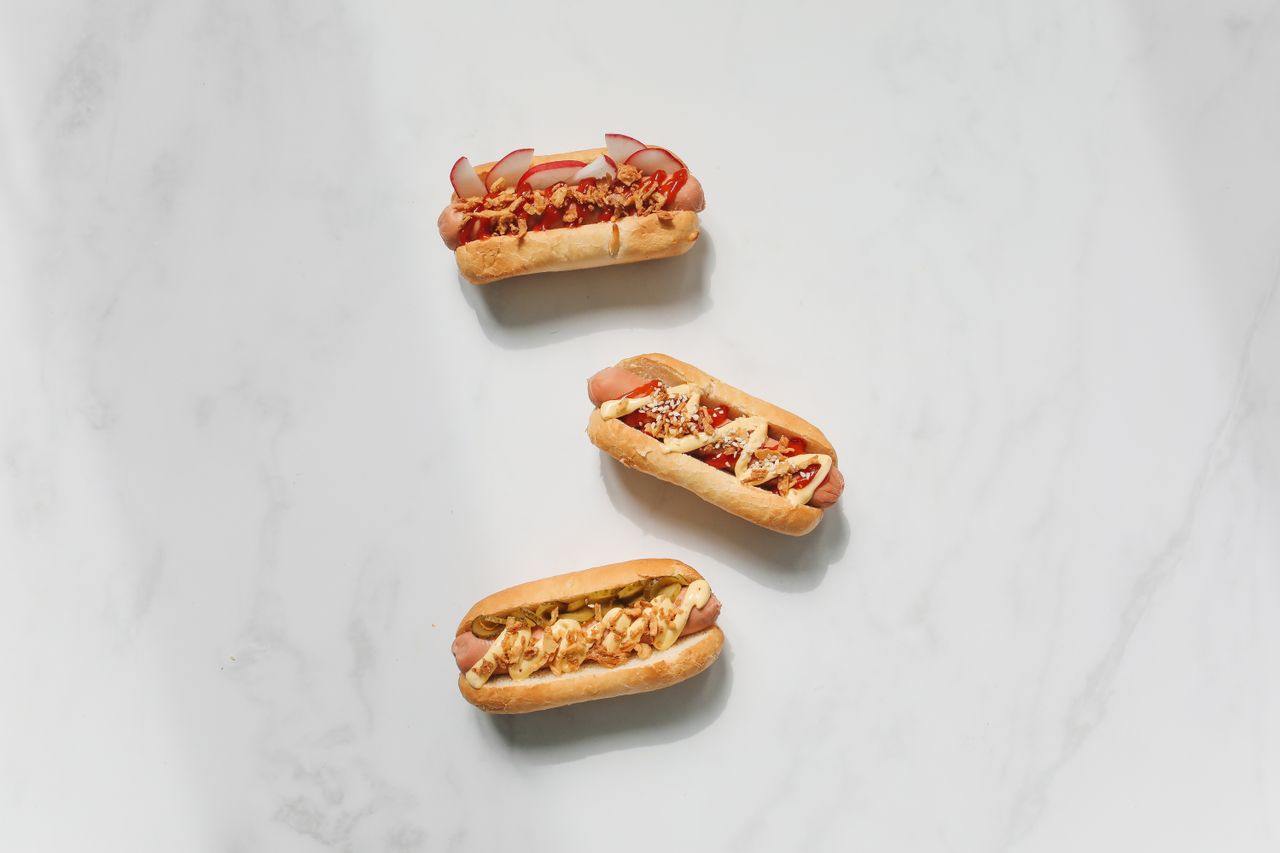
Photo via Pexels. Three hot dogs with different toppings arranged on a white marble surface.
One 8-ounce can of refrigerated crescent dough wraps about 8 regular hot dogs, which makes the math easy for a party. Unroll the dough, press the perforations together into one sheet, and cut it lengthwise into thin strips about 1/4 inch wide. A pizza cutter makes this fast and keeps the strips even.
Preheat the oven to 375°F and line a baking sheet with parchment paper before you start wrapping, so the finished mummies go straight in. Brush the dough lightly with melted butter for extra color, and bake for 12 to 15 minutes until puffed and golden. Let them cool for 3 minutes before adding eyes.
2. Choose Dogs That Hold Their Shape
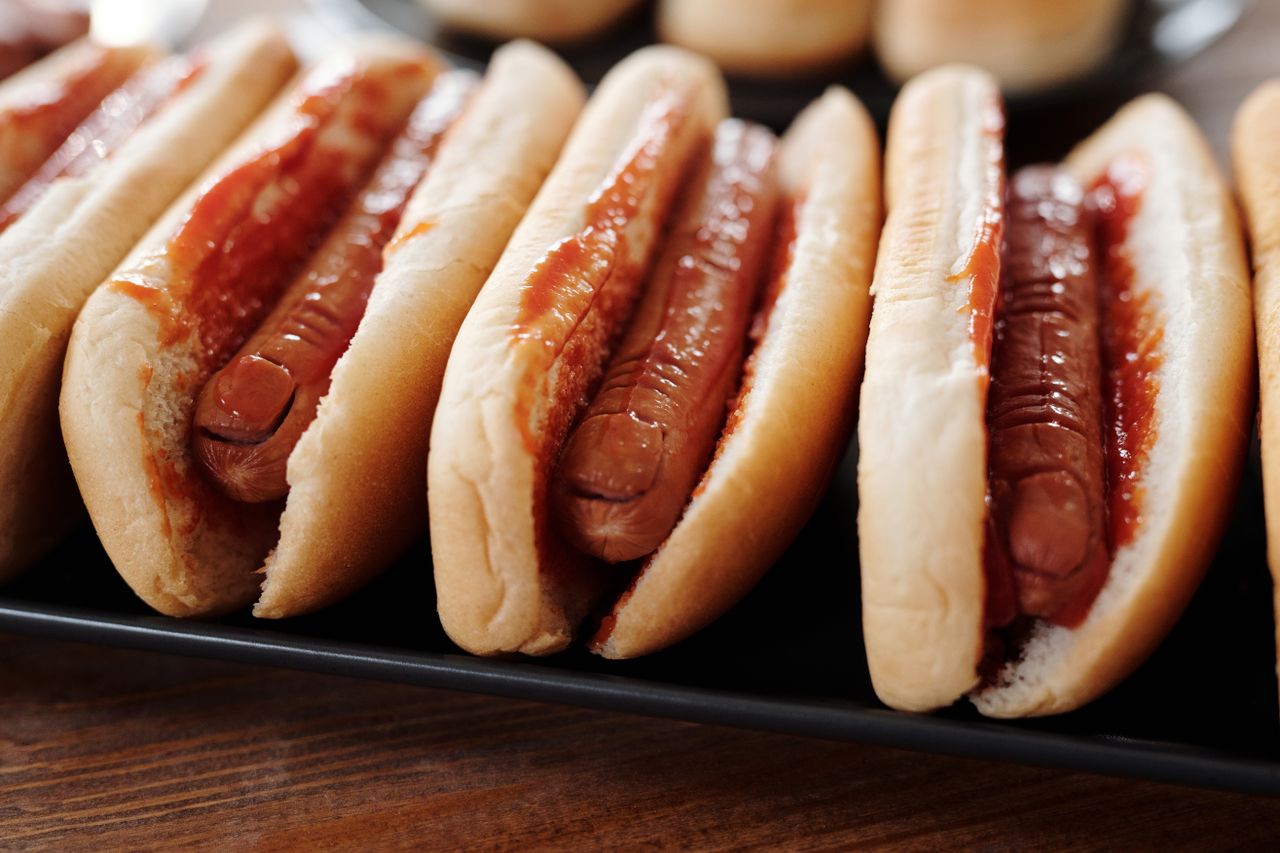
Photo via Pexels. A row of hot dogs in buns with ketchup, showing the classic size to buy for wrapping.
Regular-size beef or pork hot dogs work best because they are firm, evenly shaped, and fit the dough strips without bending. Bun-length dogs also work, but you will need more dough per dog, so plan on one can for every 6 long dogs instead of 8. Avoid very thin cocktail dogs for the classic version – they are better as minis.
Pat each dog dry with a paper towel before wrapping, and keep the dough cold until the moment you cut it. Warm dough stretches too thin and tears, while chilled dough cuts cleanly and holds its shape in the oven. If the dough warms up while you work, pop it back in the fridge for 5 minutes.
3. Keep the Wraps Thin and Messy
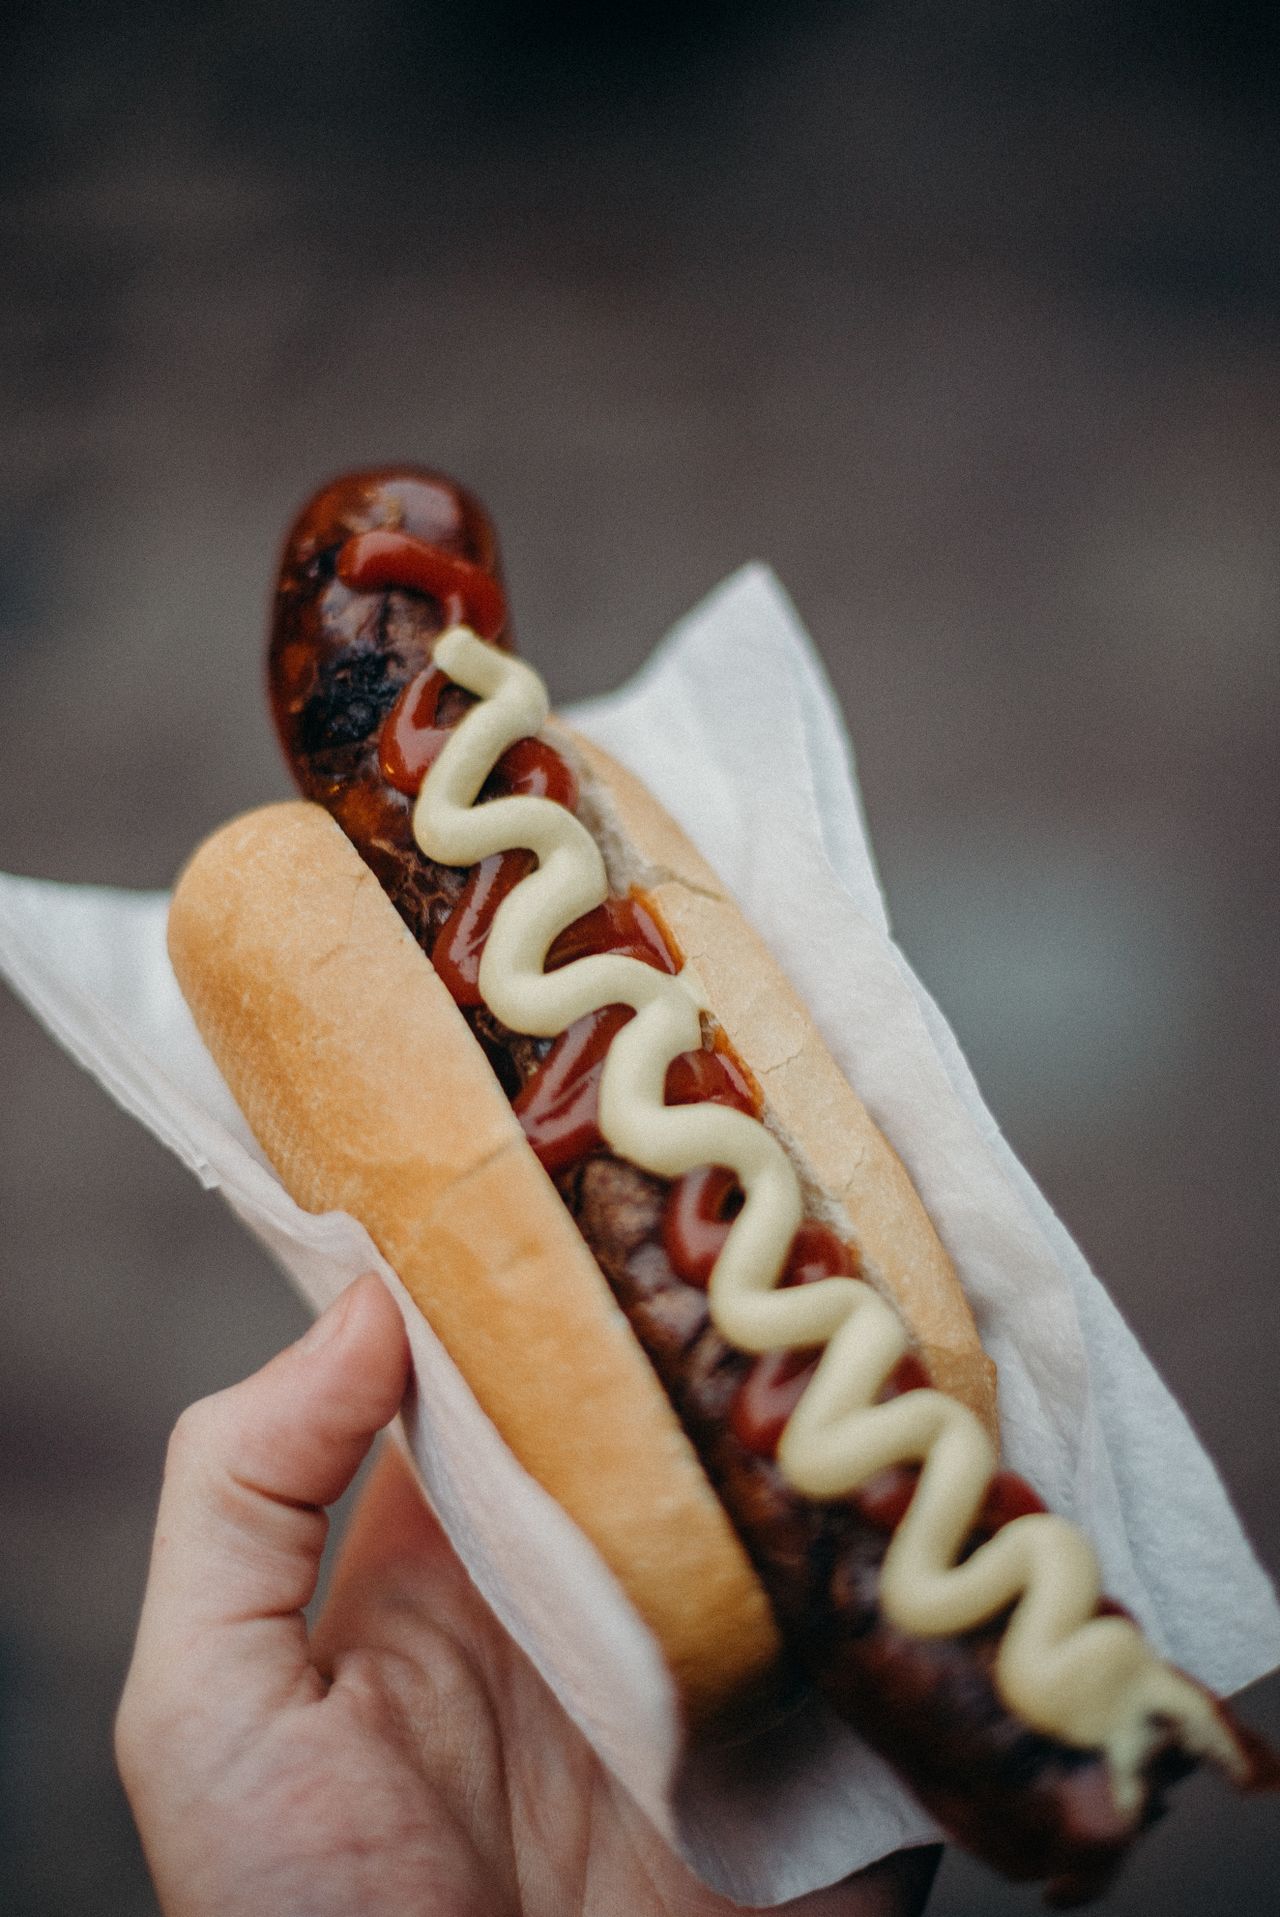
Photo via Pexels. A hand holding a hot dog topped with zigzag lines of ketchup and mustard.
Wrap 3 to 4 strips around each dog, stretching them slightly and crossing them at angles, and leave a gap of about 1 inch near one end for the face. Tuck the strip ends underneath the dog so they do not unwind in the oven. Gaps between strips are good – real mummy bandages are not neat, and the gaps let steam escape so the dough crisps.
Space the wrapped dogs about 2 inches apart on the baking sheet so hot air can reach every side. If they touch, the dough steams instead of browning and the mummies stick together. A second baking sheet is better than a crowded one when you are making a double batch.
4. Add Cheese Under the Bandages
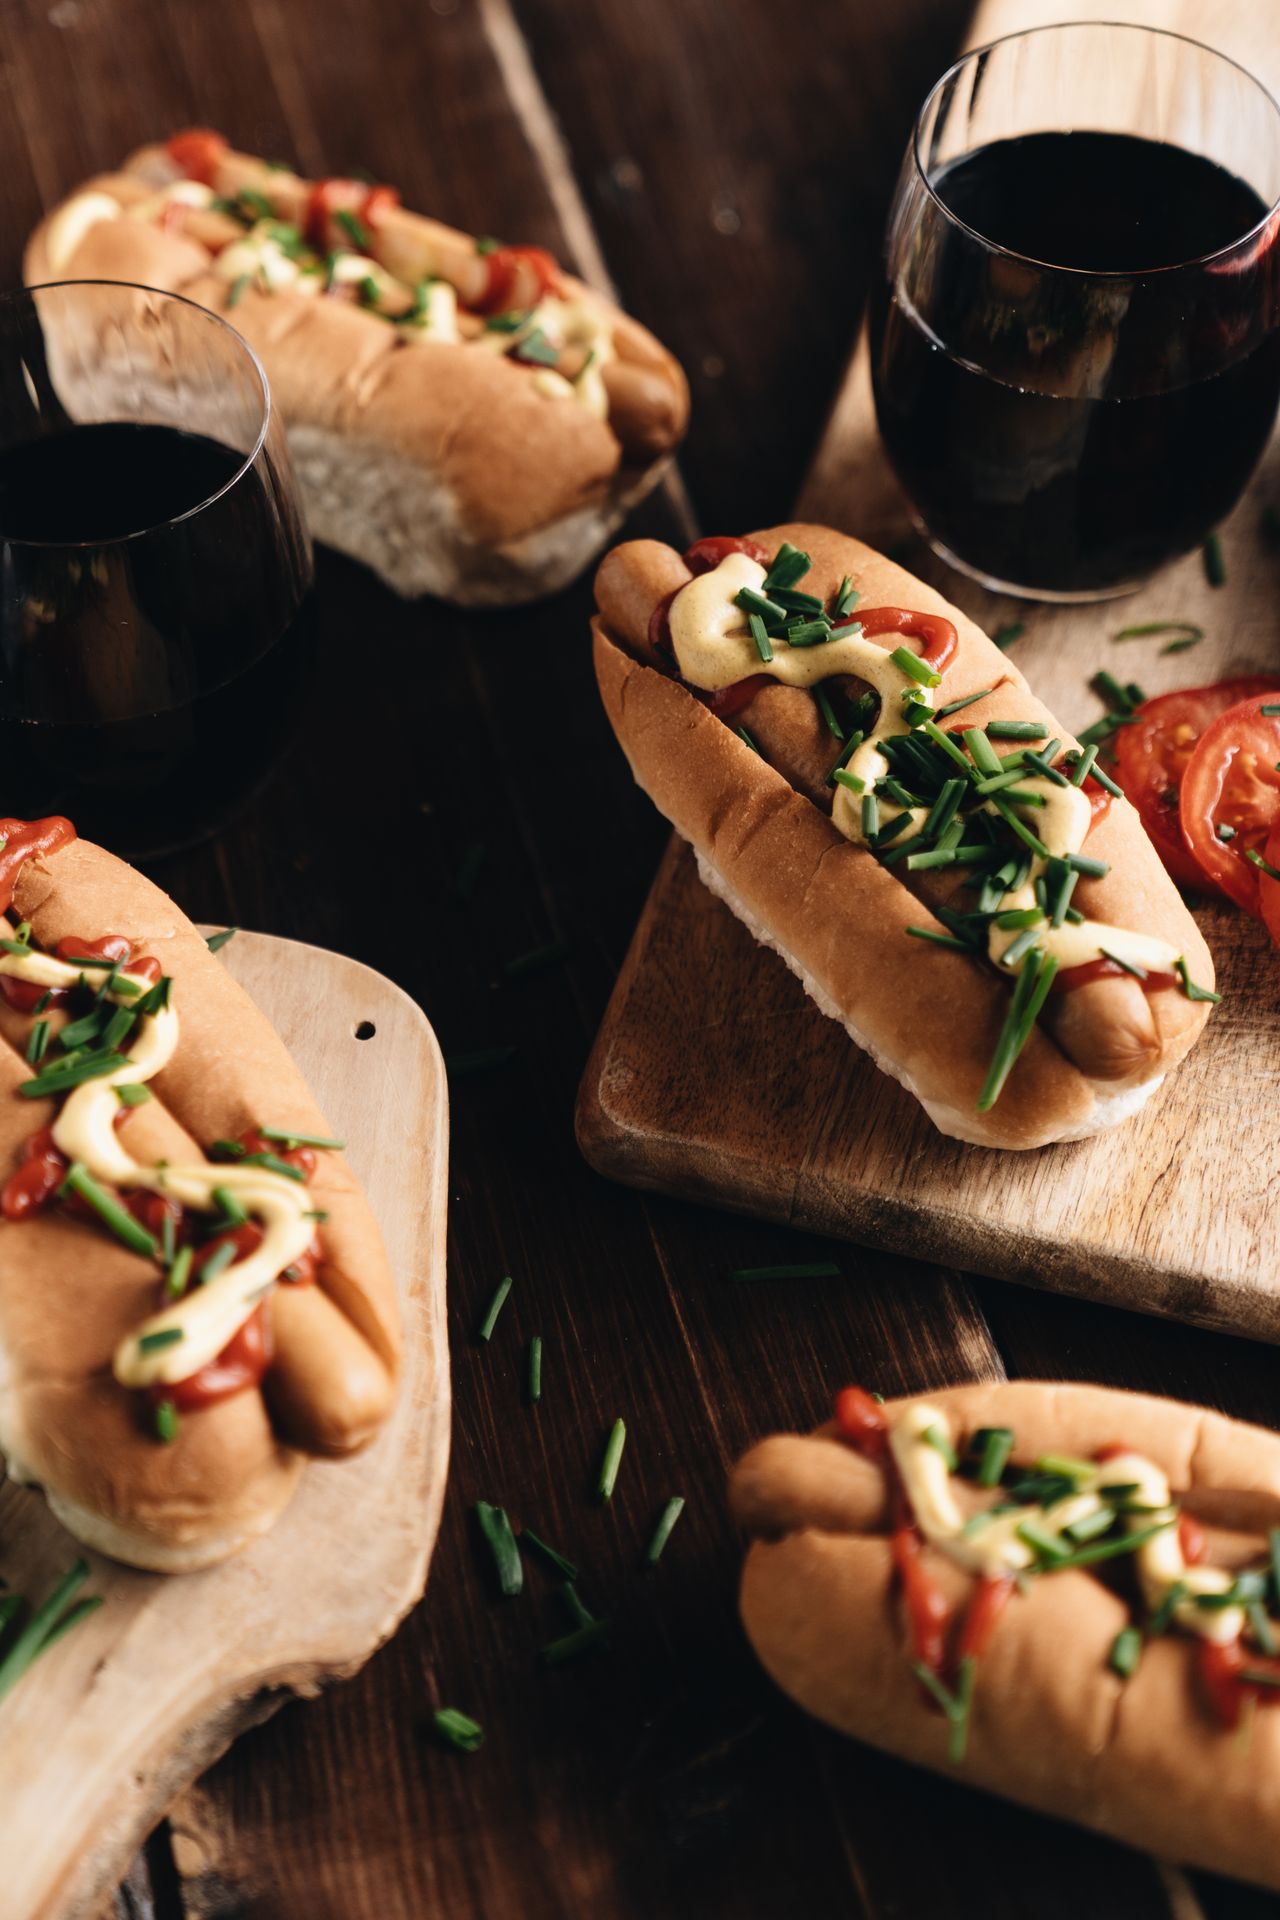
Photo via Pexels. Hot dogs with sauce and spring onions served on a dark wooden table with drinks.
A thin slice of American or cheddar cheese wrapped around the dog before the dough goes on melts into a gooey layer that kids love. Use half a slice per dog so the cheese does not leak out too much, and place it cheese-side down on the baking sheet. A little leakage is fine – crispy cheese edges are delicious.
For a spicier adult version, try pepper jack cheese and a pinch of chili powder on the butter wash. Serve the cheesy batch on a separate tray with a little flag or label, so guests who want plain dogs can find them easily. Both versions bake at the same temperature and time.
5. Make the Eyes Last
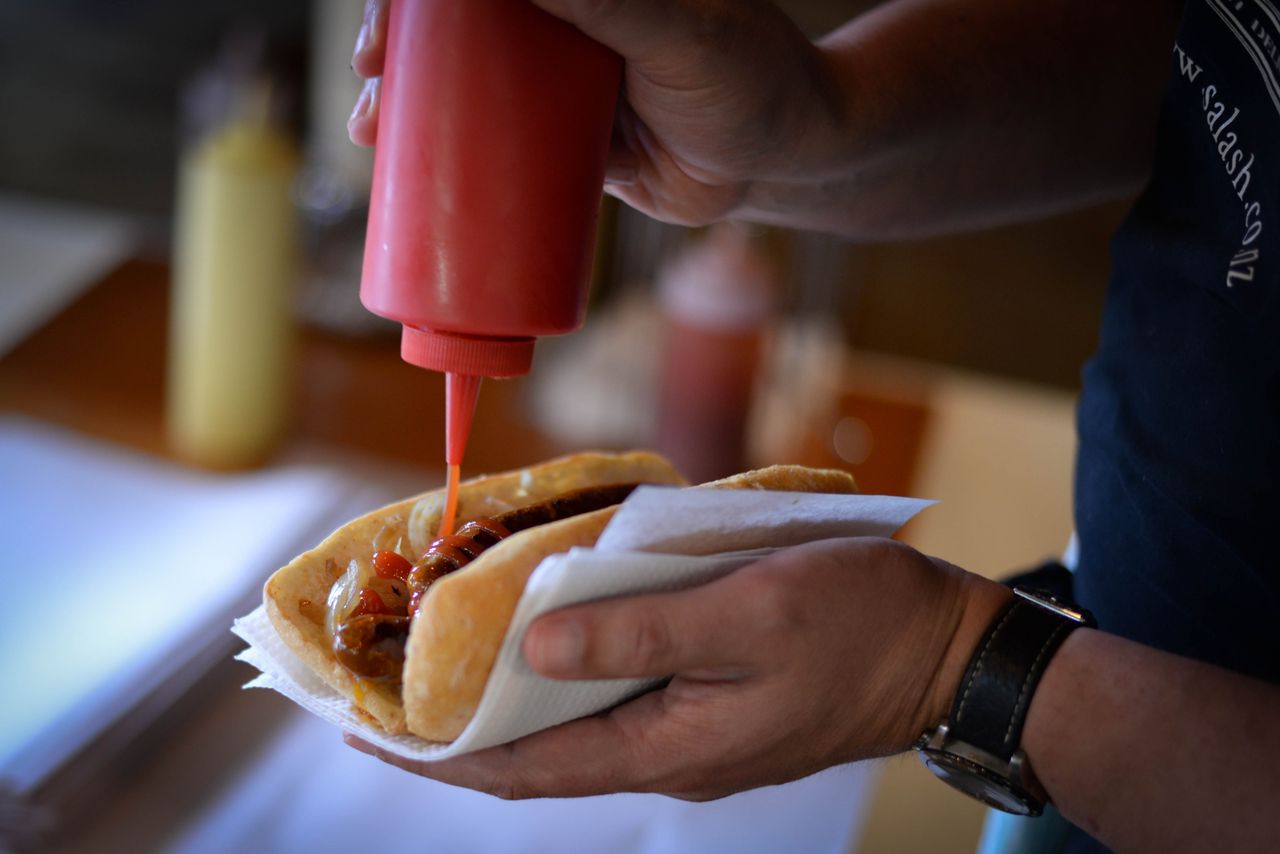
Photo via Pexels. A person squeezing ketchup from a bottle onto a hot dog held in a napkin.
Candy eyes are the easiest option: press two into the face gap while the dogs are still slightly warm, using a tiny dot of ketchup or mustard as glue. If you do not have candy eyes, two small dots of yellow mustard applied with a toothpick work just as well and taste better with the savory dough. Add the eyes after baking, never before, or they will melt and slide.
For a party tray that will sit out for a while, mustard eyes hold up better than candy eyes, which can soften in a warm room. If kids are helping, set up an "eye station" with a small bowl of candy eyes and a toothpick, and let each child finish their own mummy. It doubles as an activity.
6. Let Kids Build Their Own Mummies
Photo via Pexels. A smiling couple sharing a hot dog snack outdoors, enjoying a casual bite together.
This is one of the best Halloween recipes for kids because there is no knife work beyond what an adult does with the dough strips. Set out pre-cut strips, dry dogs, and a lined baking sheet, and let each child wrap two or three dogs. Their mummies will look different from each other, and that is the charm.
Keep the work area small and the rules simple: wash hands first, wrap on the tray, and leave the face gap open. An adult handles the oven and the eye station. When the tray comes out golden, kids feel proud of a snack they actually made, and picky eaters are far more likely to try it.
7. Serve with a Dip Trio
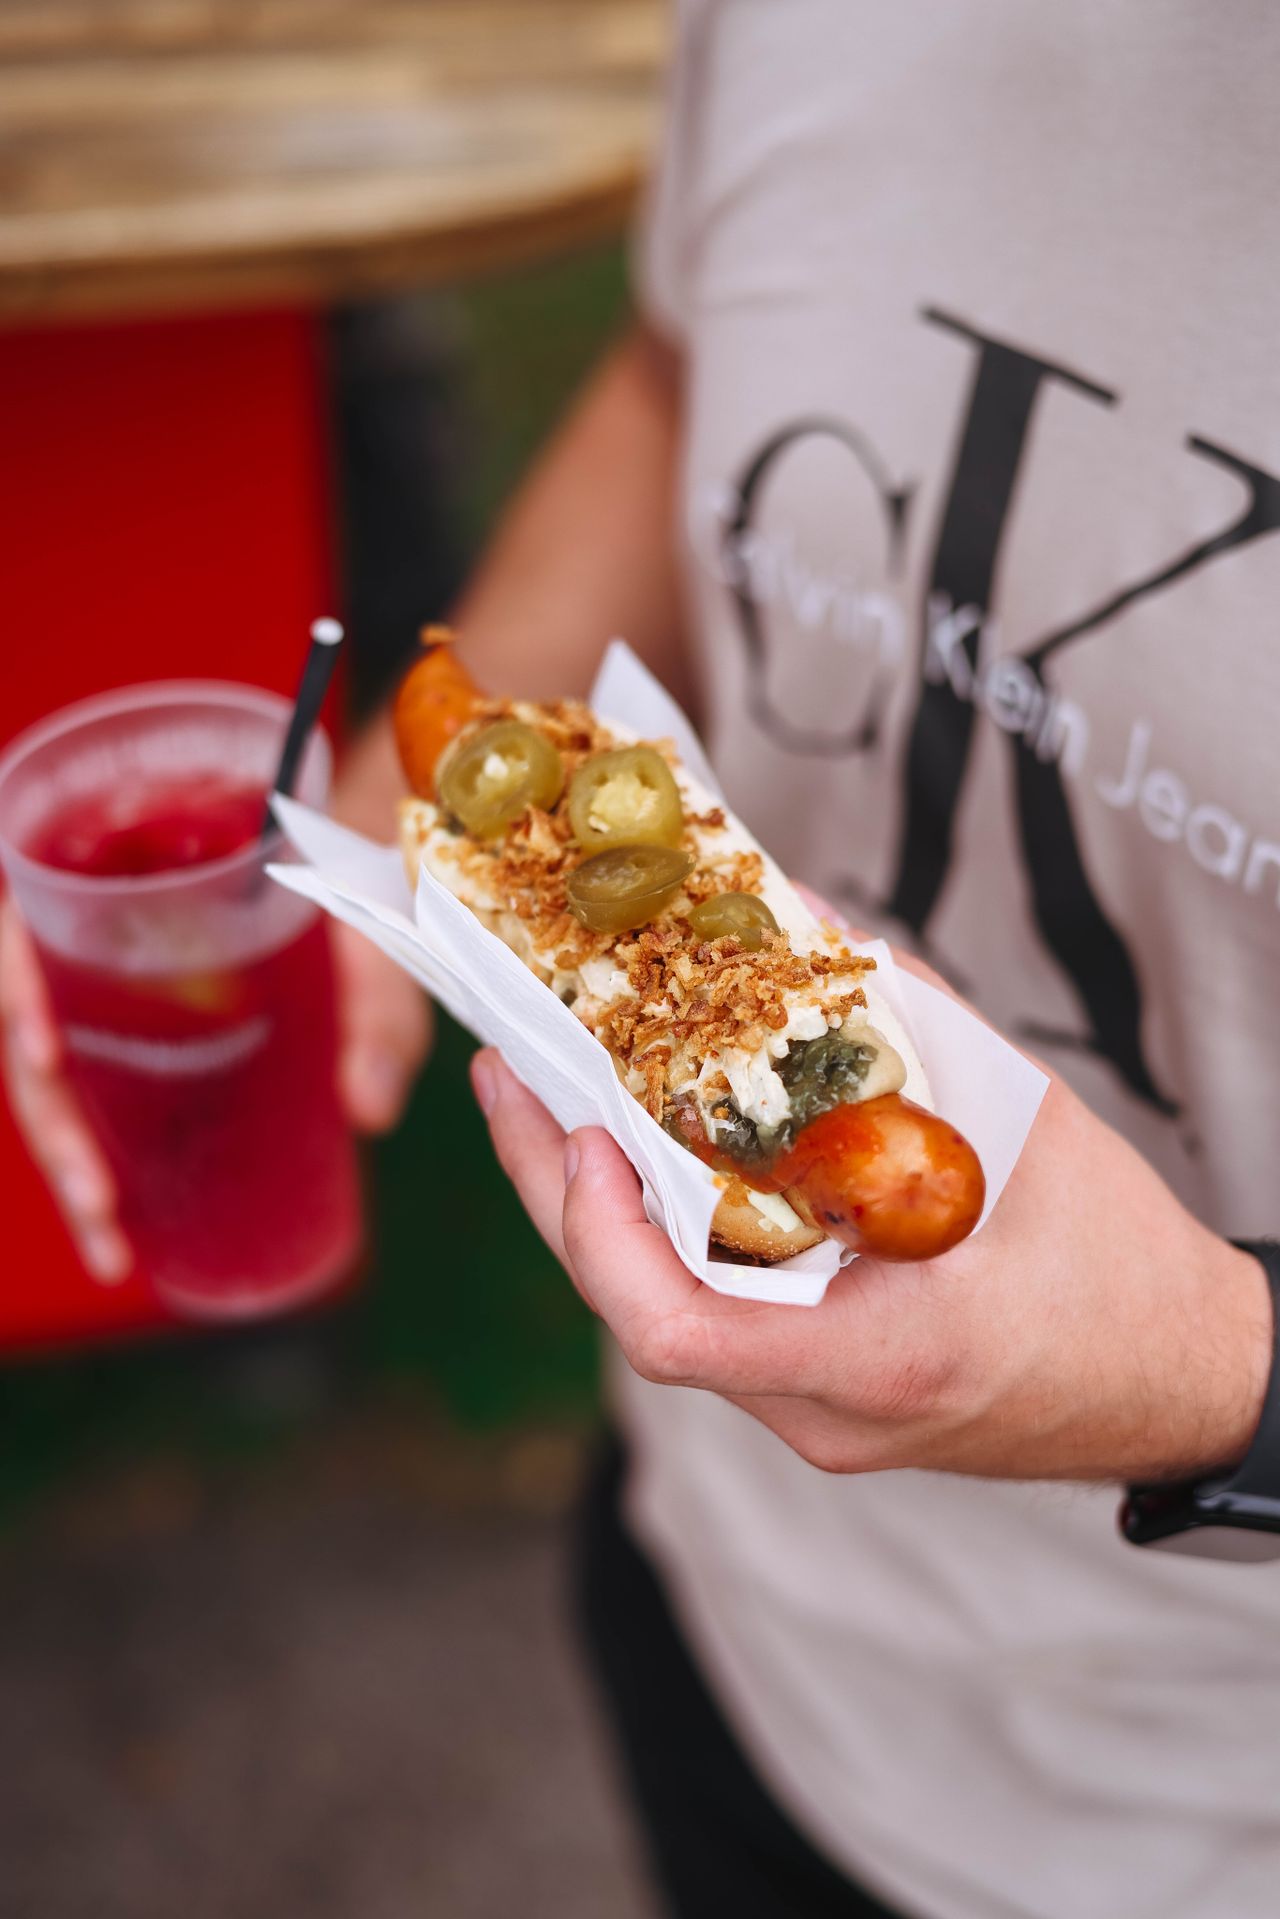
Photo via Pexels. A hand holding a loaded hot dog with jalapenos and crispy onions, with a red drink nearby.
Ketchup and mustard are the classics, but a third dip makes the tray feel special: try ranch, cheese sauce, or a smoky barbecue sauce in a small bowl. Label the bowls with funny names like "monster goo" or "witch's brew" for a party touch, and keep the dips in small ramekins so they do not crowd the tray.
Serve the mummies standing in a row or lying in a single layer, never stacked, or the bandages will crush and the eyes will smudge. A dark tray or a black slate board makes the golden dough stand out in photos, and the same simple tray styling works for a budget Thanksgiving table later in the season. For more party-spread planning, these savory pumpkin recipes also scale well for a crowd, from soup to baked snacks.
8. Try a Grilled Sausage Version
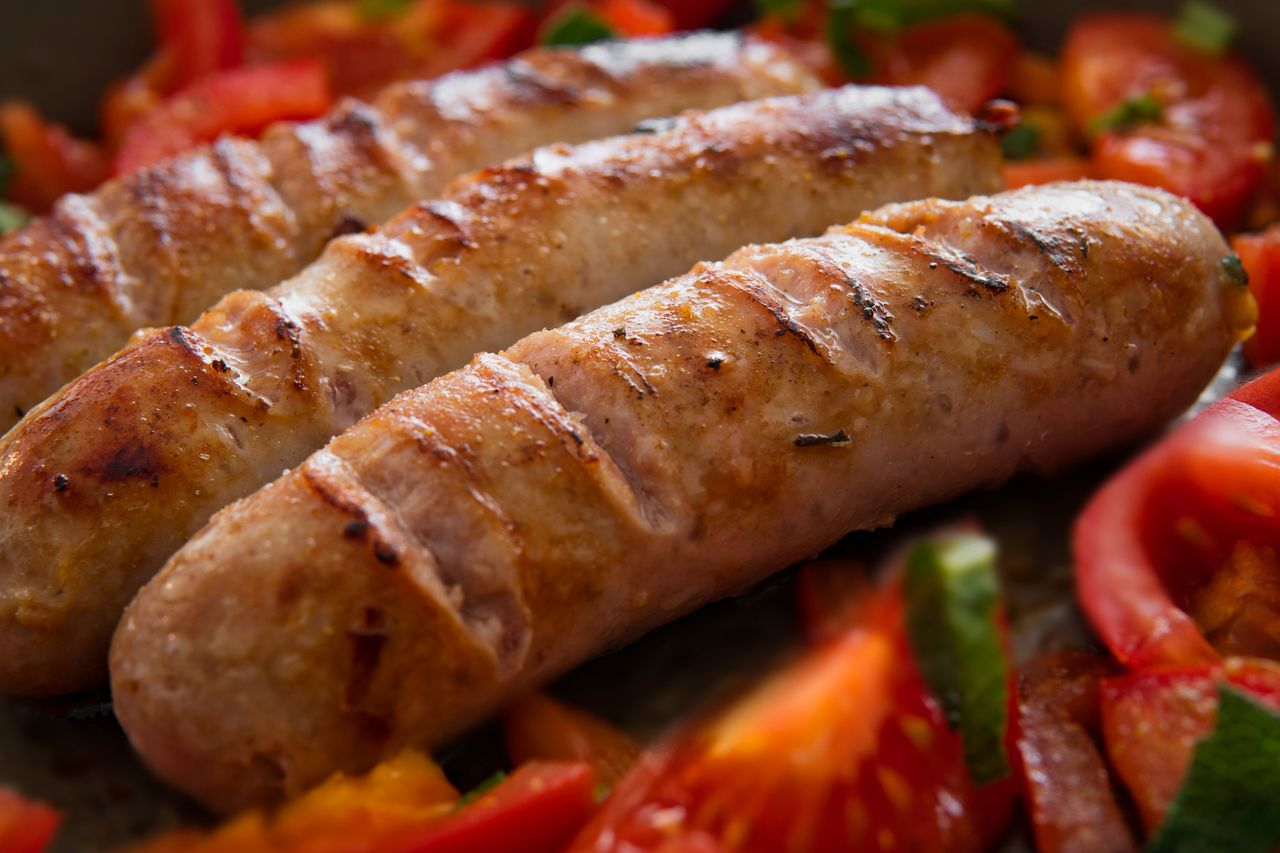
Photo via Pexels. Juicy grilled sausages served close-up with fresh sliced tomatoes.
Bratwurst or smoked sausage links make a heartier, grown-up version with a snappier bite. Grill or pan-cook the sausages first until they are cooked through, let them cool for a few minutes, then wrap and bake as usual. Pre-cooking matters because the dough bakes in only 12 to 15 minutes, which is not long enough to cook a raw sausage safely.
Pair the sausage version with mustard and sauerkraut on the side, and keep it on a separate tray from the classic dogs. Guests who want a meatier snack will appreciate the option, and the smoky flavor stands up well to a spicy dip. This is also a good use for leftover grilled sausages from a weekend cookout.
9. Cook a Crowd Batch on the Grill
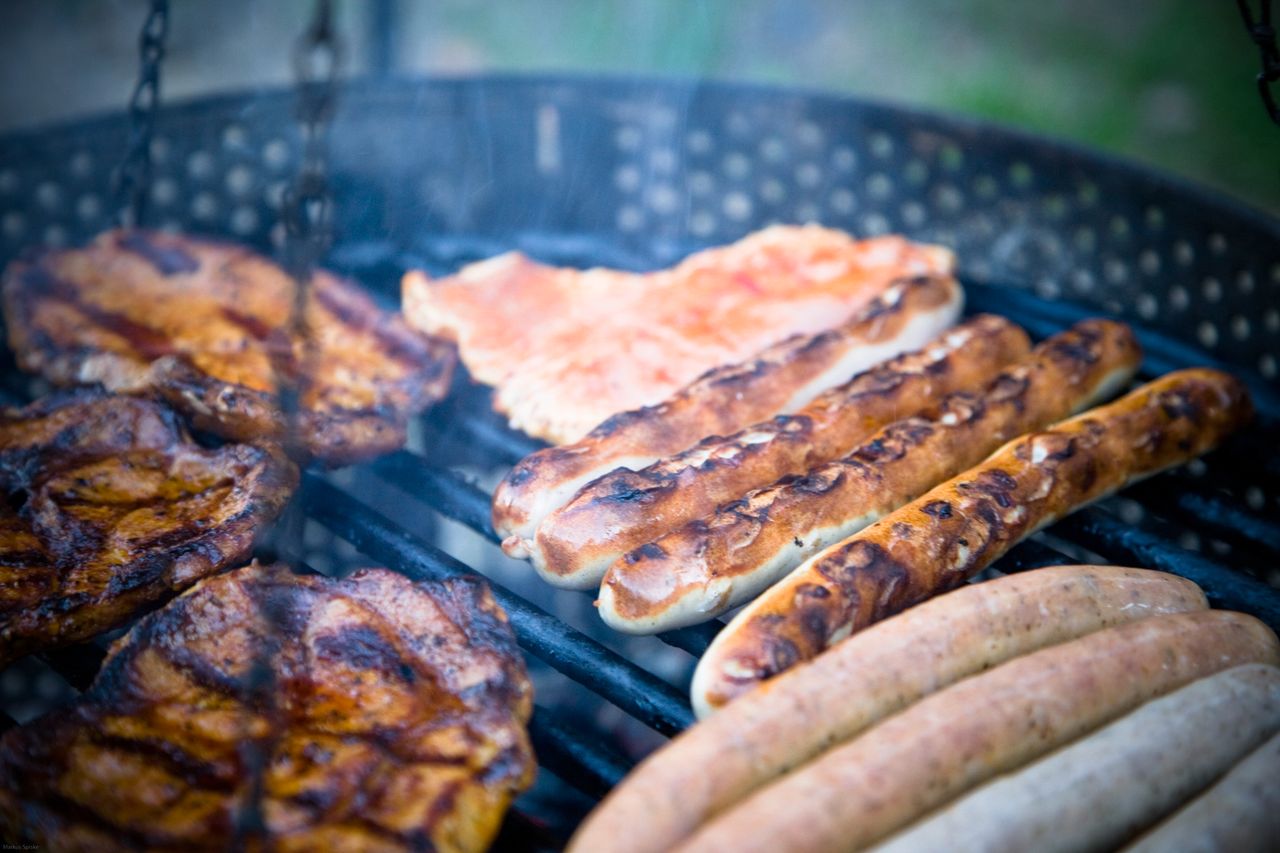
Photo via Pexels. Sausages and other meats grilling outdoors over a barbecue, with smoke rising.
For a big outdoor party, grill a tray of plain sausages and dogs first, then wrap and bake them in batches inside while guests snack. The oven batches take about 15 minutes each, so start the first tray 30 minutes before you want to serve and keep finished mummies warm on a low oven shelf at 200°F. Do not hold them for more than an hour, or the dough softens.
If you have an air fryer, it is a great backup: cook wrapped dogs in a single layer at 350°F for 8 to 10 minutes, checking early, since air fryers brown faster than ovens. Small batches from the air fryer keep the main tray full while the oven handles the rest.
10. Stack Skewered Minis for Parties
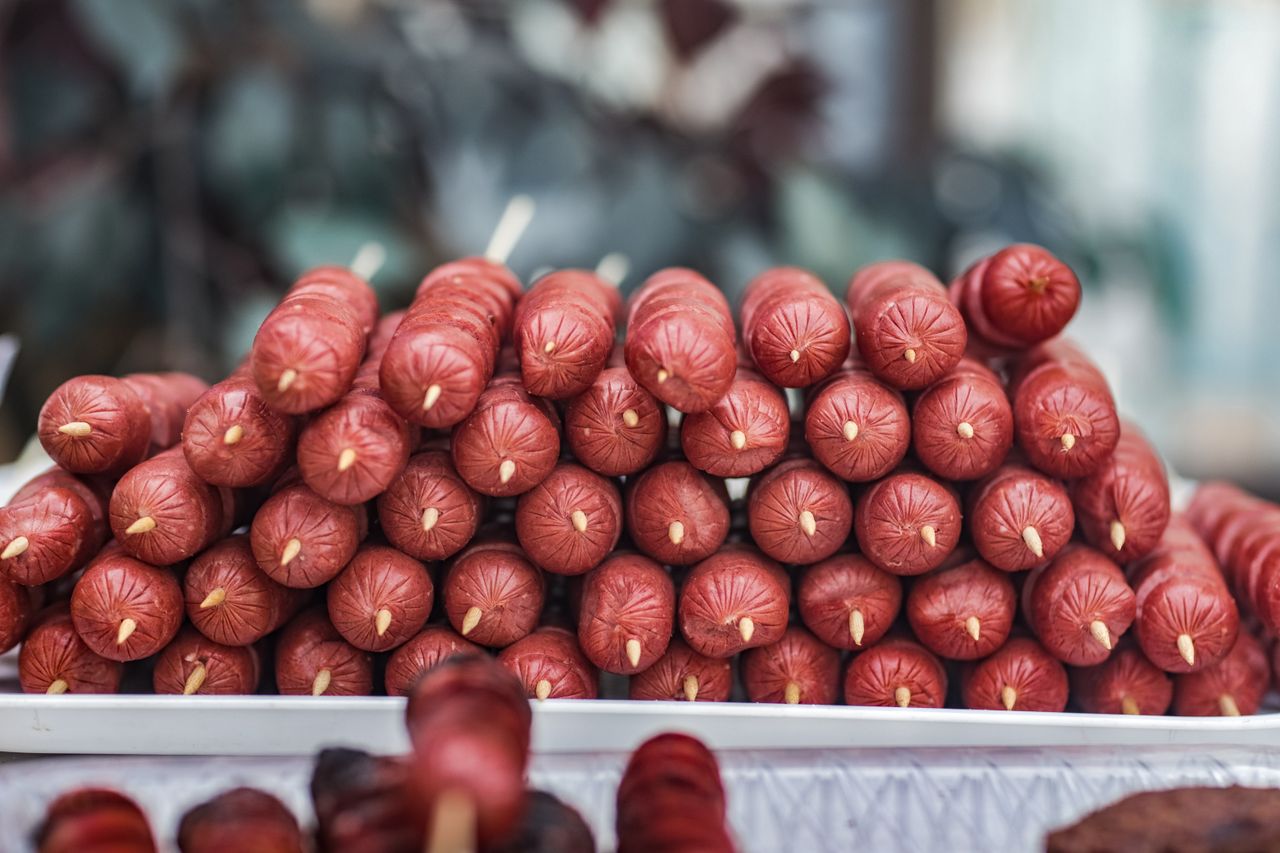
Photo via Pexels. Uncooked hot dogs stacked on skewers on a tray, ready for grilling.
Cut regular dogs in half crosswise, wrap each half in a narrow dough strip, and bake for 10 to 12 minutes for bite-size mummies that are easy to eat standing up. A short skewer or toothpick through each mini makes it simple to pick up without touching the dough, which helps at a buffet. Remove toothpicks before serving to young children.
Minis are also the best choice for a classroom party or an office potluck, since they travel well in a covered tray and reheat in a few minutes. Make twice as many as you think you need – minis disappear faster than full-size dogs, especially when kids are around.
FAQs
Can I make these ahead of time?
Yes, wrap them up to a day ahead, cover, and refrigerate, then bake just before serving. Add the eyes after baking so they stay in place and look fresh.
Can I use puff pastry instead of crescent dough?
Yes, puff pastry gives a flakier, taller wrap. Cut it into thin strips the same way, and bake until deeply golden, watching closely since puff pastry browns fast.
How do I reheat leftovers?
Reheat in a 350°F oven for 8 to 10 minutes until hot and crisp again. Skip the microwave, which makes the dough soft, and add fresh eyes after reheating.
Are there vegetarian options?
Yes, plant-based hot dogs wrap and bake the same way as regular dogs. Check that your crescent dough is dairy-free if you need a fully plant-based version.
Why is my dough sliding off the dogs?
Wet dogs are the usual cause. Pat them very dry, keep the dough cold, and tuck the strip ends underneath before baking.
Final Thoughts
These spooky dogs work because they are simple, fast, and fun to make together. One can of dough, a pack of dogs, and a handful of candy eyes is all it takes for a tray that looks like you spent hours on it. Bake a batch, set out the dips, and watch them vanish before the party games even start.
Sources
The Spooky 20-Minute Halloween Recipe
Gallery
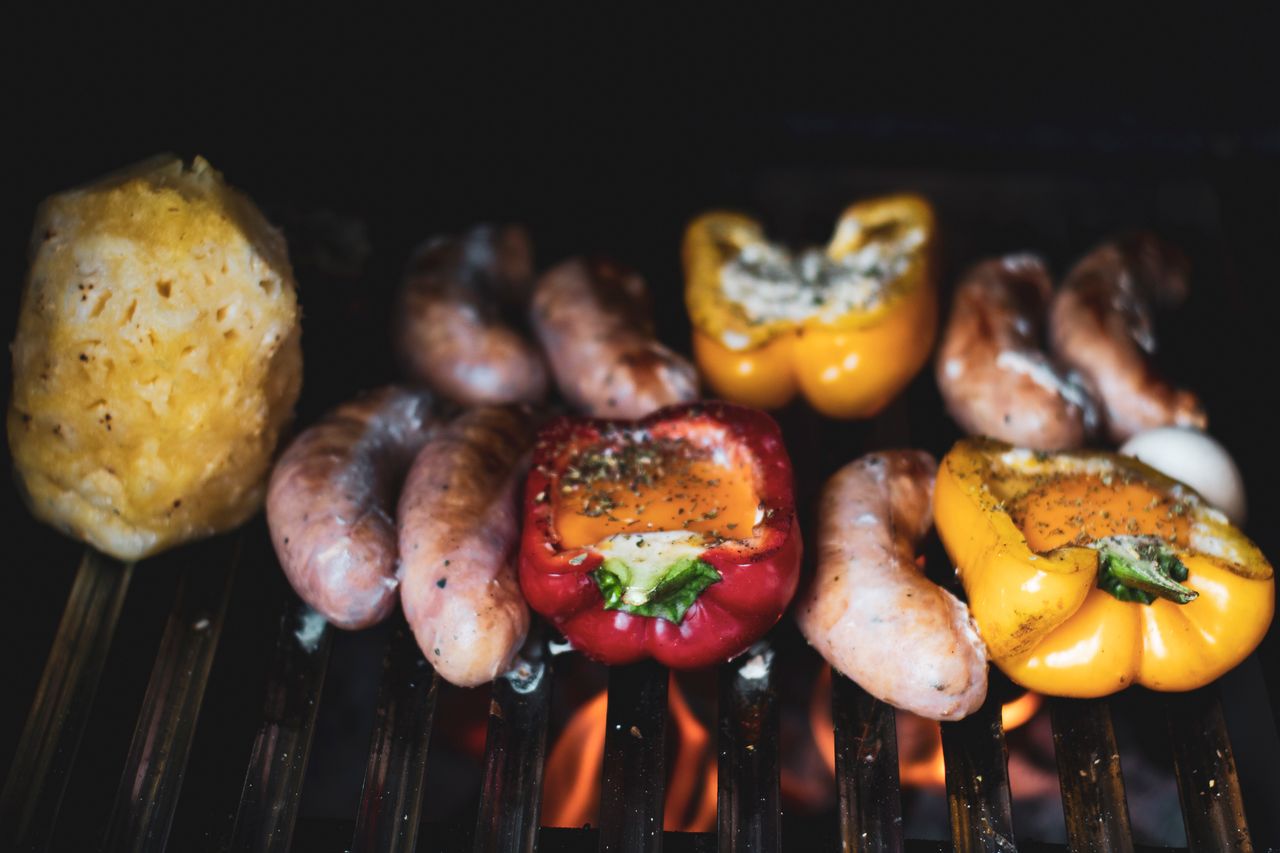
Photo via Pexels. Sausages and stuffed peppers grilling over an open flame outdoors.
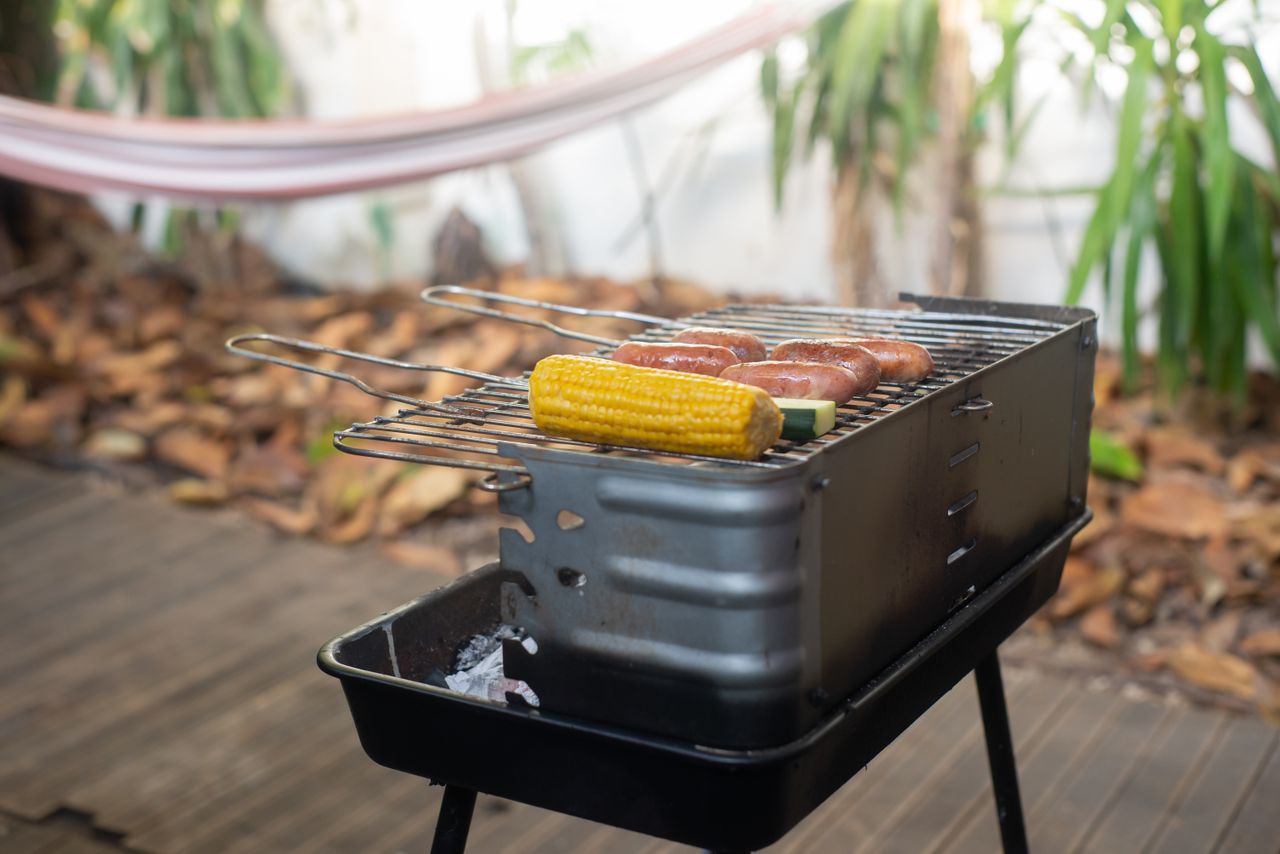
Photo via Pexels. Corn on the cob and sausages cooking on a small outdoor grill in a backyard.
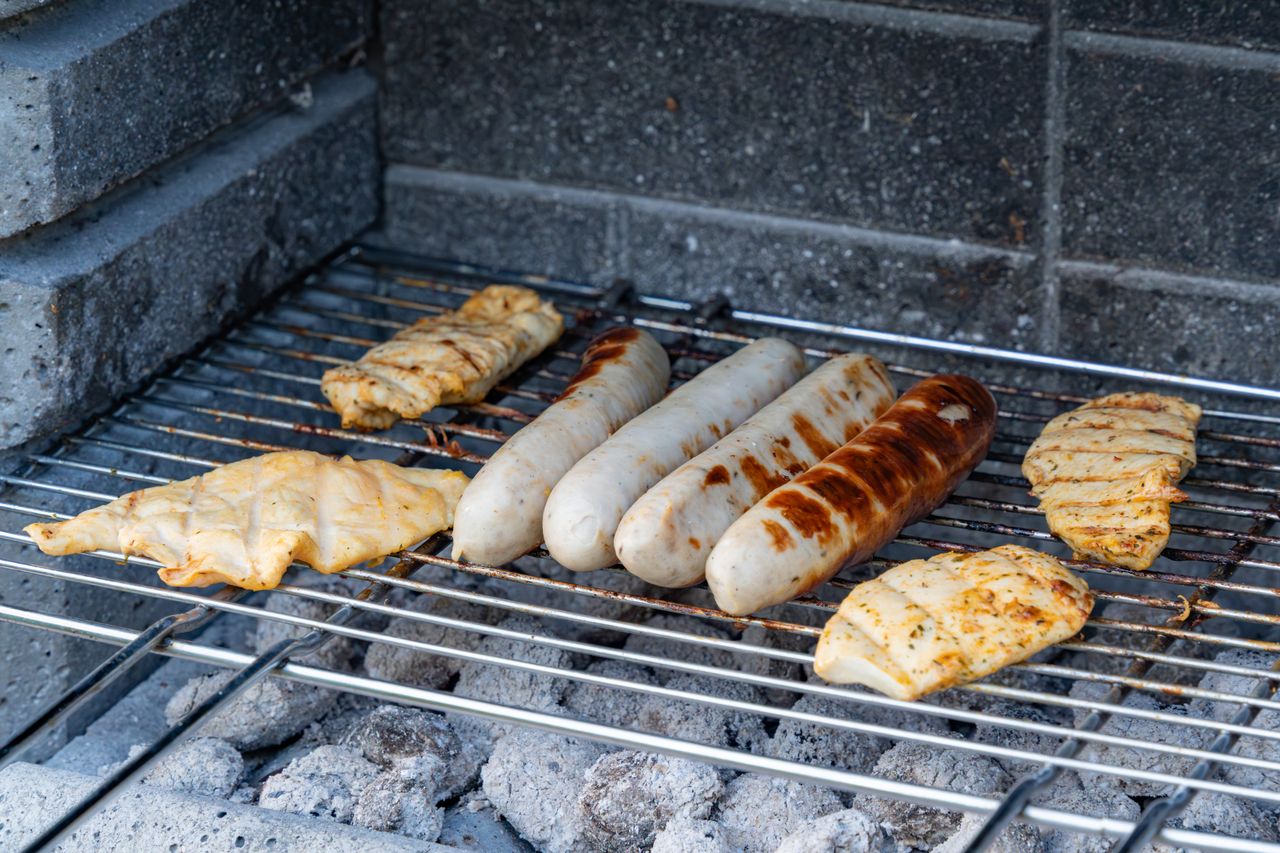
Photo via Pexels. Grilled sausages and chicken pieces cooking on a barbecue grill.

No comments:
Post a Comment