If you love slow mornings, home coffee bar ideas can turn a crowded counter into a calm little station that actually works before you have had your first cup. The secret is not buying more gear. It is giving the machine, the mugs, and the beans each a home, keeping about 8 inches of clear counter in front for pouring, and putting the whole setup near an outlet and within a few steps of the sink. Start with what you drink on a normal weekday, measure the space you really have, and build around that one drink first.
Most US kitchens can fit a good station in 24 to 48 inches of counter, and many of the setups below cost under $150 once you already own a brewer. A pod brewer needs far less room than an espresso machine with a grinder, so do not copy a large setup into a small kitchen. Work through the zones in this guide — brew, mugs, prep, and storage — and pick the layout that fits your counter, your budget, and how many people drink coffee in your house.
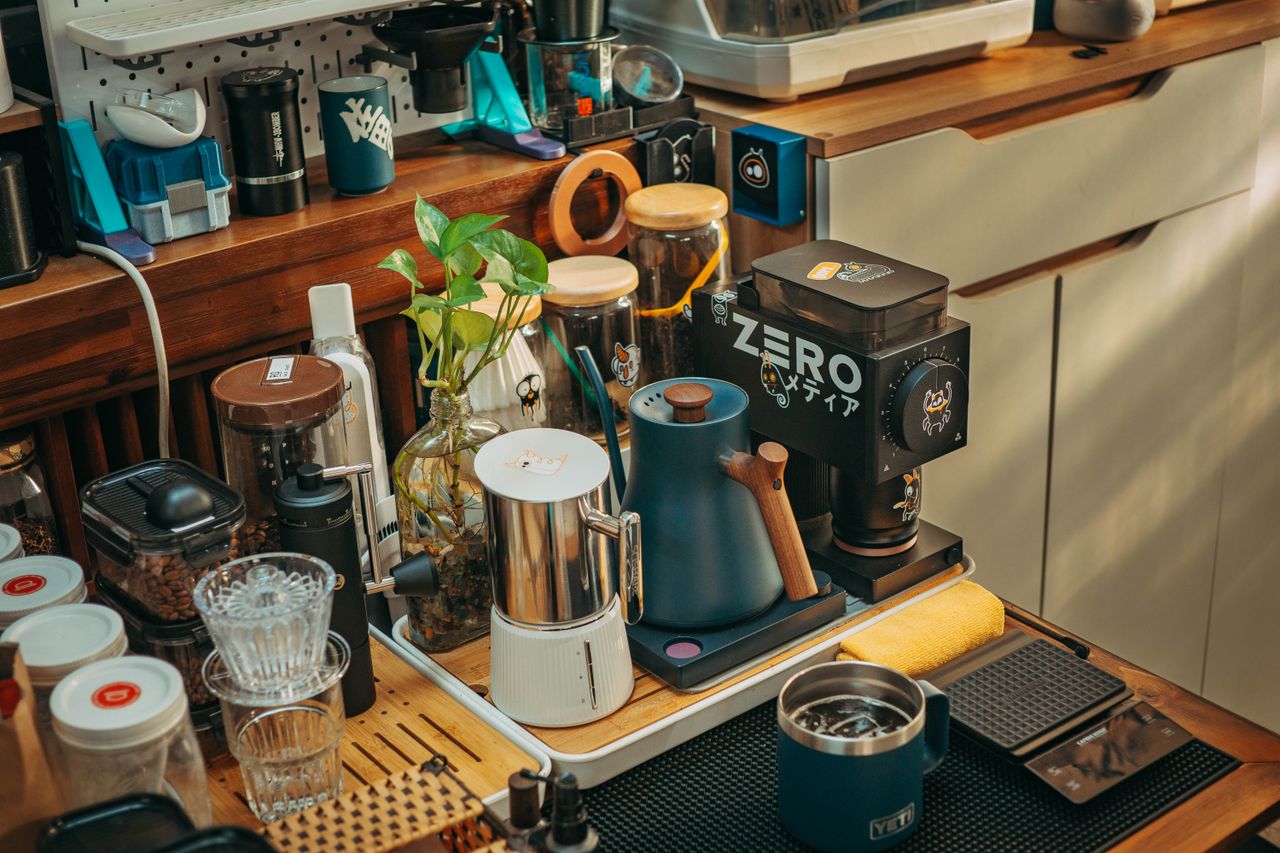
A busy hobbyist coffee station with a grinder, kettle, jars, and cups crowded onto wood counters. Photo via Pexels.
Table of Contents
- 1. Start With a Counter Corner
- 2. Roll It on a Cart
- 3. Put Mugs on the Wall
- 4. Convert a Sideboard
- 5. Build an Espresso Corner
- 6. Slow Down With Pour-Over
- 7. Grind Fresh and Store It Right
- 8. Make a Window Tray Nook
- 9. Add an Iced Coffee Station
- 10. Keep One Simple Machine Counter
1. Start With a Counter Corner
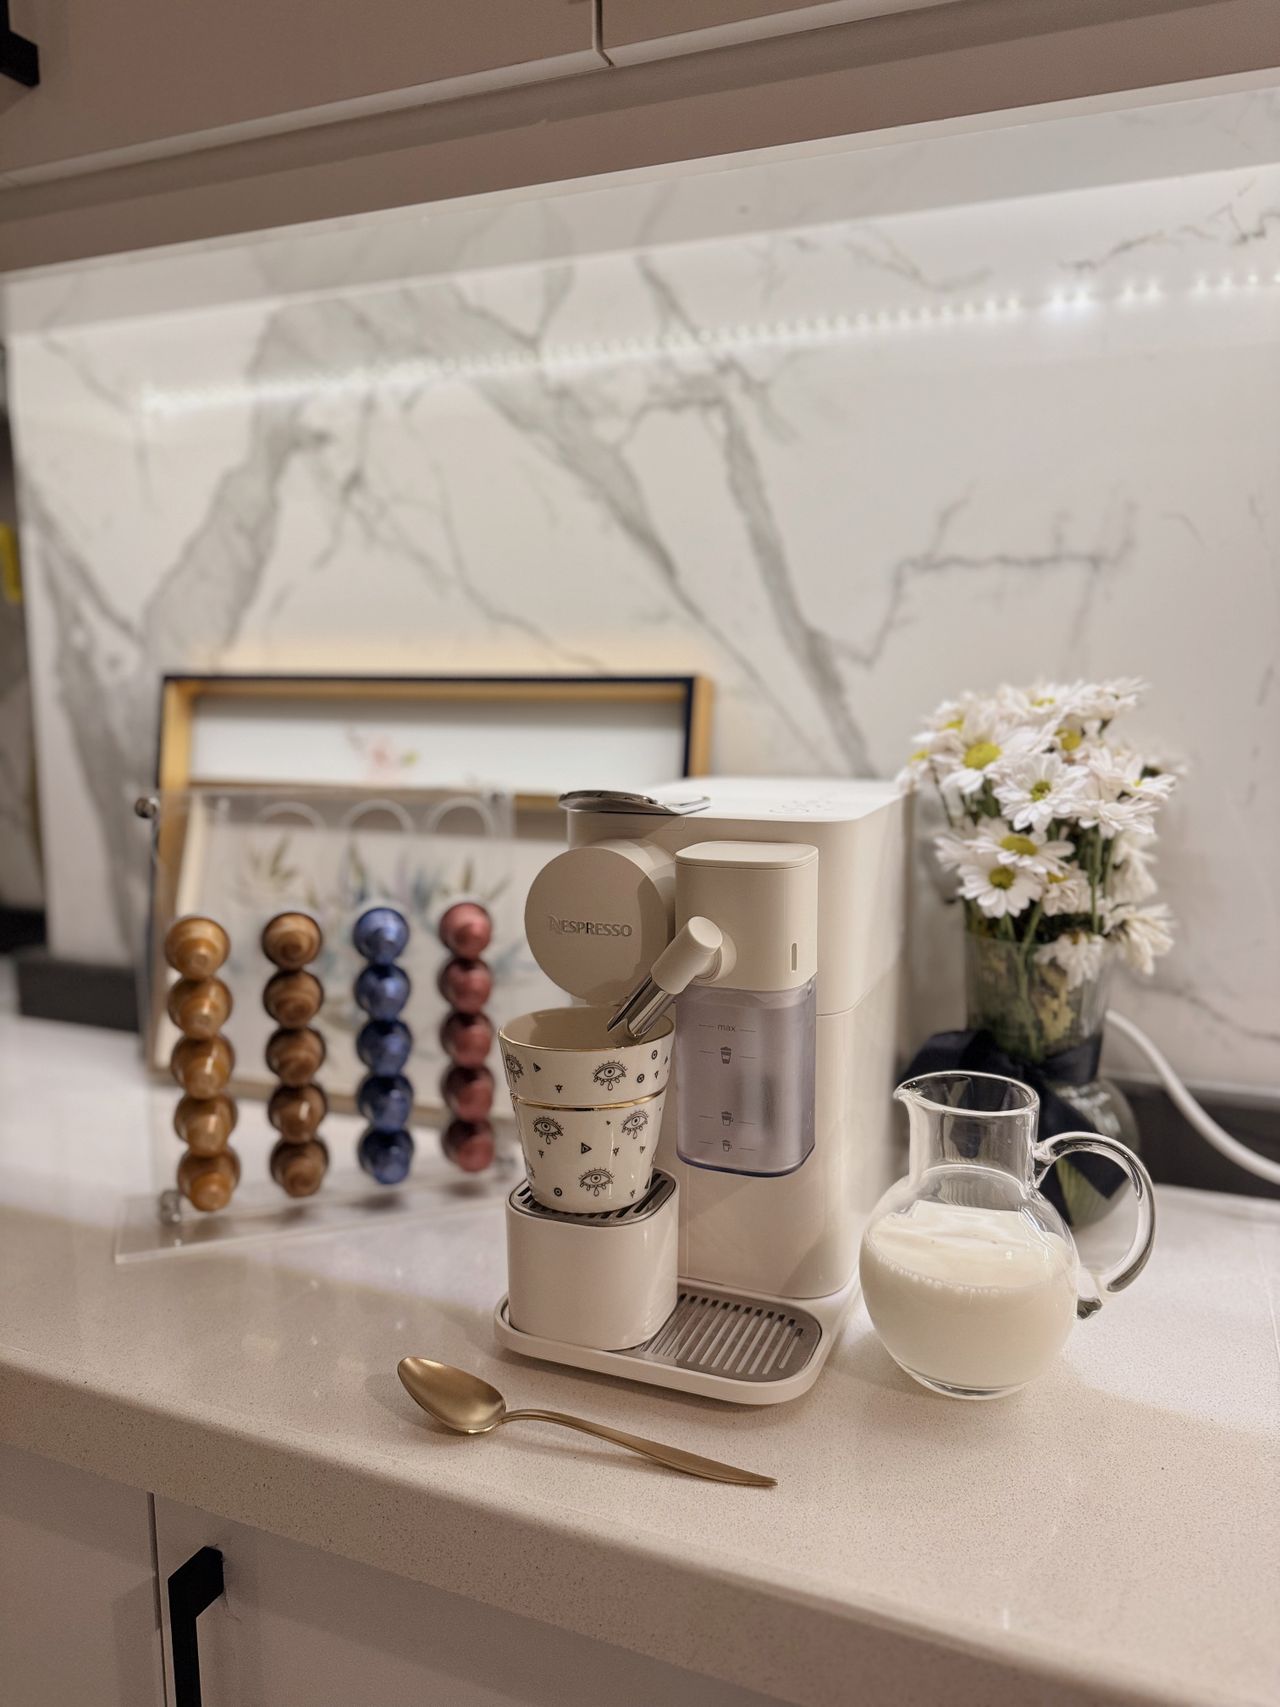
A white pod machine on a kitchen counter with capsules in a stand, a small milk jug, and a bunch of white flowers. Photo via Pexels.
Claim 24 to 36 inches of counter near an outlet and treat it as a complete station, not as overflow space for everything else in the kitchen. Put the brewer in front of the outlet, leave about 8 inches clear in front for a mug, and keep only daily items on the counter: the machine, two to four mugs, today's coffee, and one small tray for sugar and spoons. A pod brewer about 5 to 10 inches wide fits easily in 24 inches, while a drip brewer plus a grinder needs closer to 36 inches, so measure your machine with its lid open and add 2 to 3 inches for your hand before you buy any organizer. Keep the sink within a few steps, use a small mat under the machine to catch drips, and move backstock — extra pods, filters, and bulk beans — into a drawer or cabinet below. If the counter also has to serve as your main prep space, protect the morning routine by keeping the station at the end of the run, away from the stove, where grease and steam will not settle on clean mugs. For the wider room around the station, our guide to timeless kitchen design explains how calm cabinets and counters keep a busy kitchen looking good for years.
2. Roll It on a Cart
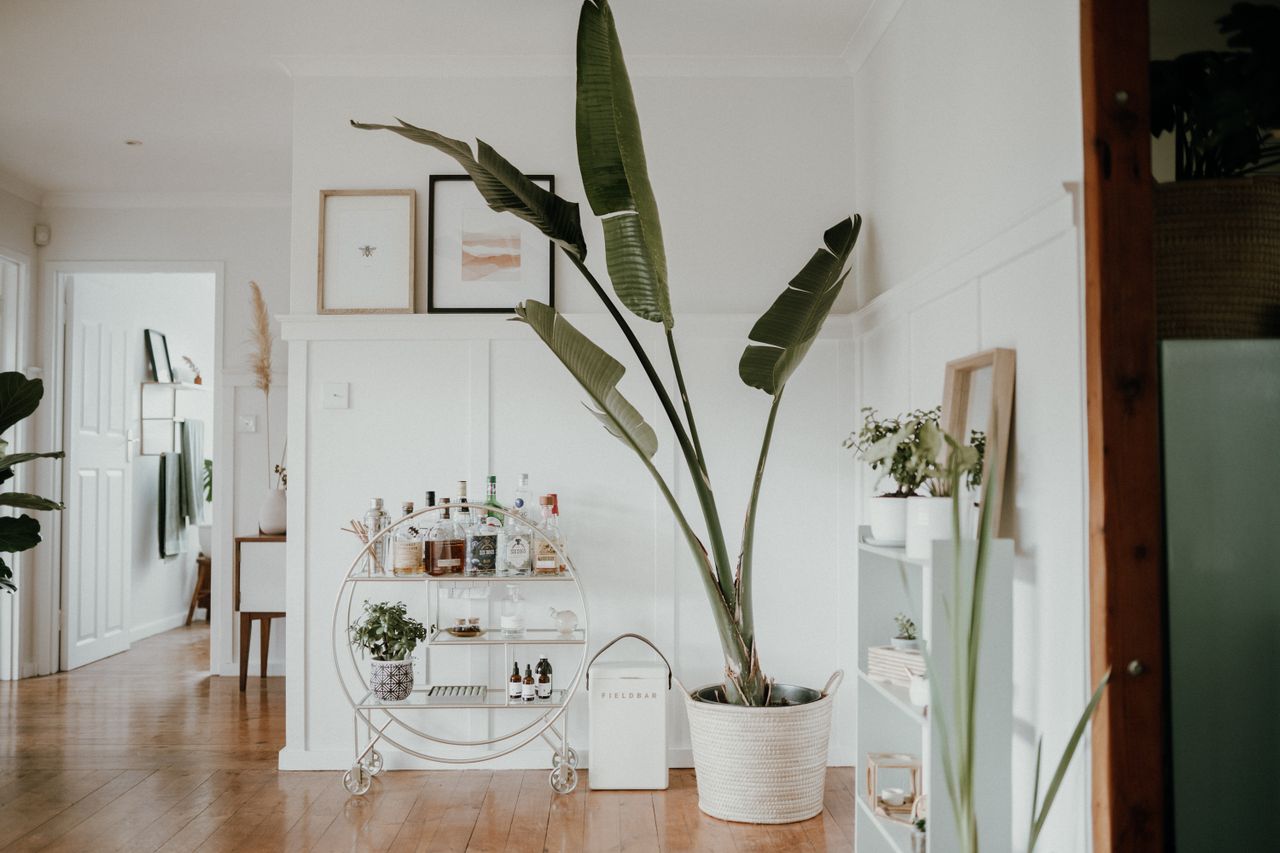
A round rolling bar cart in a living room, currently styled with bottles and a plant rather than coffee gear. Photo via Pexels.
A rolling cart is the best answer when your kitchen counter is already full, because it gives coffee its own piece of furniture that can park by an outlet and roll away for cleaning. Look for a cart about 24 to 30 inches wide with two or three shelves, a top that can hold a brewer weighing 10 to 20 pounds, and wheels that lock, since an unlocked cart will creep while you pour. Put the machine on top, mugs and a small tray on the middle shelf, and backstock below, and keep the cart's total weight in mind if you plan to roll it across a rug. The honest catch is power: the cart must live within cord reach of a grounded outlet, and a heating machine should plug straight into the wall, not into a cheap power strip, because an espresso machine or kettle can draw 1,200 to 1,600 watts. If you rent, a cart is a renter-friendly win — no drilling, no built-ins — and when guests come, you can roll the whole station to the dining area and back again in under a minute.
3. Put Mugs on the Wall

Wooden wall shelves crowded with mugs and small collectibles, not a clean coffee-only display. Photo via Wikimedia Commons.
Mugs are what crowd a coffee counter fastest, so getting them off the counter and onto the wall buys back more space than any organizer. A pair of floating shelves 10 to 12 inches deep, mounted into studs, holds a row of mugs on the lowest shelf, with canisters or decor higher up, and you should leave 14 to 18 inches between shelves so tall mugs slide out without tipping. Hooks under an upper cabinet work even better in a rental: a slide-on rack with six to nine hooks uses dead space between counter and cabinet, costs about $15 to $30, and needs no drilling, though you must check that hanging mugs do not block the brewer lid. Cap the display at two mugs per person plus two for guests and store the rest behind a door, because a wall of twenty mugs looks busy and collects grease near the stove. Keep everyday mugs on the side of your pouring hand, within one arm's reach, and put heavy stoneware low, where a fall will not break a foot or a tile.
4. Convert a Sideboard
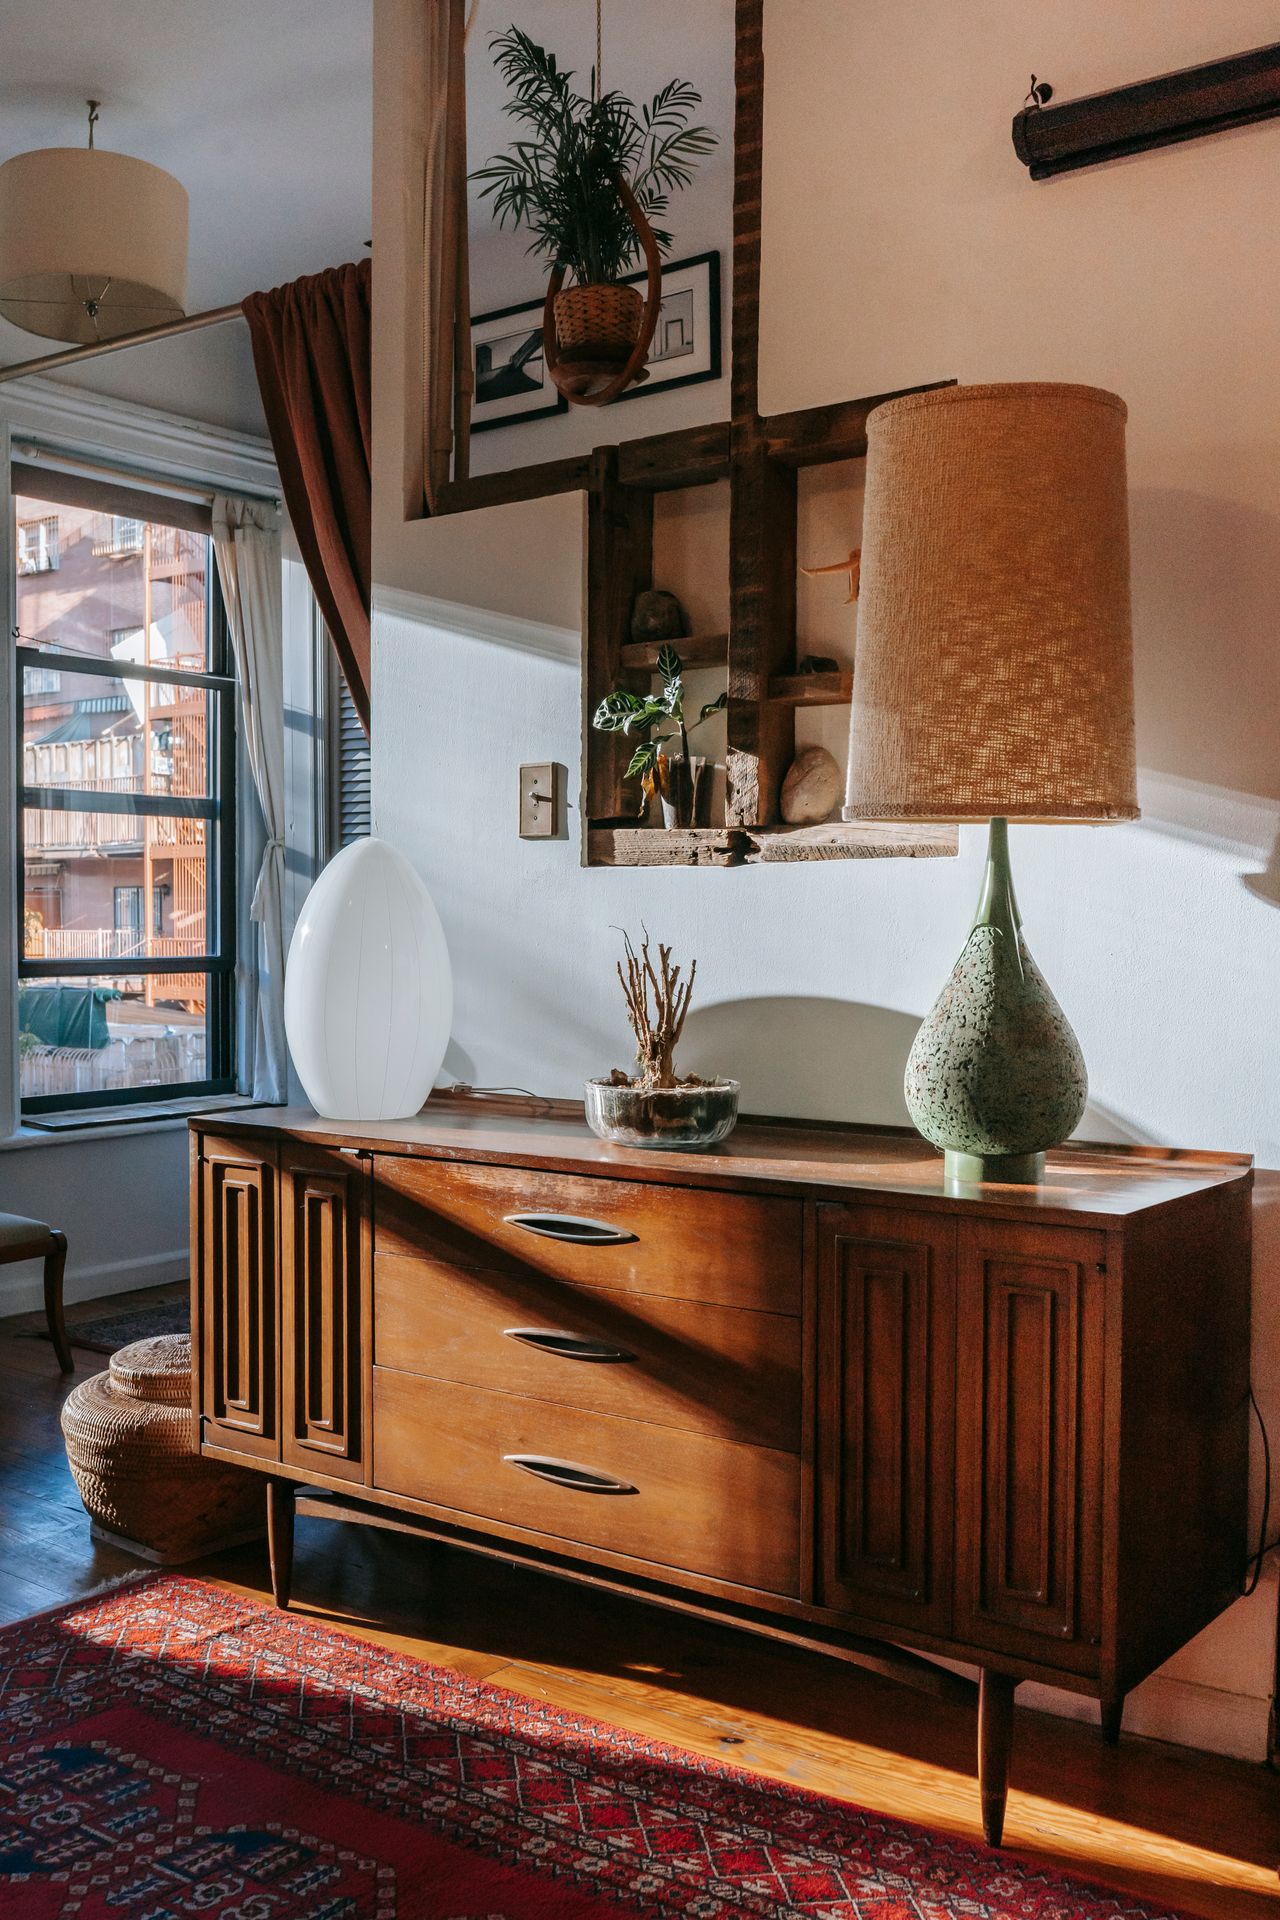
A long wooden sideboard styled with lamps and a plant, shown as the kind of furniture to convert, not yet a coffee station. Photo via Pexels.
A sideboard, buffet, or thrifted console makes a warm station outside the kitchen, and it is often the best choice for a dining room or living room corner. Choose a piece 30 to 36 inches tall, which matches kitchen counter height, and 16 to 18 inches deep, so a brewer, a tray, and a row of mugs fit without crowding the front edge. Store beans, filters, and spare mugs behind the doors, put a waterproof tray or mat under the machine, and add a small lamp or puck light if the corner is dark. The two things to check before you commit are power and heat: you need an outlet within cord reach, and a machine that steams should not brew inside a closed cabinet, so pull it forward or open the doors fully while it runs. Our guide to dining room built-in ideas covers the same logic for a built-in beverage station, including a 24-inch opening for a small fridge and an outlet placed before the counter goes on. A secondhand sideboard often costs $50 to $200, far less than new cabinets, and it moves with you.
5. Build an Espresso Corner

A stainless steel home espresso machine with a pressure gauge, beside a burr grinder on a dark counter. Photo via Wikimedia Commons.
An espresso corner rewards a little more space and a little more patience, and it is worth planning carefully because the gear is heavier and hotter than a pod brewer. Allow 48 inches of counter for a machine, a grinder, and a knock box, keep about 18 inches of clearance above the machine for the lid and your hand, and place the grinder on the side you dose from so grounds do not travel across the counter. A solid home espresso machine costs $300 to $1,200, a good burr grinder $80 to $200, and a knock box, tamper, and milk pitcher add roughly $40 to $80 more, so spend on the grinder before you upgrade the machine, since grind size changes flavor more than a small machine upgrade does. Keep a small towel, a tamping mat, and a cup warmer or a warm mug nearby, descale every two to three months in hard-water areas, and wipe the steam wand right after every milk drink so dried milk does not bake on. If two people drink milk drinks every morning, a machine with a fast steam wand saves real time, but if you mostly drink black coffee, a simpler brewer will give you a better cup for less money and less counter.
6. Slow Down With Pour-Over

A pour-over dripper on a digital scale beside a gooseneck kettle, with cookbooks and a grinder behind it. Photo via Wikimedia Commons.
A pour-over station is the cheapest way to get a truly excellent cup, and it fits on a tray barely wider than a cutting board. You need a dripper, paper filters, a gooseneck kettle, and a small scale, which together cost about $60 to $120, plus a burr grinder if you do not already own one. Use a simple ratio to start: about 15 grams of coffee to 250 grams of water for one 8-ounce mug, water just off the boil at about 200°F, and a medium grind that looks like coarse sand. Set the dripper on the scale, pour a little water to bloom the grounds for 30 seconds, then pour slowly in circles for about three minutes total, keeping the whole setup on a tray so drips never reach the counter. This station suits one or two drinkers who enjoy the ritual, and it stores in a drawer when guests need the counter. The trade-off is honest: pour-over takes four to five minutes of attention, so it is a weekend joy or a quiet-morning habit, not the fastest route out the door on a school morning.
7. Grind Fresh and Store It Right

A black burr grinder beside a small canister of coffee beans on a dark counter. Photo via Wikimedia Commons.
Fresh grinding is the single upgrade most coffee drinkers notice first, and it needs only one corner of the station done well. Buy whole beans in small amounts you will use within one to two weeks, store them in an opaque, airtight canister at room temperature, away from the stove and the window, and grind only what you need for each pot, since ground coffee loses aroma far faster than whole beans. A burr grinder, not a blade chopper, gives even particles: coarse for French press, medium for drip, fine for espresso, and most home burr grinders cover that range with a numbered dial. Brush out the grinder weekly and deep-clean it monthly, because old coffee oils turn bitter and taint every new batch. Keep the canister, not a clear glass jar, on the counter if the spot gets sun, and write the roast date on the lid so the oldest bag gets used first. If you drink pods most days, skip the grinder entirely and spend the money on better pods and a pod drawer instead.
8. Make a Window Tray Nook
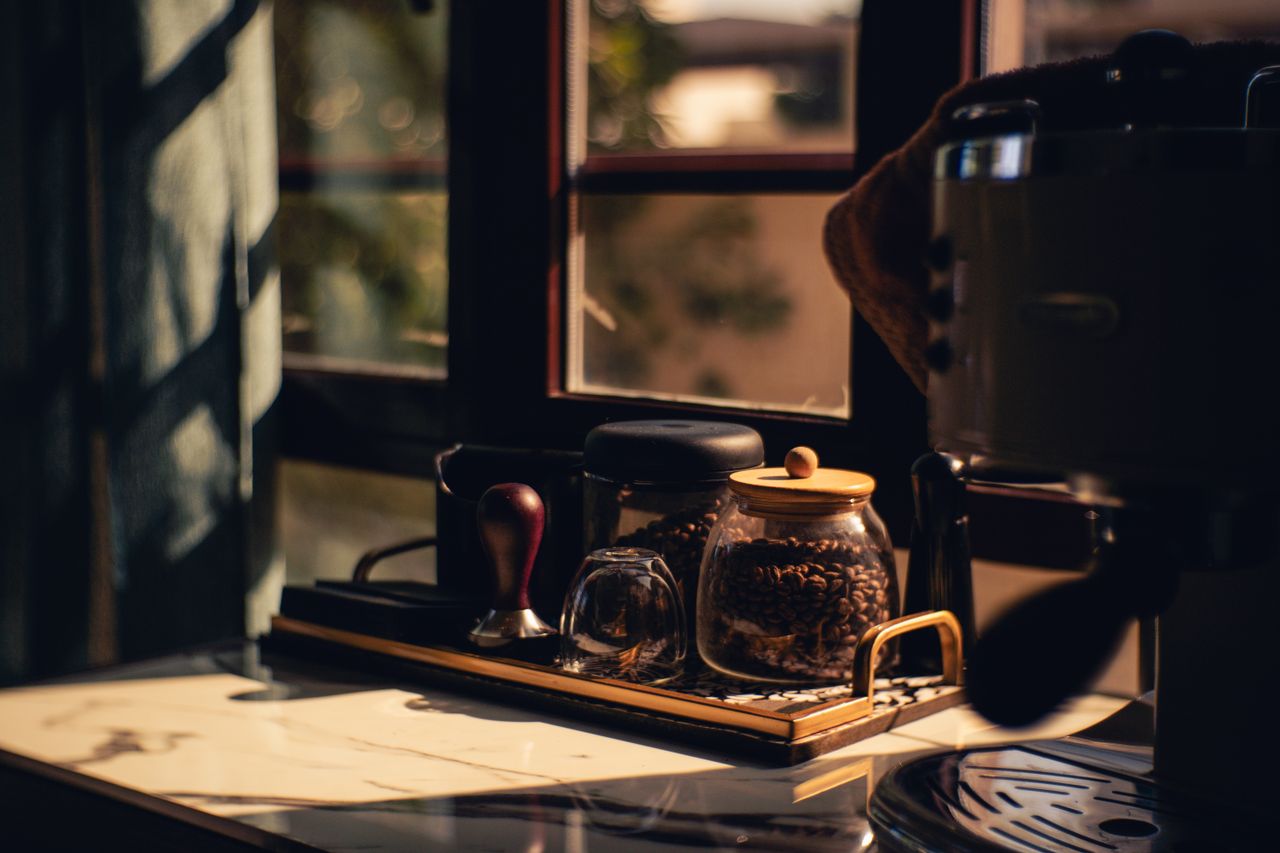
A tray holding coffee bean jars and a tamper by a window, with an espresso machine partly in shadow at the right. Photo via Pexels.
A window nook works when you have more light than counter, and a single tray is what keeps it from spreading across the whole sill. Choose a tray 12 to 16 inches wide with a lip, set it by the window, and put only the daily kit on it: the brewer or kettle, one bean jar, a tamper or scoop, and one small cup. Morning light makes the corner feel special, but it also stales beans fast, so keep the bean jar opaque or in a shaded spot on the tray, never in direct sun for hours. A tray also solves the rental problem, since you can lift the whole station off the sill to clean, and it protects wood sills from drips and rings. Add one small plant and one framed print if you like, but stop there: every decor item on the tray is one less inch for a mug. If your window is over the sink, this nook doubles as a drying spot for the morning cups, and it keeps the main prep counter completely clear.
9. Add an Iced Coffee Station
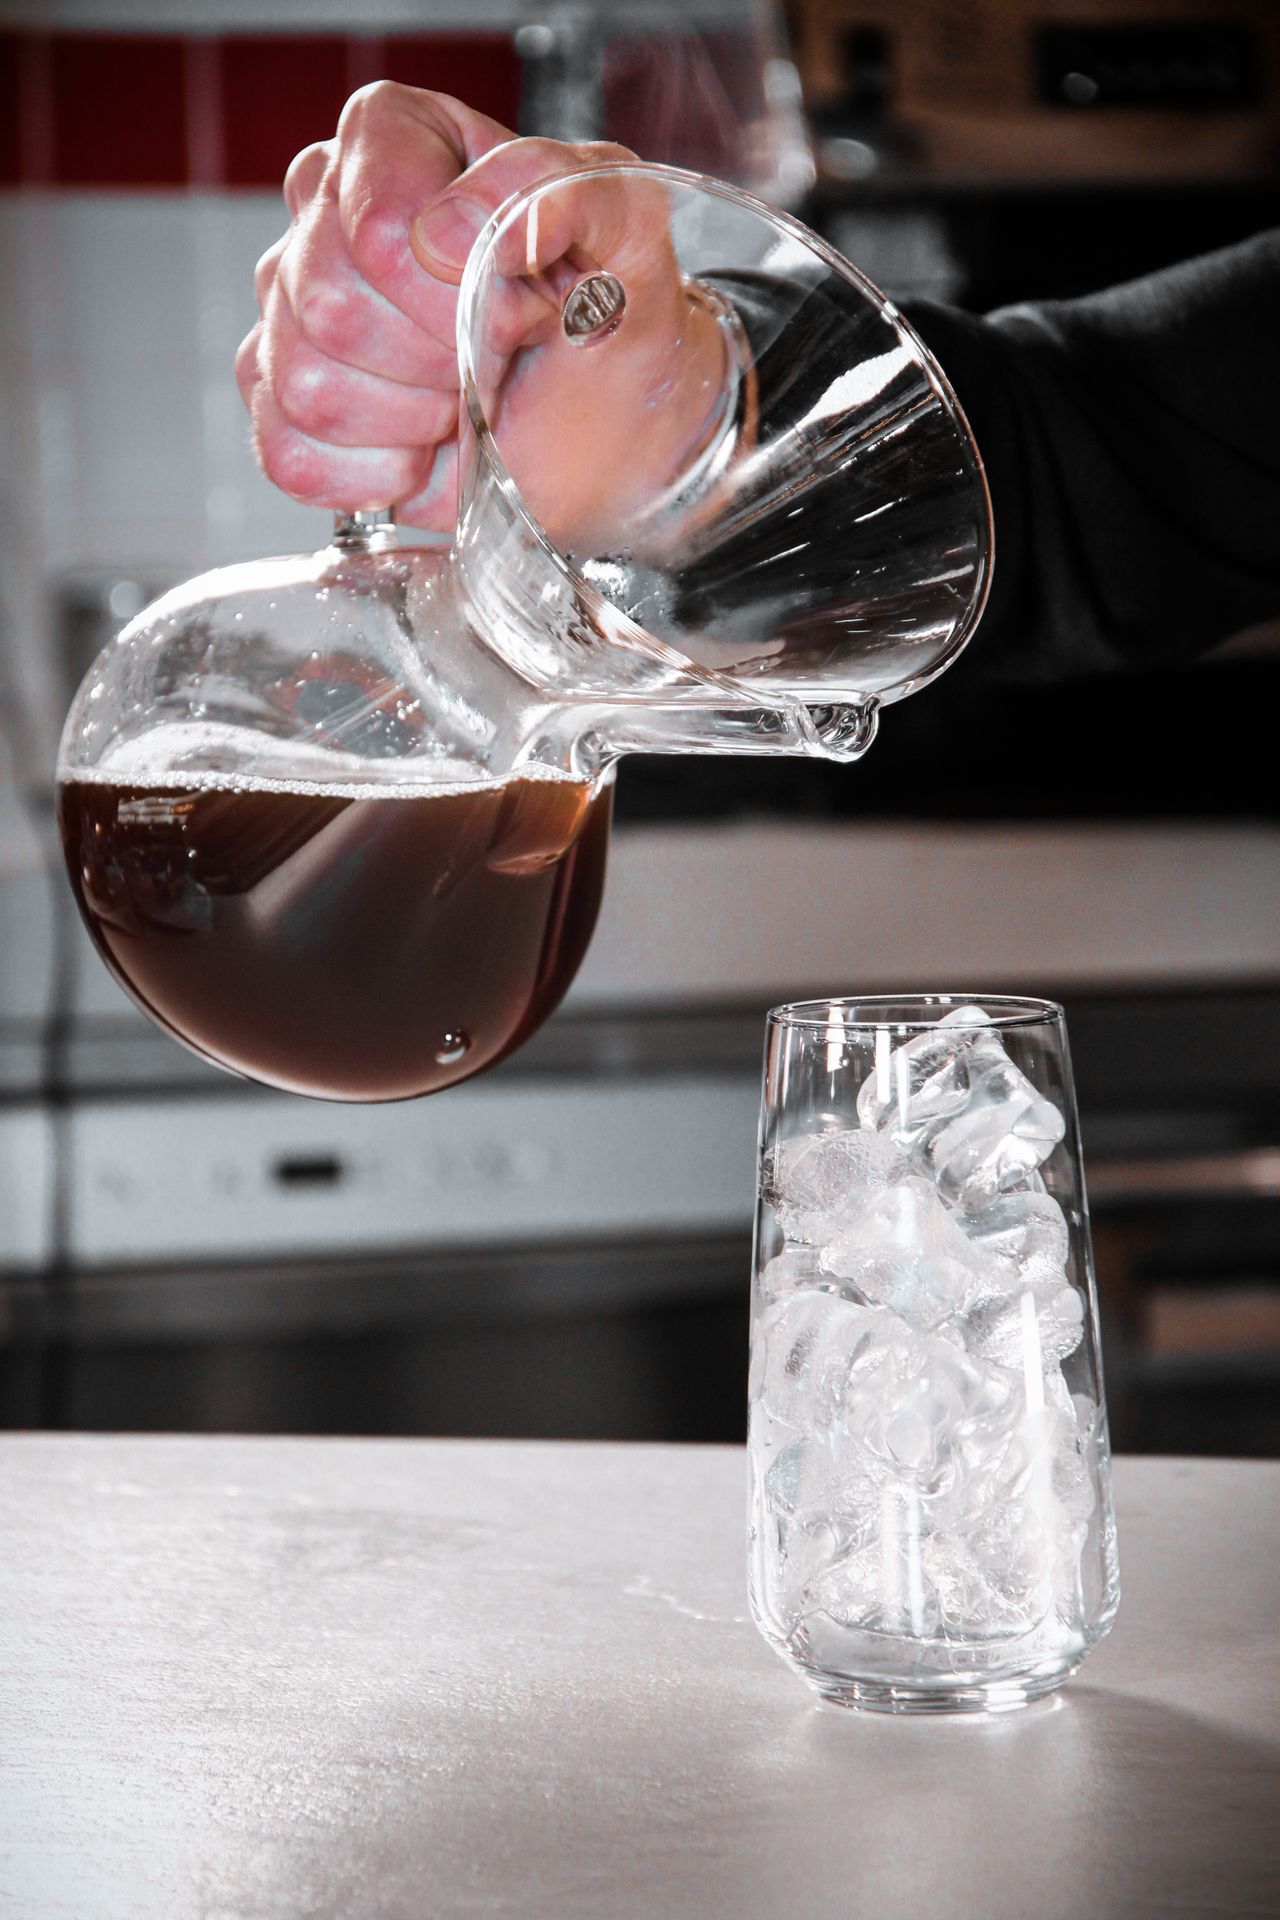
A hand pouring coffee from a glass pitcher into a tall glass full of ice on a counter. Photo via Pexels.
An iced station needs only a pitcher, tall glasses, and a cold-brew jar, and it saves a surprising amount of money in summer if your household buys iced drinks often. For cold brew, mix one cup of coarse-ground coffee with four cups of cool water in a large jar, steep 12 to 16 hours at room temperature, strain through a fine filter, and store the concentrate in the fridge for up to a week, diluting it one part concentrate to one part water or milk. For fast iced coffee, brew a double-strength pot, pour it straight over a full glass of ice, and skip the fridge-cooling step, which dulls flavor. Keep a dedicated shelf in the fridge door for syrups and a small bin for ice, label the concentrate with the date, and use coffee ice cubes made from leftover brew so the drink does not water down. A cold-brew jar costs about $25 to $40, tall glasses $10 to $20 for a set of four, and the whole station fits on one fridge shelf plus a small tray by the machine.
10. Keep One Simple Machine Counter
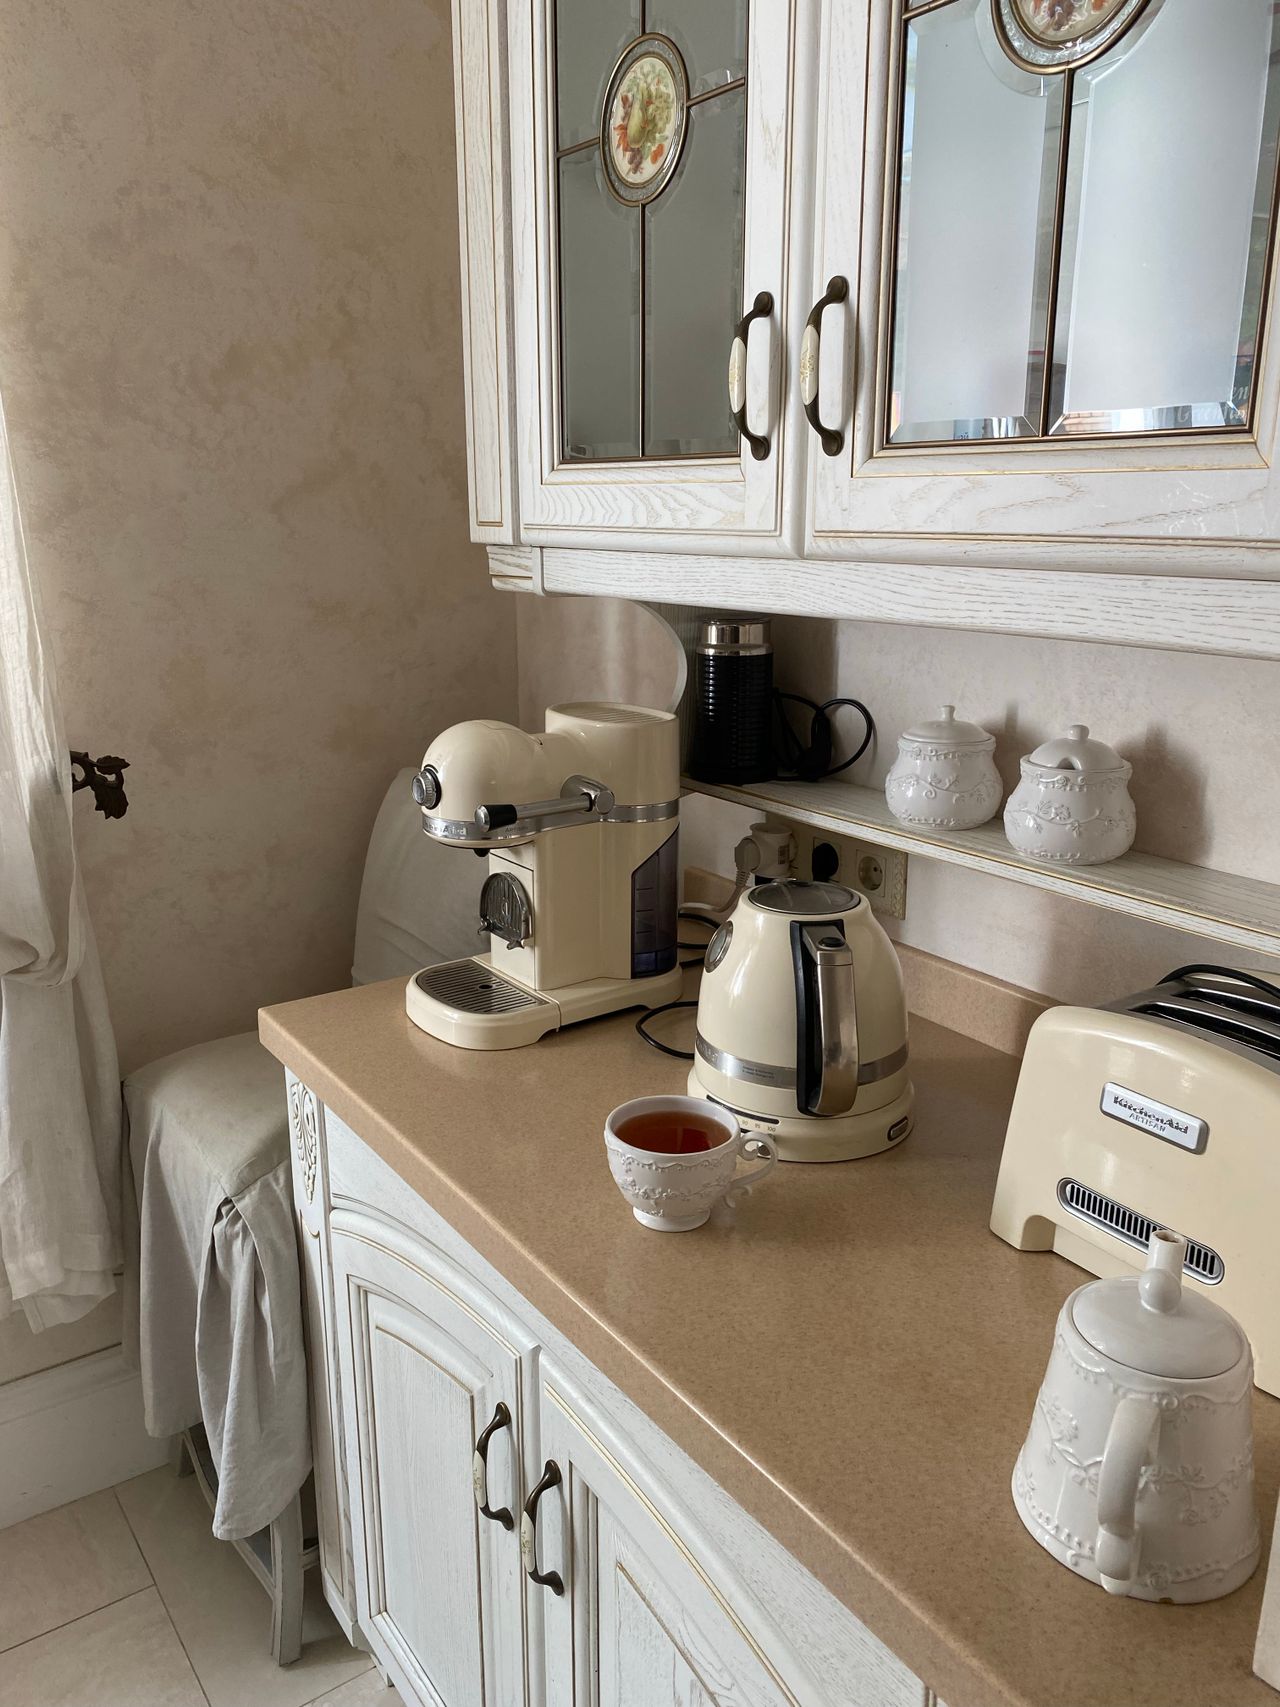
A cream kitchen counter with a coffee machine, kettle, toaster, and a cup, in a traditional-style kitchen. Photo via Pexels.
When in doubt, keep one good machine, one kettle, and one tray, and let everything else live in a cabinet. This is the setup that survives busy households, because there is almost nothing to tidy: the machine brews, the kettle handles tea and pour-over, and a single tray holds sugar, spoons, and today's mugs. Choose a machine you will actually descale and clean — a $100 to $250 drip or pod brewer beats a $900 espresso machine that sits unused because it feels like a chore — and place a small trash bin or compost caddy within two steps for filters and pods. Wipe the tray once a day, refill the bean jar on Sunday, and do a five-minute reset every week: toss empty boxes, wipe the mat, and put stray mugs back in the cabinet. The result is not the most photogenic station in this guide, but it is the one most families still love in year three, when the novelty of a big setup has worn off and the morning routine matters more than the display.
Frequently Asked Questions
How much counter space does a coffee station need?
Plan on 24 inches for a pod brewer with a mug tree and one jar, 36 inches for a drip brewer plus a grinder, and 48 inches for an espresso machine, grinder, and knock box, always leaving about 8 inches clear in front for pouring.
Where is the best place for a coffee bar in a small kitchen?
Use the end of a counter run near an outlet and near the sink, or a rolling cart parked by an outlet, and move mugs to hooks or a shelf so the counter holds only the machine and daily items.
Should coffee beans go in the fridge or freezer?
No, do not store daily beans in the fridge, where moisture and food smells spoil them. Keep them in an opaque, airtight canister at room temperature and buy only one to two weeks' worth at a time.
What is the cheapest good coffee bar setup?
A pour-over dripper, filters, a gooseneck kettle, and a scale cost about $60 to $120, and a tray, a mug tree, and one canister add roughly $30 to $50 more, making it the best value for one or two drinkers.
How do I keep a coffee bar from getting cluttered again?
Cap displayed mugs at two per person plus two for guests, keep backstock in a drawer or cabinet, follow a one-in, one-out rule for new mugs and syrups, and do a five-minute reset every Sunday.
Final Thoughts
The best station is the one you use every morning without thinking, not the largest or the most expensive one. Measure first, pick a brewer that matches what you actually drink, give mugs and beans a fixed home, and leave the front of the counter clear. Start with one idea from this guide, live with it for two weeks, and only then add a shelf, a cart, or a second brewer if the routine still has a real gap.
Once the layout works, the small habits do the rest: buy beans in small amounts, grind fresh, descale on schedule, and reset the tray on Sunday. That is how a coffee corner stays cozy instead of turning back into a crowded counter, and how a simple morning cup stays the best part of the day.
Sources
- The Home Coffee Bar — How to Set Up a Coffee Bar at Home
- The Home Coffee Bar — Coffee Bar Organization Ideas
- KitchenAid — Storing Coffee Beans and Grounds
Gallery

A cup of coffee with swan-shaped latte art on a saucer outdoors. Photo via Wikimedia Commons.

A large tray filled with roasted coffee beans. Photo via Wikimedia Commons.

A small electric coffee grinder with beans on a granite counter, not a French press as the file name suggests. Photo via Wikimedia Commons.

No comments:
Post a Comment