If you have only a tiny yard, a patio, or a balcony, these small greenhouse ideas can still give you fresh herbs, salads, and tomatoes for much of the year. A covered growing space does not have to be big to be useful. It just has to catch sun, hold a little warmth, and let you reach every plant without a struggle.
The trick is to match the structure to your space and to the crops you actually eat. A lean-to against a sunny wall, a tiered mini unit on a balcony, or a small walk-in kit on a patio can all work well. In this guide you will learn how to pick a spot, add heat and airflow, set up shelves and watering, and plan crops for spring, summer, fall, and winter.
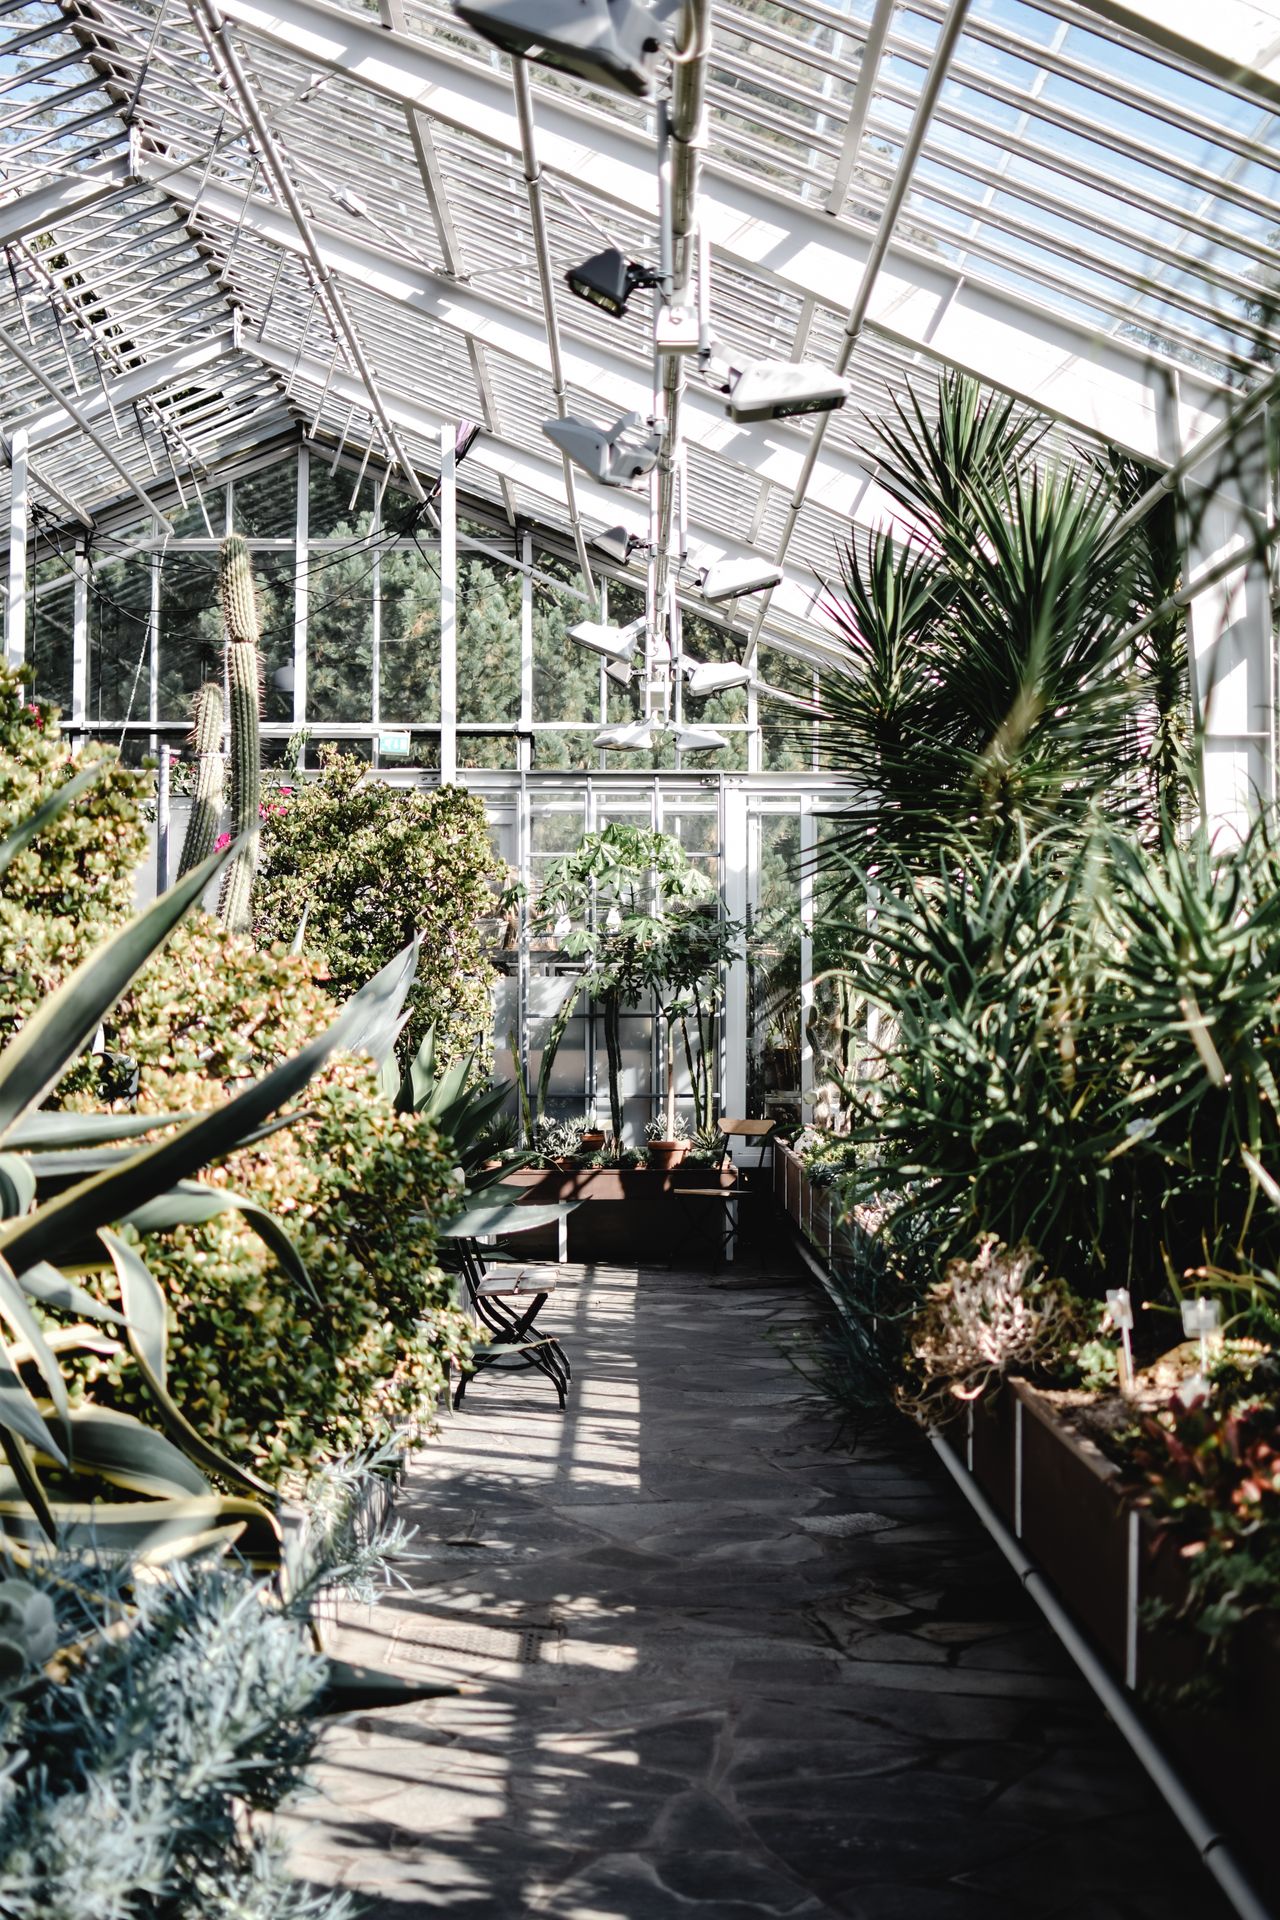
Table of Contents
- 1. Lean Against a Sunny Wall
- 2. Tiered Mini for a Balcony
- 3. A Walk-In Kit for a Small Patio
- 4. Start Seeds Early, Then Harden Them Off
- 5. Shelves, Hanging Pots, and Vertical Growing
- 6. Gentle Heat for Winter Nights
- 7. Ventilation and Shade Before Heat Builds
- 8. Water Slowly and Check the Soil First
- 9. A Herb Corner That Pays for Itself
- 10. A Simple Four-Season Crop Plan
- FAQs
- Final Thoughts
1. Lean Against a Sunny Wall
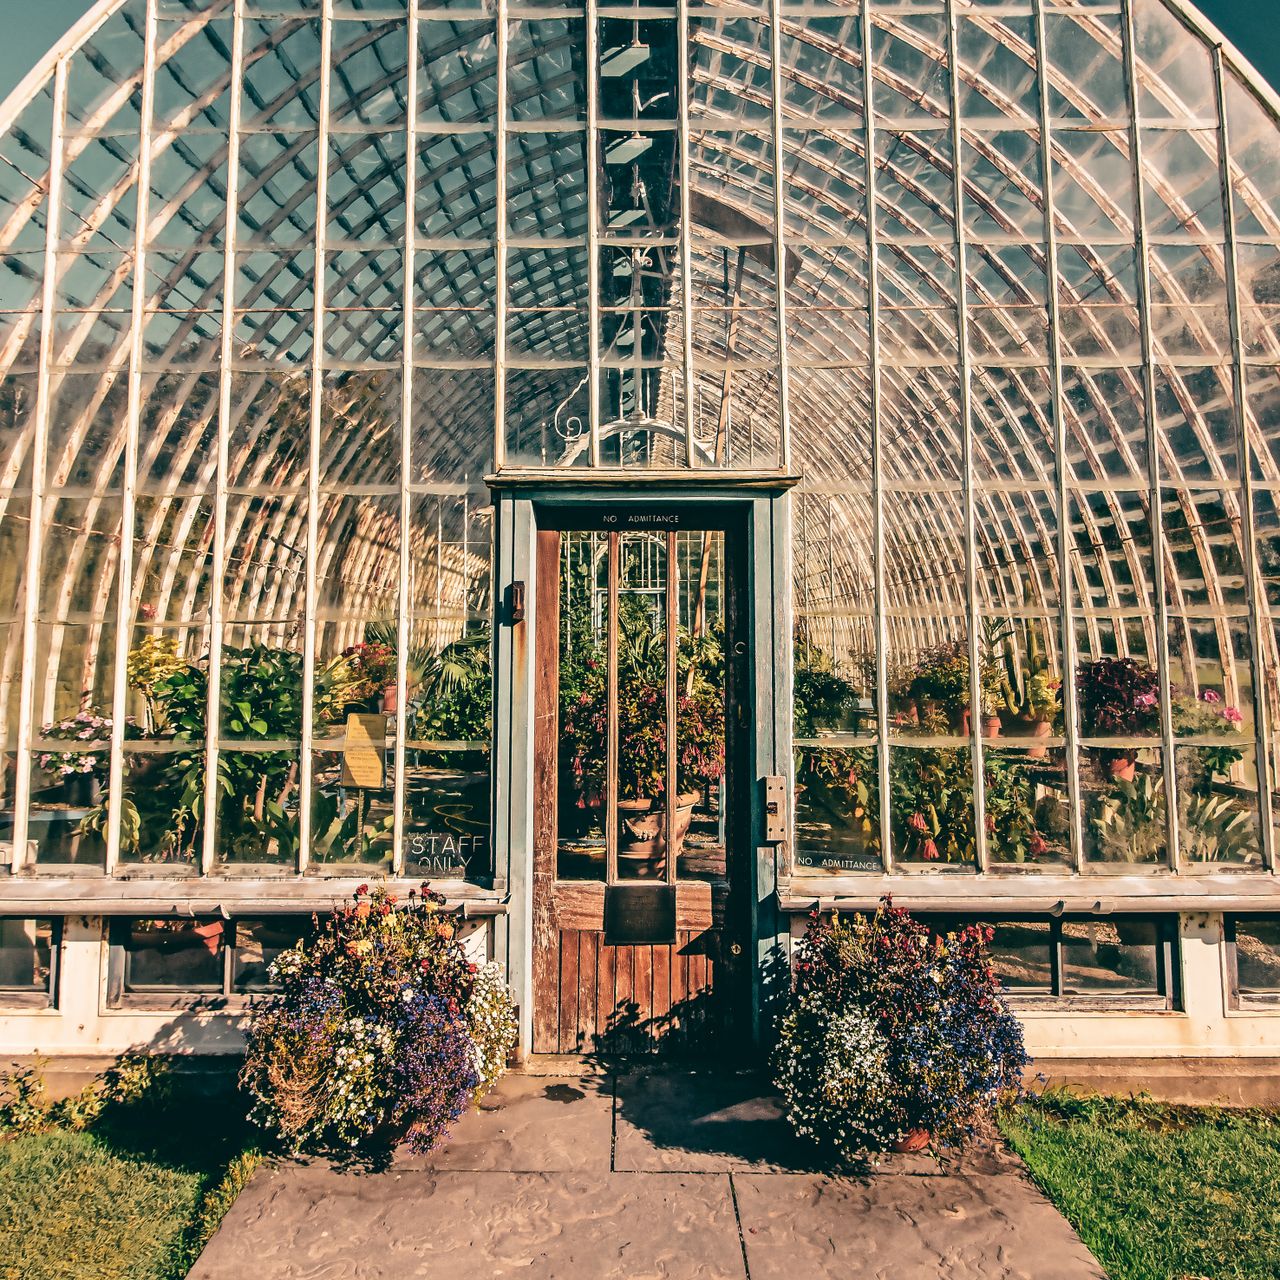
A lean-to is one of the smartest choices for a narrow side yard or a small patio. It uses a wall of your house as its back, so it takes less material, less ground, and less money than a freestanding building. The wall also stores daytime warmth and gives it back slowly at night, which helps tender plants through a cool spring evening. Pick a south-facing wall when you can, leave a path wide enough for a watering can, and make sure rainwater can drain away from the foundation.
Keep the design simple and sturdy. A frame 2 feet deep can hold two rows of pots or one shelf of trays, while a 4-foot-deep version gives you room to step in and work. Anchor the frame well, because a light cover can catch wind like a sail. Seal gaps around the door, but leave a vent or an opening window near the top so hot air can escape. That mix of a warm wall, a tight cover, and one good vent is what makes a lean-to work so well in a small space.
2. Tiered Mini for a Balcony
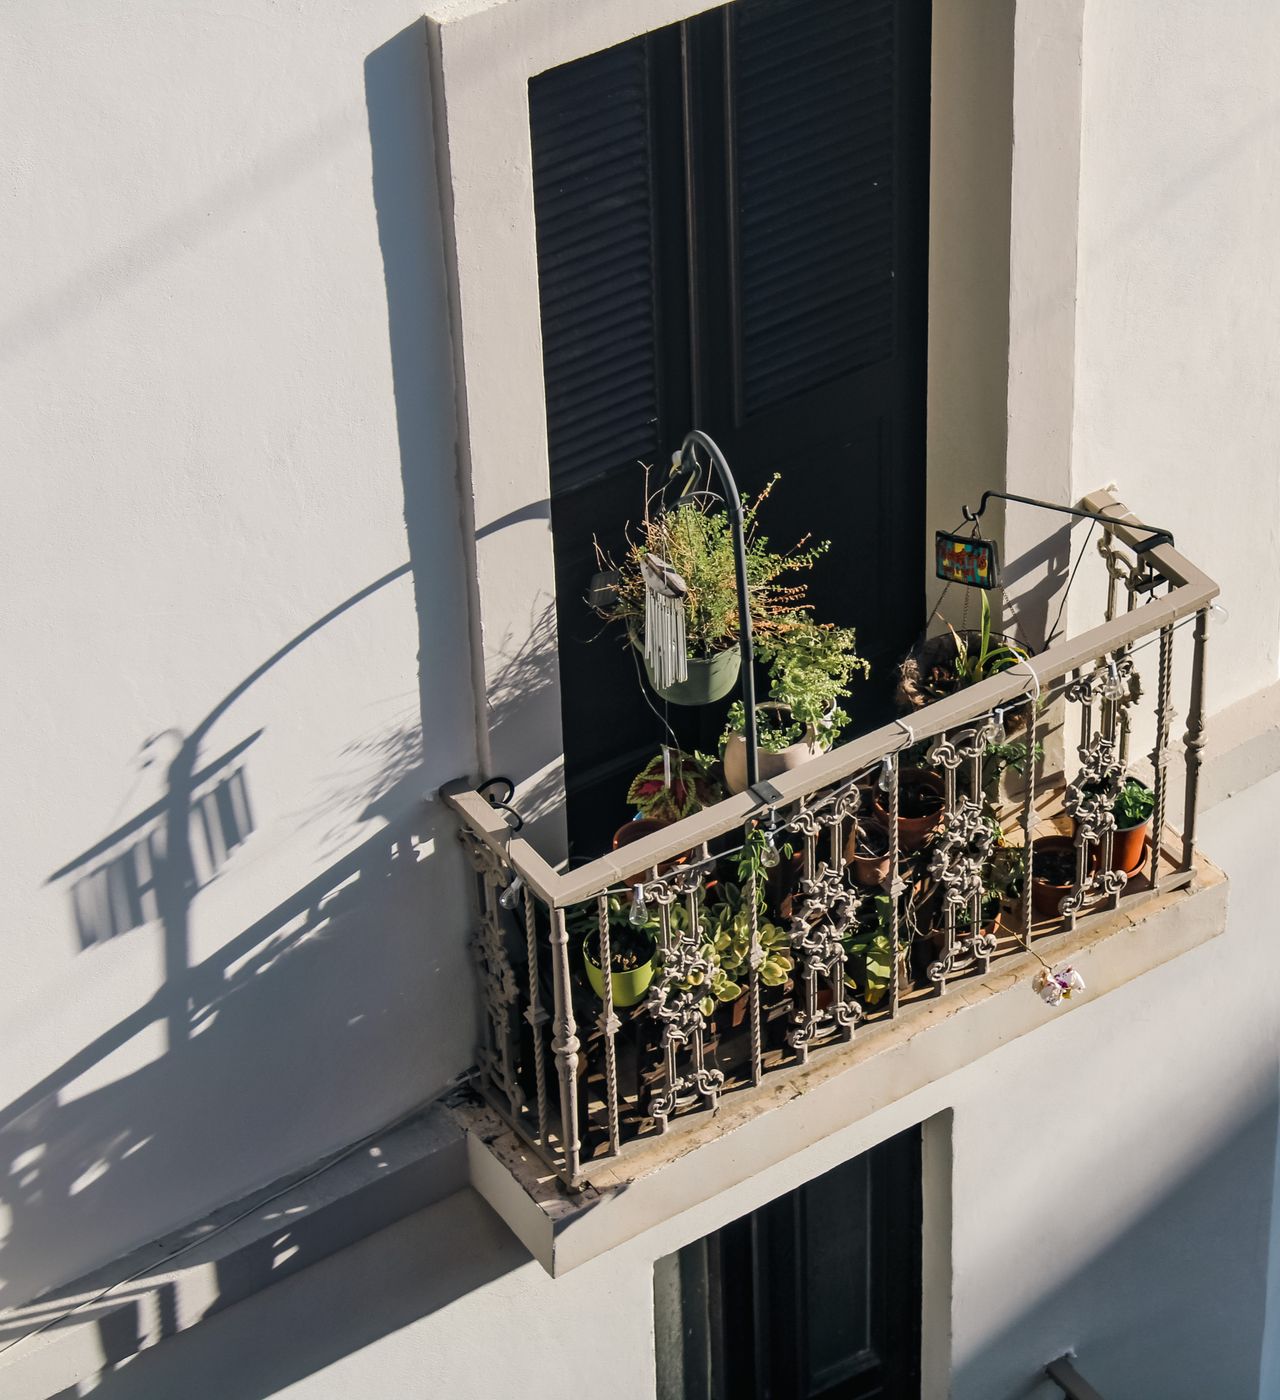
A tiered mini unit is the balcony gardener's best friend. It is often only about 27 inches wide and 19 inches deep, yet four shelves can hold dozens of small pots, seed trays, and trailing plants. Put the tallest plants on the bottom shelf and the smallest seedlings on top, where light is strongest. Weigh the base down or strap the frame to the railing, since a top-heavy unit can tip in a gust, and always check your building rules and weight limits before you load it up.
Think of the cover as a tool, not a permanent wall. Zip it closed on cold nights, roll it open on warm days, and take it off entirely in a heat wave if plants start to wilt. For more balcony garden plans that fit a tight railing or corner, pair the mini unit with rail planters and one hanging basket so the floor stays clear. That way you can still use the balcony for morning coffee while your greens grow beside you.
3. A Walk-In Kit for a Small Patio
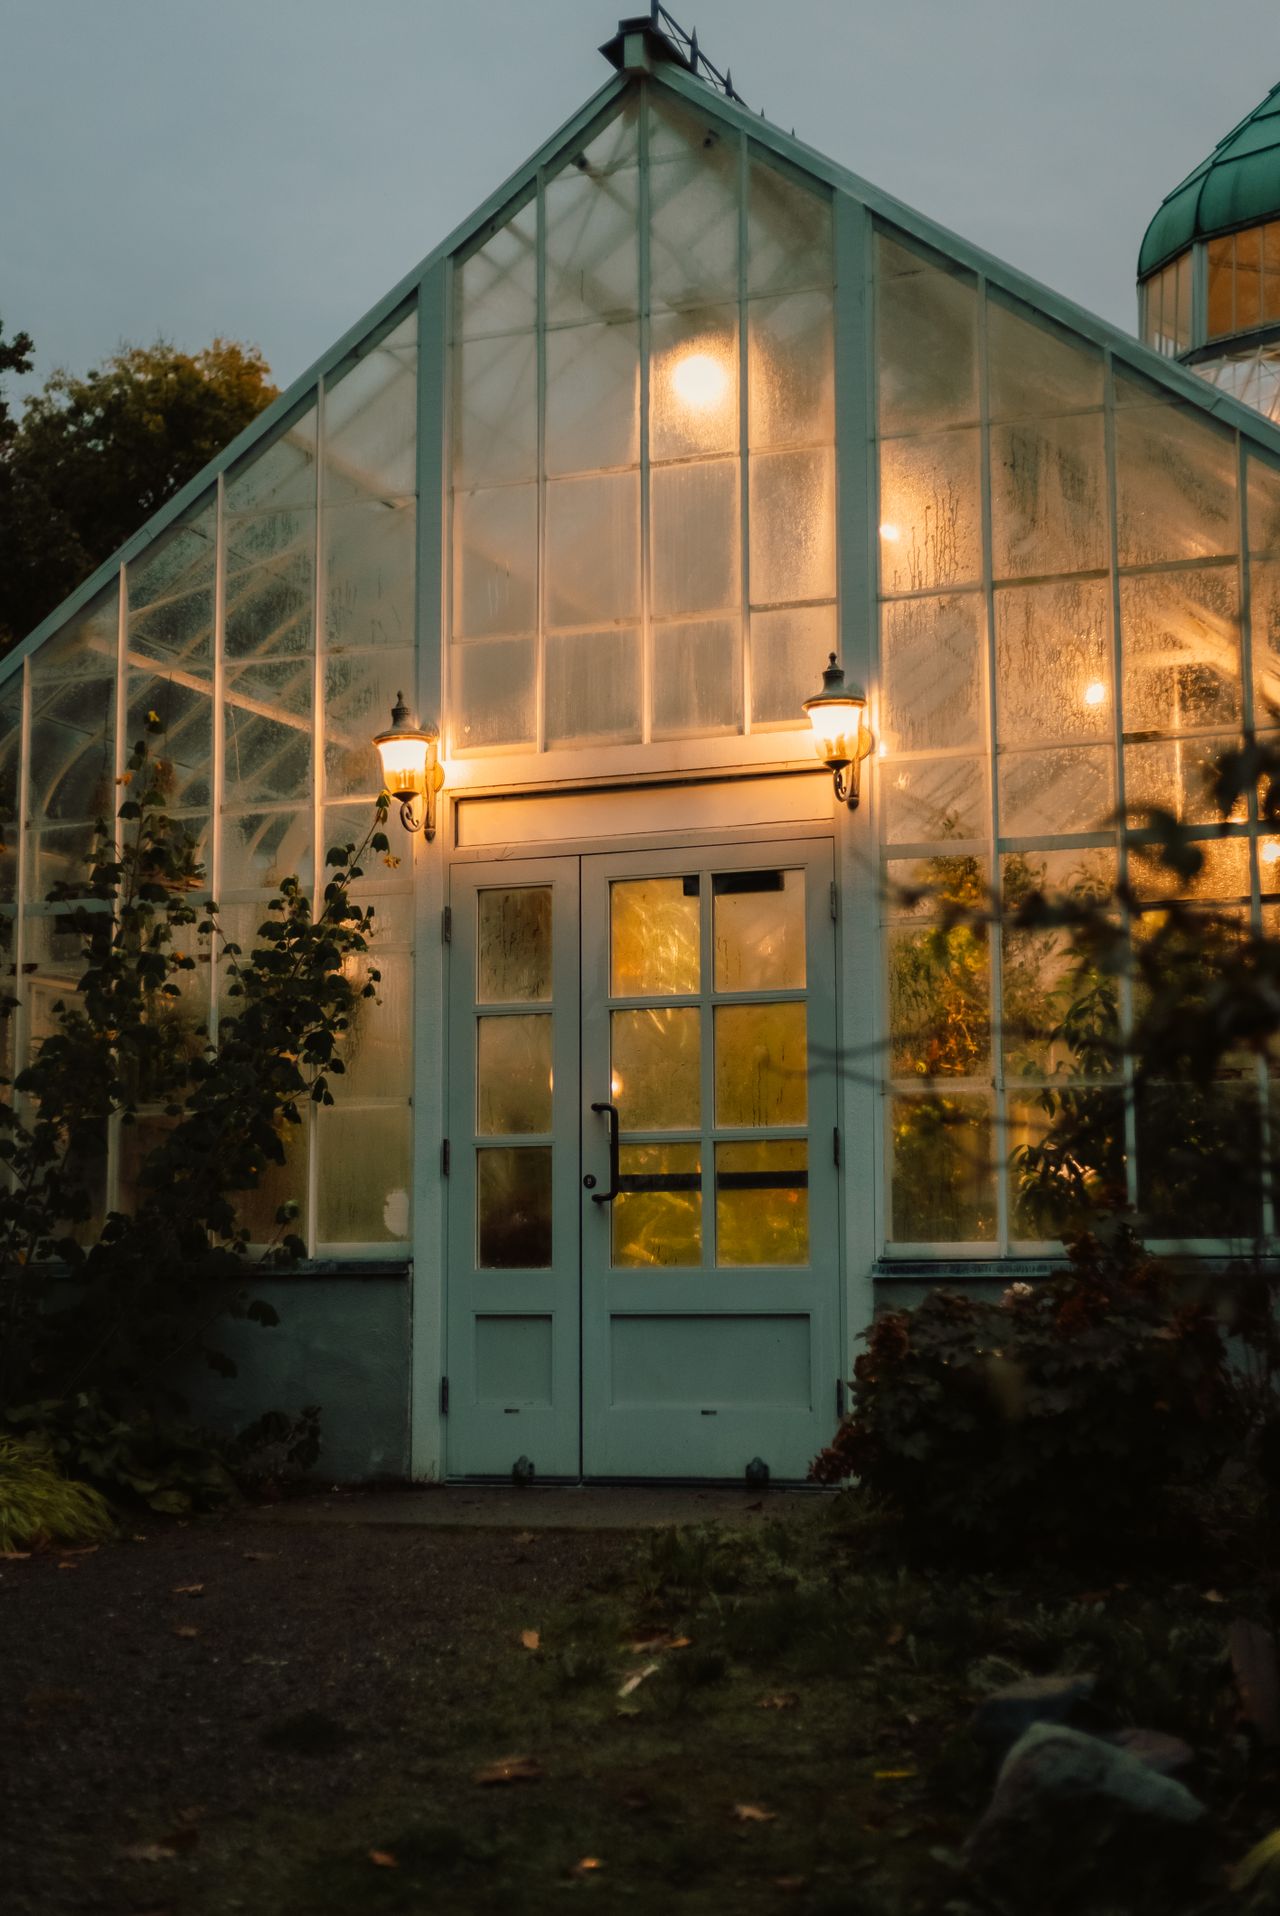
A walk-in kit, often 6 feet by 4 feet or 6 feet by 8 feet, is the smallest size that still lets you step inside, and that step changes everything. You can water, prune, and pick without dragging pots out into the yard, and you can hang a thermometer at eye level where you will actually see it. Look for a kit with a door you can open wide, at least one roof vent, and a frame you can anchor to a patio or a gravel base. Polycarbonate panels last longer than thin plastic film and handle hail and bumps far better.
Before you buy, measure twice, including the swing of the door and the space to carry a bag of soil through it. A portable pop-up version costs less and folds away for winter, but it needs extra stakes and weights, and its cover may last only one or two seasons. If you plan to grow through winter, spend a little more on a sturdier frame and a cover you can replace panel by panel. A kit that survives three winters is cheaper in the end than a bargain kit you replace every spring.
4. Start Seeds Early, Then Harden Them Off
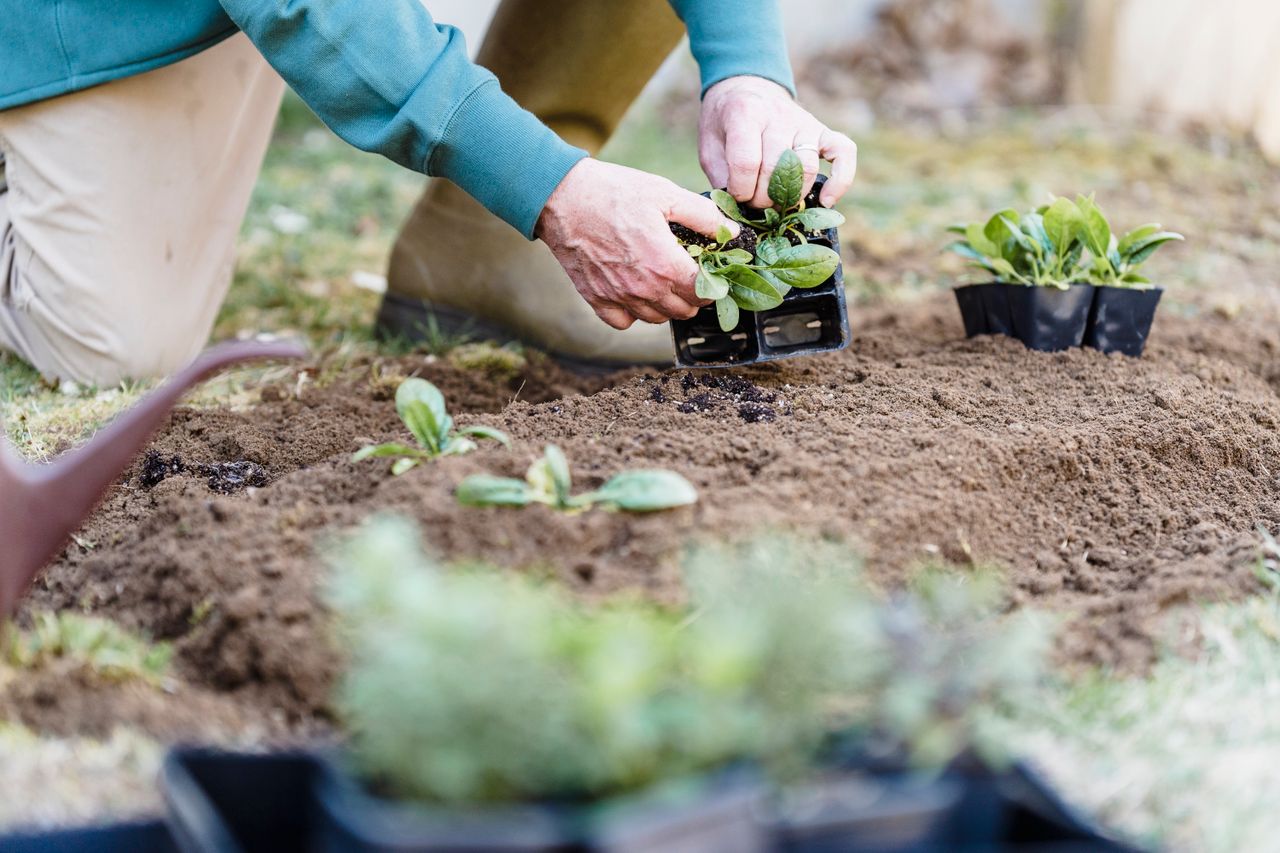
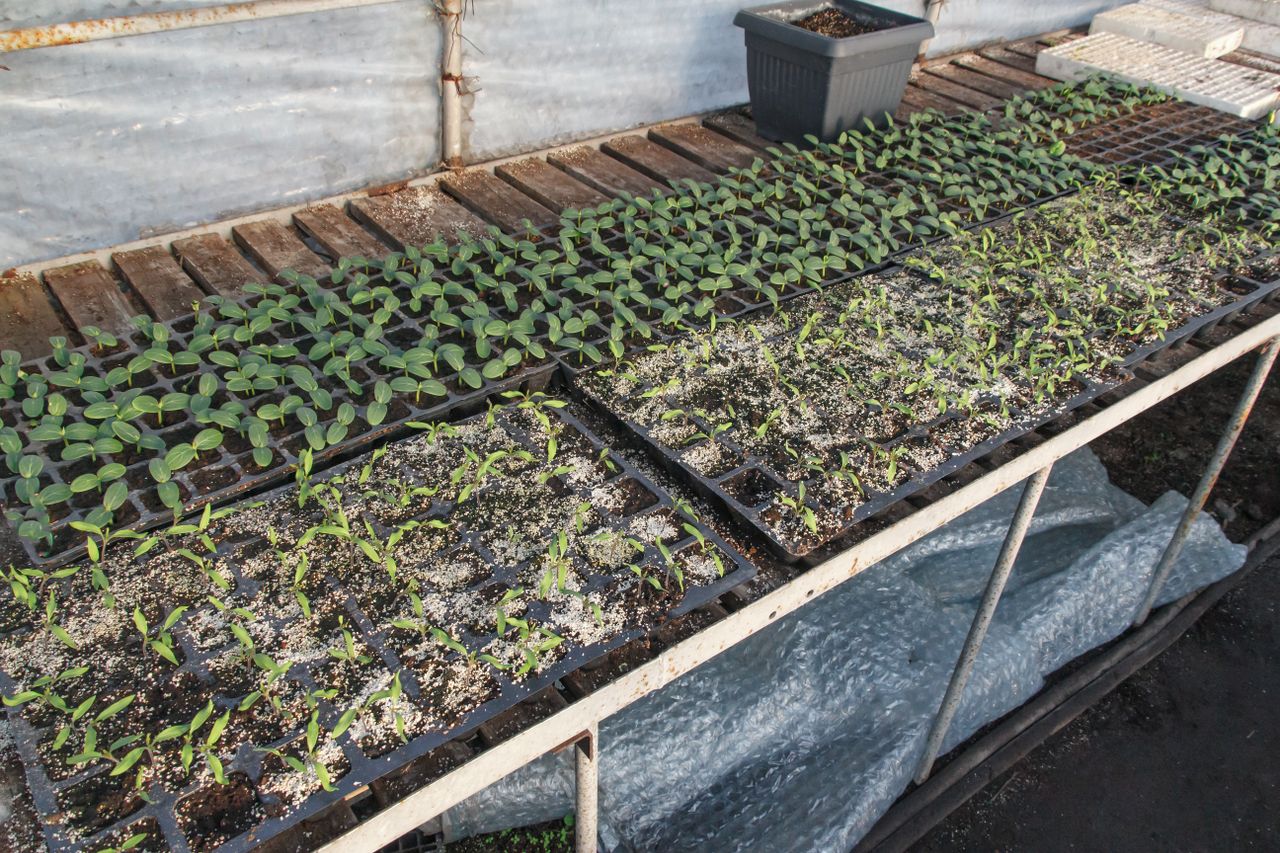
One of the best reasons to own a covered growing space is a head start. You can sow tomatoes, peppers, and cucumbers indoors 6 to 8 weeks before your last frost date, then move the trays under cover when nights stay above 40 degrees Fahrenheit. Use clean trays, moist seed-starting mix, and labels, because seedlings all look alike at two inches tall. Give them strong light, keep the soil damp but never soggy, and thin each cell to the strongest seedling so roots do not have to fight for room.
Do not rush plants from a cozy shelf straight into full sun and wind. Harden them off over 7 to 10 days by opening the cover a little longer each day, then leaving trays outside in light shade for a few hours. Plants that skip this step often sunburn, wilt, and stall for weeks, even if the air feels mild to you. Watch the night forecast during this week, and be ready to zip the cover shut or carry trays back inside if frost threatens. A little patience here pays off in stocky, deep-green plants that take off fast.
5. Shelves, Hanging Pots, and Vertical Growing
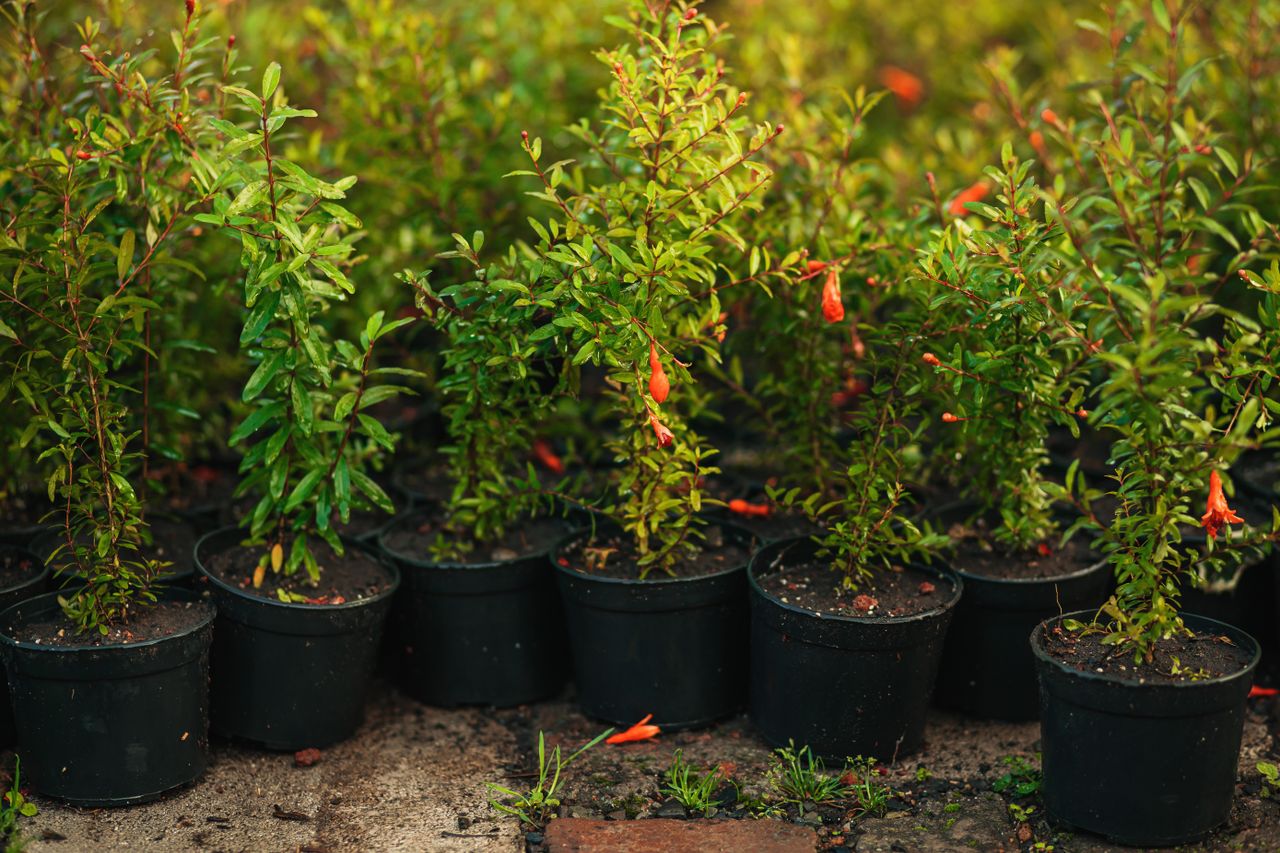
In a tiny covered space, floor area is precious and height is free. Sturdy wire or slatted shelves let air move around pots and keep leaves off damp ground, which cuts down on mold and slugs. Put heavy pots low, light trays high, and leave at least 12 inches between shelves so plants have room to grow and you have room to water. A narrow bench along the back wall works well for seed trays, while a shelf near the door is handy for tools, twine, and labels.
Use the roof and walls too, but with care. Hanging baskets suit trailing herbs, strawberries, and small flowers, and they keep plants away from soil pests. Wall hooks can hold small pots of chives or thyme, yet every hanging pot drips when watered, so never hang one directly over a seed tray. Leave one clear path down the middle, even in a walk-in kit, because a space you cannot walk through soon becomes a space you do not use. When every shelf earns its place, a 4-foot-wide unit can hold more than a much larger messy one.
6. Gentle Heat for Winter Nights

Most small covered spaces will freeze inside on a hard winter night unless you add some protection, so plan for cold before you need it. Start with the free heat savers: seal drafts, add a second layer of clear plastic inside the frame, and set dark water jugs or bricks in the sunniest spot to soak up daytime warmth. Drape frost cloth over tender plants on the coldest nights, and keep it off the leaves with a simple hoop or stake so damp cloth does not freeze onto them.
When nights stay below freezing for days, a small electric heater with a thermostat is the safest simple step for most home growers, and many good models cost around $30 to $60. Set it to hold 45 to 55 degrees Fahrenheit for cool-season greens, and keep the heater clear of plastic, cloth, and dry leaves. A soil-warming cable under seed trays can help roots more cheaply than heating all the air. Check a min-max thermometer each morning, because guessing the night low is how most winter crops are lost.
7. Ventilation and Shade Before Heat Builds

Overheating kills more plants in a covered space than cold does, and it can happen fast. On a sunny spring day the inside can pass 100 degrees Fahrenheit in under an hour, even when the air outside feels cool. Open a roof vent or door first thing on bright mornings, and add a small fan to keep air moving so leaves dry and disease has less chance to start. Automatic vent openers, which lift with warmth and close as it cools, are worth every penny if you work away from home during the day.
Shade is your second line of defense. A 30 to 50 percent shade cloth over the roof in summer cuts harsh sun without starving plants of light, and you can clip it on and off as the seasons change. Whitewash paint made for growing houses works too, but test it on a small patch first. On mild winter days, still crack a vent for an hour, because trapped damp air causes gray mold on lettuce and herbs. The goal is steady, moving air: warm enough to grow, dry enough that leaves are not wet going into a cold night.
8. Water Slowly and Check the Soil First
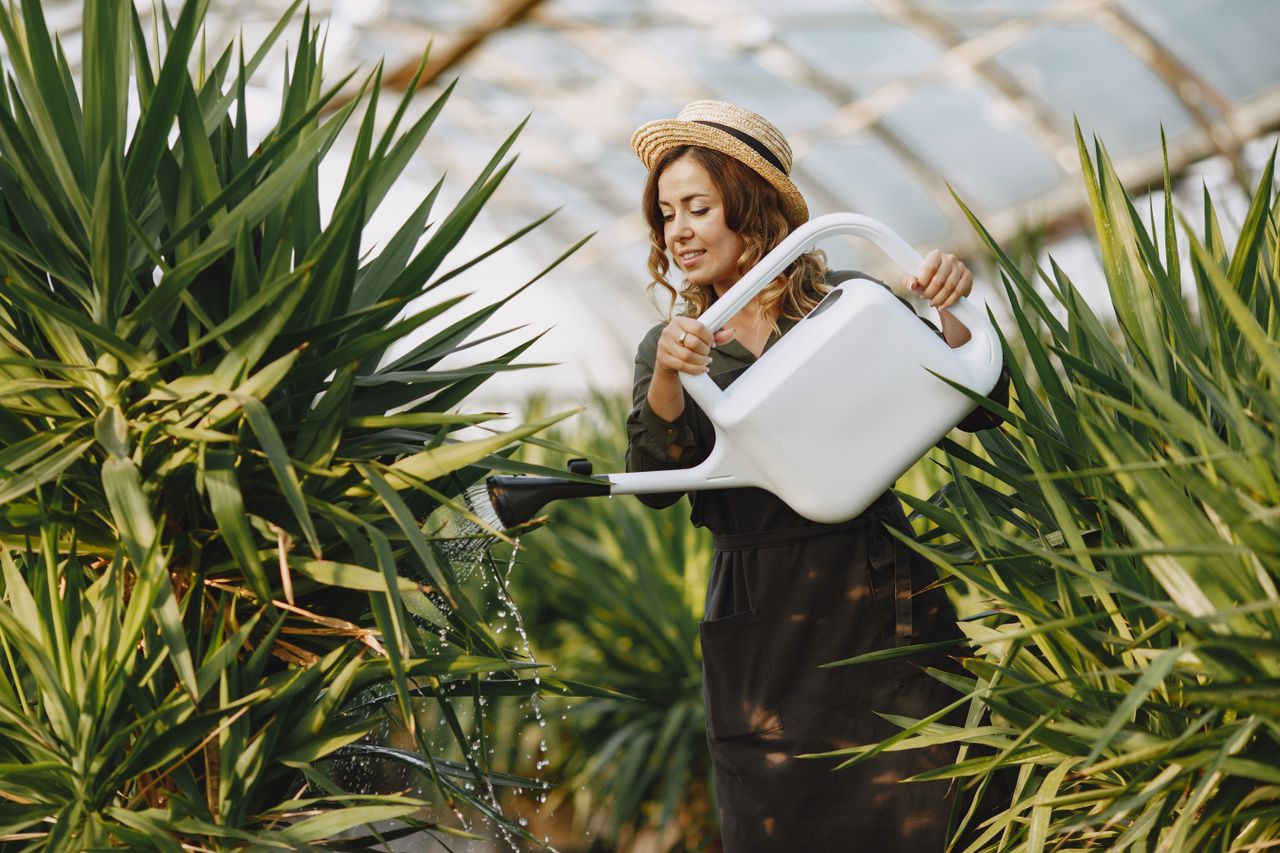
Watering under cover is different from watering an open bed, because rain never helps you and the soil dries from the top down. Push a finger one inch into the soil before you water: if it feels damp, wait a day; if it feels dry, water slowly until a little runs from the drainage holes. Morning watering is best, since leaves dry before night and roots take up water during the day. A watering can with a fine rose suits seedlings, while a simple drip line on a timer saves time and keeps leaves dry on tomatoes and cucumbers.
Overwatering is the most common beginner mistake, and it shows up as yellow leaves, soft stems, and fungus gnats hovering over the soil. Use pots with drainage holes, a light potting mix, and saucers you empty after watering so roots never sit in a puddle. In winter, when growth slows, water far less often and only on mild mornings. Keep a small can and a moisture meter by the door, and make the finger test a daily habit. Plants forgive a day of dry soil far more easily than a week of wet feet.
9. A Herb Corner That Pays for Itself
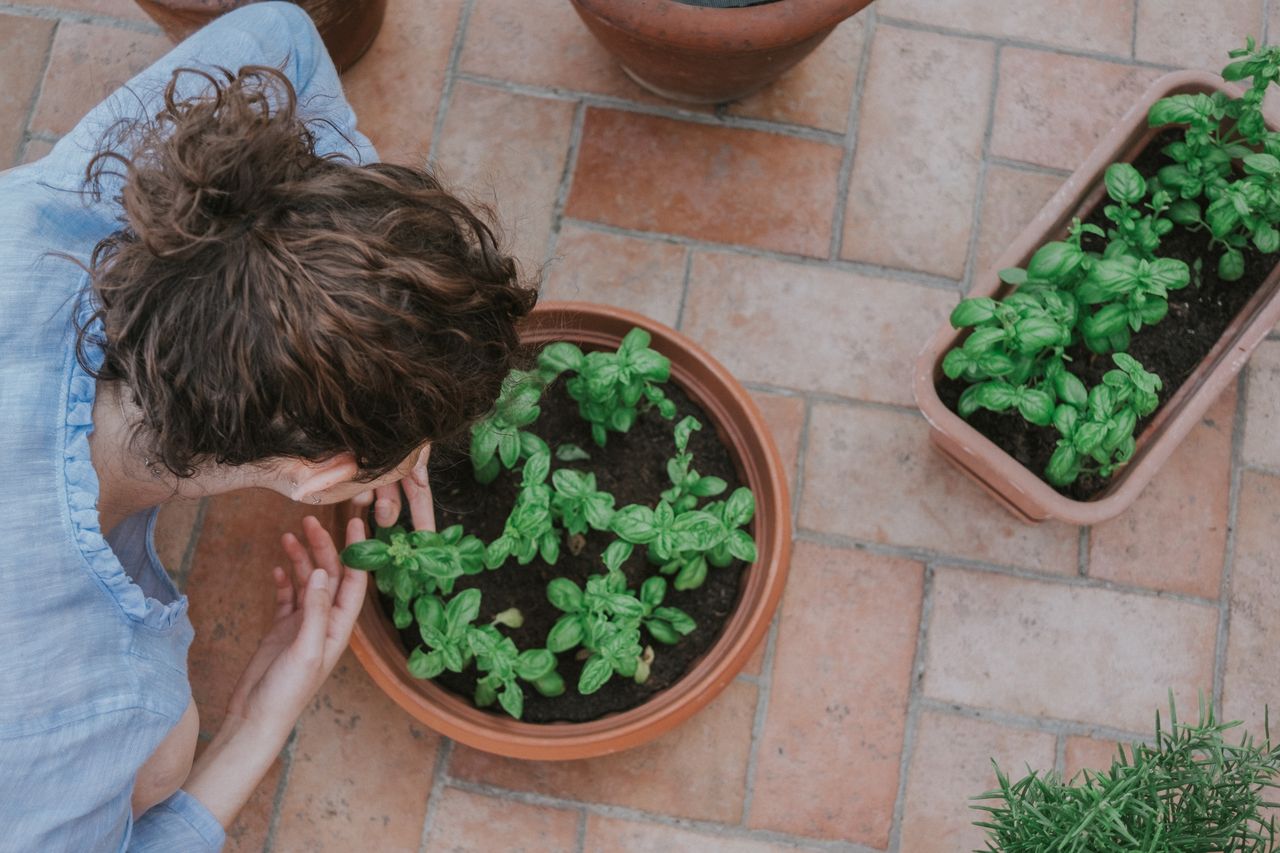
Herbs are the fastest way to feel the payoff from a covered space, because a small pot of basil, parsley, or chives can flavor meals for months. Give basil full sun and steady water, keep mint in its own pot since it spreads fast, and let rosemary and thyme dry a little between waterings. Pinch the tips of basil often to make it branch instead of going to seed, and snip outer parsley stems first so the center keeps producing. A few pots by the door mean you will actually pick them while dinner cooks.
Herbs also bridge the seasons nicely. Grow tender basil in summer, then shift the same shelf to parsley, chives, and cilantro for fall and winter, when cool air suits them. For more indoor herb garden ideas to use when nights turn cold, bring one or two favorite pots inside to a bright windowsill and keep the rest under frost cloth. Dry or freeze extra leaves at peak flavor, and label each jar, because dried herbs all look alike by February and you will want to know which is which.
10. A Simple Four-Season Crop Plan

A four-season plan works best when you rotate crops instead of trying to grow everything at once. In spring, start lettuce, spinach, radishes, and peas under cover, then move warm-season stars like tomatoes, peppers, and cucumbers in after frost danger passes. You can even start new plants from a ripe tomato at home, and our guide to grow tomatoes from a tomato shows the simple steps. Give tomatoes a tall stake or string, prune to one or two main stems in a tight space, and water the soil, not the leaves, to cut disease.
In fall, pull spent summer plants and sow kale, Swiss chard, arugula, bok choy, and green onions, which taste sweeter after a light frost. Winter is for steady picking, not fast growth: sow small batches every two to three weeks, pick outer leaves often, and keep expectations modest on short gray days. Add a grow light if winter daylight drops below 10 hours where you live, and keep the light 6 to 12 inches above leafy greens. With this rhythm, spring seedlings, summer tomatoes, fall salads, and winter greens all share the same small space without crowding each other out.
FAQs
How warm should a covered growing space stay at night?
Cool-season greens do well at 45 to 55 degrees Fahrenheit, while tomatoes, peppers, and basil prefer nights above 55 degrees Fahrenheit. Use a min-max thermometer so you know the real night low, not just the daytime high.
Do I need a heater for winter growing?
Not always. Hardy greens, herbs, and root crops can grow with frost cloth and good sealing in mild climates, but a small thermostat heater makes winter growing far more reliable when nights stay below freezing.
How do I stop plants from overheating in summer?
Open vents early, run a small fan, and add 30 to 50 percent shade cloth over the roof. Never leave the cover fully closed on a sunny day, even in spring, because heat builds faster than most people expect.
What grows best in a very small covered space?
Leafy greens, herbs, radishes, and compact bush tomatoes give the best return per square foot. Avoid large squash or corn in a mini unit, since one plant can shade everything else.
Can I keep a covered growing unit on a rented apartment balcony?
Often yes, if it fits your balcony, stays under the weight limit, and is strapped down against wind. Check your lease and building rules first, keep walkways clear, and choose a light tiered unit you can move without tools.
Final Thoughts
Start small, learn your sun and wind, and let the first season teach you what to change. A lean-to, a tiered mini unit, or a walk-in kit can each give you fresh food and a calmer daily habit, as long as you vent on sunny days, water only when the soil needs it, and protect plants on the coldest nights. Keep notes on sowing dates, varieties, and night lows, because those notes turn a good first year into a great second one.
Pick one structure, three crops you love to eat, and one habit, such as the morning finger test for soil moisture. Grow those well, then add a shelf, a fan, or a winter crop next season. That slow, steady approach is how a tiny yard, patio, or balcony becomes a garden that feeds you in every season.
Sources
- Home Depot: How to Build a Small-Space Greenhouse
- BC Greenhouses: Winter Greenhouse Gardening
- Yoderbilt: Growing Fall and Winter Greens
- Greenhouse Kits: Winter Greenhouse Growing, Cold-Hardy Crops
Gallery



No comments:
Post a Comment