Fresh herbs make almost any meal taste better, but the little plastic packs at the store are expensive and often go slimy in the fridge after just a few days. The good news is that you do not need a yard, or even a balcony, to grow your own. A sunny window, a few pots, and a bag of potting mix are enough to start. This guide shares 10 simple indoor herb garden ideas that work in real homes, from a single pot of basil on the sill to a small hydroponic unit on the counter. Each one is cheap to set up, easy to care for, and close to the stove when you cook.
Most cooking herbs are happy indoors as long as they get enough light and their roots are not sitting in water. The herbs that grow best inside are basil, chives, mint, parsley, cilantro, thyme, oregano, and sage. In this guide you will learn how much light each setup needs, what size pots to buy, how often to water, and what each idea costs. Pick the one or two ideas that fit your space and your cooking, start small, and add more pots once the first ones are growing well. In a few weeks you will be snipping fresh leaves for soups, salads, eggs, and pasta whenever you want them.
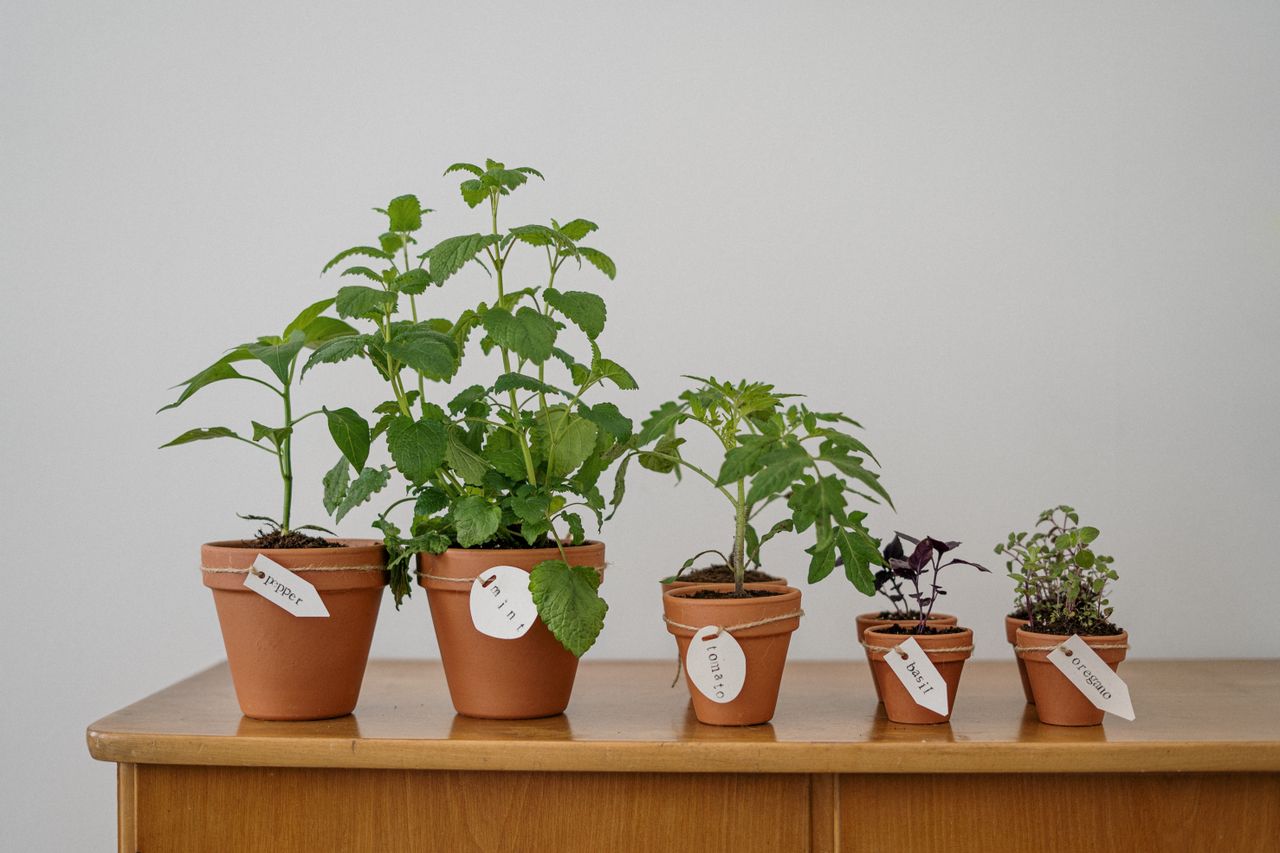
Photo via Pexels
Table of Contents
- 1. Start With a Sunny Windowsill
- 2. Fill a Wooden Crate on the Counter
- 3. Stack a Tiered Smart Garden With Grow Lights
- 4. Try a Countertop Hydroponic Unit
- 5. Grow Herbs in Mason Jars
- 6. Use Terracotta Pots for Mediterranean Herbs
- 7. Give Mint a Big Pot of Its Own
- 8. Start Herbs From Seed on a Budget
- 9. Repot Grocery Store Herb Pots
- 10. Snip a Little, and Snip Often
- Frequently Asked Questions
- Final Thoughts
- Sources
- Gallery
1. Start With a Sunny Windowsill
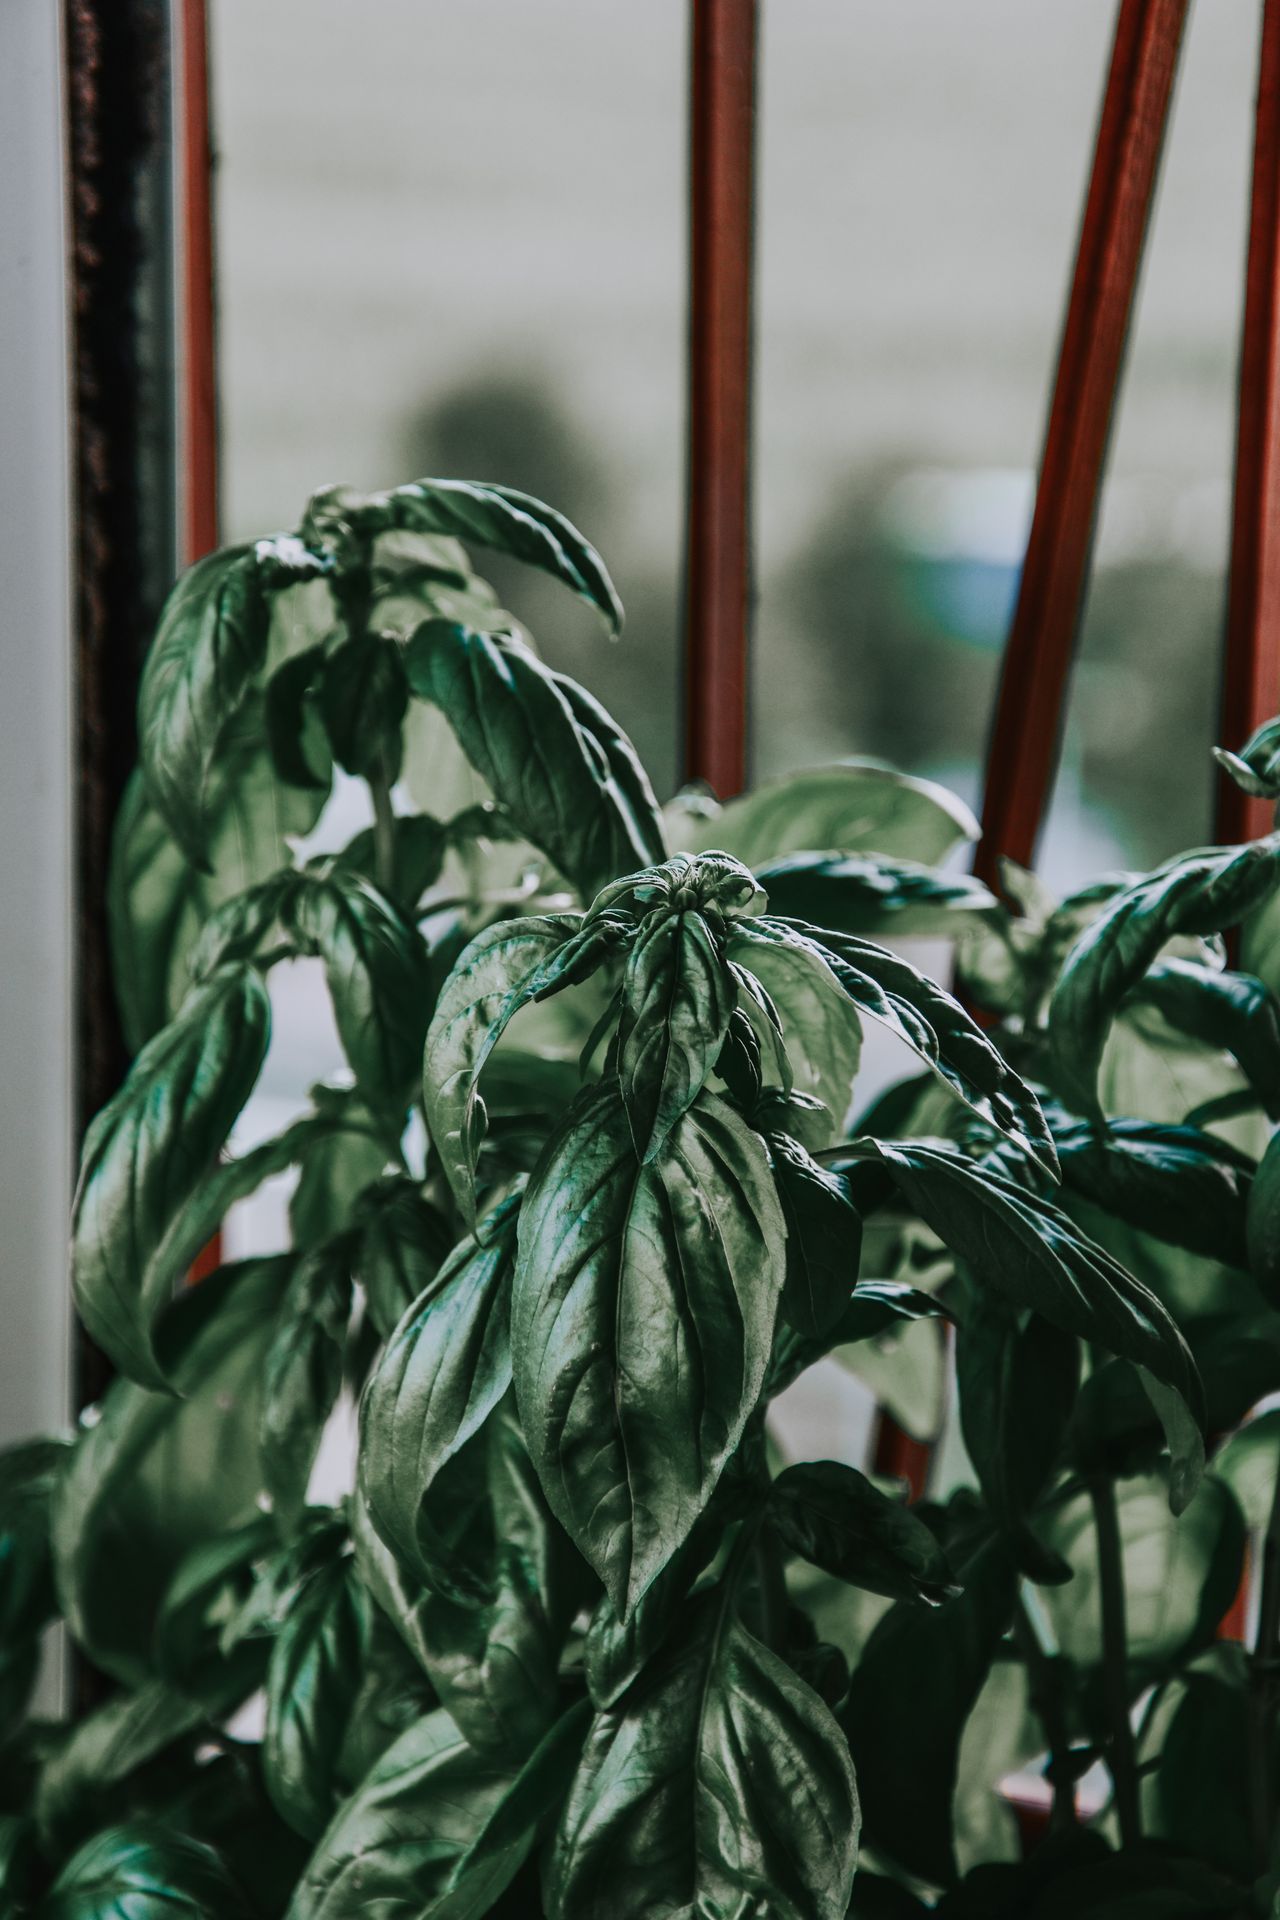
Photo via Pexels
The classic place to grow herbs inside is the kitchen windowsill, and it is still the best free option because the light costs nothing. Herbs need at least 6 hours of direct sun a day, and a south-facing window gives the most. East and west windows can work for mint, parsley, and chives, which cope with a little less light, but a north-facing window is almost never bright enough on its own. Line up 4 to 6 inch pots on the sill, and turn each pot a quarter turn every few days so the plants grow straight instead of leaning hard toward the glass.
A few small habits make windowsill herbs last much longer. Keep the leaves from touching cold glass on winter nights, because chilled leaves turn black, and pull the pots a few inches back if the window is drafty. Water when the top inch of soil feels dry, and always empty the saucer after about 30 minutes so the pot is not sitting in water. A basic windowsill setup costs very little: three small herb plants from a garden center usually run $3 to $5 each, and plain pots with drainage holes are a few dollars more.
2. Fill a Wooden Crate on the Counter
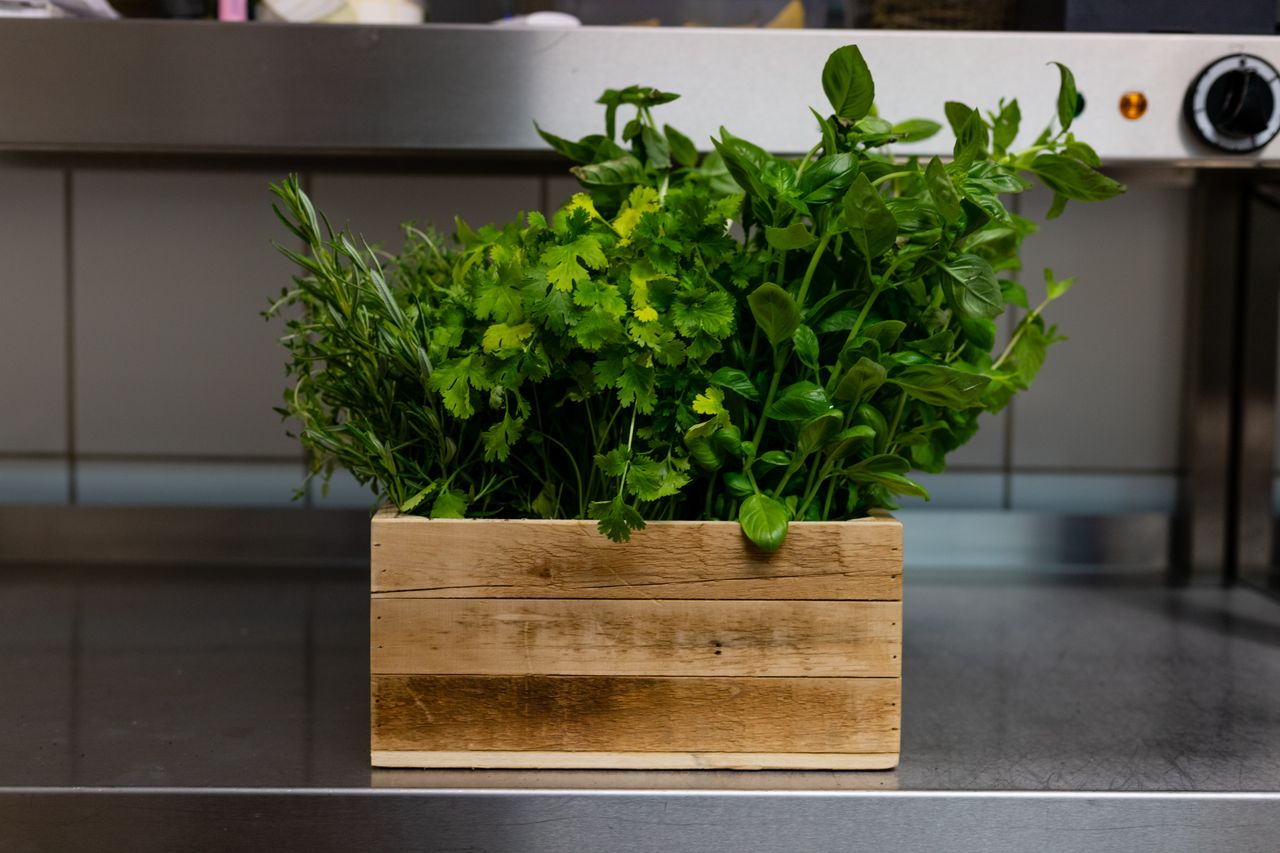
Photo via Pexels
If your windowsill is narrow or already full, a small wooden crate on the counter keeps a whole herb collection in one tidy place. Set the individual pots inside the crate instead of planting straight into the wood, and put a waterproof tray or a folded plastic liner at the bottom to catch drips. The crate makes the plants easy to carry to the sink for watering and easy to move toward the light during the day. It also looks warm and neat, more like a planned display than a row of random pots.
Group the herbs in the crate by how much water they like, because mixed-up watering is the most common reason indoor herbs fail. Basil, parsley, and cilantro enjoy soil that stays lightly moist, while rosemary, thyme, and sage like the soil to dry out more between waterings. Keeping the thirsty group at one end and the dry group at the other makes a simple routine easy to remember. A small crate costs about $10 to $20 at a craft or home store, and you may already have a wooden box or a sturdy basket at home that does the same job for free.
3. Stack a Tiered Smart Garden With Grow Lights

Photo via Wikimedia Commons
When your windows face the wrong way or winter days are short and gray, grow lights solve the problem for good. A tiered smart garden stand stacks two or three growing shelves in the space of one, with an LED light bar over each shelf. Herbs under lights need the lamps on for about 14 to 16 hours a day, so put the lights on a simple plug-in timer and you never have to think about it. Keep the light bars about 4 to 6 inches above the tops of the plants, and raise them as the herbs grow, because lights that are too far away give weak, stretched plants.
Ready-made smart garden stands cost roughly $150 to $300 depending on size, but a DIY version with a basic shelving unit and LED shop lights can cost under $100 and works just as well. If you want to learn more about choosing and timing lights, our guide to using grow lights for tomatoes covers the same rules that keep herbs happy. Grow lights also free you from the window completely, so a spare corner, a laundry room shelf, or even a basement table can become your herb spot.
4. Try a Countertop Hydroponic Unit
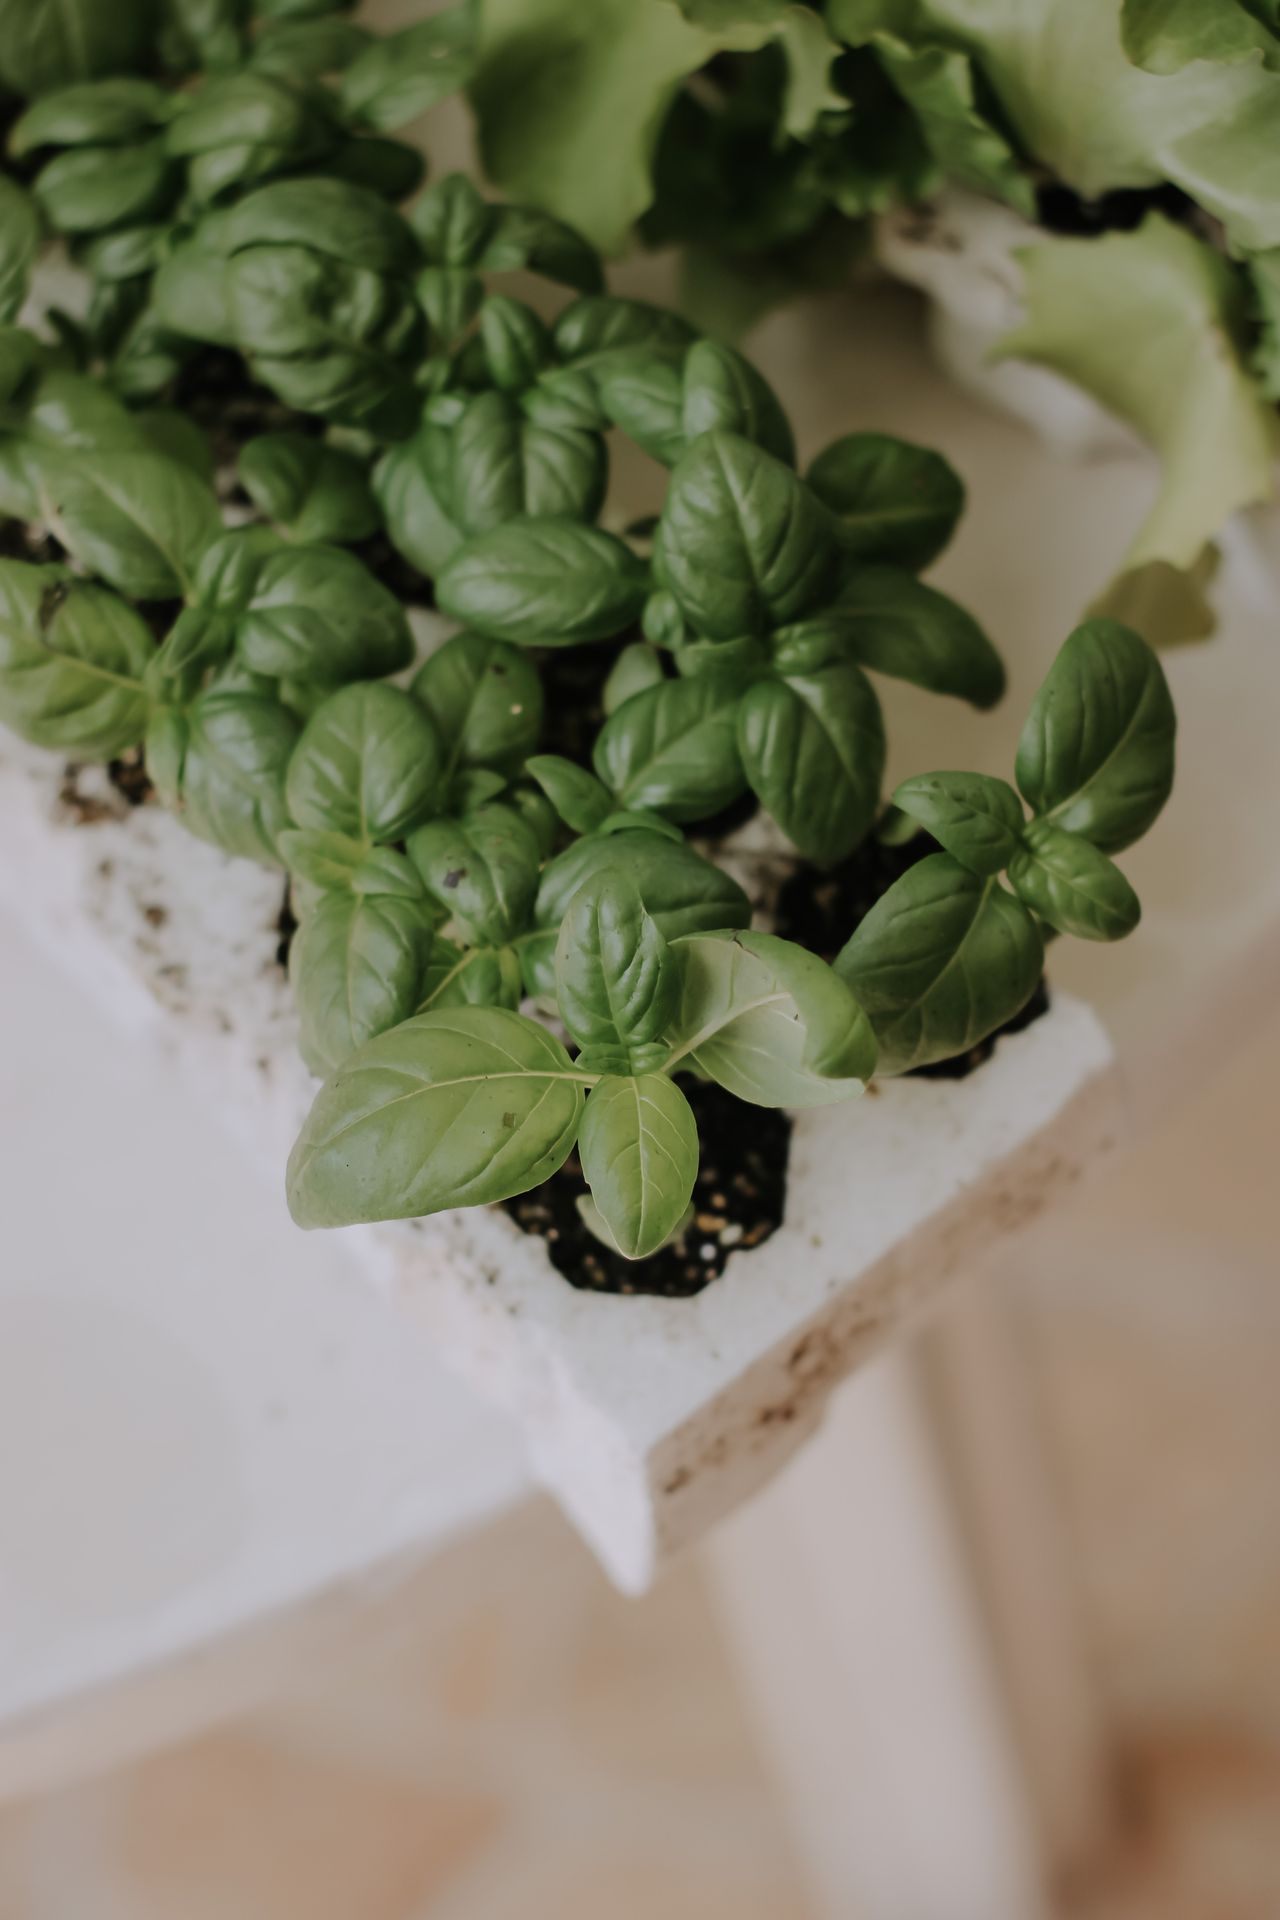
Photo via Pexels
A countertop hydroponic garden grows herbs in water instead of soil, with a small tank, a built-in LED light, and little pods or baskets that hold the plants. There is no soil to spill, no fungus gnats, and the roots always have water and air, so herbs like basil, mint, and cilantro often grow faster than they do in pots. Most units tell you when the water tank is low and when to add liquid plant food, which makes them a kind set-and-forget option for busy people or anyone who forgets to water.
Small hydroponic units with room for 6 pods start at about $60 to $90, and bigger 12-pod models cost more. Seed pods or refill kits are usually $2 to $4 per pod, though you can also use your own seeds in refillable baskets to save money. Two habits keep a unit healthy: rinse the tank and roots every two weeks so algae and salt do not build up, and trim the roots if they grow so long that they reach the pump. Keep the light hood low over young plants and raise it as they grow, just like a smart garden stand.
5. Grow Herbs in Mason Jars
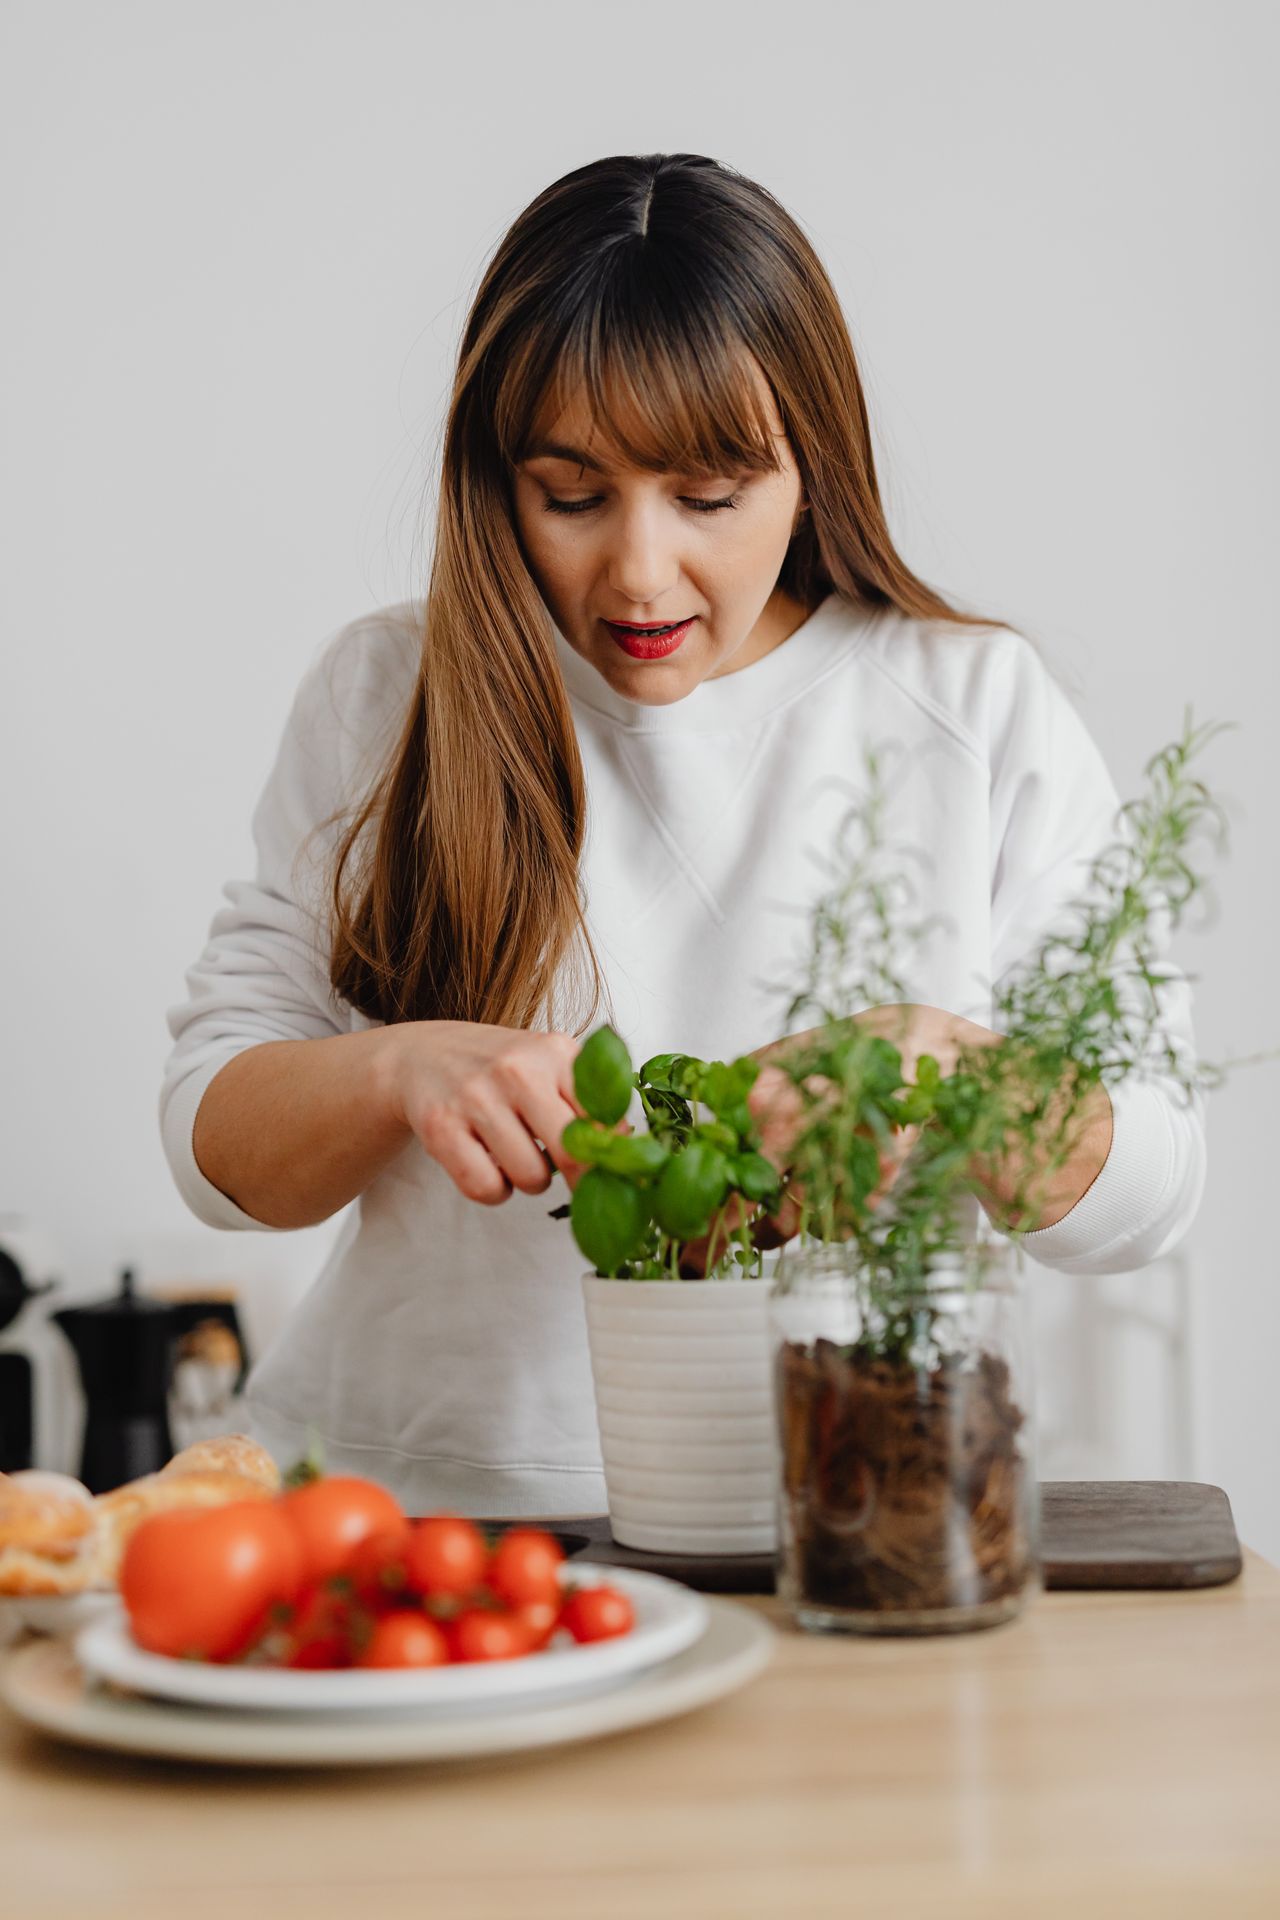
Photo via Pexels
Mason jars make a sweet, cheap herb garden for a small kitchen, and most people already own a few. Because glass jars have no drainage hole, add a 1 to 2 inch layer of small pebbles or clay balls at the bottom so extra water has somewhere to go, then fill with potting mix and plant one herb per jar. Wide-mouth quart jars work best because they give the roots more room. Write the herb name on the jar with a chalk marker or tie on a paper tag, and the row of jars looks neat on a sill or open shelf.
The one rule with jars is careful watering: add a little at a time and stop as soon as the soil is evenly damp, because there is no hole for extra water to escape. Herbs that suit jars include chives, mint, parsley, cilantro, and green onions, which will even regrow from the white ends of store-bought onions placed in water. Woody herbs like rosemary can start in a jar, as in the photo, but they will be happier moved to a draining pot once they get bigger. A set of jars costs only a few dollars, and thrift stores often sell them for under $1 each.
6. Use Terracotta Pots for Mediterranean Herbs
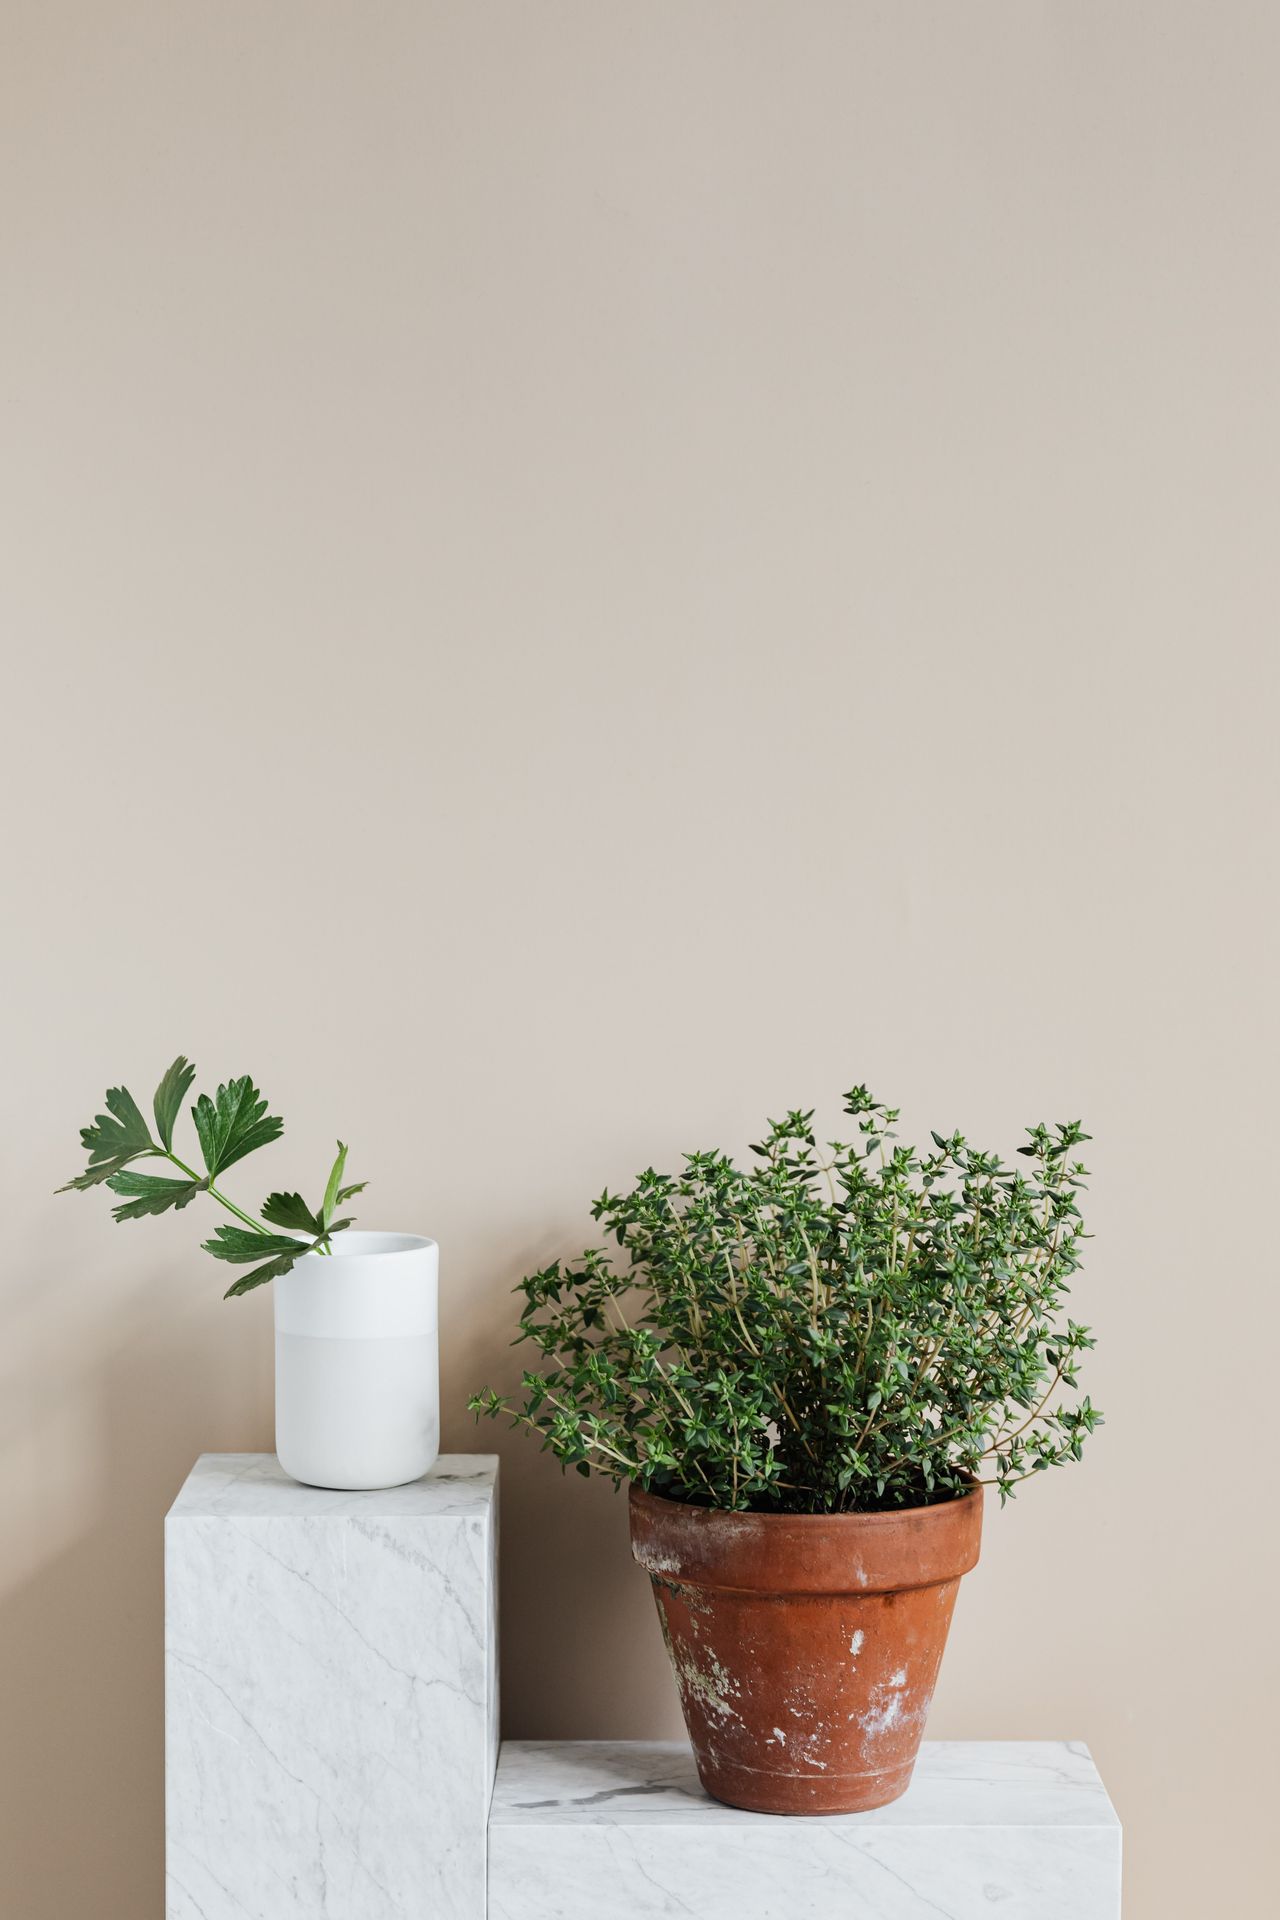
Photo via Pexels
Rosemary, thyme, sage, and oregano come from hot, dry hillsides around the Mediterranean, and they grow best indoors in plain terracotta pots. Clay is porous, so water evaporates through the sides of the pot and the soil dries faster, which is exactly what these herbs want. Wet roots are the main thing that kills rosemary indoors, so a clay pot that breathes is real protection, not just a pretty look. Choose pots about 6 to 8 inches wide with a drainage hole, and use a gritty potting mix; stirring in a handful of perlite or coarse sand helps it drain even better.
Put these pots in your very brightest window, because Mediterranean herbs are the most light-hungry of all. Water only when the top 1 to 2 inches of soil are dry, and water less in winter when growth slows. A small upright or "topiary" style rosemary is a good pick for indoors because it stays compact. Terracotta pots are some of the cheapest you can buy, often $2 to $6 each at garden centers, and they age nicely, slowly picking up a soft white patina that many people love.
7. Give Mint a Big Pot of Its Own
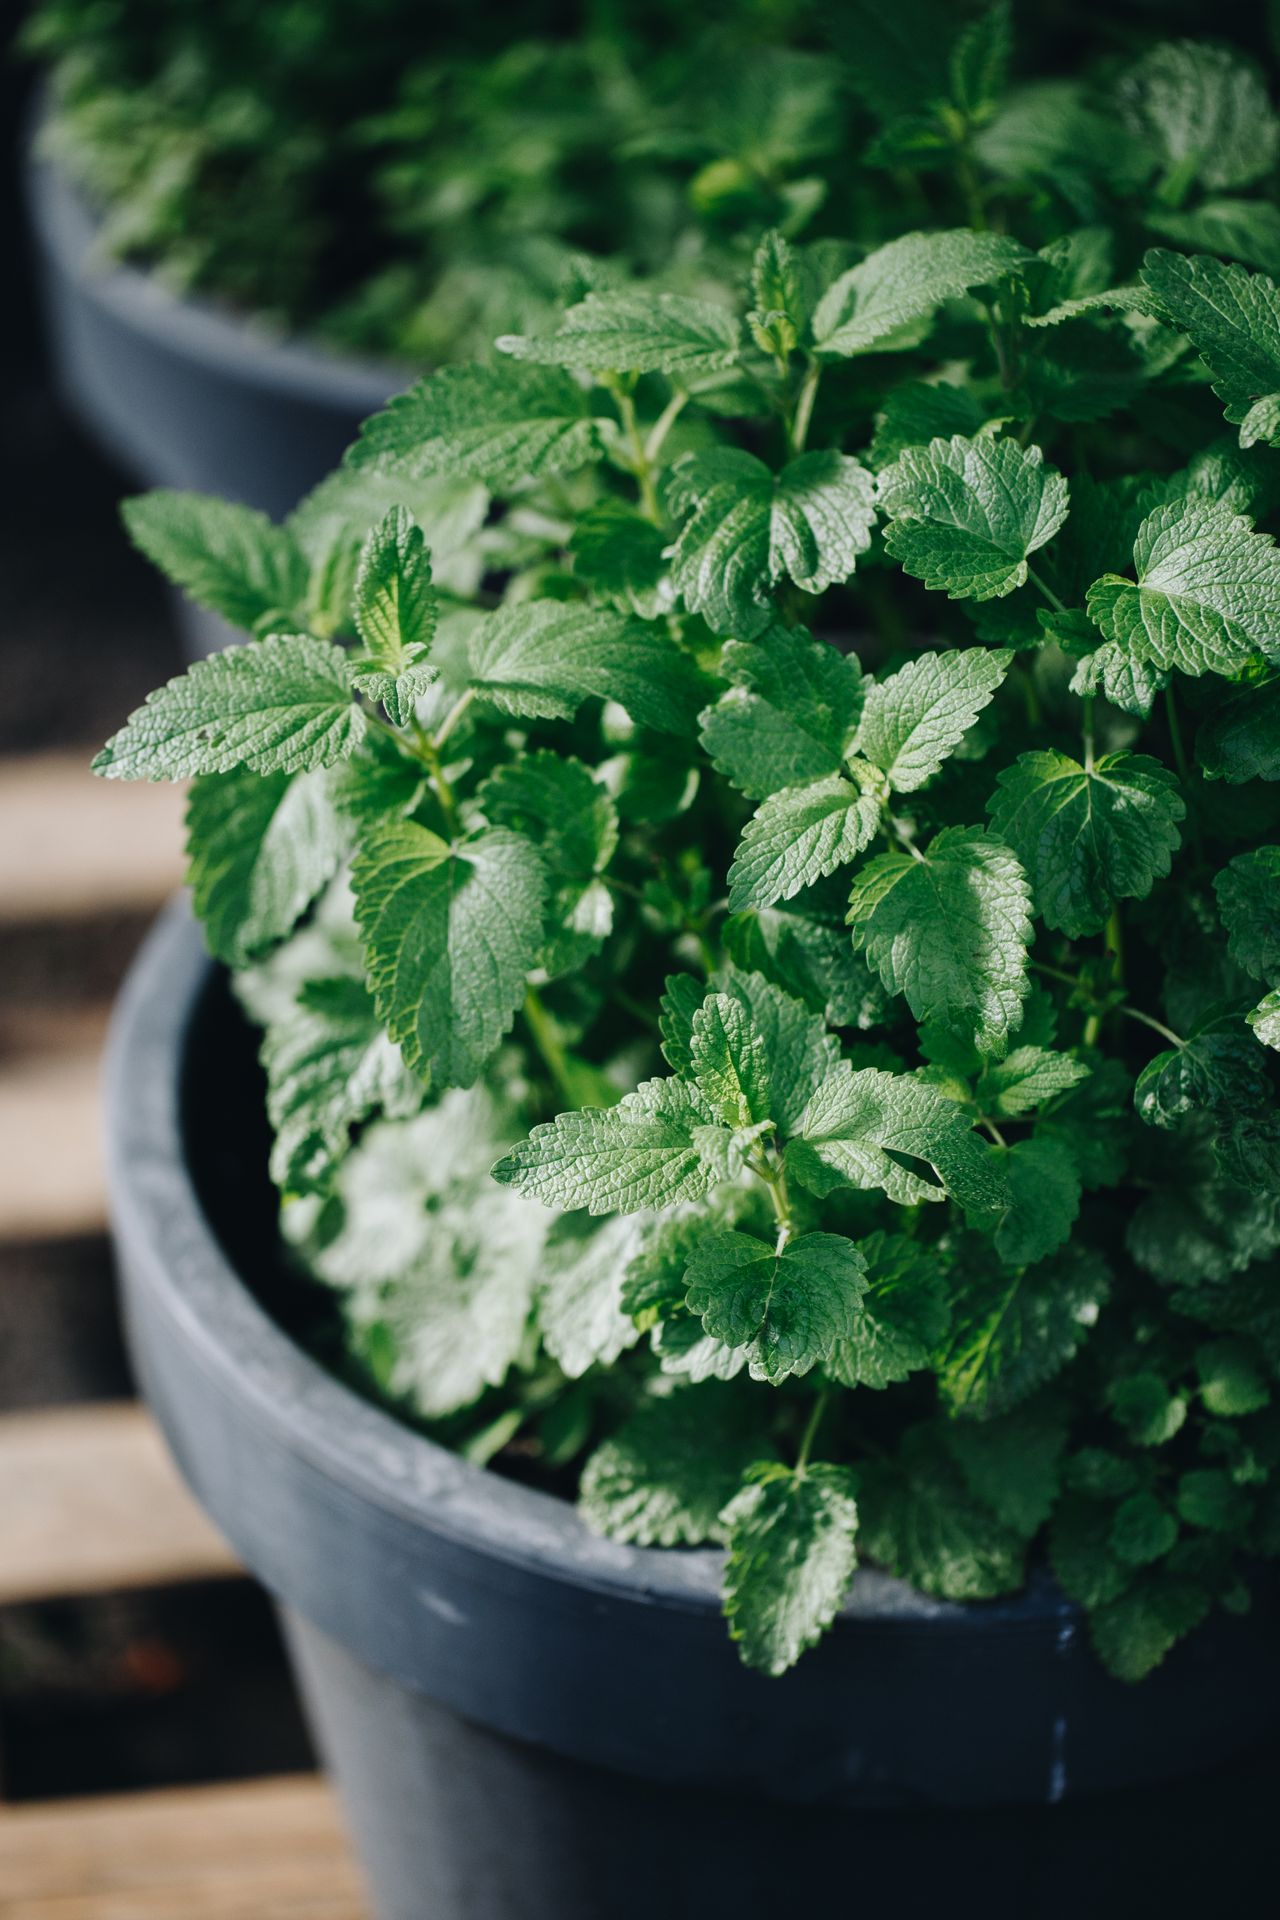
Photo via Pexels
Mint is one of the easiest herbs to grow indoors, but it should always live alone. Its roots run sideways and spread fast, so in a shared pot or crate it will push out every other herb within a few months. Give mint its own pot, about 10 to 12 inches wide, and it will reward you with armfuls of leaves for tea, salads, desserts, and drinks. Spearmint is the classic kitchen choice, while peppermint has a stronger, cooler bite. Chocolate mint and apple mint are fun extras if you like flavored teas.
Unlike the Mediterranean herbs, mint likes steady moisture, so check it often and water when the surface just starts to dry. It also grows well in a bright east window where some herbs struggle, which makes it a smart pick for lower-light homes. Pinch the tips regularly to keep the plant bushy, and once or twice a year, tip the plant out, cut the root ball in half, and repot one half in fresh mix so it does not become a solid mat of roots. A single $4 mint plant can keep this cycle going for years.
8. Start Herbs From Seed on a Budget
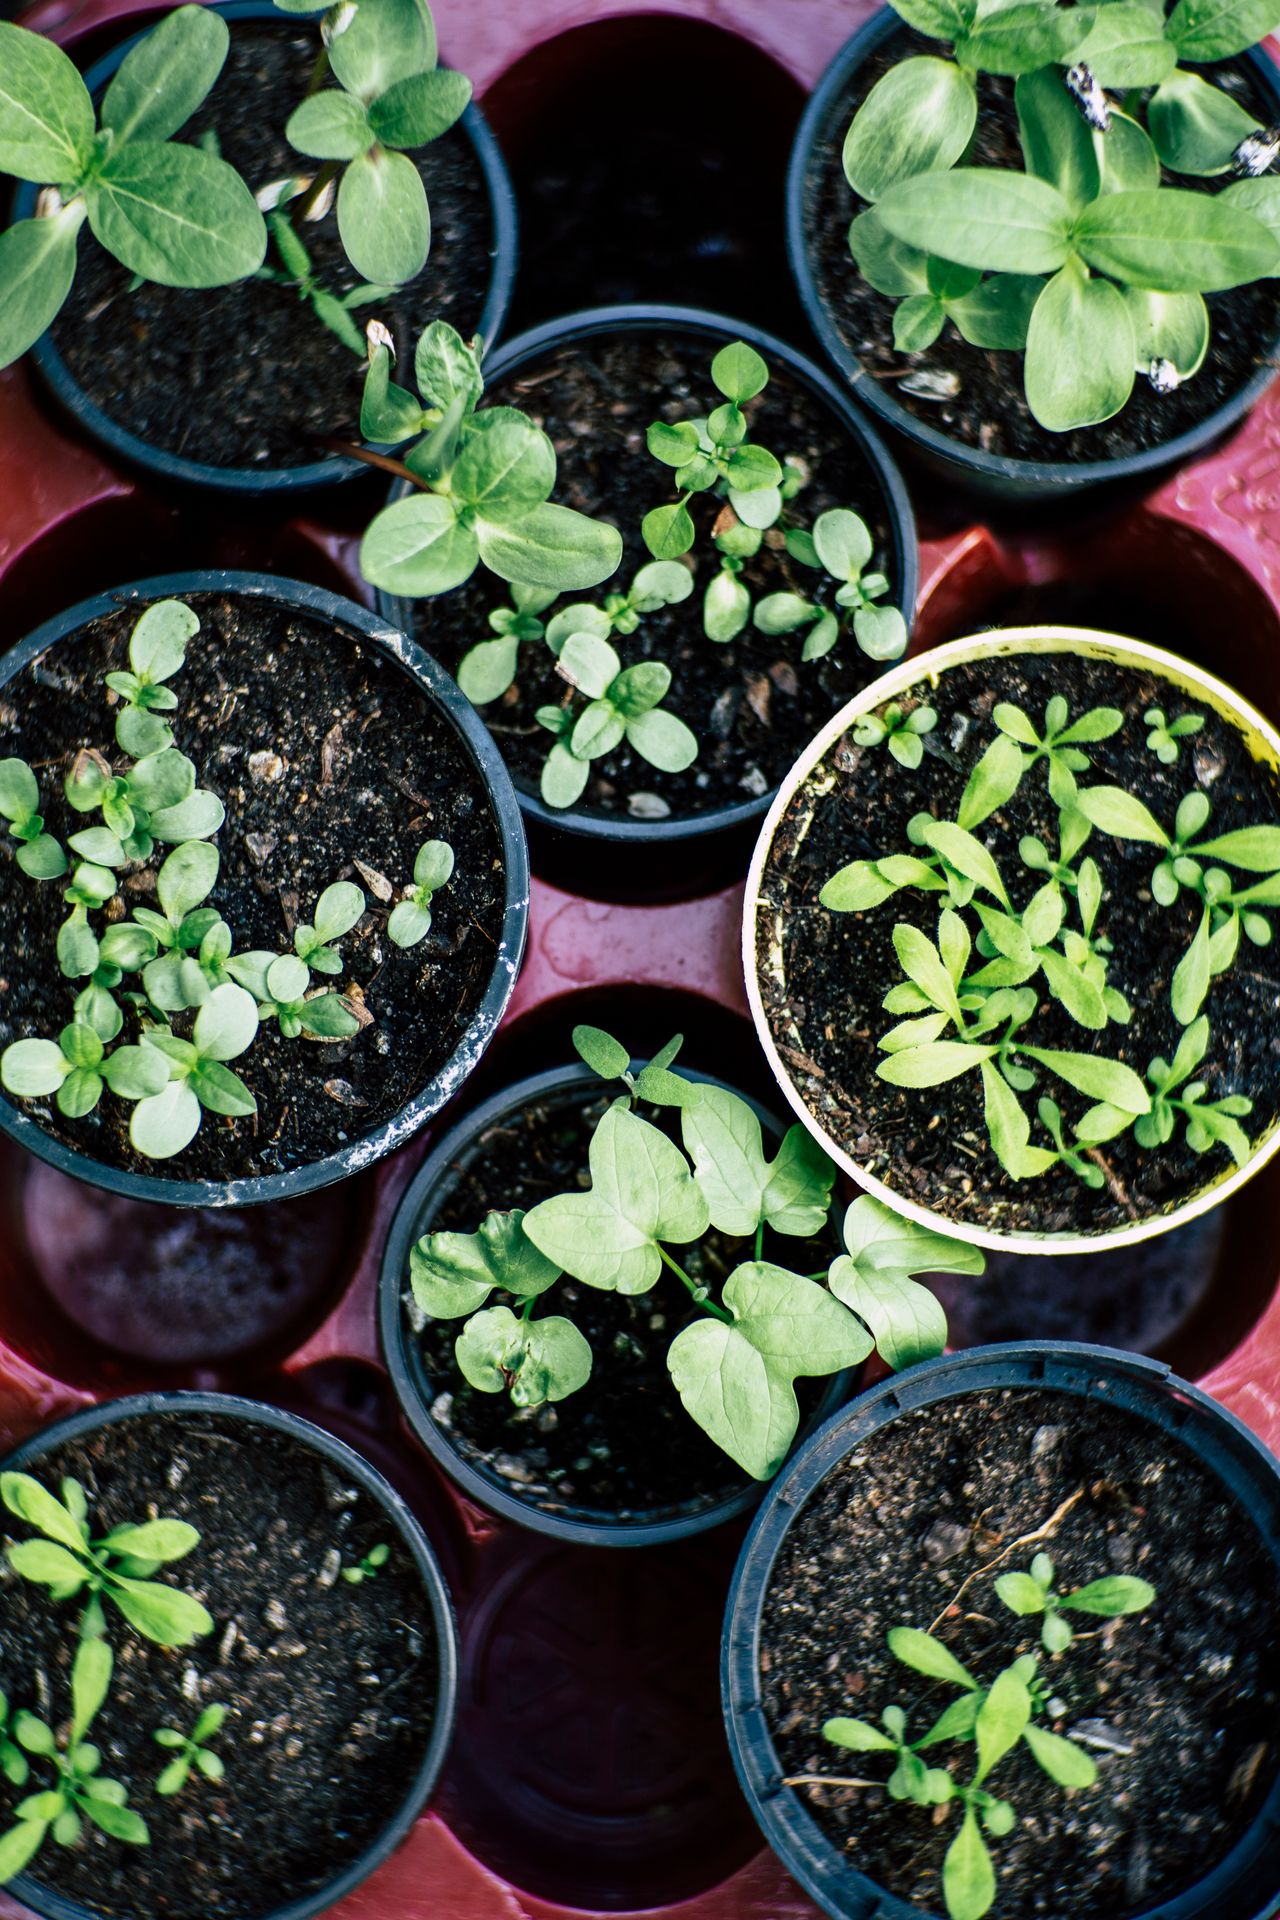
Photo via Pexels
Growing from seed is the cheapest way to fill a windowsill: a packet costs about $2 to $4 and holds far more seeds than you need. Basil, cilantro, chives, and parsley are the easiest herbs to start indoors. Fill small 3 to 4 inch pots with seed-starting mix, water the mix before sowing, and plant the seeds about twice as deep as they are wide. Cover the pots with a clear lid or a piece of plastic wrap to hold in moisture, and take the cover off as soon as the sprouts appear so they do not rot.
Young seedlings need strong light right away, or they grow tall, pale, and floppy within days. Keep them in your sunniest window or 2 to 4 inches under a grow light for 14 to 16 hours a day. Sow cilantro every 3 to 4 weeks in a fresh pot, because each plant bolts quickly and a new batch keeps the supply steady. Basil and chives are slower to wear out, so one spring sowing can last for months of picking. When the seedlings have a few true leaves and the roots fill the small pot, move each plant up into a 6 inch pot of regular potting mix.
9. Repot Grocery Store Herb Pots
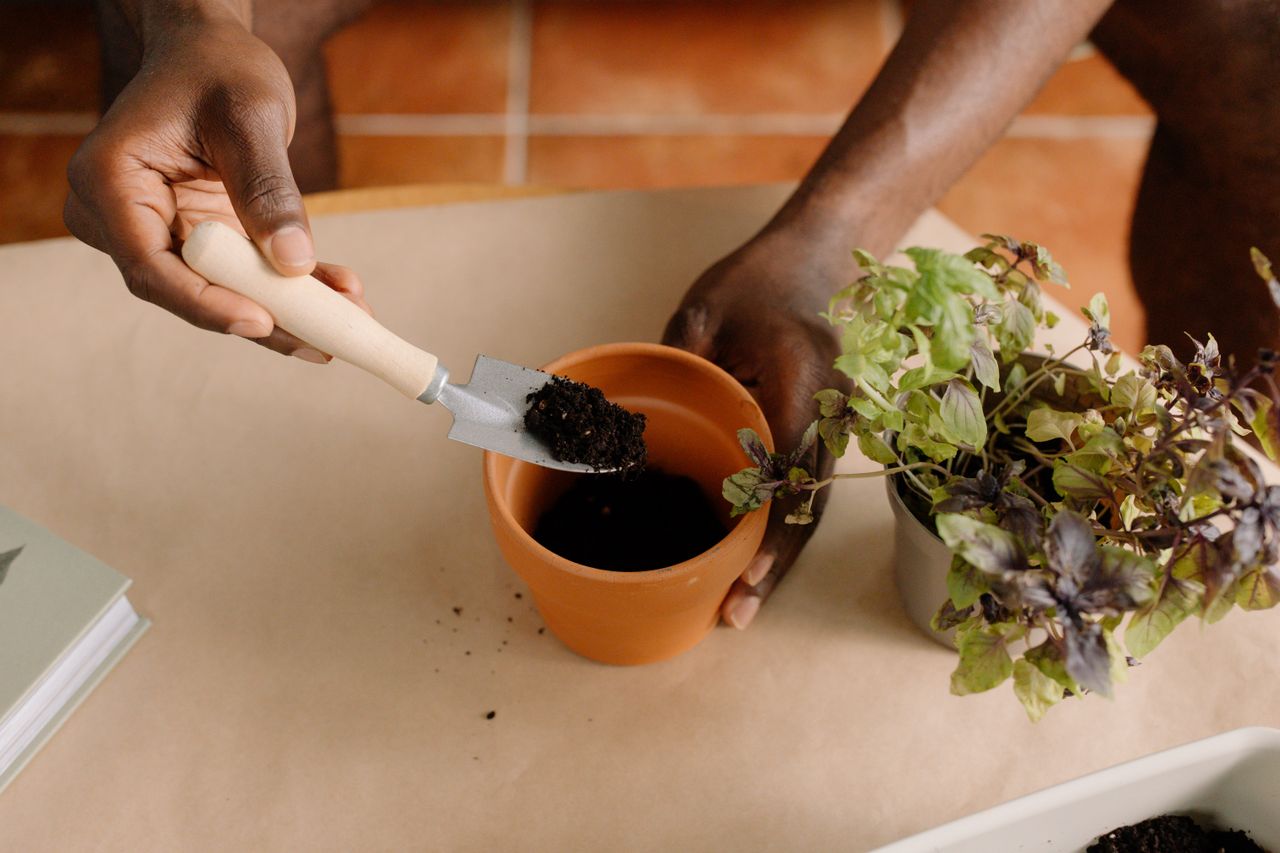
Photo via Pexels
Those fresh herb pots sold in the produce aisle are a bargain, often $3 to $4, but they usually die within two weeks at home. The reason is simple: a store pot of basil is not one plant, it is 15 or 20 seedlings crammed into a tiny pot, all fighting for water and food. The fix takes ten minutes. Water the pot, slide the root ball out, and gently tease it into three or four clumps. Plant each clump in its own 6 inch pot with fresh potting mix, water well, and keep the pots out of harsh direct sun for two or three days while the roots settle.
The same trick works for store pots of parsley, cilantro, and chives, though these can go into one bigger 8 inch pot as a single clump if you prefer. After repotting, the routine is the same as for any potted herb: bright light, and water when the top of the soil feels dry. If watering is the part that trips you up, our simple guide on how to water houseplants explains the soak-and-drain method that works for herbs too. Repotted this way, a $4 grocery pot can give you fresh leaves for months instead of days.
10. Snip a Little, and Snip Often
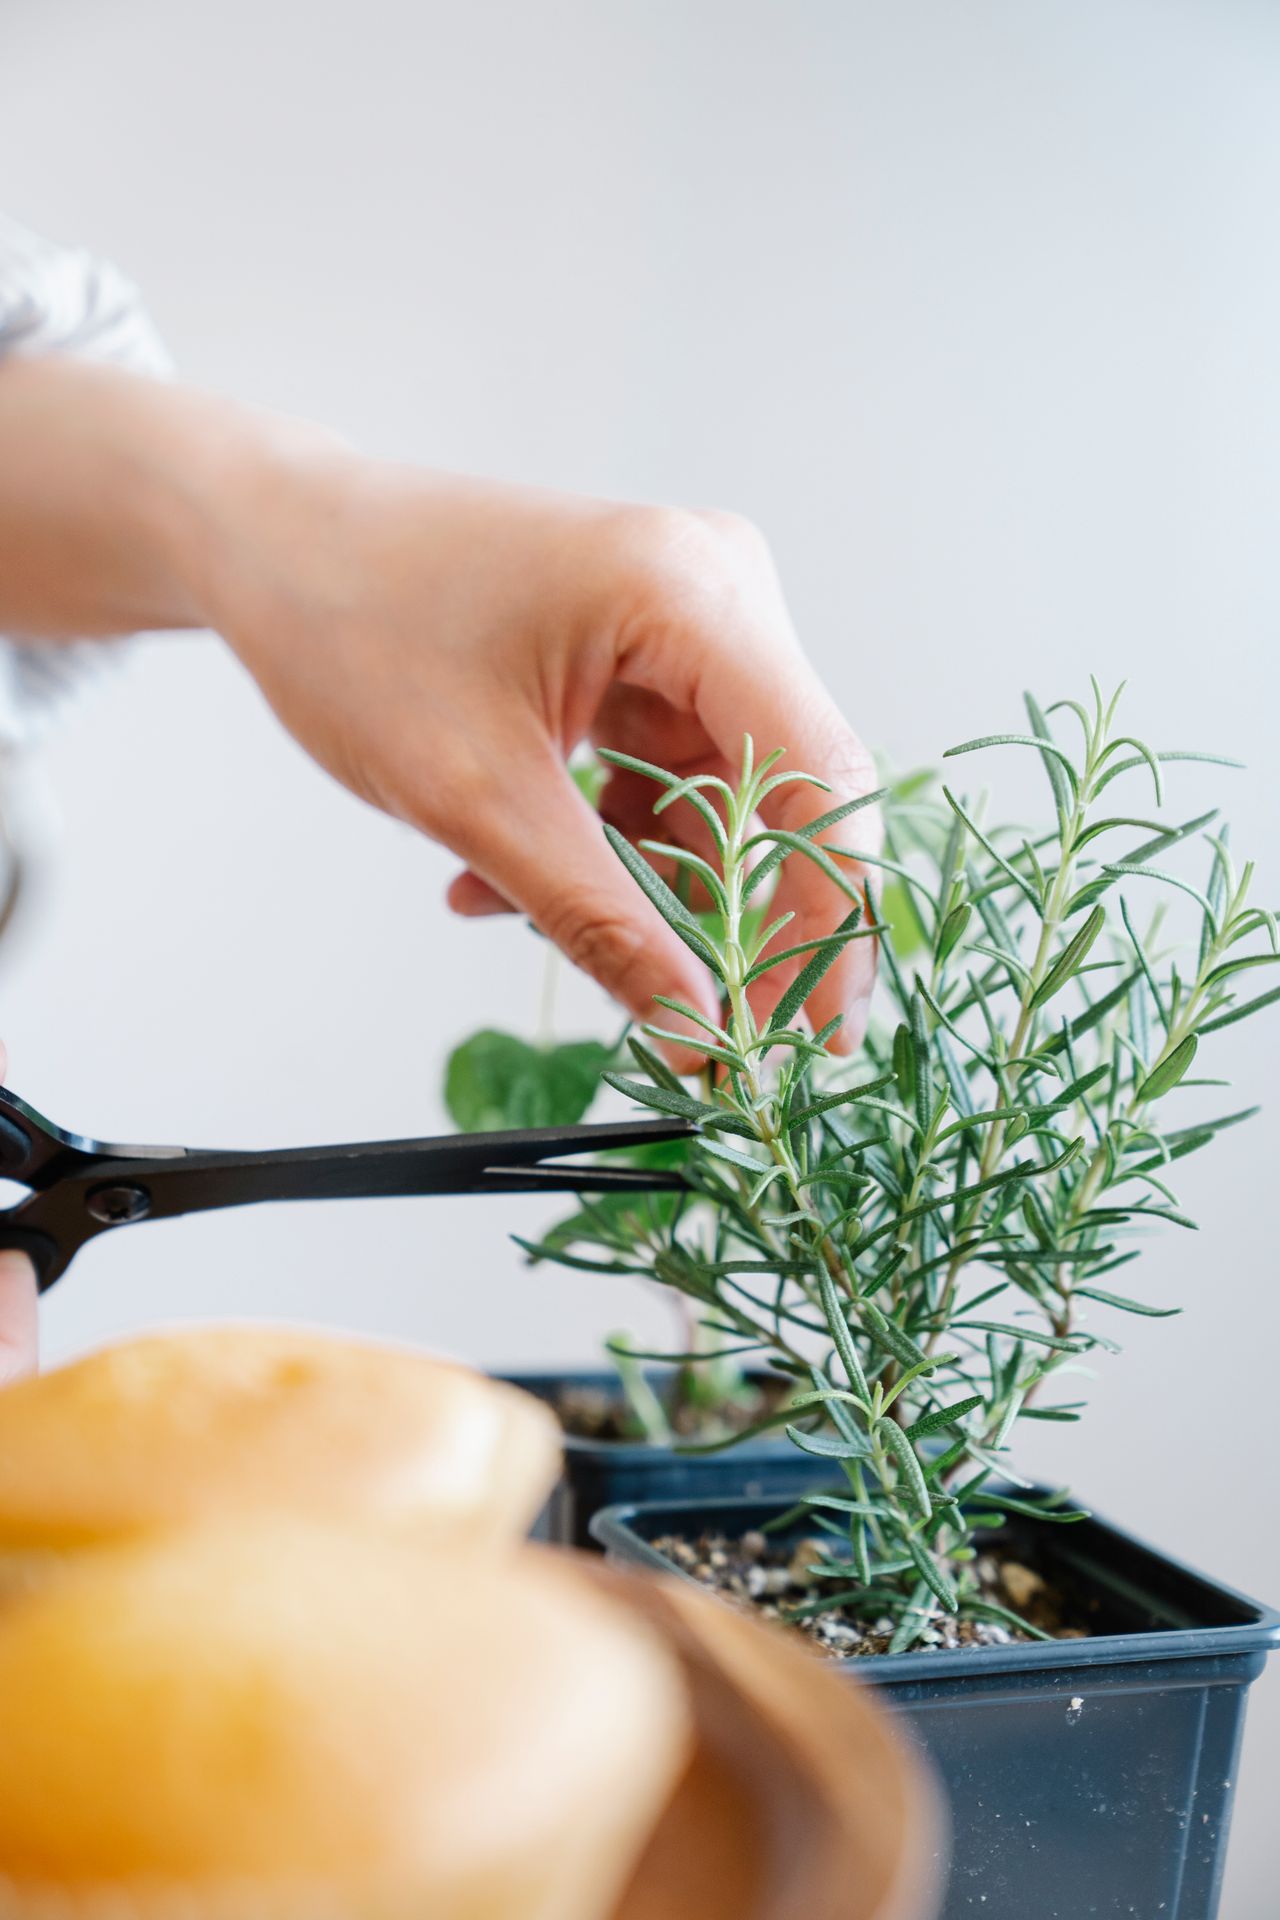
Photo via Pexels
Regular picking is not just the reward of growing herbs, it is also the care they need to stay bushy and productive. When you pinch basil just above a pair of leaves, the plant sends out two new stems from that point, so a picked plant quickly becomes fuller than an unpicked one. The safe rule for almost every herb is to never take more than one third of the plant at one time, and to cut with clean scissors or pinch with your fingers rather than tearing stems. Harvest in the morning if you can, when the leaves hold the most flavor oils.
A few herbs have their own small rules. Cut chives down to about 2 inches above the soil and they will regrow like grass. Snip rosemary and thyme sprigs from the tips, but avoid cutting back into the bare woody part of the stem, because it often will not sprout again. Take parsley from the outer stems first so the center keeps growing. If basil starts to flower, pinch the flower tips off right away; once it blooms fully, the leaves turn bitter and the plant soon gives up. Frequent small harvests keep every plant young, leafy, and useful for far longer.
Frequently Asked Questions
Which herbs are easiest to grow indoors?
Basil, chives, mint, parsley, and thyme are the most forgiving for beginners. Mint and chives even cope with a bright east-facing window, while basil and thyme need the strongest sun you can give them. Start with three herbs you actually cook with, learn their watering rhythm, and add more later.
How much light do herbs need inside?
Most herbs need at least 6 hours of direct sun a day from a south or west window. If you use a grow light instead, run it for 12 to 16 hours a day and keep it a few inches above the leaves. Pale color, long thin stems, and wide gaps between leaves are signs the light is too weak.
How often should I water potted herbs?
There is no fixed day count, so check with a finger: water when the top inch of soil feels dry. Basil, parsley, and mint like the soil lightly moist, while rosemary, thyme, sage, and oregano prefer to dry out more between waterings. Always use pots with drainage holes and empty the saucer after watering.
Why are my indoor herbs tall and leggy?
Leggy growth almost always means not enough light. Move the plant to your sunniest window or add a grow light, rotate the pot every few days, and pinch the tips to encourage side branches. Crowded seedlings from a grocery store pot can also look leggy, and splitting them into separate pots fixes that.
Can I keep herbs growing indoors all year?
Yes. Annual herbs like basil and cilantro can be sown in small batches through the year, and perennial herbs like rosemary, thyme, sage, and mint will live for years in pots with bright light. Growth slows in winter, so water and feed less then, and expect a fresh burst of leaves in spring.
Final Thoughts
The best indoor herb garden ideas are the simple ones you will actually keep up: a few pots on a sunny sill, a crate on the counter, or one small light over a shelf. Start with two or three herbs you cook with every week, give them the brightest spot you have, and water by touch rather than by the clock. Within a month you will have fresh leaves whenever a recipe calls for them, and no more half-used plastic packs wilting in the fridge.
When the weather warms up, many of these same plants can move outside into bigger pots or a small bed for the summer, then come back in before the first frost. If you would like to plan that next step, our backyard garden design ideas will help you find a good sunny spot for them outdoors too.
Sources
- Growing Herbs in Containers and Indoors – University of Maryland Extension
- Growing Herbs Indoors – Iowa State University Extension and Outreach
- Growing Herbs on Your Windowsill – Chicago Botanic Garden
- How to Grow Herbs Indoors – Houzz
Gallery
Photo via Pexels
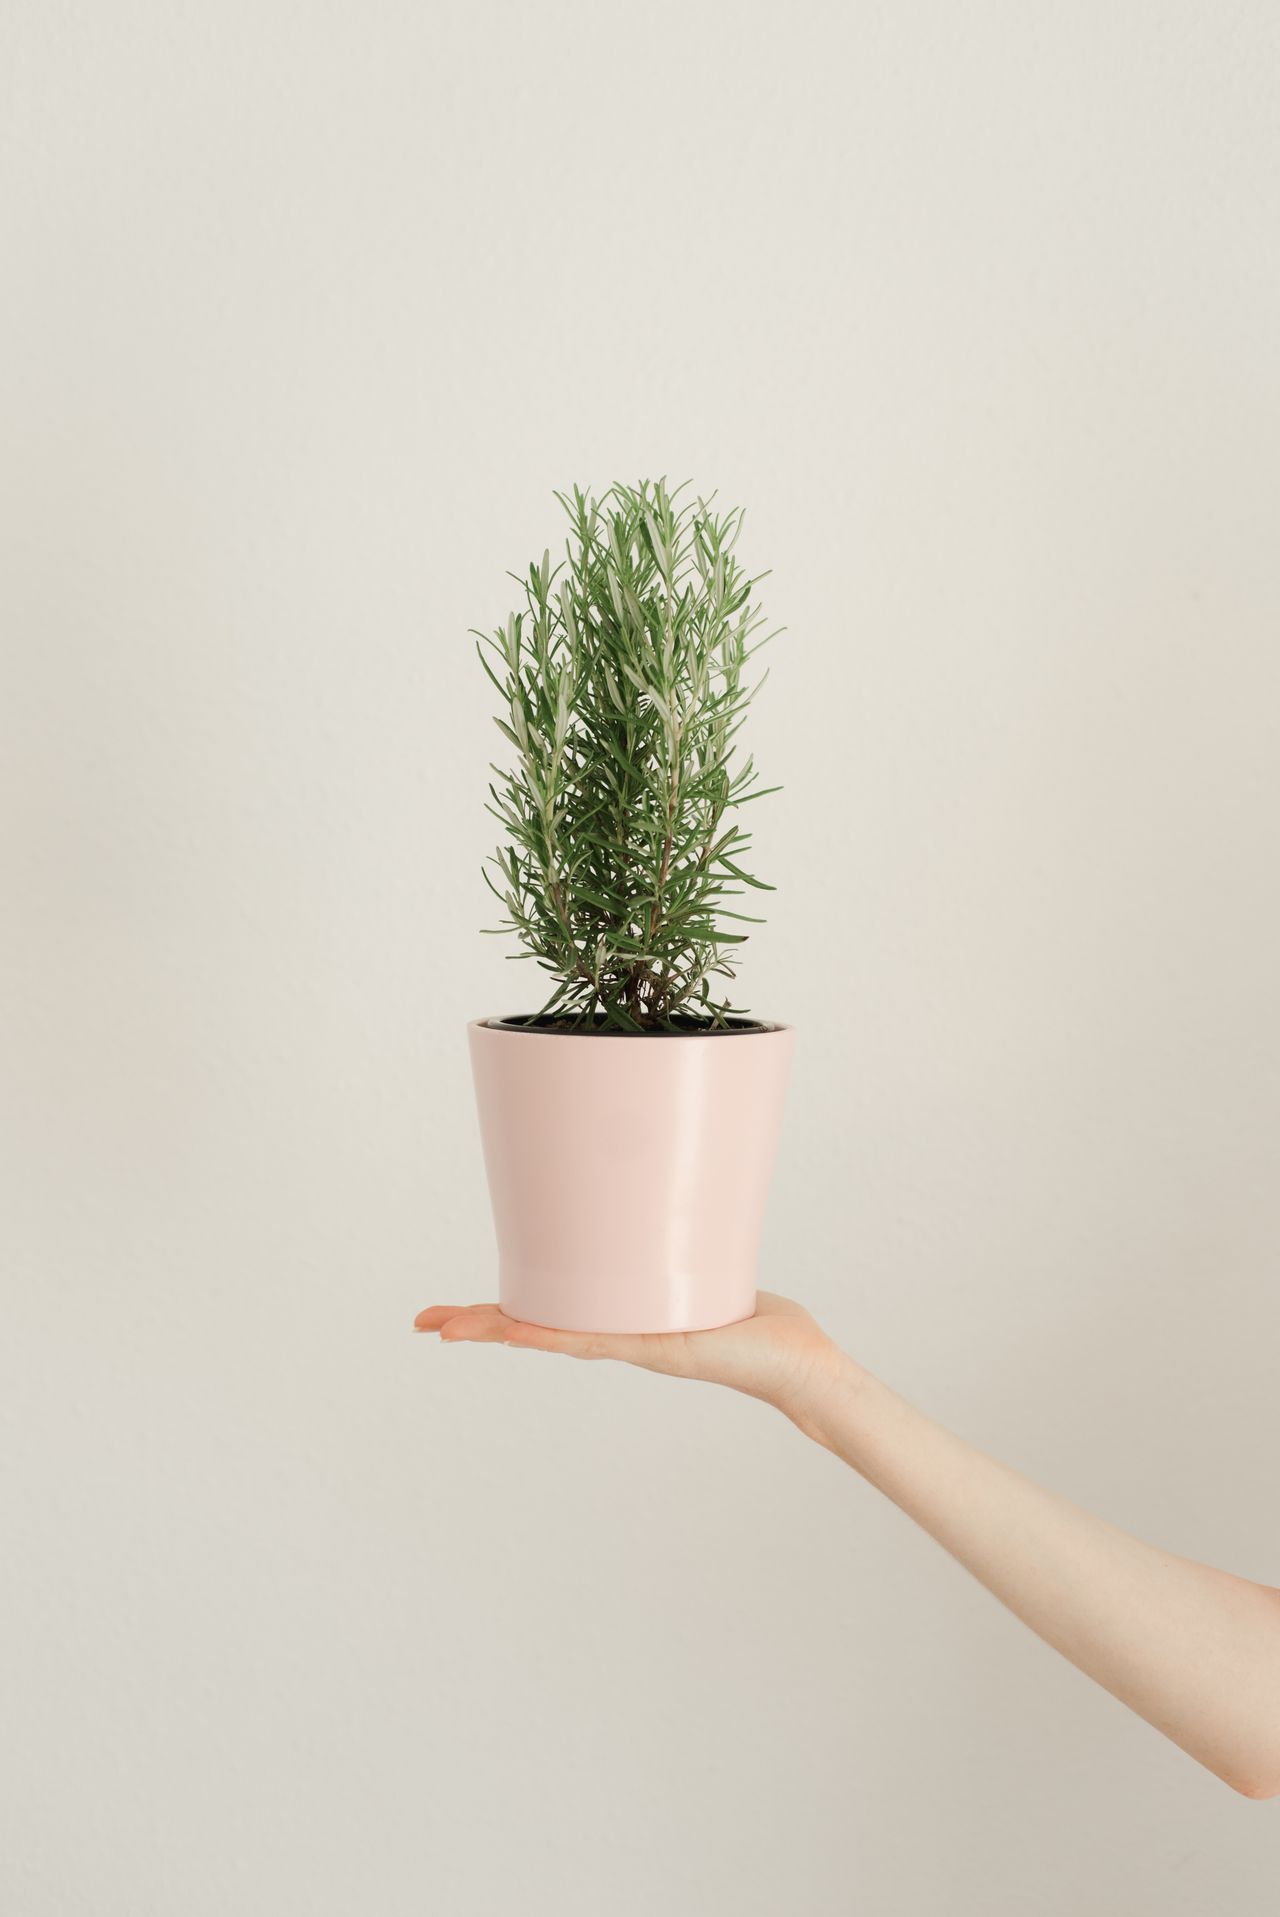
Photo via Pexels

Photo via Wikimedia Commons

No comments:
Post a Comment