If your herb garden is growing faster than you can cook, drying is the easiest way to save that flavor for winter. Learning how to dry herbs at home means a shelf of free seasonings, ready for soups, roasts and teas, instead of a $4 jar from the store. The basic idea is simple: take the water out of the leaves before mold or fading can set in, and keep the tasty oils in.
There is no single best method. Sturdy herbs like rosemary and thyme love slow air drying, tender basil does better frozen or salted, and a dehydrator handles almost everything in a few hours. Below are ten easy methods and the key know-how around them: when to pick, exact times and temperatures, how to tell when herbs are truly dry, and how long they keep. Pick the method that matches your herbs and your kitchen.
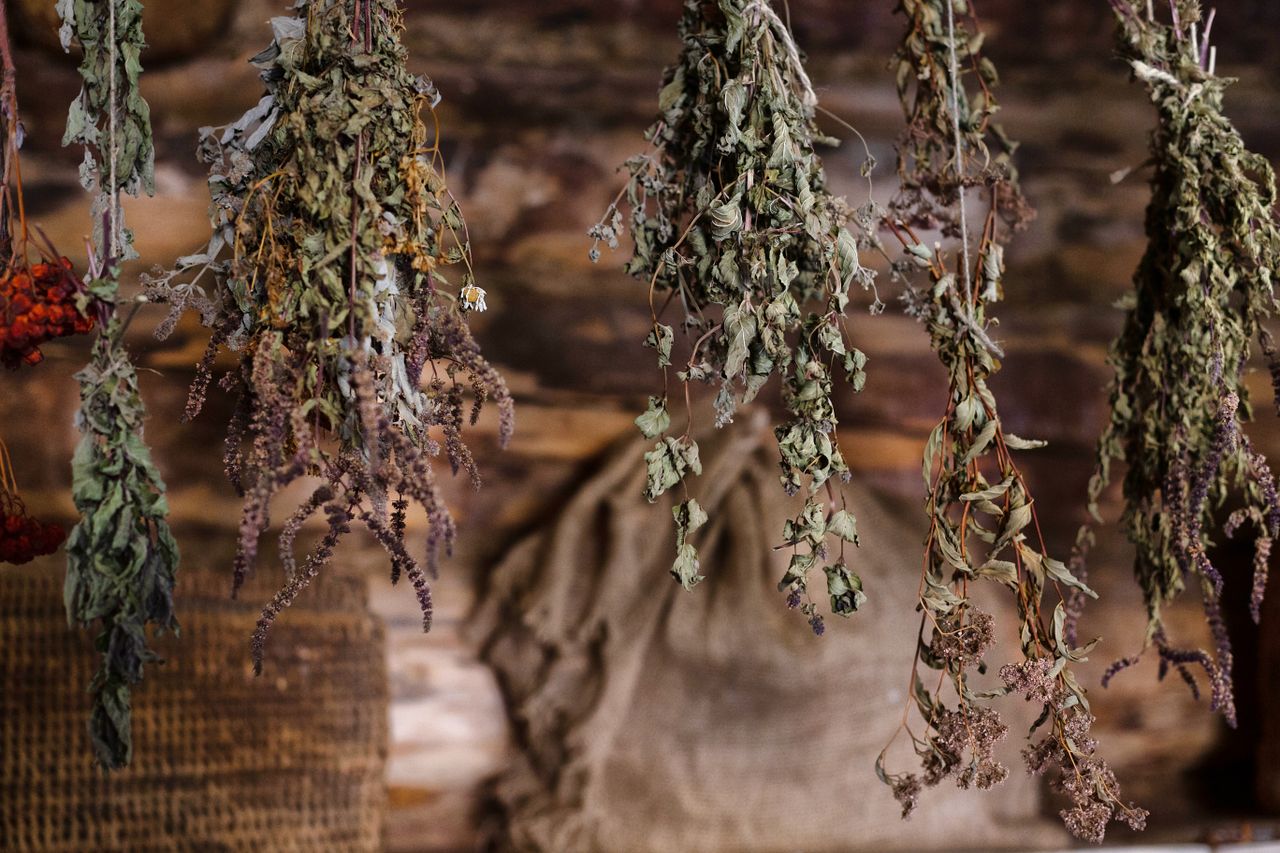
Photo via Pexels
Table of Contents
- 1. Harvest Herbs at Their Peak Flavor
- 2. Air-Dry Bundles the Classic Way
- 3. Dry Loose Leaves on Screens and Trays
- 4. Bag-Dry Tender Herbs and Seed Heads
- 5. Oven-Dry on the Lowest Heat
- 6. Use a Dehydrator for Steady Results
- 7. Microwave Small Batches in Minutes
- 8. Salt-Cure Herbs and Make Herb Salt
- 9. Freeze Herbs When Drying Is Not Best
- 10. Store Dried Herbs So They Stay Fresh
- Frequently Asked Questions
1. Harvest Herbs at Their Peak Flavor

Photo via Wikimedia Commons
Timing matters more than any gadget. Herbs hold the most flavor oils just before the flowers open, when the buds are full but not yet blooming. Pick on a dry morning, after the dew has dried but before the heat of the day, usually between 9 and 11 a.m. Cut healthy stems with scissors or snips, and never take more than one-third of the plant at once unless it is the end of the season. The same morning rule works for other garden harvests too, as our guide to harvesting garlic shows.
Back in the kitchen, rinse the stems gently in cool water only if they are dusty or gritty, then shake off the water and pat them dry with a clean towel. Surface water slows drying and invites mold, so let washed herbs sit on a towel for 20 to 30 minutes before you start. Throw away any yellow, spotted or bruised leaves now, because drying will not improve them. If frost is coming and you are clearing the beds anyway, harvest everything in one go and dry big batches before you winterize the garden.
2. Air-Dry Bundles the Classic Way
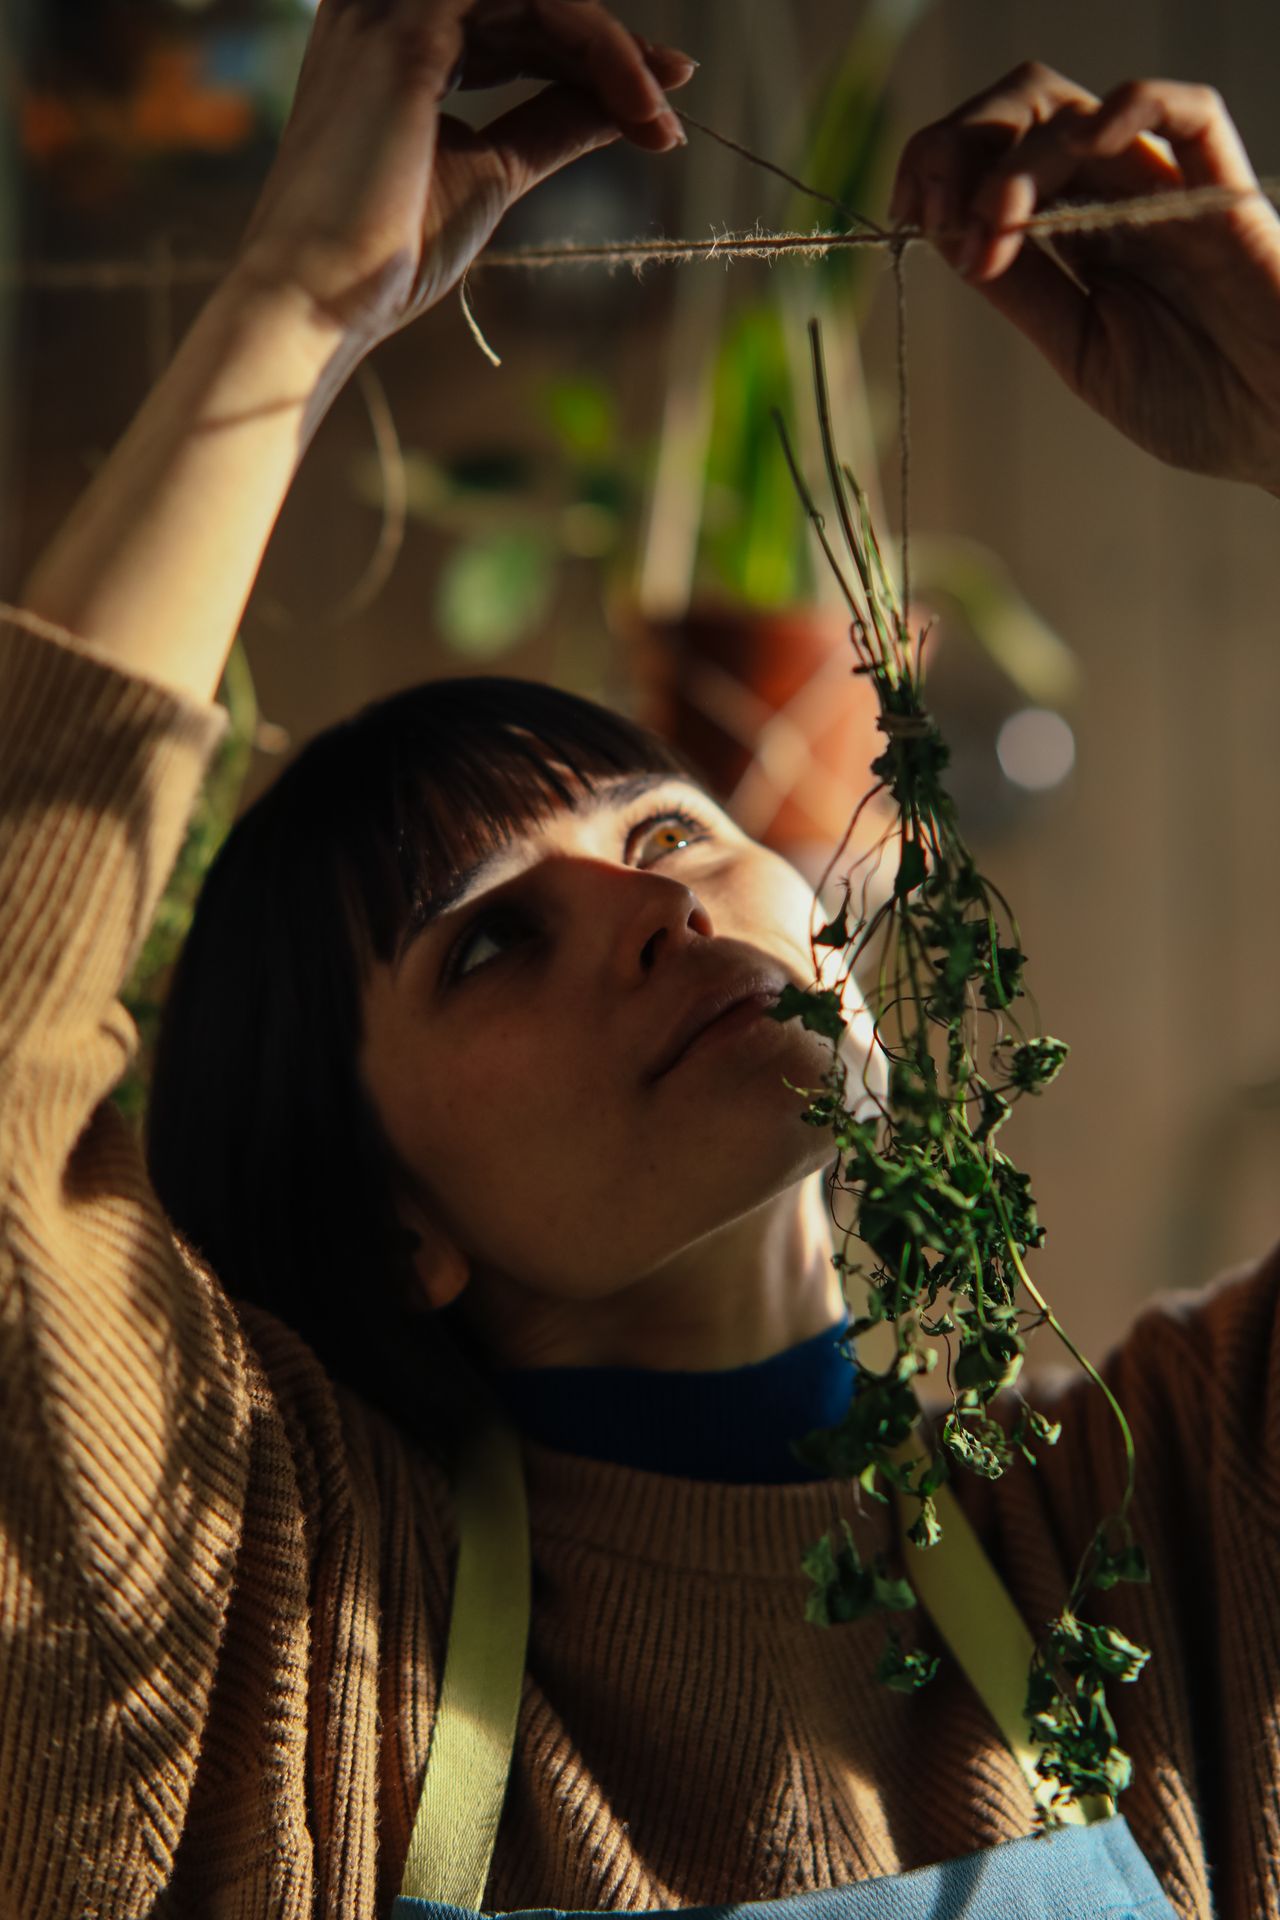
Photo via Pexels
Hanging bundles is the oldest method, and it is still the best for sturdy, low-moisture herbs: rosemary, thyme, oregano, sage, marjoram, summer savory and dill. Gather 4 to 6 stems into a small bunch, no thicker than about 1 inch across, because thick bundles trap damp air in the middle and mold before they dry. Tie the stems tightly with kitchen twine or a rubber band. A rubber band is smart because stems shrink as they dry, and the band keeps squeezing while a loose knot would let the bundle fall apart.
Hang the bundles upside down in a warm, dry place with good air flow and no direct sun, like a pantry, garage or spare room. Sunlight fades color and flavor, so a shaded spot beats a bright window. Most bundles dry in 1 to 2 weeks. They are ready when the leaves feel crisp and crumble when rubbed, and the stems snap instead of bending. In a humid home, or during rainy weeks, skip this method for leafy herbs and use the dehydrator instead, because slow drying in damp air is where mold starts.
3. Dry Loose Leaves on Screens and Trays

Photo via Wikimedia Commons
Some things cannot hang in a bundle: loose leaves, flower heads like chamomile and calendula, and herbs you have already stripped from the stem. For these, spread them in a single layer on a clean window screen, a mesh tray, or cheesecloth stretched over a frame. Raise the screen on a couple of bricks or books so air can move underneath as well as over the top. A small fan nearby, on low, speeds things up a lot.
Keep the tray in a shaded, airy room and turn the leaves every day or two so they dry evenly. Thin leaves dry in 3 to 5 days, while flowers and thicker leaves can take up to 10 days. Do not dry herbs on newspaper, since ink and dust can transfer to the leaves; plain parchment paper or a clean tea towel works if you have no screen. Once the pieces shatter when pressed between your fingers, they are done and ready for the jar.
4. Bag-Dry Tender Herbs and Seed Heads
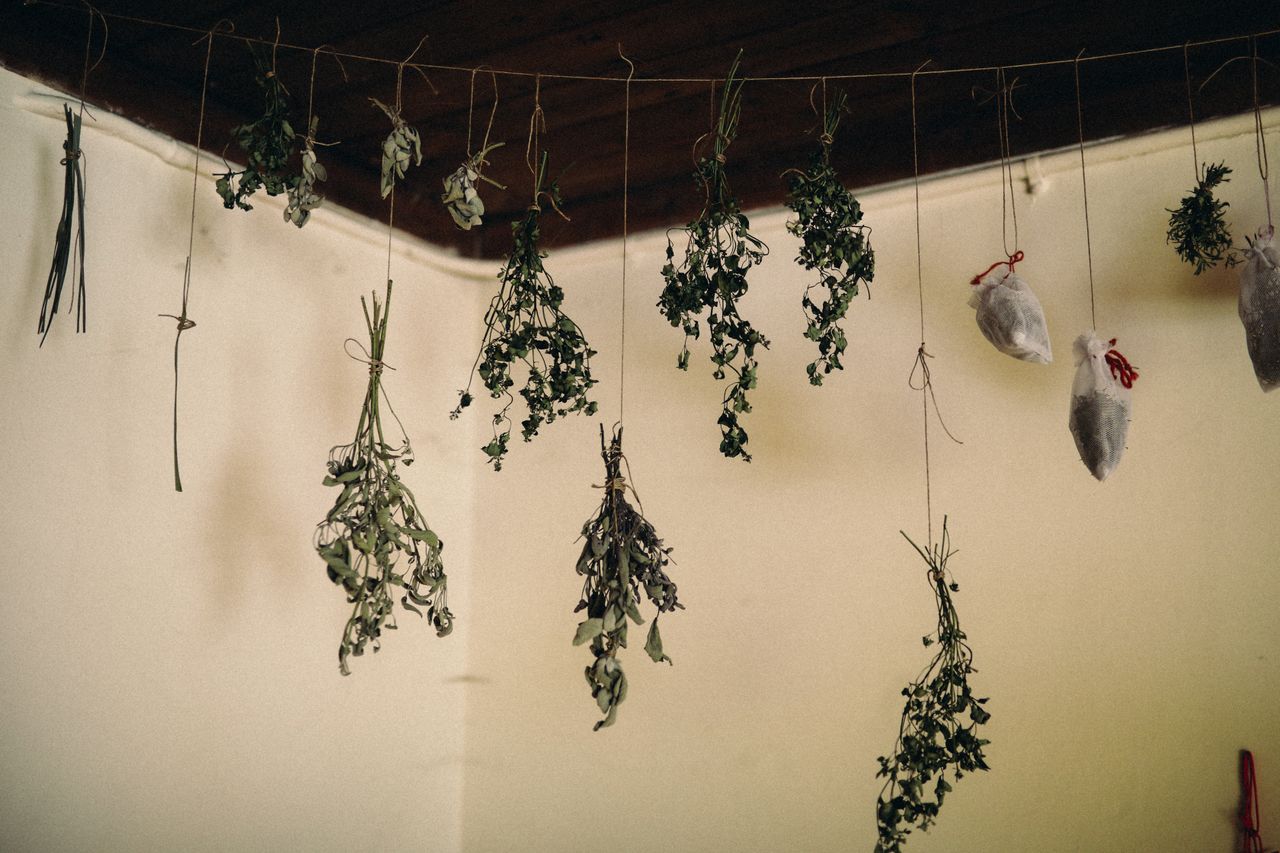
Photo via Pexels
A paper bag solves two problems at once: it blocks the light that fades herbs, and it catches the leaves and seeds that drop as stems shrink. Punch several holes in a plain brown paper bag for air flow, put a small bundle inside with the stems sticking out of the top, and tie the bag closed around the stems. Hang it in the same warm, airy spot you would use for open bundles. This is the best method for seed herbs like dill, fennel, coriander and caraway, because every seed that falls lands in the bag instead of on the floor.
Bag drying also helps tender, leafy herbs that drop leaves easily, and it keeps dust off herbs drying in a garage or workshop. Check the bag once a week and shake it gently. If you see any dark spots or smell anything musty when you open it, the air flow was not enough and that batch should go in the compost, not the pantry. In dry conditions, bagged herbs are ready in about 1 to 2 weeks, same as open bundles.
5. Oven-Dry on the Lowest Heat

Photo via Wikimedia Commons
The oven is your fast backup when the weather is wet or you need dried herbs this week. Strip the leaves from the stems and spread them in a single layer on a baking sheet lined with parchment paper. Set the oven to its lowest temperature, ideally 170 to 180°F, and prop the door open a crack with a wooden spoon so steam can escape. Many ovens only go down to 200°F; in that case, use the shortest times and check often, because herbs scorch fast at higher heat.
Most leaves dry in 1 to 3 hours. Flip them or stir them every 20 to 30 minutes, and start checking early, since thin herbs like dill can be done in under an hour while thick sage leaves take longer. The herbs are ready when they crumble at a touch. Never leave the oven alone while drying, and let the tray cool fully before jarring, because warm herbs sealed in a jar can steam and mold. Oven heat does cost a little color and flavor compared with slow air drying, but the result is still far better than store-bought jars that may be a year old.
6. Use a Dehydrator for Steady Results
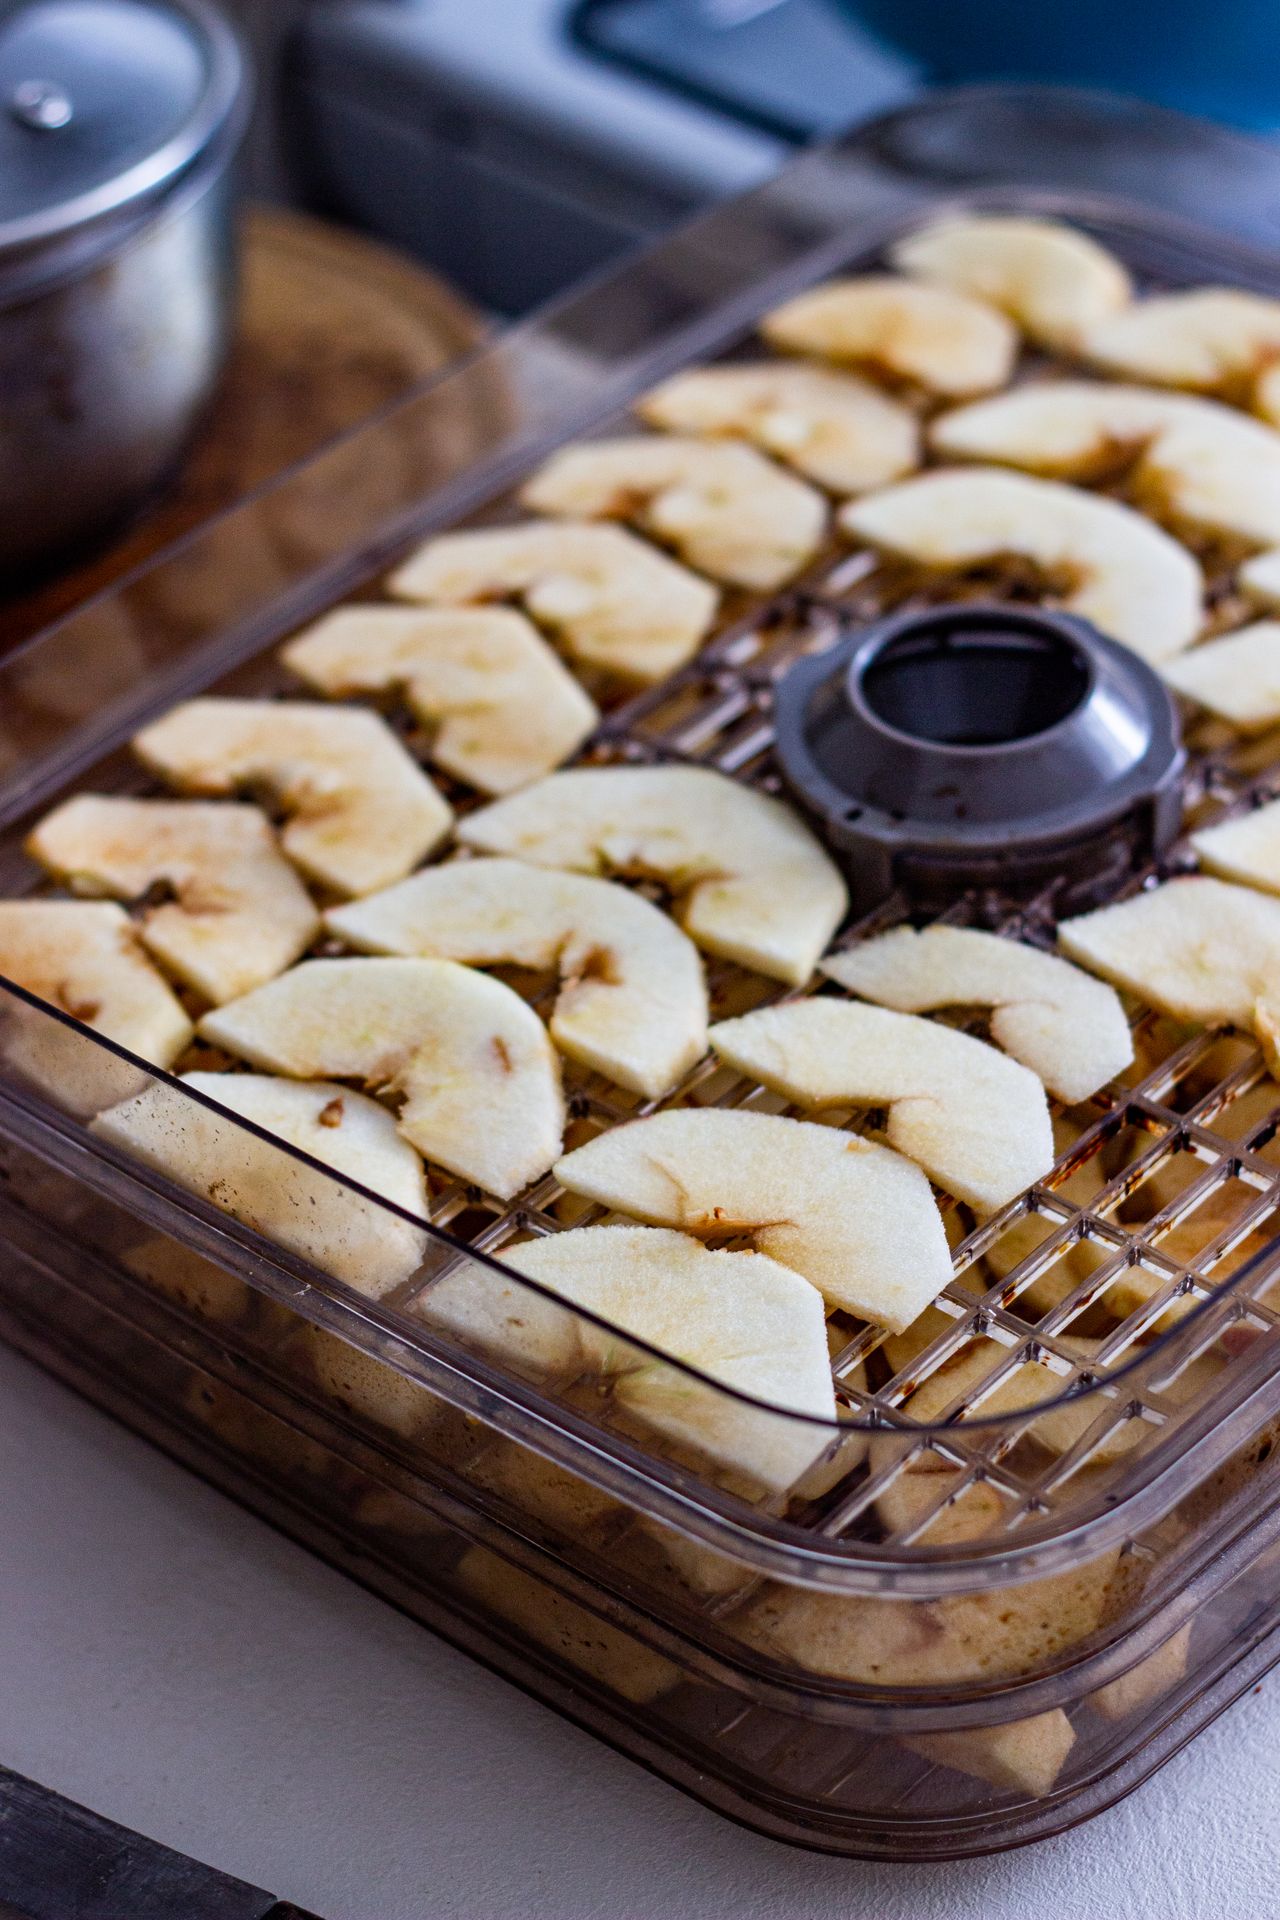
Photo via Pexels
A food dehydrator gives the most control, and extension experts rate it the most reliable method for quality. Preheat the machine to 95 to 115°F; if your home is very humid, go up to 125°F. Lay whole stems or stripped leaves in a single layer on the trays, with small gaps so the warm air can circulate. For tiny leaves that might fall through, use the fine mesh inserts that come with most machines. A basic dehydrator costs about $40 to $70 and pays for itself in one big harvest season.
Most herbs dry in 1 to 4 hours. Delicate leaves finish fastest, while thick, fleshy leaves like sage take the longest. Check every hour after the first, and take out each tray as it finishes rather than waiting for the whole load. The low, steady heat keeps the green color bright and holds on to more flavor oils than oven drying. If you grow a lot of herbs, grow them for cooking classes, or live in a humid climate where air drying fails, this is the method to rely on.
7. Microwave Small Batches in Minutes

Photo via Wikimedia Commons
For a handful of herbs, the microwave is surprisingly good and very fast. Wash and dry the leaves well, then lay them in a single layer on a paper towel on a microwave-safe plate, and cover with a second paper towel. Microwave on high for 30 seconds, then check. Keep going in 20 to 30 second bursts, checking after each one. Most small batches finish in 1 to 3 minutes total. The leaves feel papery when hot and crisp up more as they cool for a minute on the counter.
This method suits leafy herbs like parsley, mint, sage and basil, and it keeps their color bright green. Stay right there while it runs: herbs go from dry to scorched in seconds, and paper towels plus dry leaves should never be left heating alone. If a batch smells burnt or turns brown, throw it out and start again with shorter bursts. Because the batches are small, the microwave is best for one recipe's worth of herbs, or for saving a small leftover bunch from the store that you cannot use fresh.
8. Salt-Cure Herbs and Make Herb Salt

Photo via Wikimedia Commons
Salt pulls water out of leaves just like air does, and it is the classic fix for basil, which turns black and loses its punch when it is dried plain. For salt-cured leaves, put down a thin layer of coarse kosher or sea salt in a jar or crock, add a layer of fresh basil leaves, and repeat until the jar is full, ending with salt. After 1 to 2 weeks the leaves dry and go crisp inside the salt. Shake off the extra salt before cooking, and remember the leaves are salty, so cut the salt in your recipe.
The simpler cousin is herb salt: crumble fully dried herbs and mix about 1 part herb with 4 parts coarse salt, then store it in a jar for up to 6 months. Rosemary salt on roast potatoes and thyme salt on eggs are both excellent, and a homemade blend is the base of many seasoning mixes, like the one in our taco seasoning mix recipe. One honest note: the old sand method you may read about is for keeping dried flower shapes for crafts, not for kitchen herbs, so skip it for anything you plan to eat.
9. Freeze Herbs When Drying Is Not Best

Photo via Wikimedia Commons
Drying is not always the winner. Tender, soft herbs like basil, cilantro, parsley, dill and chives keep far more of their fresh flavor in the freezer. Chop the clean, dry leaves, pack them into the sections of an ice cube tray, and cover them with water or olive oil. Oil is the better choice for basil, because it seals the leaves from the air and stops them going black. Freeze until solid, then pop the cubes into a freezer bag, squeeze out the air, and label it with the herb and the date.
To use them, drop a cube straight into a hot pan, soup or sauce; there is no need to thaw. Frozen herbs go soft, so save them for cooked dishes, not salads or garnishes. For best flavor, use the cubes within 6 months, though they stay safe for up to a year. Whole sprigs of rosemary and thyme can also be frozen flat in a bag as they are, and the leaves strip off the stem easily while still frozen.
10. Store Dried Herbs So They Stay Fresh

Photo via Wikimedia Commons
Storage starts with one rule: herbs must be fully dry before they go in a jar. Leaves should crumble when rubbed, and stems should snap, not bend. If a leaf still feels cool or soft, dry it longer. For the first week after jarring, check the jar each day for fog or dampness inside the glass. Any sign of moisture means the batch goes back to the tray for more drying, because one damp jar can mold the whole harvest.
Store herbs as whole leaves whenever you can, and crumble them only when you cook; whole leaves keep their oils much longer. Use clean, dry glass jars with tight lids, label each one with the herb and the date, and keep them in a cool, dark cupboard away from the stove. Heat and light are the two big flavor killers. Dried herbs are at their best for about 6 to 12 months. After that they are still safe, but weaker; do the smell test, and if a pinch rubbed between your fingers has little aroma, it is time to replace it. As a rough guide, 1 teaspoon of dried herb replaces 1 tablespoon of fresh.
Frequently Asked Questions
Which herbs are easiest to dry at home?
Sturdy, low-moisture herbs dry the most easily: rosemary, thyme, oregano, sage, marjoram and summer savory. They air dry well and keep strong flavor for months. Tender herbs like basil, cilantro and tarragon are trickier because of their high water content; they do better in a dehydrator at low heat, frozen in oil, or cured in salt.
How can I tell when herbs are completely dry?
Use the touch test. Leaves should feel crisp and papery and should crumble when you rub them between your fingers. Stems should snap cleanly instead of bending. If anything feels cool, soft or leathery, it still holds water and needs more time. Jarring herbs too early is the main cause of mold in stored herbs.
Why did my basil turn black while drying?
Basil darkens when it dries slowly, because the leaves react with air while they are still damp. Dry it fast instead: use a dehydrator at 95 to 100°F, small microwave batches, or freeze the leaves in olive oil cubes. Salt-curing is another good fix. Black basil is safe to eat, but it loses much of its fresh flavor.
Can dried herbs go bad or moldy?
Yes, if they were jarred before they were fully dry, or if the jar lets in damp air. Watch for a musty smell, visible fuzz, clumping, or fog inside the jar. Moldy herbs should be thrown away completely; do not try to save part of the batch. Herbs that are fully dry and kept in a sealed jar in a dark cupboard simply fade with age instead of spoiling.
How much dried herb should I use instead of fresh?
Drying concentrates flavor, so use about one-third as much. The standard swap is 1 teaspoon of dried herb for 1 tablespoon of fresh leaves. Start with a little less than you think you need, since strong herbs like rosemary and oregano can take over a dish, then taste and add more.
Final Thoughts
Drying your own herbs is one of those small garden habits that pays you back all year. A few bundles of thyme in August become free seasoning in January, and homegrown jars almost always taste stronger than store-bought ones. Start with the easy air-dried bundles, and add the faster methods as you need them. If you are planning next year's beds, our backyard garden design ideas include layouts that leave room for a sunny herb corner near the kitchen door.
Sources
- National Center for Home Food Preservation: Drying Herbs
- South Dakota State University Extension: Preserving Herbs
- University of Maine Extension: The Art of Preserving Herbs
- Ohio State University Extension: Dehydrating Herbs
Gallery
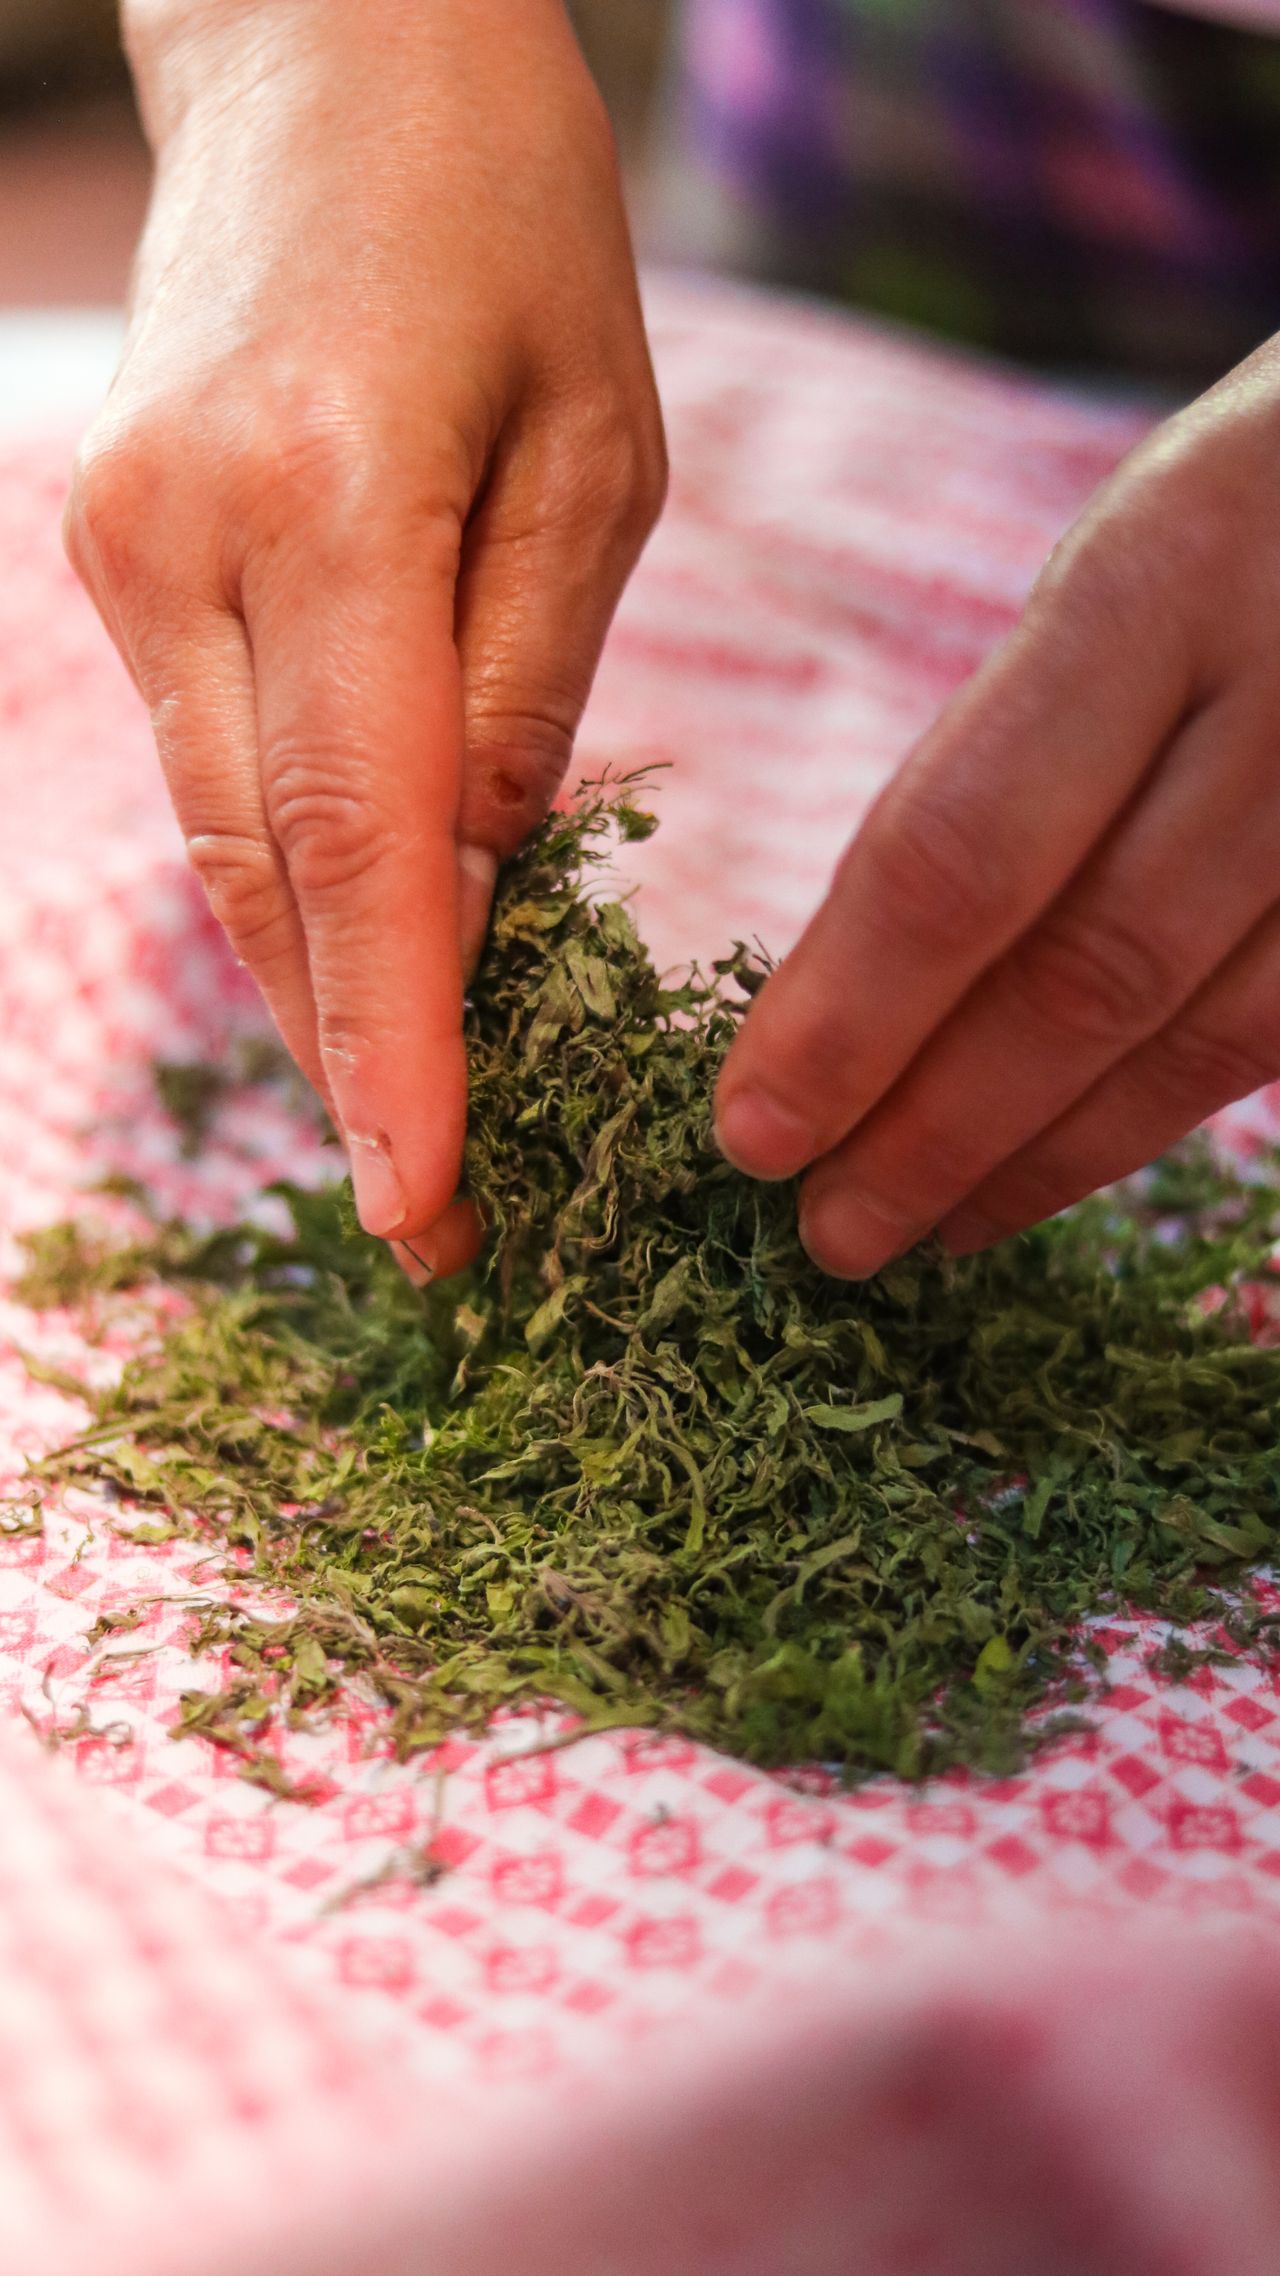
Photo via Pexels
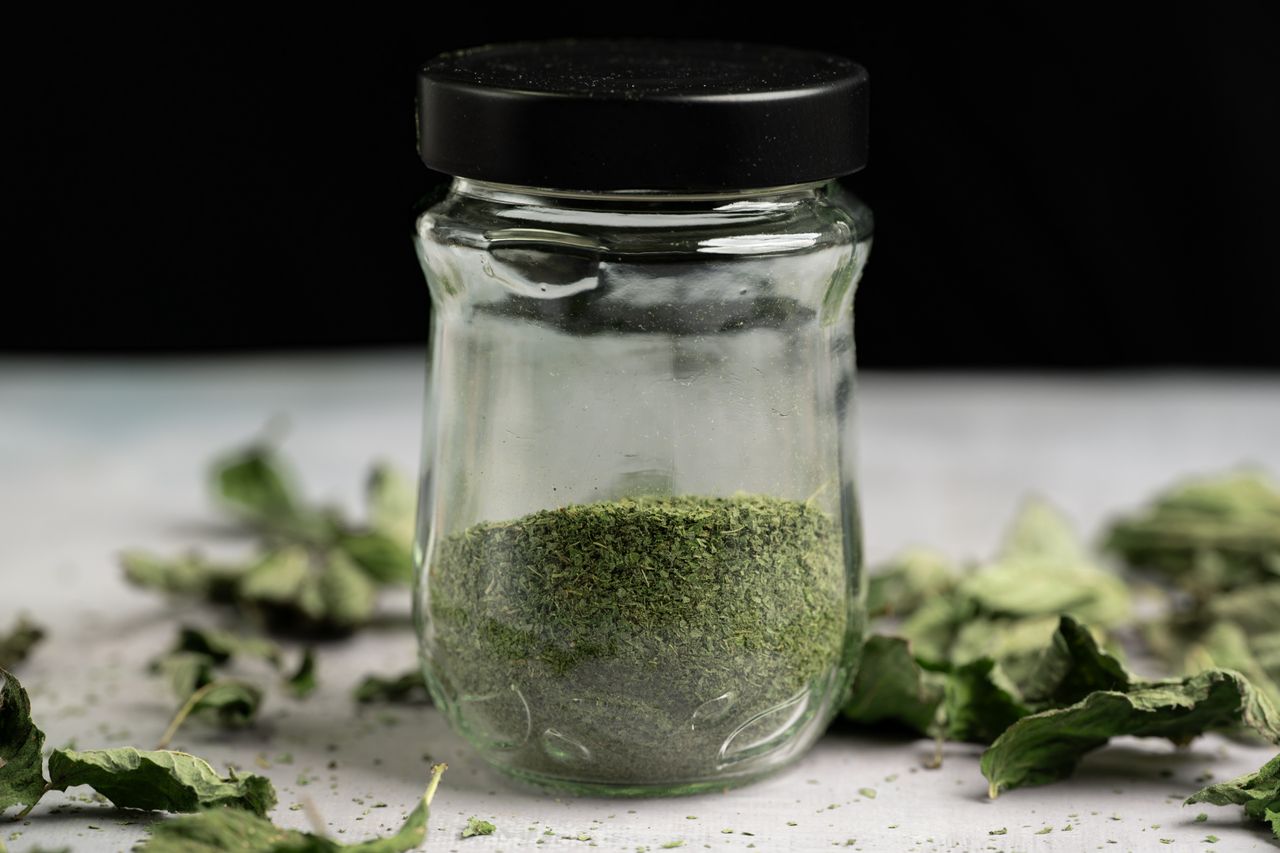
Photo via Pexels
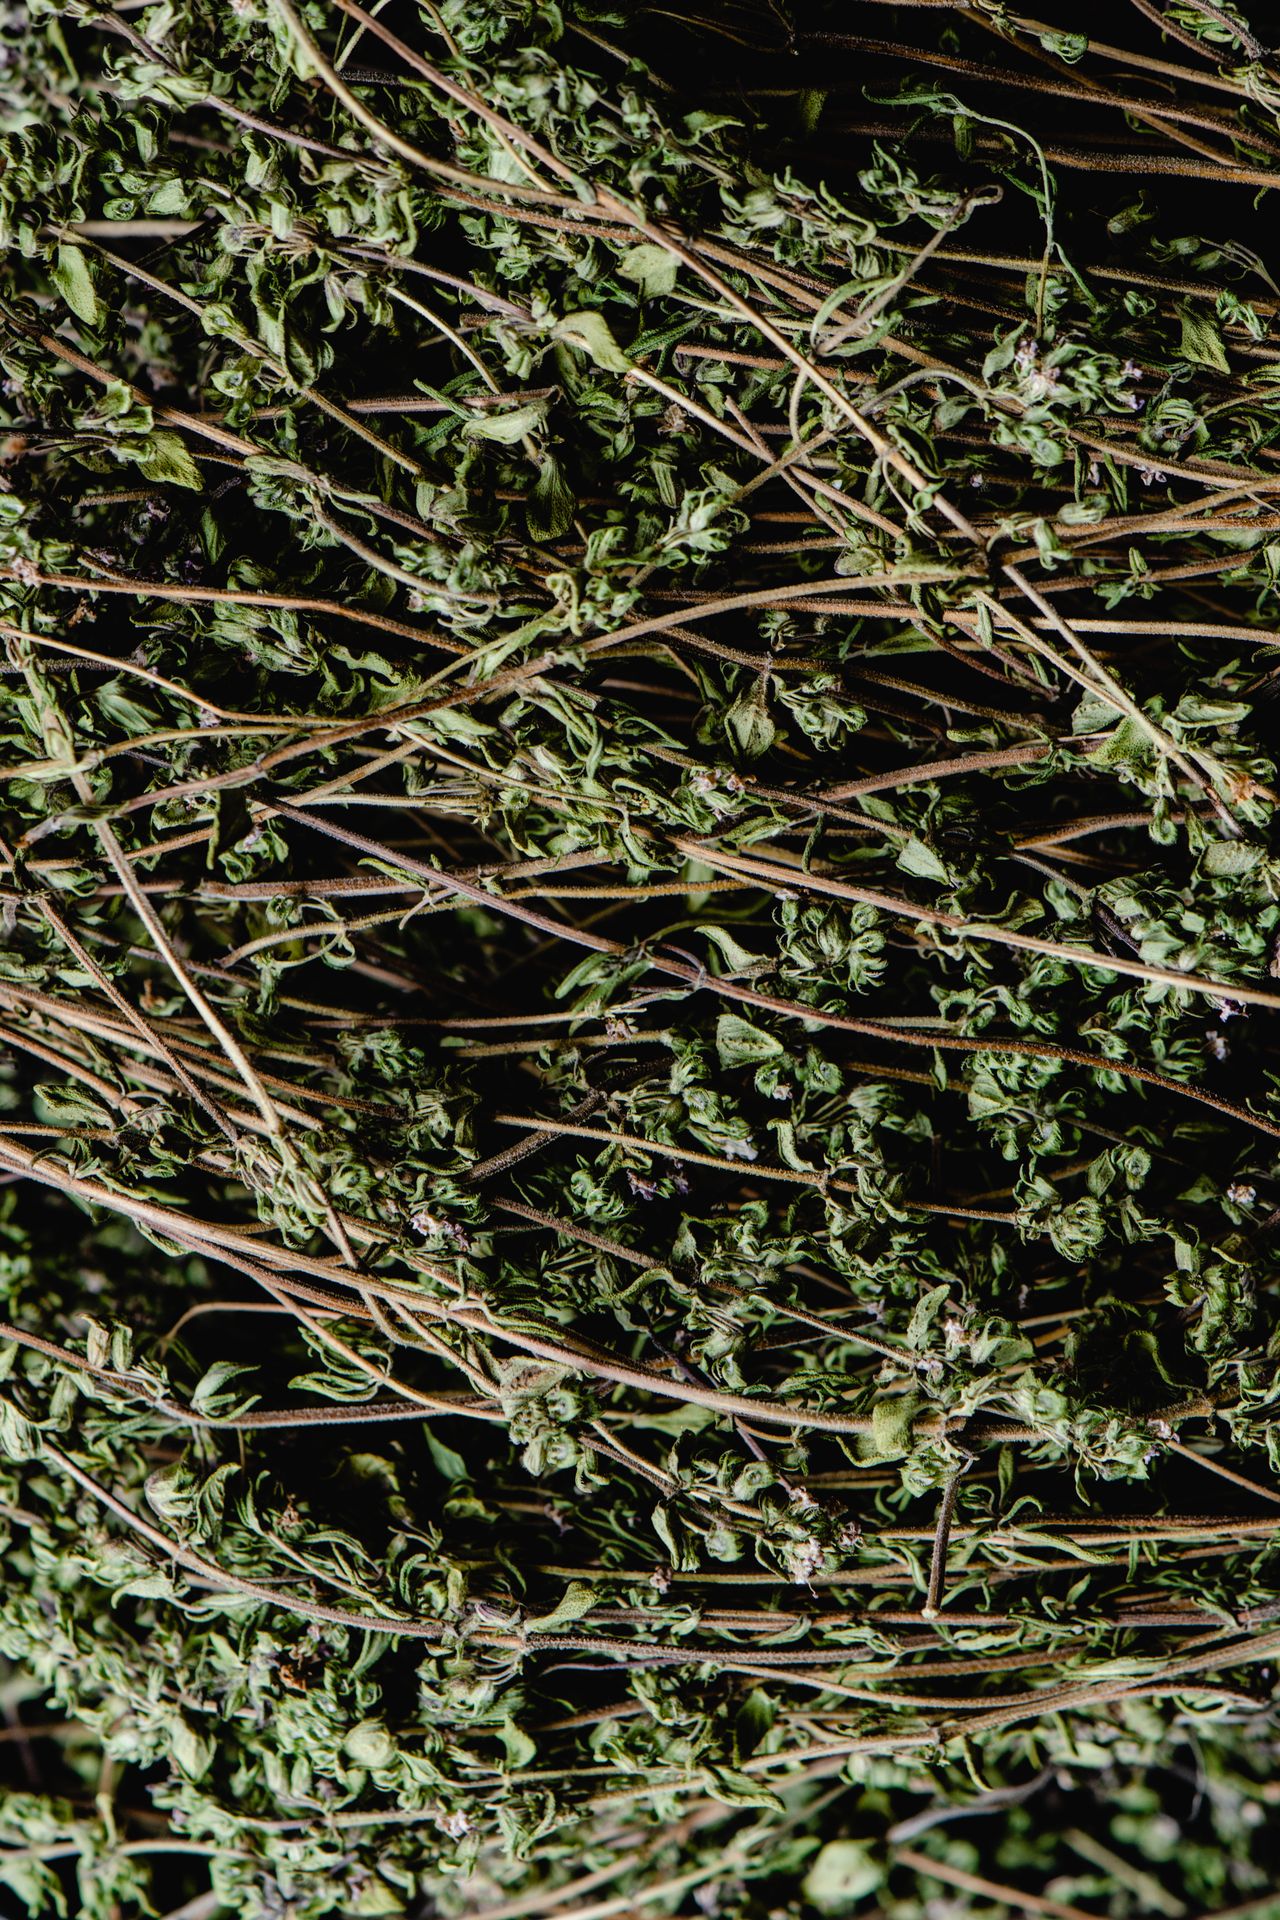
Photo via Pexels

No comments:
Post a Comment