Most heat escapes through the roof, which is why Canadian building guides push attic insulation harder than any other upgrade. R40 insulation is a common target for attics: it is the level many older homes need to reach, and it sits right in the range that keeps heating bills in check through a Prairie or Ontario winter.
This guide covers what the R40 rating means, how deep your attic insulation must be to hit it, what a top-up costs in Canada, and when to call a professional. Everything is in plain language, with real measurements and prices.

Photo: Wikimedia Commons
Table of Contents
- 1. What the R40 Rating Means
- 2. How Deep Attic Insulation Must Be for R40
- 3. Why Attics Need Far More Than Walls
- 4. Topping Up vs Starting Over
- 5. Blown-In or Batts: Which Reaches R40 Easier
- 6. Old Insulation You Might Find Up There
- 7. Vapour Barriers and Ventilation Matter Too
- 8. How to Measure What You Have Now
- 9. What an R40 Top-Up Costs in Canada
- 10. DIY or Hire a Professional
- FAQs
1. What the R40 Rating Means
R40 means the insulation resists heat flow at a level of 40 in imperial units, or about RSI-7.0 in metric. It is roughly three times the rating of a standard R12 wall batt. In practice, it describes a thick blanket of insulation, usually 25 to 30 cm of blown-in material, sitting over your top-floor ceiling.
Building codes in most Canadian provinces now ask for R50 or even R60 in new attics, but R40 remains a realistic and worthwhile target for upgrading an older home. Going from a thin R20 attic to R40 can cut ceiling heat loss nearly in half, which shows up on your gas or hydro bill within the first winter.

Photo: Wikimedia Commons
2. How Deep Attic Insulation Must Be for R40
Depth depends on the material. Blown-in cellulose needs about 25 cm to reach R40, while blown-in fibreglass needs closer to 28 cm because it insulates slightly less per centimetre. If you are using batts, you would typically layer an R20 batt over an existing R20 layer, or lay two R20 batts crosswise.
Do not trust your eyes alone: insulation settles over time, so an attic that looked deep ten years ago may have compressed. Push a ruler or tape measure down through the material in several spots and average the readings. Anything under 20 cm almost certainly needs topping up.

Photo: Wikimedia Commons
3. Why Attics Need Far More Than Walls
Hot air rises, so your ceiling is where the biggest temperature difference sits all winter. The attic floor can face a 40-degree gap between a warm house and a freezing roof space, while a wall faces a smaller difference. That is why codes demand R40 to R60 overhead but only R20 to R24 in walls.
An under-insulated attic also causes ice dams. Heat escaping through a thin ceiling melts roof snow, which refreezes at the eaves and forces water back under the shingles. Bringing the attic up to R40 keeps the roof deck cold and even, which is one of the best defences against winter roof leaks.
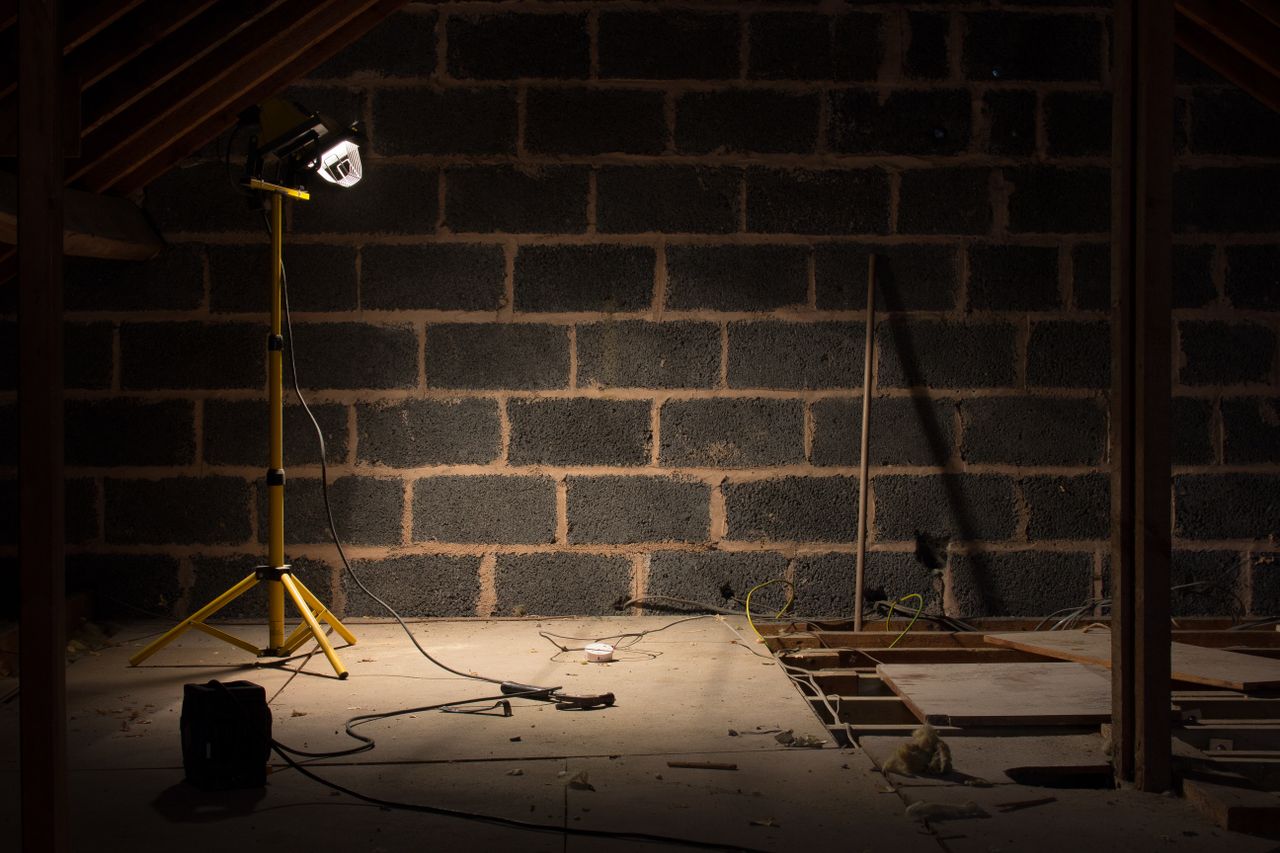
Photo: Pexels
4. Topping Up vs Starting Over
If your existing insulation is dry, evenly spread, and mould-free, topping up is the smart move. Blowing another 10 to 15 cm of cellulose over old batts is quick, and the layers work together with no need to tear anything out. Most attic upgrades in Canada are top-ups, not replacements.
Start over only if the old material is damaged: soaked from a roof leak, compressed into a hard mat, contaminated by pests, or containing vermiculite that may hold asbestos. Removal adds $1 to $2 CAD per square foot to the job, so confirm the old insulation is truly beyond saving before you pay for disposal.
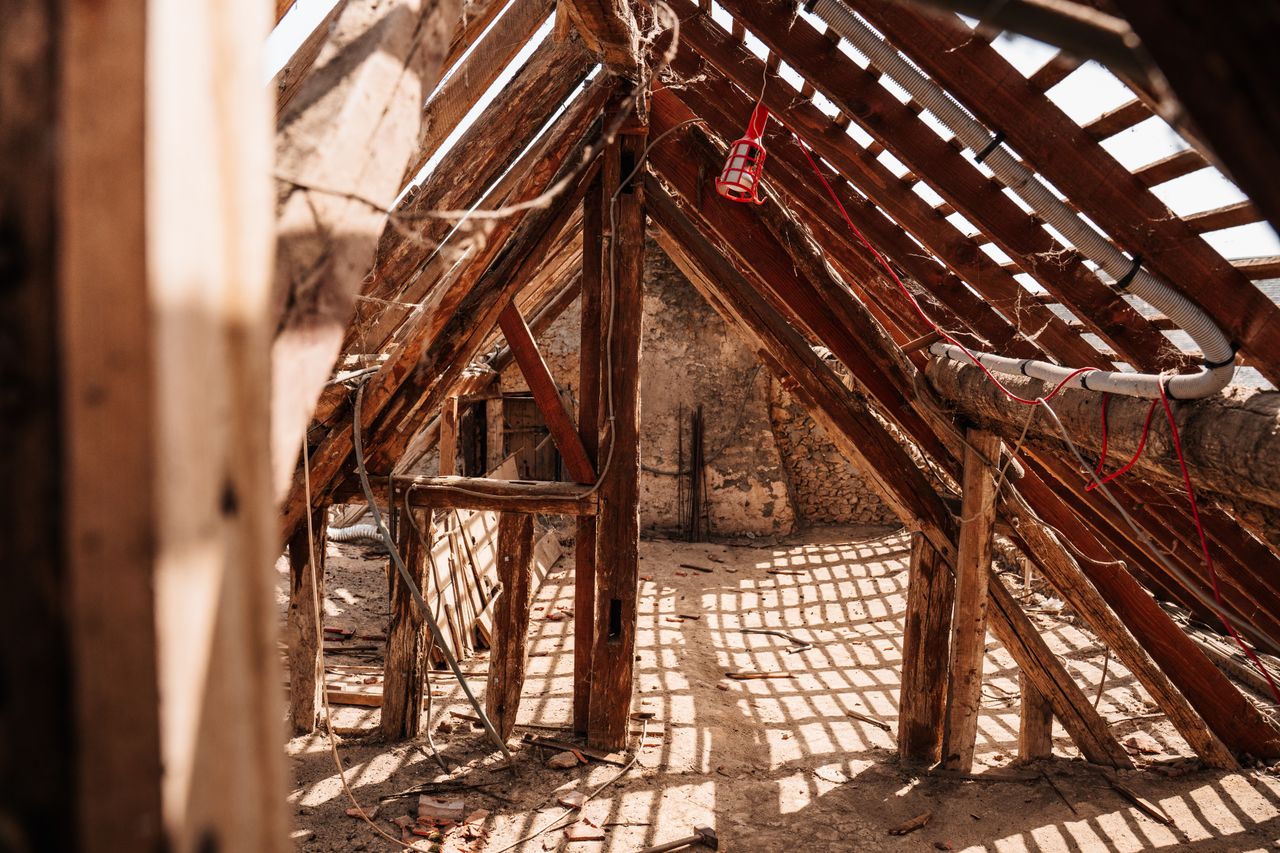
Photo: Pexels
5. Blown-In or Batts: Which Reaches R40 Easier
Blown-in insulation wins for attics in most cases. A machine sprays cellulose or fibreglass into every corner, around wires, and over the tops of joists, leaving no gaps. Reaching R40 means simply blowing it deeper, and a crew can finish an average attic in half a day.
Batts work too, especially for DIYers, but laying them evenly across joists without gaps is fiddly work in a cramped attic. You would need two layers, with the second running perpendicular to the first to cover the joists themselves. If you go the batt route, wear full protective gear: attic work is hot, itchy, and dusty.

Photo: Wikimedia Commons
6. Old Insulation You Might Find Up There
Older Canadian attics hold surprises. You might find wood shavings, sawdust, or even newspaper, all used as insulation decades ago. These materials settle badly and can be fire hazards, so they usually need to come out before you blow in new material.
The one to take seriously is vermiculite, a pebble-like insulation common from the 1950s to 1980s. Some vermiculite contains asbestos. Do not disturb it yourself. Get it tested by a lab, which costs about $50 CAD, and hire an asbestos abatement contractor if it comes back positive. This is the single most important safety check in any old attic.

Photo: Wikimedia Commons
7. Vapour Barriers and Ventilation Matter Too
Insulation without a vapour barrier can trap moisture. Warm indoor air carries humidity into the attic, where it condenses on the cold roof deck and soaks the insulation. A poly vapour barrier on the warm side of the ceiling, with seams sealed in tape, keeps that moisture out.
Ventilation is the other half of the equation. Soffit and ridge vents let the attic breathe, carrying away any moisture that does get in and keeping the roof deck cold in winter. Never block your soffit vents with insulation; use baffles to hold the material back. A well-vented attic protects both the insulation and the roof.

Photo: Wikimedia Commons
8. How to Measure What You Have Now
Grab a tape measure, a dust mask, and a headlamp, and head up through the hatch. Measure the depth in at least five spots: near the hatch, midway, and near the eaves. Write each number down, since attics are rarely even and one reading can mislead you.
While you are up there, look for the trouble signs: dark stained patches mean roof leaks, matted-down areas mean compression, and daylight around the eaves means air leaks. Fix leaks and seal gaps before adding insulation, because new material over old problems just hides them. Note the joist direction too, since it affects how a top-up layer should run.

Photo: Wikimedia Commons
9. What an R40 Top-Up Costs in Canada
Having a contractor blow in cellulose to reach R40 typically costs $1.50 to $3.00 CAD per square foot, depending on your city and how much material is needed. For a 1,000-square-foot attic, that puts the job between $1,500 and $3,000 CAD. Toronto and Vancouver sit at the higher end; smaller cities cost less.
DIY blown-in kits from home improvement stores cut the price roughly in half, since the machine rental is often free with a minimum bag purchase. Check the federal Greener Homes Grant and provincial rebates before you book, since attic insulation is one of the upgrades these programs regularly cover. A few hundred dollars back makes the payback period even shorter.

Photo: Wikimedia Commons
10. DIY or Hire a Professional
DIY suits a simple, open attic with good access and no surprises. If the hatch is large, the joists are clear, and the old insulation is sound, renting a blower for a weekend is very doable. Watch a few tutorial videos first, and bring a helper to feed the machine while you direct the hose.
Hire a pro when the attic is cramped, the old insulation is suspect, or you need air sealing and baffle work done properly. A good contractor also spots issues like bathroom fans venting into the attic, which is a common and damaging mistake. If your project includes the garage as well, read up on keeping your garage warm in winter so the whole house gets the same careful treatment.
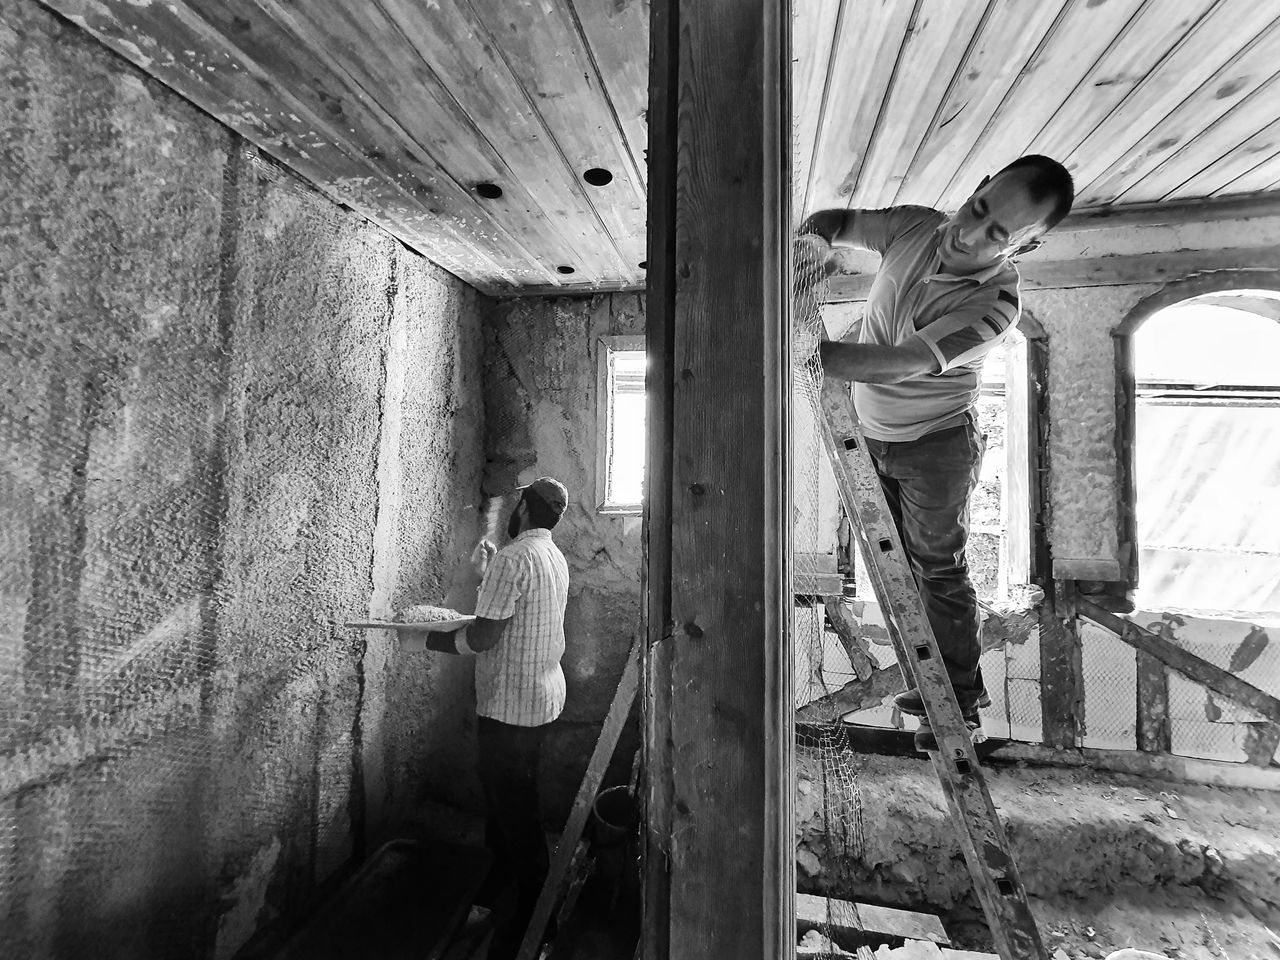
Photo: Pexels
FAQs
Is R40 enough for an attic in Canada?
It is a solid upgrade for most older homes and a big improvement over the R20 found in many attics. New builds in most provinces target R50 to R60, so if you are already paying for labour, going a little deeper than R40 is often worth it.
How many inches deep is R40?
About 10 to 12 inches, or 25 to 30 cm, depending on the material. Cellulose needs around 25 cm, while blown fibreglass needs closer to 28 cm. Measure in several spots since settled insulation is rarely even.
Can I put new insulation over old insulation?
Yes, as long as the old layer is dry, clean, and mould-free. Blowing new cellulose over old batts is standard practice. Remove the old material only if it is damaged, pest-contaminated, or vermiculite that may contain asbestos.
Does attic insulation help in summer too?
Yes. The same blanket that keeps heat in during winter keeps heat out in summer, slowing warmth from a sun-baked roof. Good attic ventilation helps even more in hot weather. If you use baseboard heaters, also see decorating around baseboard heaters for year-round comfort tips.
How long does blown-in attic insulation last?
Twenty to thirty years or more if it stays dry. Cellulose settles a little in the first years, which is why contractors blow it slightly deep. Top it up again if measurements show it has dropped well below your target.
Final Thoughts
Bringing an attic to R40 is one of the highest-value upgrades a Canadian homeowner can make. The job is straightforward, the cost is modest next to most renovations, and the comfort difference is immediate: warmer rooms, fewer drafts, and fewer ice dams. Measure what you have, fix any leaks first, and do not skimp on ventilation.
Sources
Gallery
Photo: Pexels
Photo: Pexels
Photo: Pexels

No comments:
Post a Comment