Some recipes become classics because they are fancy. This one became a classic because it never fails. For nearly a hundred years, American bakers have reached for the same simple formula (pumpkin, eggs, sugar, warm spices, and one can of evaporated milk) and pulled a smooth, deeply spiced pie out of the oven for Thanksgiving. The can in the pantry is doing more work than most people realize.
This guide explains exactly why that milk matters, how to keep the filling silky instead of cracked, how to stop the crust from going soggy, and how far ahead you can bake. It also answers the questions readers send us every fall, from the evaporated-versus-condensed mix-up to the famous jiggle test that tells you the pie is done without cutting into it.

Photo: Infrogmation of New Orleans, CC BY-SA 4.0, via Wikimedia Commons
Table of Contents
- 1. Why Evaporated Milk Makes the Silkiest Filling
- 2. Use Pure Pumpkin, Not Pie Mix
- 3. Measure the Warm Spices with Care
- 4. A Flaky Crust That Stays Crisp
- 5. Blind Bake First to Beat the Soggy Bottom
- 6. Whisk the Filling Gently and in the Right Order
- 7. Bake Hot, Then Low, and Trust the Jiggle Test
- 8. Cool It Slowly to Keep the Top Crack-Free
- 9. Serve It Right: Whipped Cream, Done Properly
- 10. Make It Ahead and Store It Safely
- Frequently Asked Questions
- Final Thoughts
- Sources
- Gallery
1. Why Evaporated Milk Makes the Silkiest Filling

Photo: Evan-Amos, CC BY-SA 3.0, via Wikimedia Commons
Evaporated milk is regular milk with about 60 percent of its water removed, and that one fact explains the perfect texture. The concentrated milk proteins help the custard set firm and glossy, while the gentle caramel notes from the evaporation process deepen the flavor. The classic recipe uses one 12-ounce can with a 15-ounce can of pumpkin, 2 eggs, and 3/4 cup of sugar, and it has barely changed in a hundred years because it simply works.
Regular milk makes the same pie weep and slice soggy, because the extra water has nowhere to go. Heavy cream works, but the pie turns very rich and heavy after a big holiday meal. Evaporated milk sits right in the middle: creamy, sliceable, and light enough for seconds. One warning that saves pies every year: do not grab sweetened condensed milk by mistake. It looks similar on the shelf but carries more than a cup of added sugar, and the pie will come out far too sweet and dense.
2. Use Pure Pumpkin, Not Pie Mix

Photo: Jeffery Martin, CC0, via Wikimedia Commons
Check the can label twice in the store aisle. You want 100 percent pure pumpkin, which is cooked, mashed pumpkin and nothing else. Pumpkin pie mix looks almost identical on the shelf, but it arrives pre-sweetened and pre-spiced, so your sugar and spice amounts will fight it and the filling can turn out bland-sweet or strangely flat. With pure pumpkin, you control everything.
Baking from a fresh sugar pumpkin instead? One 4-pound sugar pumpkin gives you roughly 1 1/2 to 2 cups of puree, about what one pie needs. Homemade puree holds more water than canned, so drain it in a fine sieve or cheesecloth for an hour or your filling will be loose. We keep a full guide to what to do with pumpkin puree if a big batch leaves you with extras.
3. Measure the Warm Spices with Care

Photo: formulatehealth, CC BY 2.0, via Wikimedia Commons
The classic blend is simple: 1 teaspoon of ground cinnamon, 1/2 teaspoon of ground ginger, 1/4 teaspoon of ground cloves, and 1/2 teaspoon of salt for one pie. Cinnamon leads, ginger adds the warm bite that keeps the filling from tasting flat, and cloves bring the deep holiday aroma. A pinch of nutmeg is welcome but optional. If your spice shelf holds pumpkin pie spice instead, use 2 to 2 1/2 teaspoons of it in place of the three spices and keep the salt.
Spice age matters more than spice brand. Ground spices lose their strength after about a year in the cupboard, and fall baking season is the right time to replace them; a jar that smells faint when you open it will taste faint in the pie. Whisk the spices with the sugar first, before anything wet goes in. That way they spread evenly through the filling instead of landing in one harsh, bitter pocket.
4. A Flaky Crust That Stays Crisp
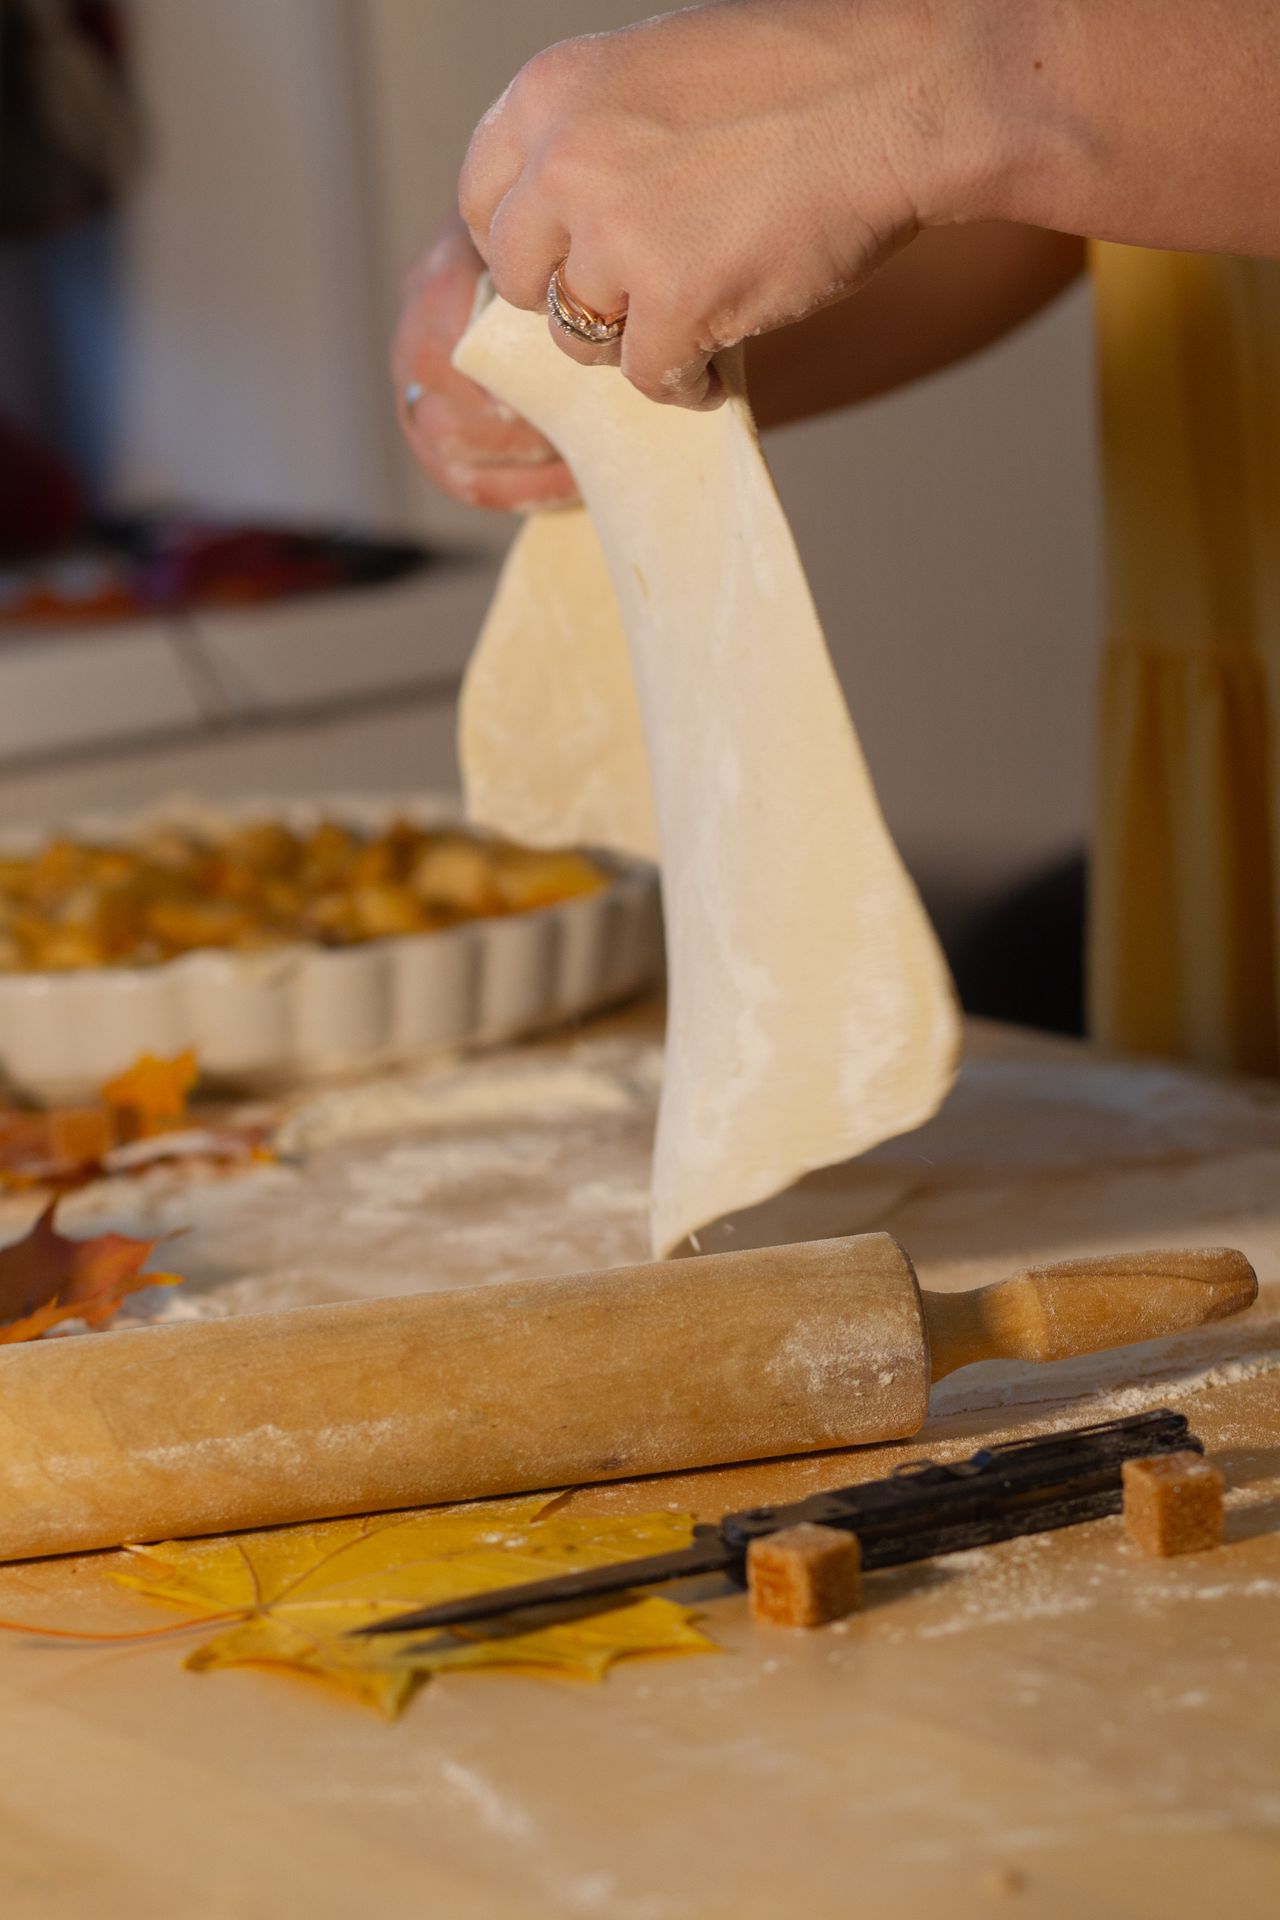
Photo via Pexels
A refrigerated store-bought crust is completely fine and is what many test kitchens use on busy weeks. If you make your own, an all-butter dough gives the best flavor: 1 1/4 cups of flour, 1 tablespoon of sugar, 1/2 teaspoon of salt, 1 stick of cold butter, and 3 to 4 tablespoons of ice water. Roll the dough into a 12-inch circle for a 9-inch pie pan, ease it in without stretching, and crimp a high, sturdy edge because the filling is generous.
Two habits keep crusts crisp under a wet custard. First, chill the shaped crust for at least 30 minutes before filling, so the butter stays in flaky layers. Second, set the pie pan on a preheated rimmed baking sheet in the oven. The hot sheet starts cooking the bottom crust the moment the pie goes in, which is the easiest insurance against a pale, soggy base. Glass and ceramic pans let you actually see the bottom browning; dull metal pans brown fastest.
5. Blind Bake First to Beat the Soggy Bottom

Photo: cogdogblog, CC BY 2.0, via Wikimedia Commons
For the crispest result, blind bake the crust before the filling goes in. Line the chilled crust with parchment, fill it with pie weights or dried beans, and bake at 375°F for 15 minutes. Lift out the paper and weights, prick the base a few times with a fork, and bake 5 more minutes until the surface looks dry. Then pour in the filling while the crust is still warm. Warm crust and cool filling meet more gently, and the base seals instead of soaking.
Is blind baking required? Not for the classic recipe, which was written for a raw crust and a long bake, and generations of good pies prove it works. But if soggy bottoms have beaten you before, or if you like a deep golden crust, the extra 20 minutes is the most reliable upgrade in this whole guide. It is also the step that makes slices lift out cleanly with a defined crust line.
6. Whisk the Filling Gently and in the Right Order

Photo: HaJunkiyada, CC BY-SA 4.0, via Wikimedia Commons
Order matters for a smooth top. Whisk the sugar, salt, and spices together first. Beat in the 2 eggs until the mixture is uniform, then whisk in the pumpkin until glossy. Add the evaporated milk last, in a slow stream, whisking just until combined. This sequence keeps the eggs from foaming and the spices from clumping, and it takes about 3 minutes total. The finished filling should pour like thick cream.
The gentle part matters because of what happens in the oven. Whisking hard whips in air, and those tiny bubbles expand as the pie bakes, then collapse as it cools, which is one of the main causes of a cracked or sunken top. If you do see bubbles on the surface, let the bowl rest 5 minutes and skim them off, or tap the bowl once on the counter. A smooth pour now is a smooth slice later.
7. Bake Hot, Then Low, and Trust the Jiggle Test

Photo: Ann Larie Valentine, CC BY-SA 2.0, via Wikimedia Commons
The time-tested schedule is 15 minutes at 425°F, then 35 to 45 minutes at 350°F without opening the door. The hot start sets the crust edges and gives the filling a head start; the lower finish cooks the custard gently. Start checking at the 35-minute mark of the second stage. Shield the crust edges with a pie ring or strips of foil if they brown faster than the center sets.
Doneness is a look, not just a time. The edges of the filling should look set and slightly puffed, while a circle about 3 inches wide in the very center still wobbles as one piece when you nudge the pan, like gelatin on a plate. A knife slipped into the center should come out mostly clean. It will still look soft; the custard finishes setting as the pie cools, thanks to carryover heat. Baking until the middle looks fully firm is the most common way home bakers overbake this pie.
8. Cool It Slowly to Keep the Top Crack-Free

Photo: Jonathunder, GFDL 1.2, via Wikimedia Commons
Move the hot pie to a wire rack and let it cool at room temperature for a full 2 hours. Slow cooling is not fussy advice; it is how you protect the top. A custard that cools too fast (next to an open winter window, or straight into the fridge) contracts and splits across the middle. Two hours on the rack lets the center finish setting gently and the surface stay smooth and glossy.
After the 2 hours, refrigerate the pie, loosely covered, for at least 4 hours or overnight. Chilling firms the slice lines and deepens the spice flavor, which is why day-two pumpkin pie often tastes best. If a small crack does appear, treat it as a serving problem, not a baking failure: a generous cloud of whipped cream covers it completely, and nobody has ever sent back a slice for that reason.
9. Serve It Right: Whipped Cream, Done Properly
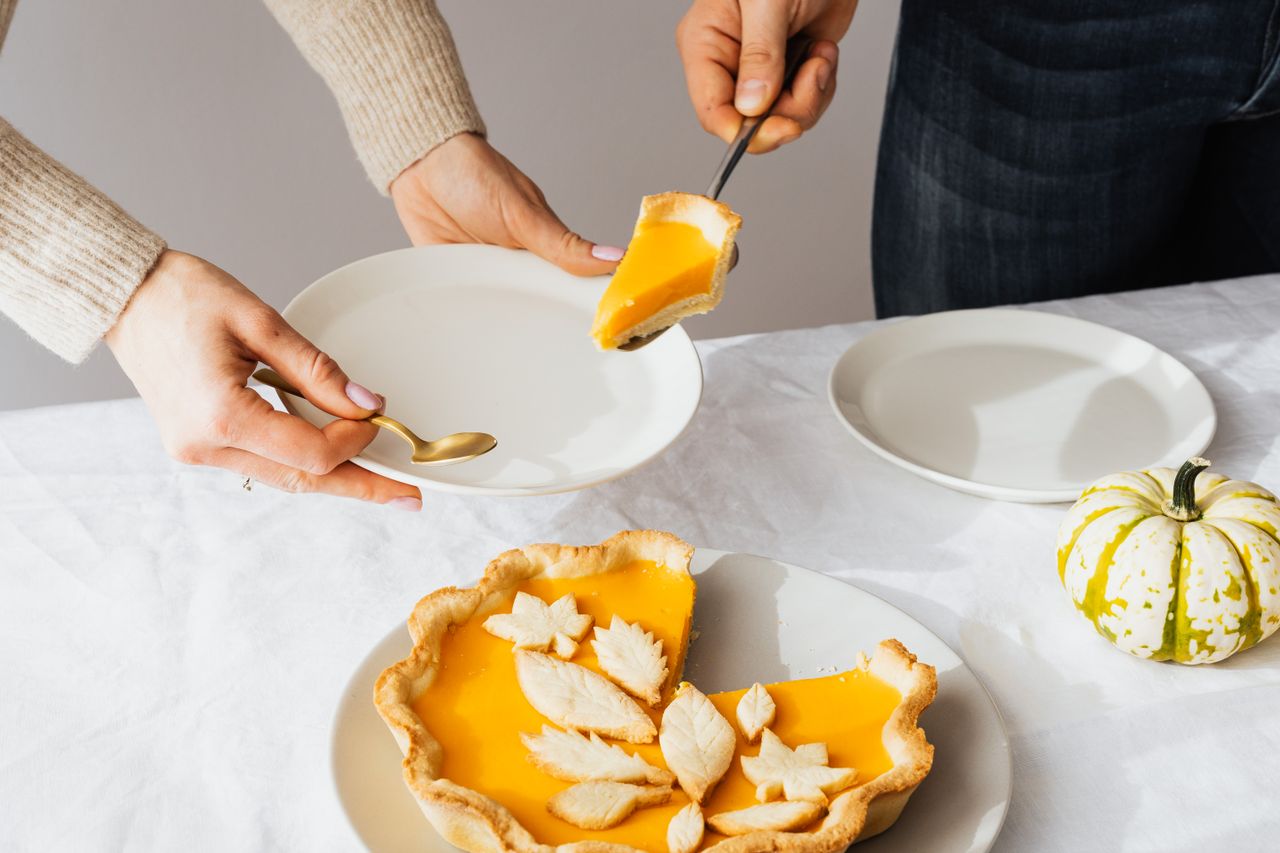
Photo via Pexels
Real whipped cream is the classic partner, and it takes 3 minutes. Chill a bowl and beaters if you can, then whip 1 cup of cold heavy cream with 2 tablespoons of powdered sugar and 1/2 teaspoon of vanilla until soft peaks curl over. Stop there. Overwhipped cream turns grainy and buttery, and soft, billowy cream is what you want against the dense spiced custard. A tiny pinch of cinnamon in the cream ties the whole plate together.
For a change of pace, fold 1 tablespoon of maple syrup into the cream instead of sugar for a maple whipped cream that suits the season. Serve slices cool or at cool room temperature, never warm from the oven, because the custard needs its chill to slice cleanly. Coffee or hot cider on the side, a warm pie server run under the tap between cuts, and the dessert course handles itself.
10. Make It Ahead and Store It Safely

Photo: liz west, CC BY 2.0, via Wikimedia Commons
Pumpkin pie is a gift to holiday planners because it prefers to be made ahead. Bake it 1 to 2 days before serving, cool it fully, cover it, and refrigerate. The flavor actually improves overnight as the spices settle in. On the day, there is nothing to do but whip cream and slice, which frees the oven for the turkey, rolls, and sides that all want the same hot hour.
For longer storage, freeze the whole baked pie, well wrapped, for up to 1 month; thaw it overnight in the refrigerator, never on the counter. Food safety is not flexible here: because the filling is an egg custard, the pie should not sit at room temperature for more than 2 hours total, in line with USDA guidance for custard pies. Leftovers keep 3 to 4 days in the fridge, and a cold slice for breakfast is a time-honored tradition.
Frequently Asked Questions
Can I use regular milk or cream instead of evaporated milk?
You can, but expect a trade. Whole milk adds too much water, so the filling sets softer and can weep liquid onto the plate after slicing. Heavy cream sets well and tastes rich, but the pie becomes heavy, and after a full holiday dinner many people find it too much. Half-and-half lands between the two. If evaporated milk is truly unavailable, cream is the safest swap at the same 12-ounce measure; just know the texture moves from silky to dense.
What is the difference between evaporated milk and sweetened condensed milk?
Both are concentrated canned milks, but sweetened condensed milk has a large amount of sugar added, while evaporated milk has none. That is the whole trap: the cans sit side by side and look alike. If you use condensed milk in this recipe without changes, the pie will be far too sweet and may not set the same way. In an emergency swap, leave out all the sugar in the recipe and expect a denser result. For the classic pie, buy the can labeled evaporated, ideally full-fat rather than skim, for the best set.
Why did my pumpkin pie crack on top?
Cracks usually come from overbaking, aggressive whisking, or cooling too fast. A custard baked until the center looks fully firm will split as it contracts during cooling. Pull the pie while the center still wobbles slightly, whisk the filling gently so you do not beat in air, and cool it on a rack at room temperature for 2 hours before refrigerating. A small crack is only cosmetic: whipped cream, a dusting of cinnamon, or a few pastry leaves cover it completely.
How can I tell the pie is done without cutting into it?
Use the jiggle test. Nudge the oven rack gently: the outer filling should be set and matte, and the center 3 inches should move as one soft wobble, like set gelatin, not like liquid sloshing. If you own an instant-read thermometer, the center should read about 175°F. The knife test also works (a knife near the center comes out mostly clean) but it leaves a small mark, so save it for the slice you plan to taste first. When in doubt, take the pie out: underbaked slightly beats overbaked, because cooling finishes the set.
Can I make a crustless version of this pie?
Yes, and it is a long-standing farmhouse trick often called impossible pie when coconut is added. Pour the same filling into a well-greased 9-inch pie pan or baking dish with no crust, and bake at 350°F for 45 to 55 minutes, until the same jiggle test passes. It slices like a firm custard pudding and is naturally gluten-free. Serve it in wedges with whipped cream. For more lighter holiday baking ideas, see our healthy pumpkin desserts collection.
Final Thoughts
The secret of this pie is that there is no secret. One can of evaporated milk, honest spices, a gentle hand with the whisk, and the patience to pull it from the oven while the center still trembles will give you the silky slice everyone pictures when they think of Thanksgiving dessert.
Bake it a day ahead, keep it chilled, and let the holiday run a little calmer. And if a whole pumpkin on the counter is calling your name, our from-scratch pumpkin pie from sugar pumpkins guide walks you through the fresh-pumpkin version step by step.
Sources
- Click Americana – Carnation's Famous Pumpkin Pie (1959)
- Creative Housewives – Carnation Famous Pumpkin Pie Recipe
- Girl Versus Dough – Pumpkin Pie Tips from a Pro Baker
Gallery

Photo: Simon A. Eugster, CC BY-SA 3.0, via Wikimedia Commons

Photo: JIP, CC BY-SA 4.0, via Wikimedia Commons
Photo via Pexels

No comments:
Post a Comment