Thick, sturdy and made to stand on their own, these candles are one of the easiest ways to make a living room feel warm and finished. If you love the look of pillar candles but are never quite sure how to style them, this guide walks you through ten simple ideas that work in real Canadian homes.
You will learn how to group different heights, which trays and holders actually protect your furniture, and the safety basics every candle owner should know. No fancy styling degree needed — just a few practical rules and some honest shopping advice.
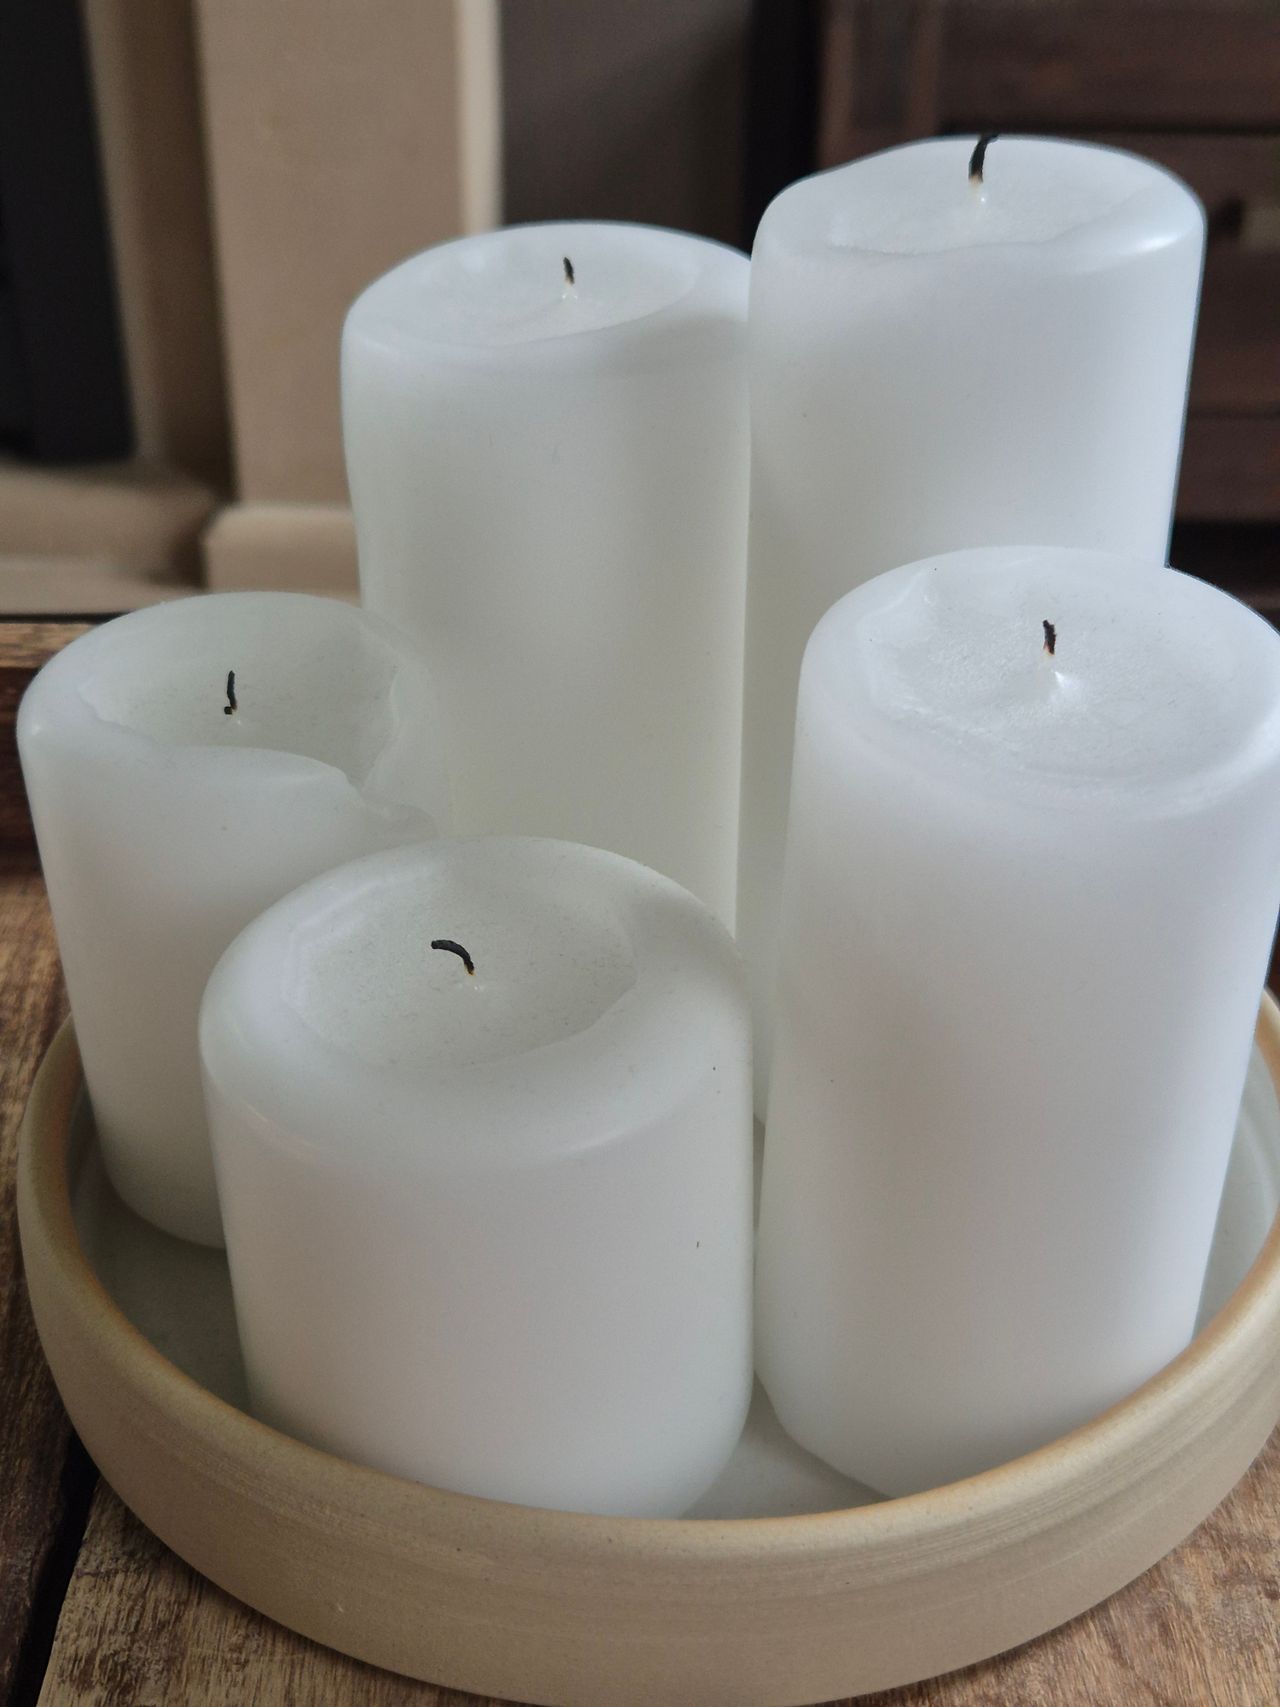
Photo via Pexels
Table of Contents
- 1. Group Three Heights Together
- 2. Set Ivory Classics on a Tray
- 3. Line the Windowsill
- 4. Style the Mantel in a Row
- 5. Try Beeswax for a Natural Glow
- 6. Add Greenery Around Them
- 7. Lift Short Ones with Holders
- 8. Pair Them with a Stack of Books
- 9. Go Bold with Colour
- 10. Keep a Simple Pair on the Side Table
1. Group Three Heights Together
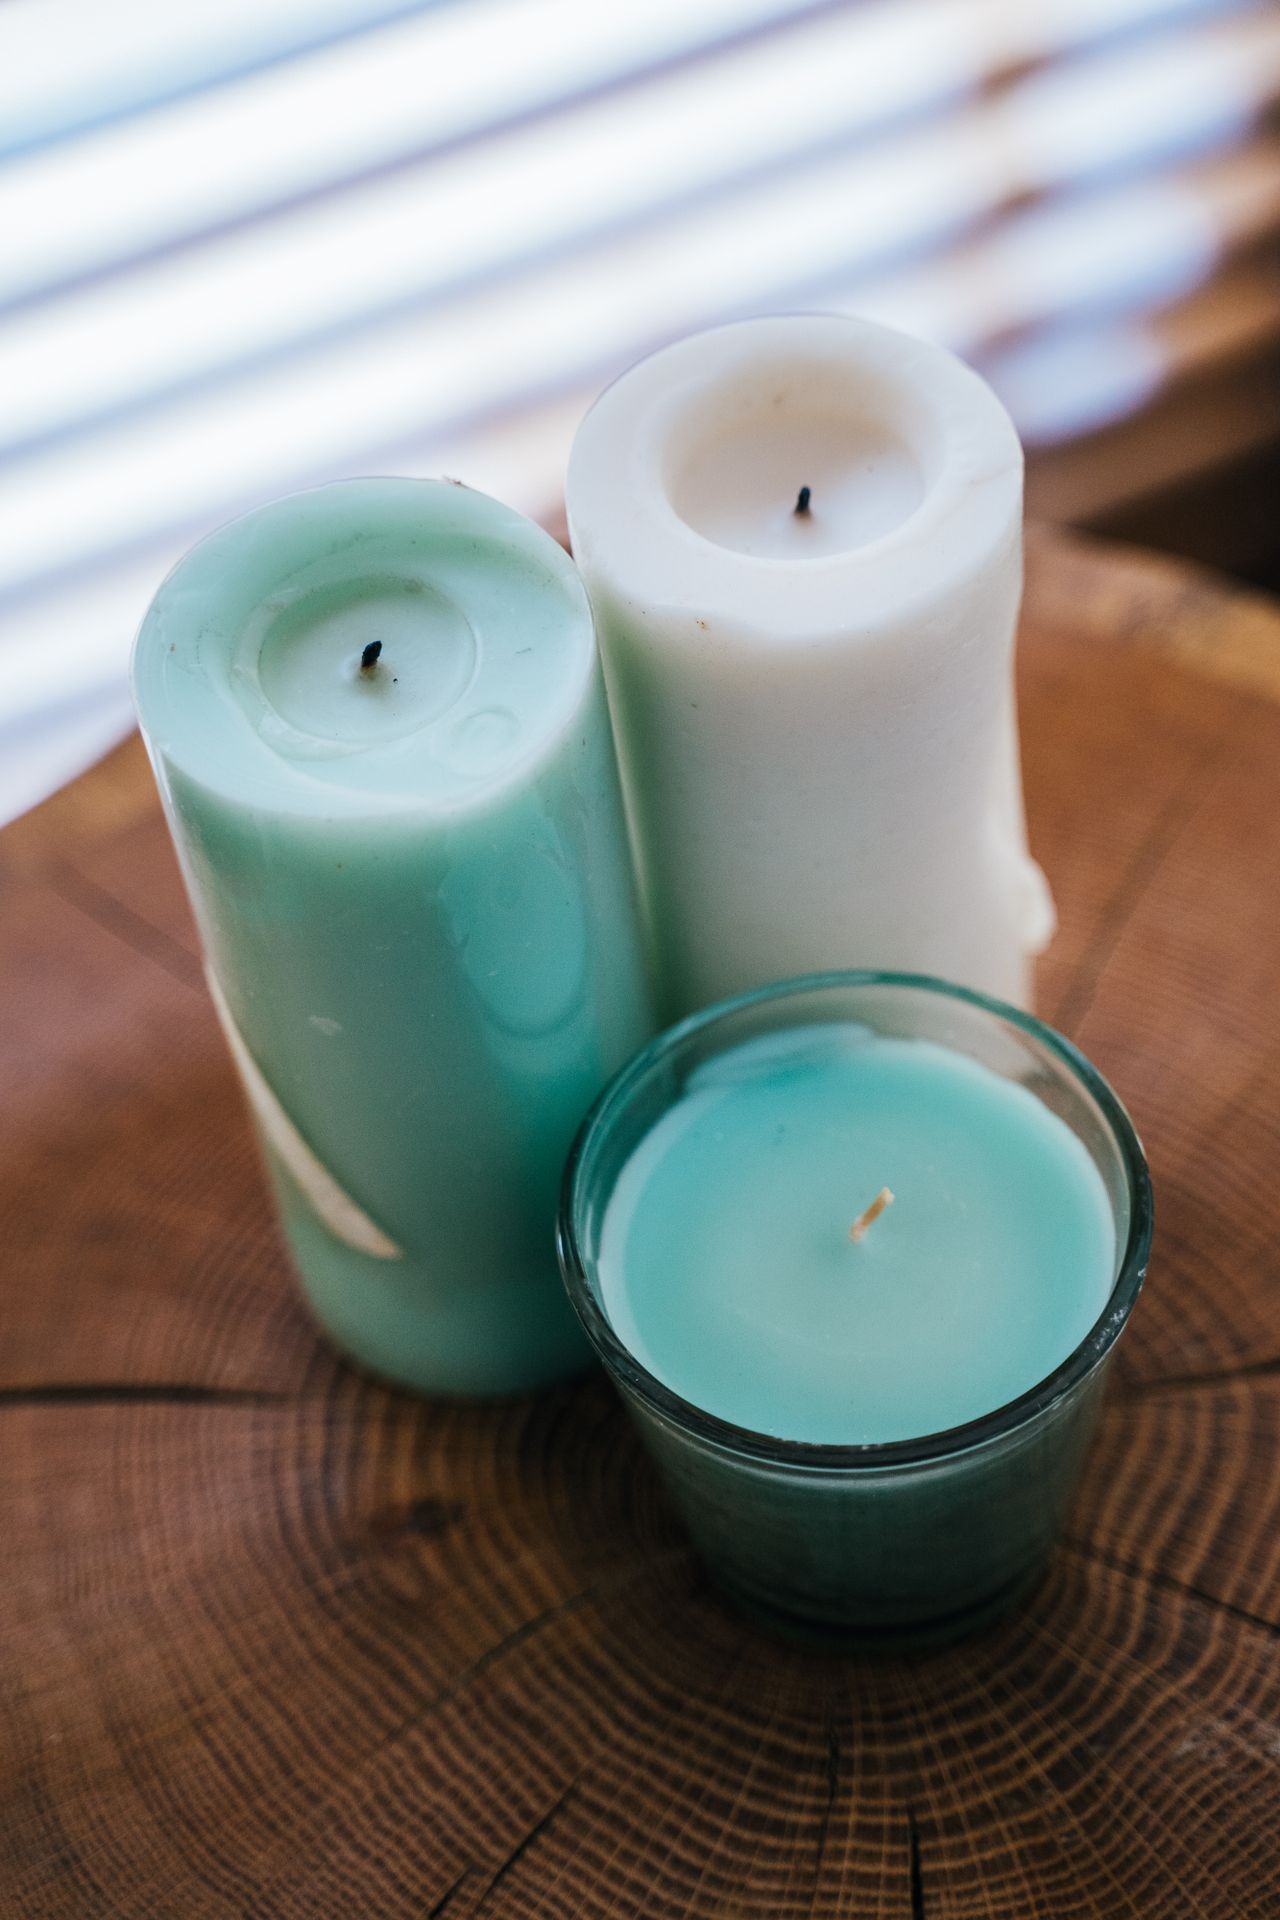
Photo via Pexels
The oldest styling trick in the book still works: group candles in odd numbers at three different heights. When buying pillar candles for a grouping, pick heights roughly 10 cm, 15 cm and 20 cm so the eye moves up in steps instead of landing on a flat row. Keep the diameter the same, about 7 to 8 cm, so the cluster looks intentional rather than random.
Place the tallest at the back and the shortest at the front, slightly off-centre. This triangle shape photographs beautifully and looks good from every seat in the room. If you only buy one set, make it this one — it works on coffee tables, consoles and dining tables alike.
2. Set Ivory Classics on a Tray
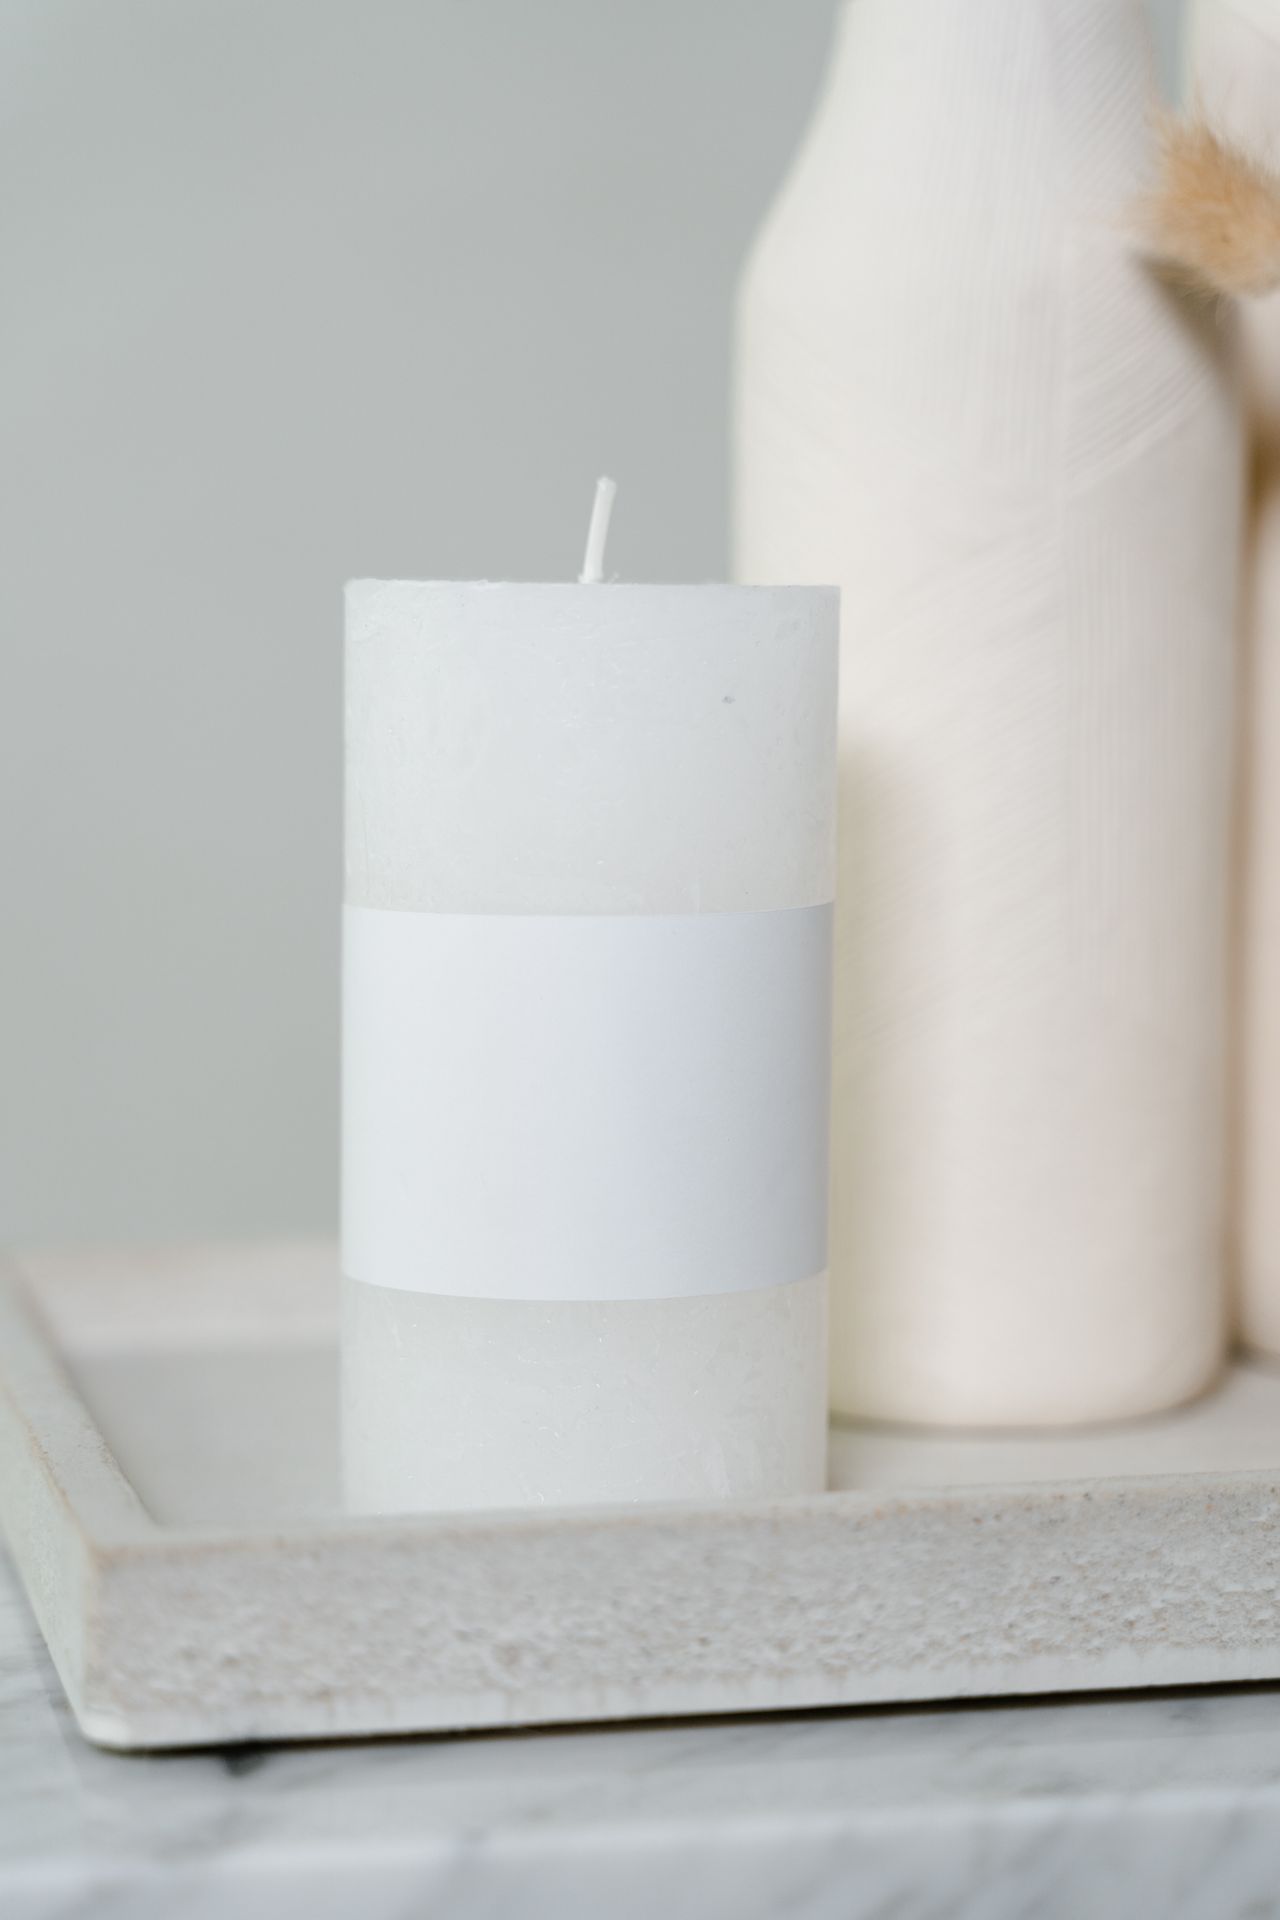
Photo via Pexels
A tray turns loose candles into a proper centrepiece and, more importantly, protects your wood furniture from wax and heat. Choose a tray at least 5 cm wider than your candle group on every side, in wood, stone or metal. The tray also makes it easy to move the whole display when you need the table.
Ivory or cream pillars are the safest colour choice because they suit every season and every sofa. For more winter warmth around your display, see our hygge home decor ideas for the full cosy-room formula.
3. Line the Windowsill
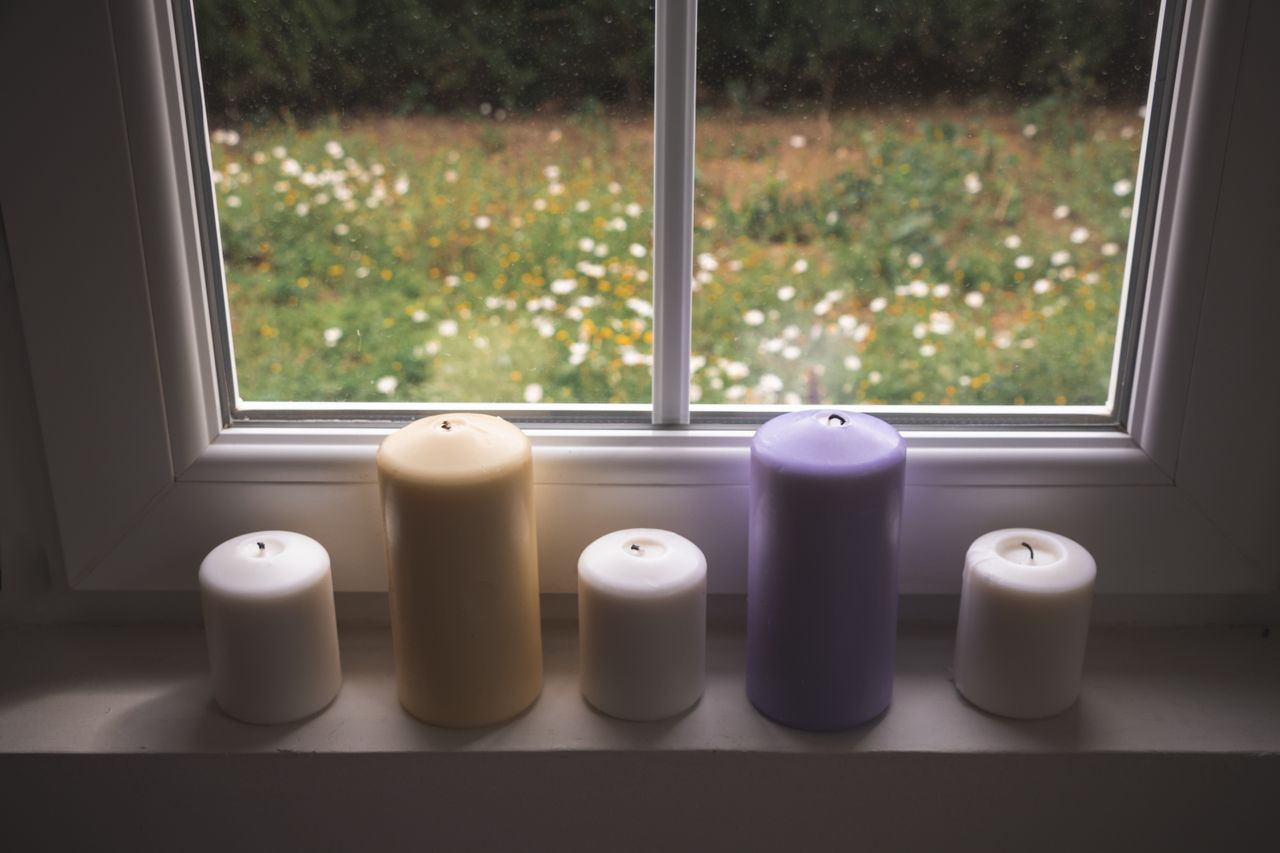
Photo via Pexels
A row of pillars along a deep windowsill looks stunning from both inside and outside the house, especially on dark winter evenings. Vary the heights slightly and leave about 5 cm between each candle so the flames do not lean into each other. Keep them at least 30 cm from curtains or blinds.
This spot gets dusty, so wipe the candles with a dry cloth every couple of weeks — dust on the wax can make the flame smoke. If your sills are narrow, flameless LED pillars give the same look with zero risk near window coverings.
4. Style the Mantel in a Row
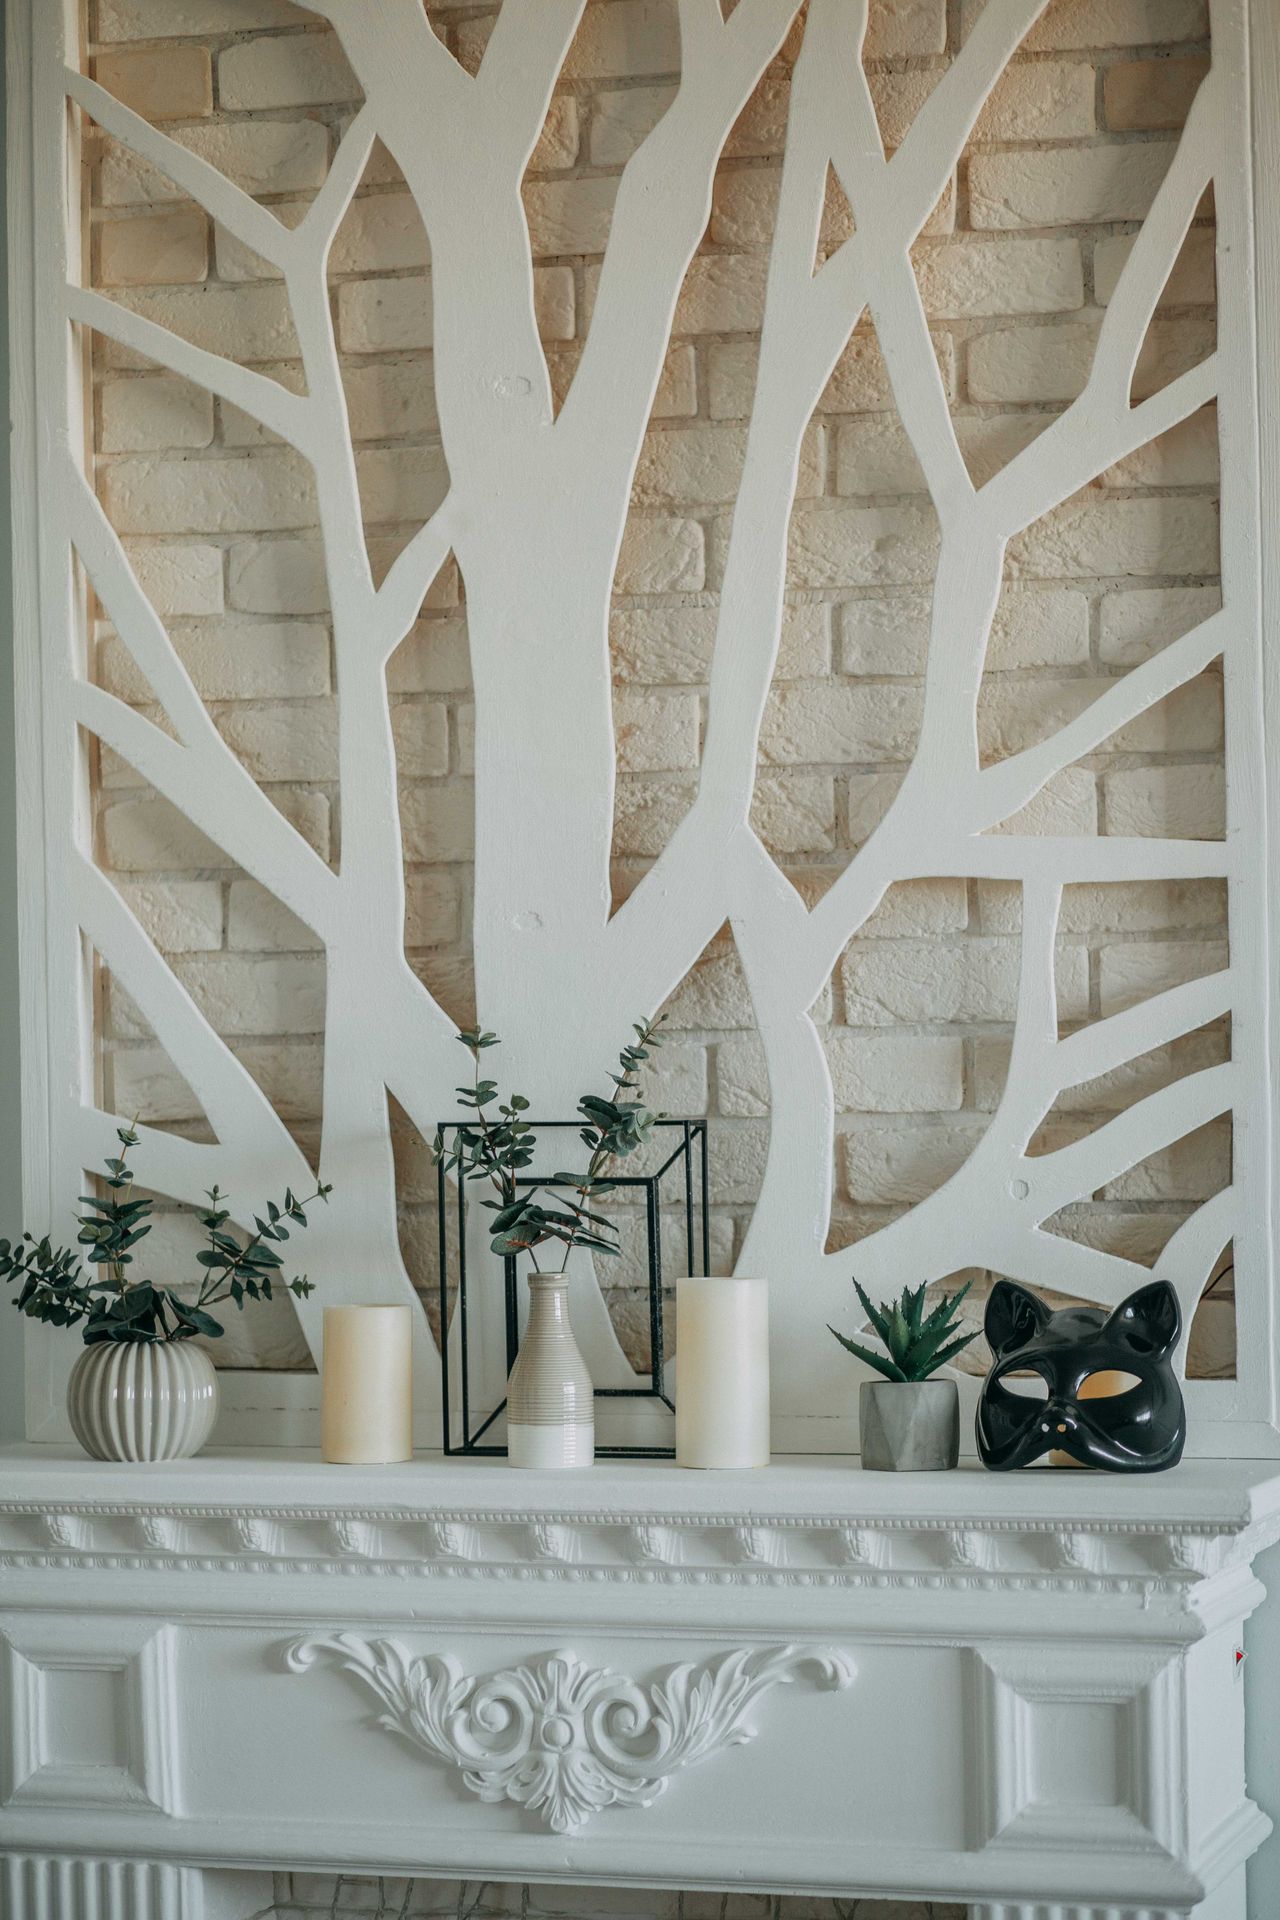
Photo via Pexels
The mantel is the natural home for candle styling. Line up three to five pillars of mixed heights along the shelf, then break up the row with small vases, trailing plants or framed art. The trick is to keep the candles toward the centre and the taller decor at the ends, so the whole mantel feels balanced.
If your fireplace is decorative and never lit, you can cluster candles inside the firebox too — a lovely trick for summer. Just keep real flames away from the mantel shelf above if it is wood; heat rises and can scorch paint over time. Our open fireplace ideas for the living room show more ways to style this spot.
5. Try Beeswax for a Natural Glow
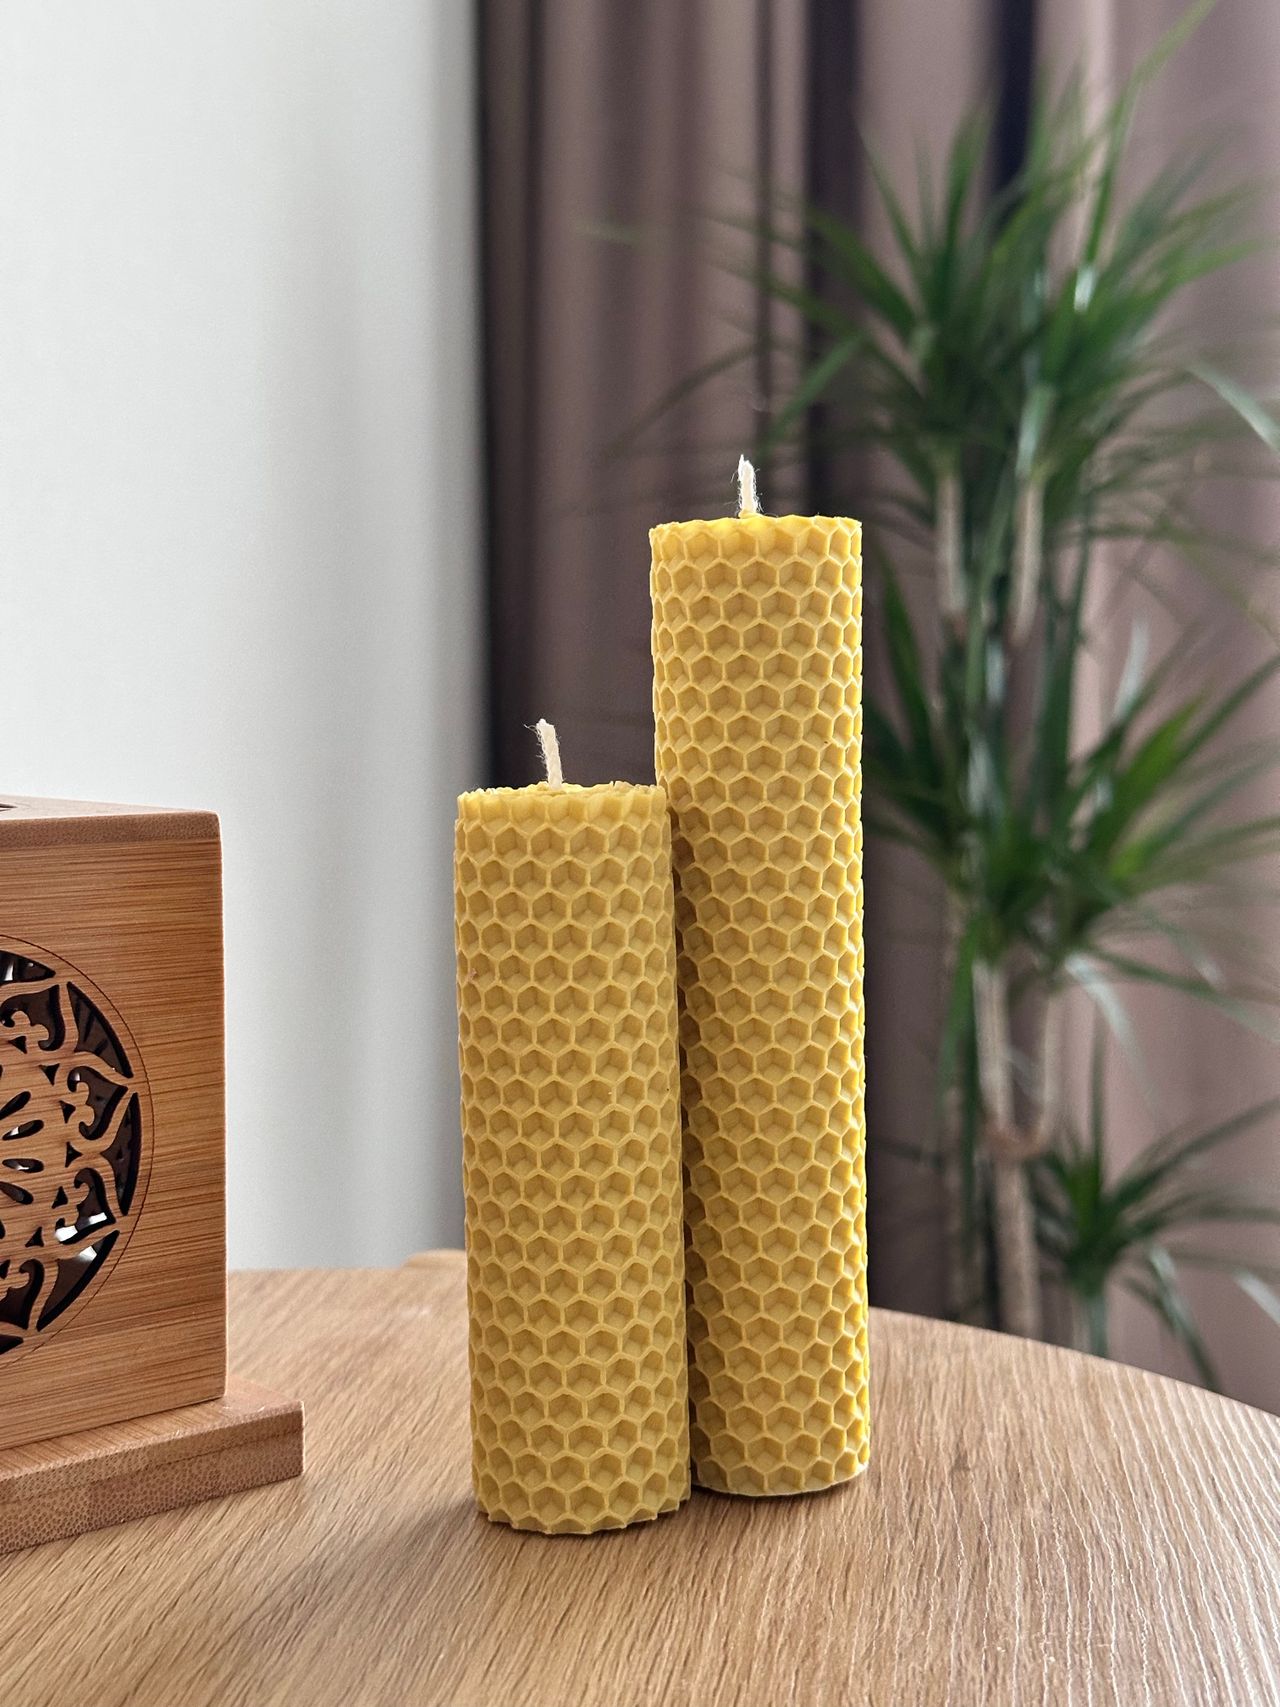
Photo via Pexels
Beeswax pillars burn with a warm golden flame and a light honey scent, with no added fragrance at all. They typically cost more than paraffin — expect $18 to $35 CAD each for a medium size — but they burn slower and cleaner, so one candle lasts noticeably longer. The honeycomb texture in the photo is classic rolled beeswax.
Look for 100 percent pure beeswax on the label, since blends are common at lower prices. Pure beeswax pillars are naturally dripless when burned correctly, which makes them ideal for dinner tables where you do not want wax on the tablecloth.
6. Add Greenery Around Them
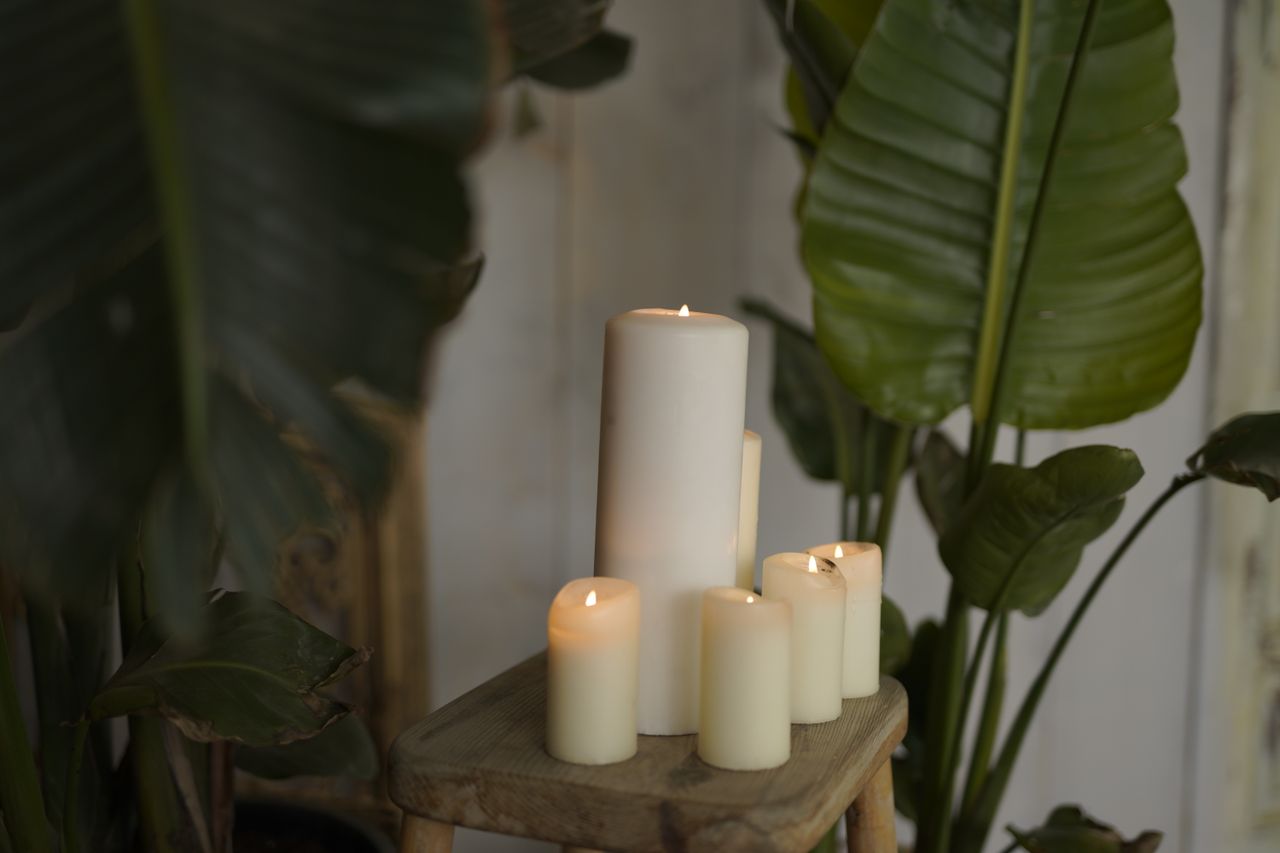
Photo via Pexels
Candlelight and houseplants are a perfect match: the warm glow makes green leaves look richer, and the plants soften the hard edges of the wax. Tuck a cluster of lit pillars onto a small stool or plant stand surrounded by your existing plants, as shown here, for an instant cosy corner.
Keep dried arrangements, eucalyptus stems and anything papery well away from open flames — only live, watered plants belong near burning candles. For the full room recipe, read how to make your living room cosy for winter.
7. Lift Short Ones with Holders
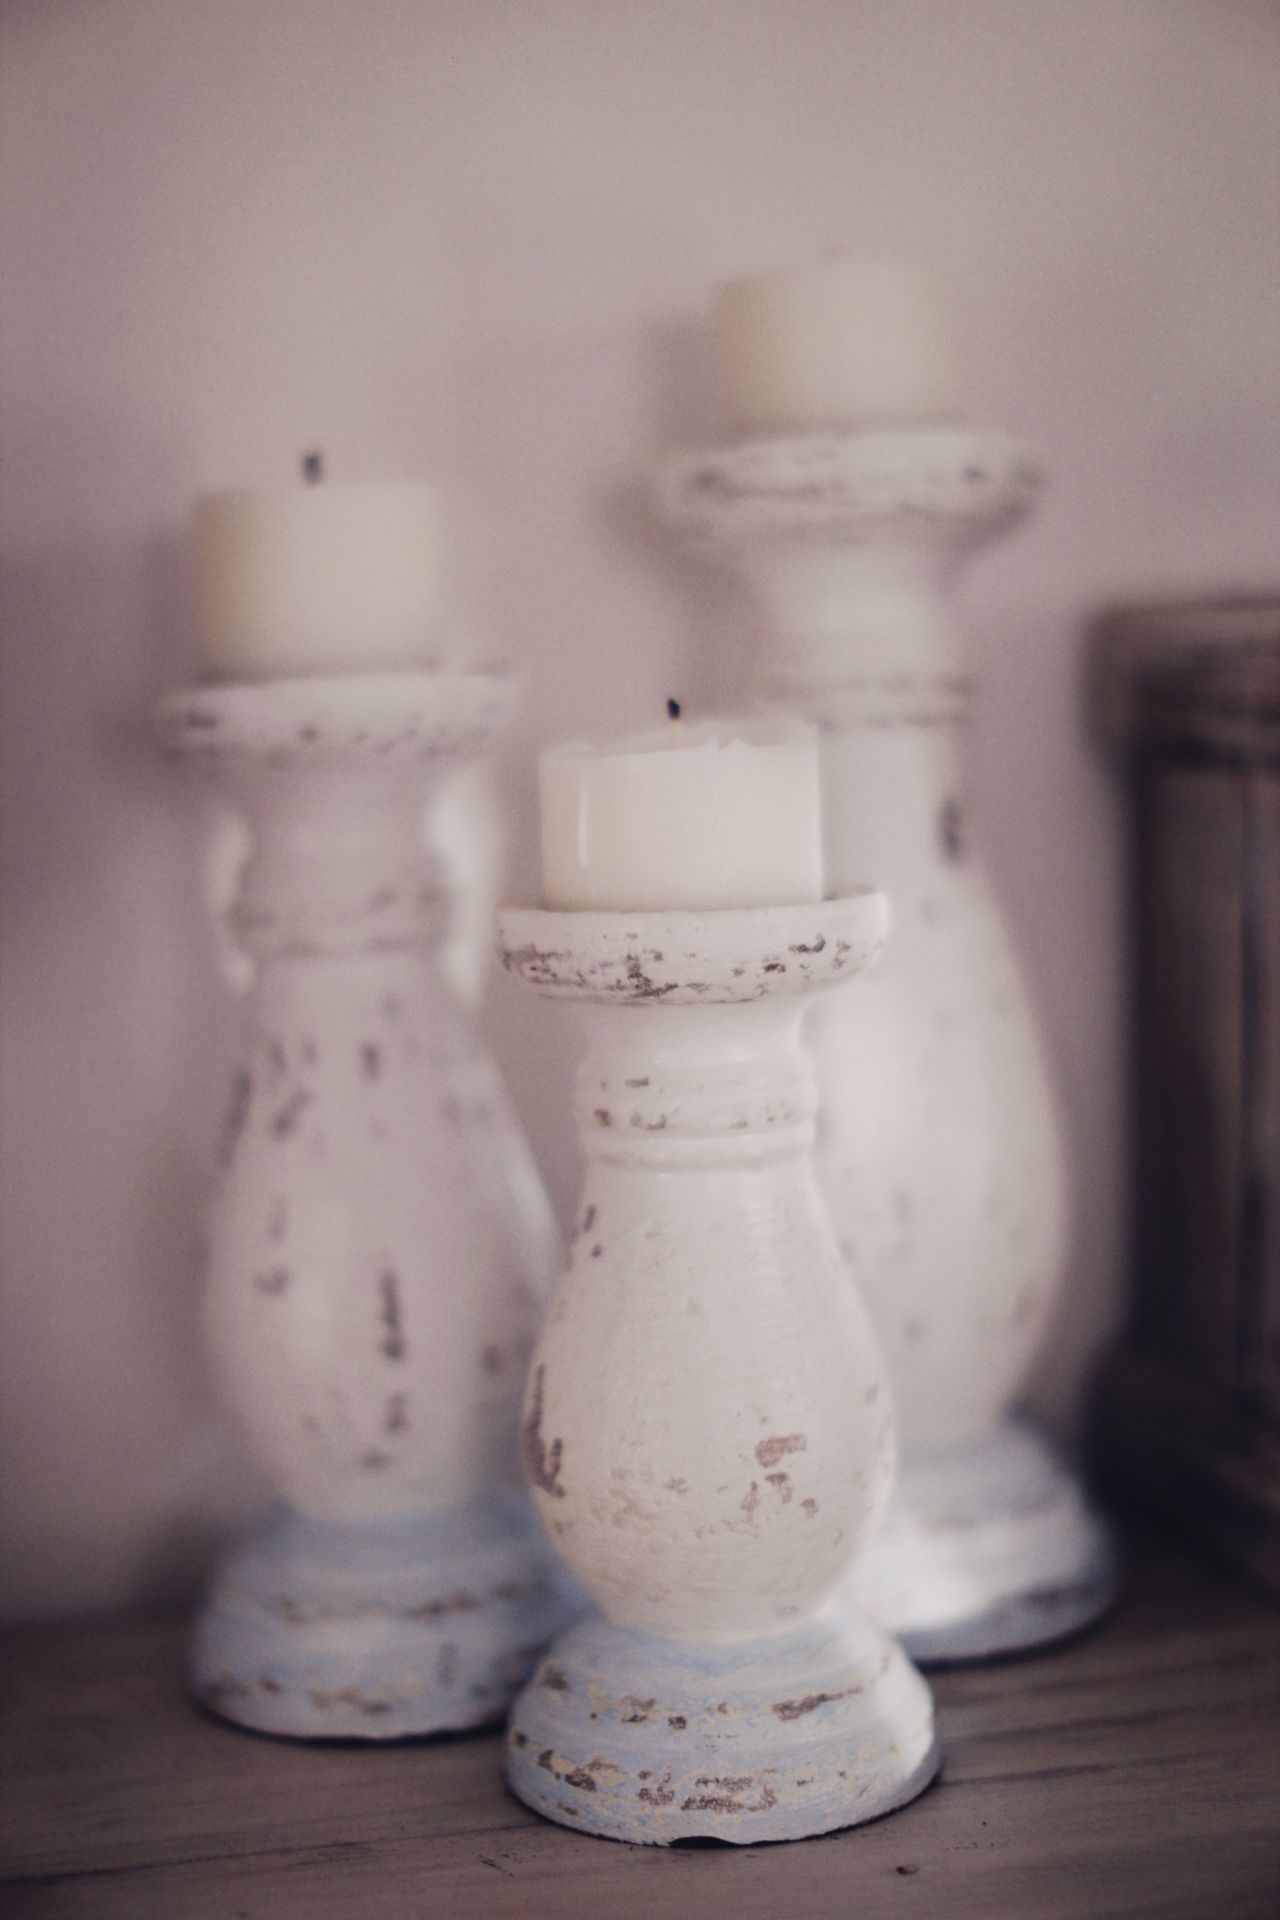
Photo via Pexels
Short, squat pillars can look lost on a big table, but a holder fixes that instantly. A 10 cm candle on a 15 cm holder reads as a 25 cm statement piece. Distressed wood holders like these suit farmhouse and rustic rooms, while glass or brass holders lean modern.
Make sure the holder's cup fits your candle snugly — a wobbly candle is a fire risk. Most holders suit the standard 7.5 cm diameter, but measure before you buy if your pillars are wider. Mismatched holders in the same finish look collected and personal rather than messy.
8. Pair Them with a Stack of Books

Photo via Pexels
A stack of beautiful old books makes a wonderful riser for candles on a coffee table or shelf, adding height and a lived-in feel. Choose hardcovers with attractive spines and stack two or three, largest at the bottom, then top with a single pillar or a small cluster.
One firm rule: style them unlit on books for everyday display, and only light them when you are in the room and the candle sits on a proper heatproof tray, not directly on paper. Books are fuel, so this look demands respect — never leave burning candles unattended anywhere, books or not.
9. Go Bold with Colour
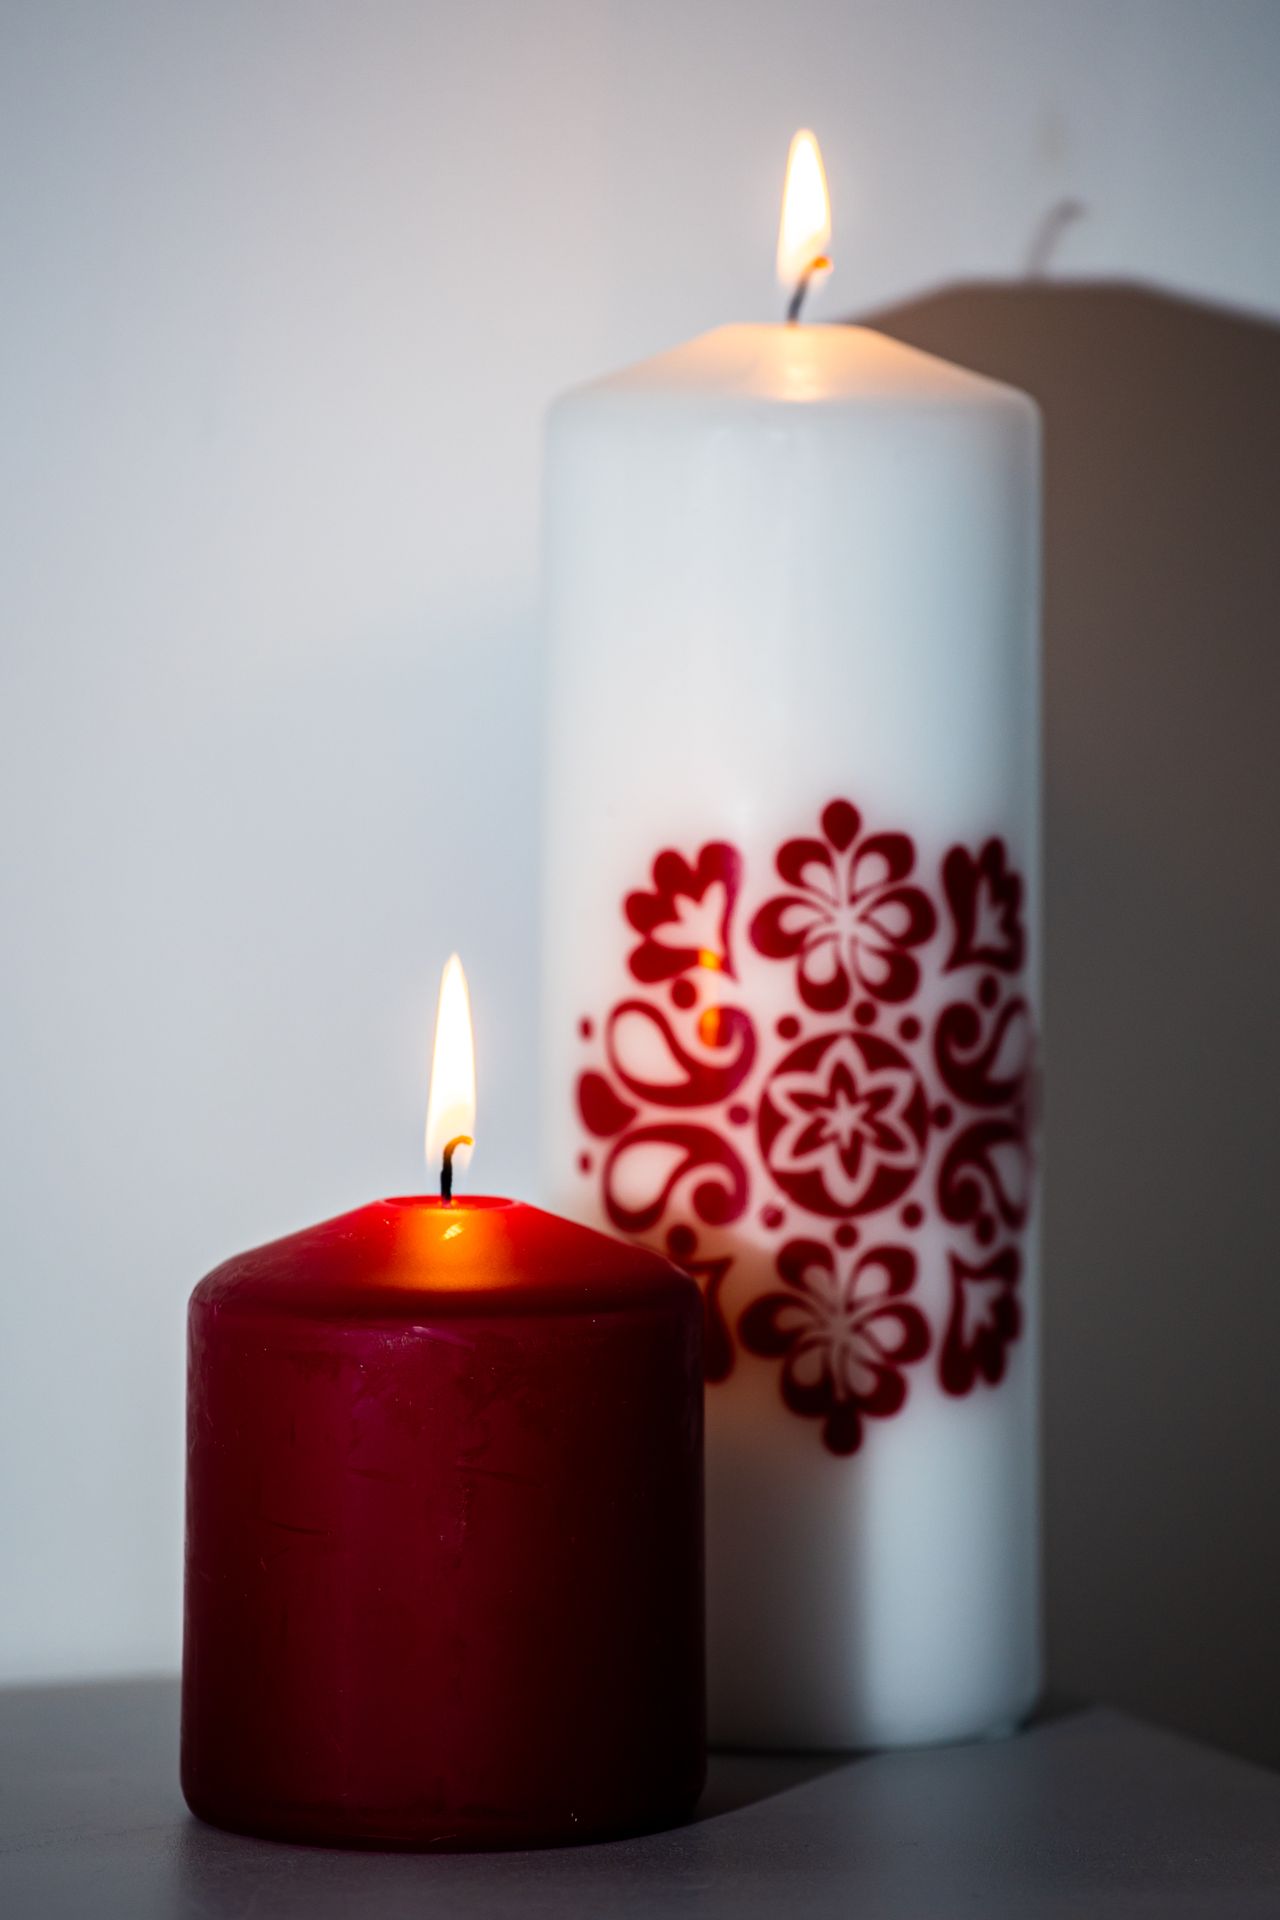
Photo via Pexels
White pillars are safe, but coloured ones bring a room to life. A deep red pillar, like the one in the photo, adds warmth to neutral rooms, while sage green or dusty blue suit calmer palettes. Patterned pillars — florals, stripes, marbling — work best as a single accent rather than a full set.
Match the candle colour to something already in the room, such as a cushion or a piece of art, so it looks deliberate. Coloured wax can drip more visibly than white, so always use a tray or holder with these. Two coloured pillars plus one white one is a foolproof ratio.
10. Keep a Simple Pair on the Side Table
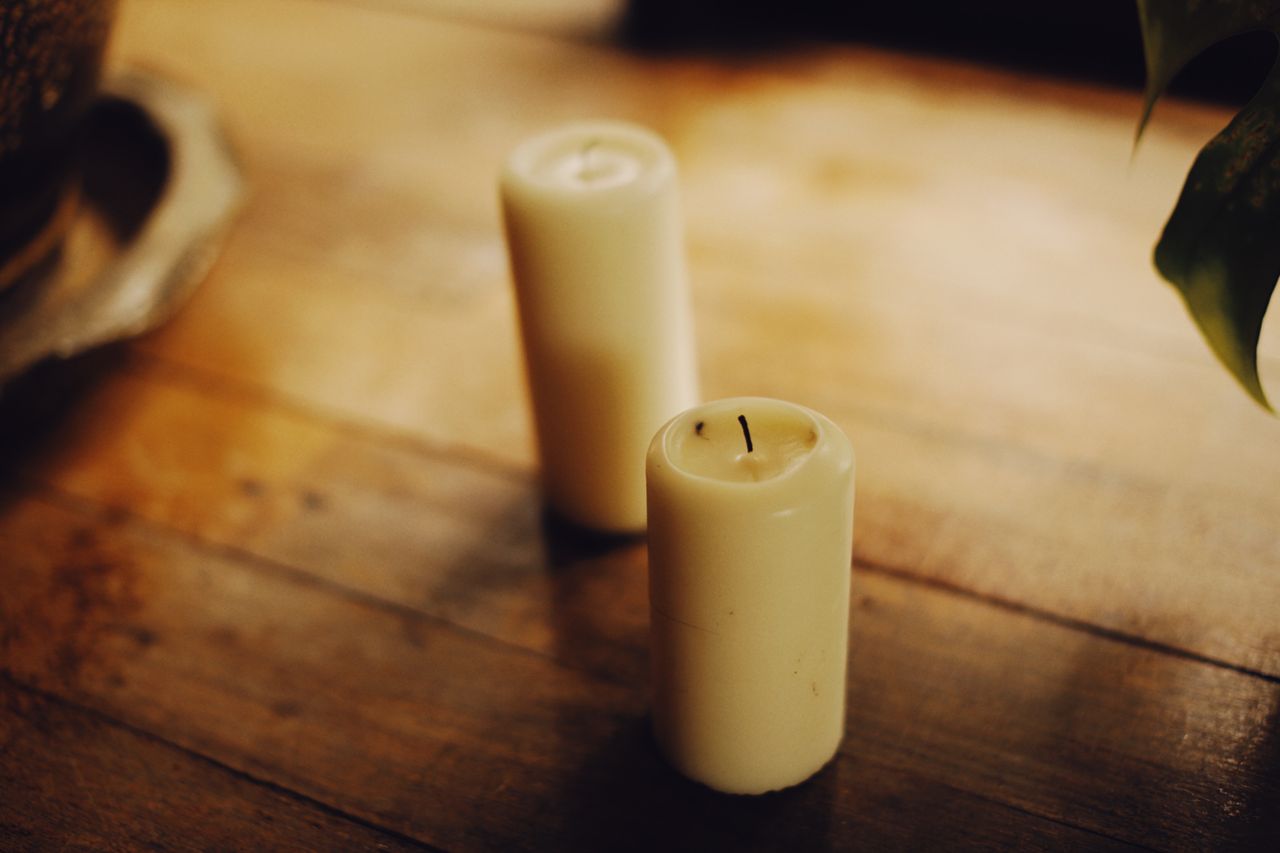
Photo via Pexels
Not every surface needs a full display. Two cream pillars of slightly different heights on a side table or nightstand give soft light exactly where you sit to read in the evening. This is the lowest-effort idea in the list and often the most used.
Keep the pair at least an arm's length from where you set down drinks, and away from the table edge if you have kids or pets. A pair of 7.5 x 10 cm and 7.5 x 15 cm pillars costs under $20 CAD at most Canadian home stores and lasts for months of evening use.
Frequently Asked Questions
How long does a pillar candle burn?
A standard 7.5 x 15 cm pillar burns roughly 60 to 80 hours, while a chunky 10 x 20 cm one can reach 100 hours or more. Beeswax usually lasts longer than paraffin at the same size.
Are they safe to burn indoors?
Yes, with basic care: never leave them unattended, keep them away from drafts, curtains and pets, and trim the wick to about 6 mm before each lighting. Place them on a heatproof tray or holder, not directly on wood.
Why is my candle tunnelling down the middle?
Tunnelling happens when the first burn is too short. Let the wax melt all the way to the edge on the first lighting — usually 2 to 3 hours — and the candle will burn evenly after that.
Can I use them outside on a patio?
You can, but wind makes them burn unevenly and drip. Use a hurricane glass or lantern outdoors, and bring them inside when you are done — rain ruins the wax surface.
Do they need holders?
They stand on their own, so holders are optional for stability, but a tray or plate underneath is smart. It catches drips, protects furniture from heat, and makes the display look finished.
Final Thoughts
Styling these candles well comes down to three habits: vary the heights, ground every display on a tray or holder, and respect open flame around fabrics and paper. Get those right and even a $10 pair of ivory pillars looks like a designer vignette.
Start with one grouping — the classic three-height cluster on a tray — and live with it for a week before buying more. Candles are one of the cheapest ways to change a room's mood, and in a Canadian winter, that warm glow earns its keep every single evening.
Sources
Gallery

Photo via Pexels

Photo via Pexels
Photo via Pexels

No comments:
Post a Comment