A typical New York kitchen is about 70 square feet — smaller than many suburban closets. There is no pantry, the counter fits one cutting board, and the cabinets were built before your grandparents were born. These New York small kitchen organization ideas come from real tiny-kitchen living: every tip below works in a rental, costs less than $50, and needs no drilling into your landlord's walls.
I have cooked full Thanksgiving dinners in a galley kitchen you could cross in three steps, so I know what actually helps and what is just pretty clutter. Start with the basics in our small kitchen decor ideas, then use these organization tips to make the space work twice as hard. And when the holidays come, our guide to organizing your kitchen for Thanksgiving cooking builds right on top of this system.
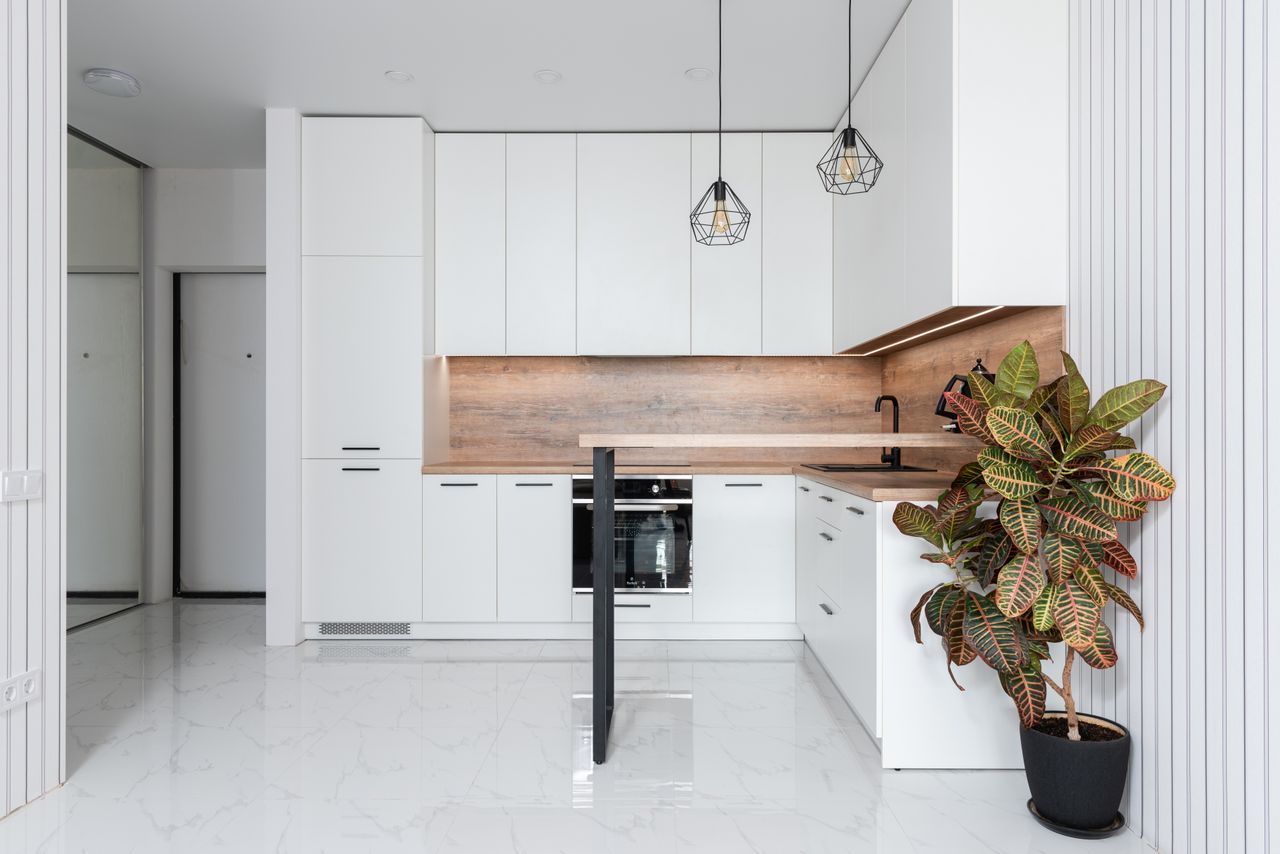
Photo via Pexels
Table of Contents
- 1. Mount Open Wall Shelves
- 2. Hang a Rail With S-Hooks Under the Shelves
- 3. Decant Dry Goods Into Clear Stackable Containers
- 4. Hang Pots and Pans From a Ceiling Rack
- 5. Label Every Container
- 6. Put Spices on a Wall-Mounted Rack
- 7. Divide Every Drawer
- 8. Move Daily Dishes to Open Shelves
- 9. Dry Dishes Over the Sink
- 10. Mount a Plate Rack on the Wall
1. Mount Open Wall Shelves
The wall above your counter is free real estate. Two 24-inch floating shelves hold about 16 everyday glasses, mugs, and bowls — the contents of an entire upper cabinet. In a galley kitchen, that one move can empty a whole cabinet for food storage. Choose shelves 8 to 10 inches deep so plates sit safely without tipping.
If your lease bans drilling, use heavy-duty adhesive shelf brackets rated for 15 pounds per pair (about $18 at Target). They hold for years and peel off cleanly. Keep only daily items on open shelves; anything you touch less than weekly will collect cooking grease and dust.
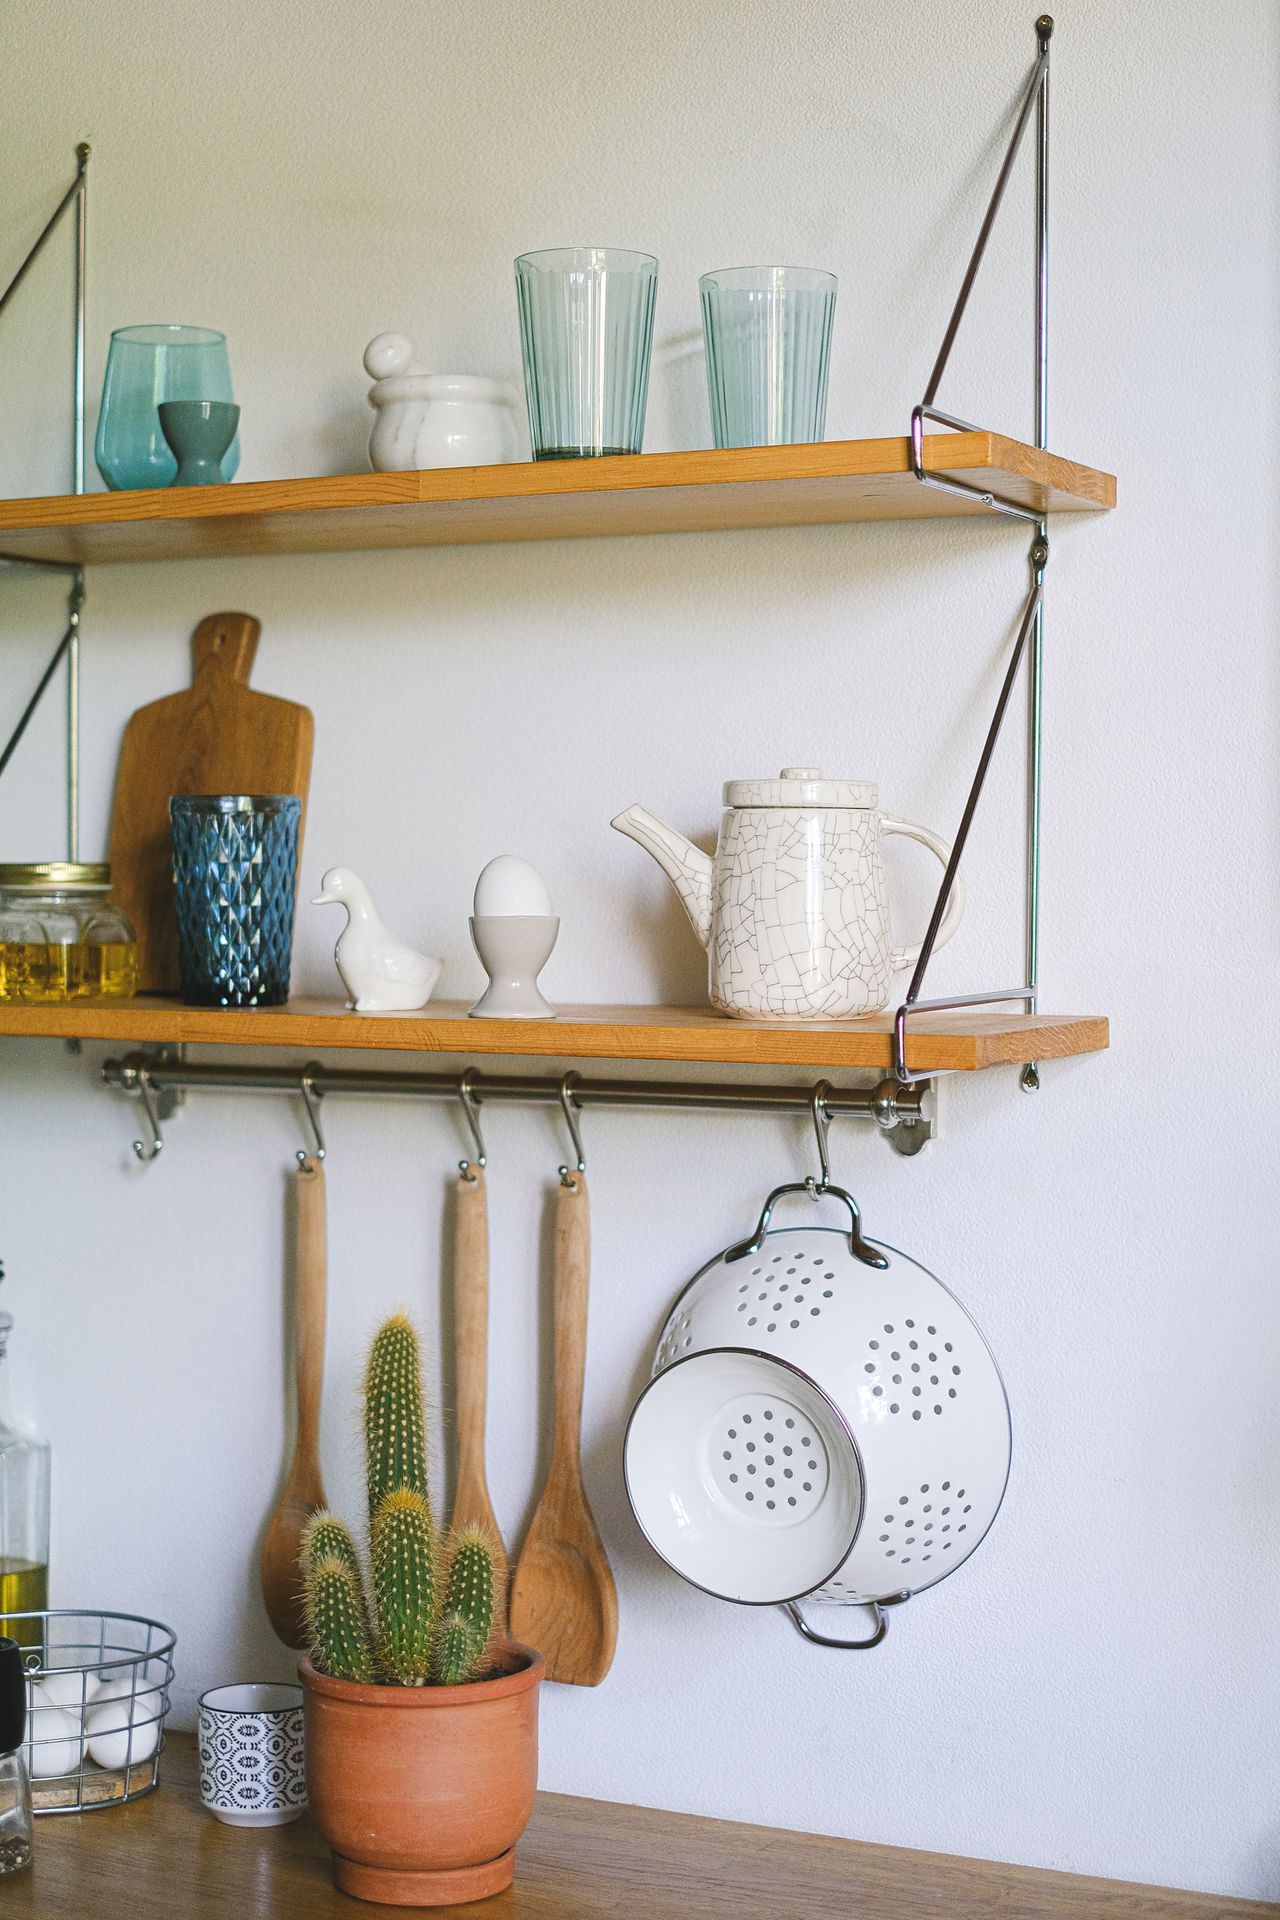
Photo via Pexels
2. Hang a Rail With S-Hooks Under the Shelves
The 4-inch strip of wall under a shelf is wasted in most kitchens. A 24-inch stainless rail with S-hooks (IKEA's KUNGSFORS rail is $15) holds your most-used tools: spatula, ladle, whisk, oven mitt, and a small colander. Everything hangs within arm's reach of the stove, and nothing touches the counter.
Hang heavier items near the brackets, not the middle, so the rail never sags. I keep my everyday cooking tools here and banish the rest to a drawer — if a utensil hasn't been used in a month, it doesn't earn hook space in a tiny NYC kitchen.
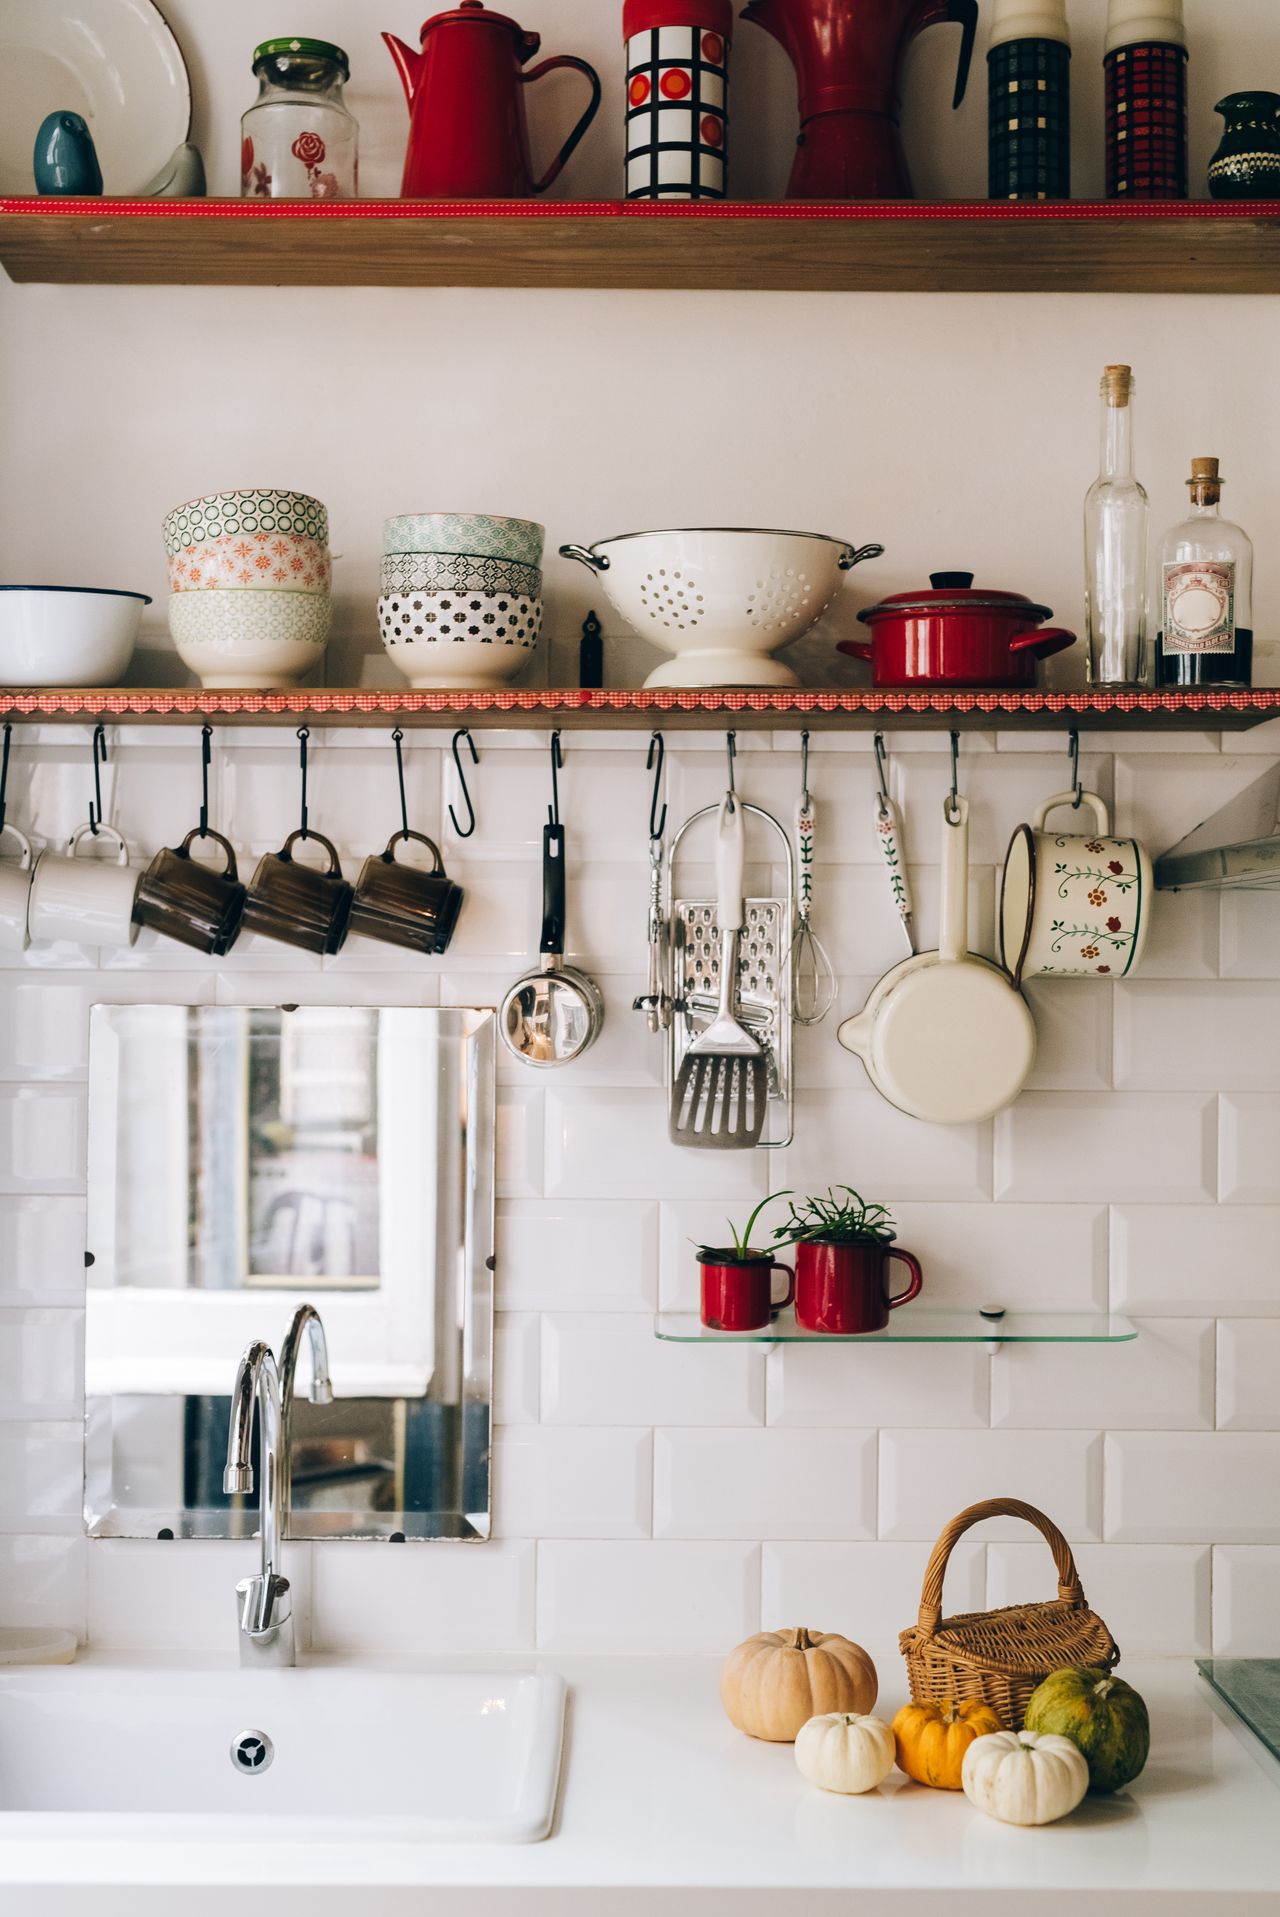
Photo via Pexels
3. Decant Dry Goods Into Clear Stackable Containers
Half-empty bags of rice, flour, and pasta are the #1 space thief in small kitchens. They don't stack, they spill, and you can't see what's inside. Decanting into square, stackable containers cuts the footprint of your dry goods by about a third — squares waste no space the way round bags do.
Buy one matching set (a 10-piece set runs about $25 at the Container Store) instead of random jars, so every lid fits every base. Keep the original cooking instructions: snap a phone photo of the bag before you toss it, or tape a small piece of the label inside the lid.
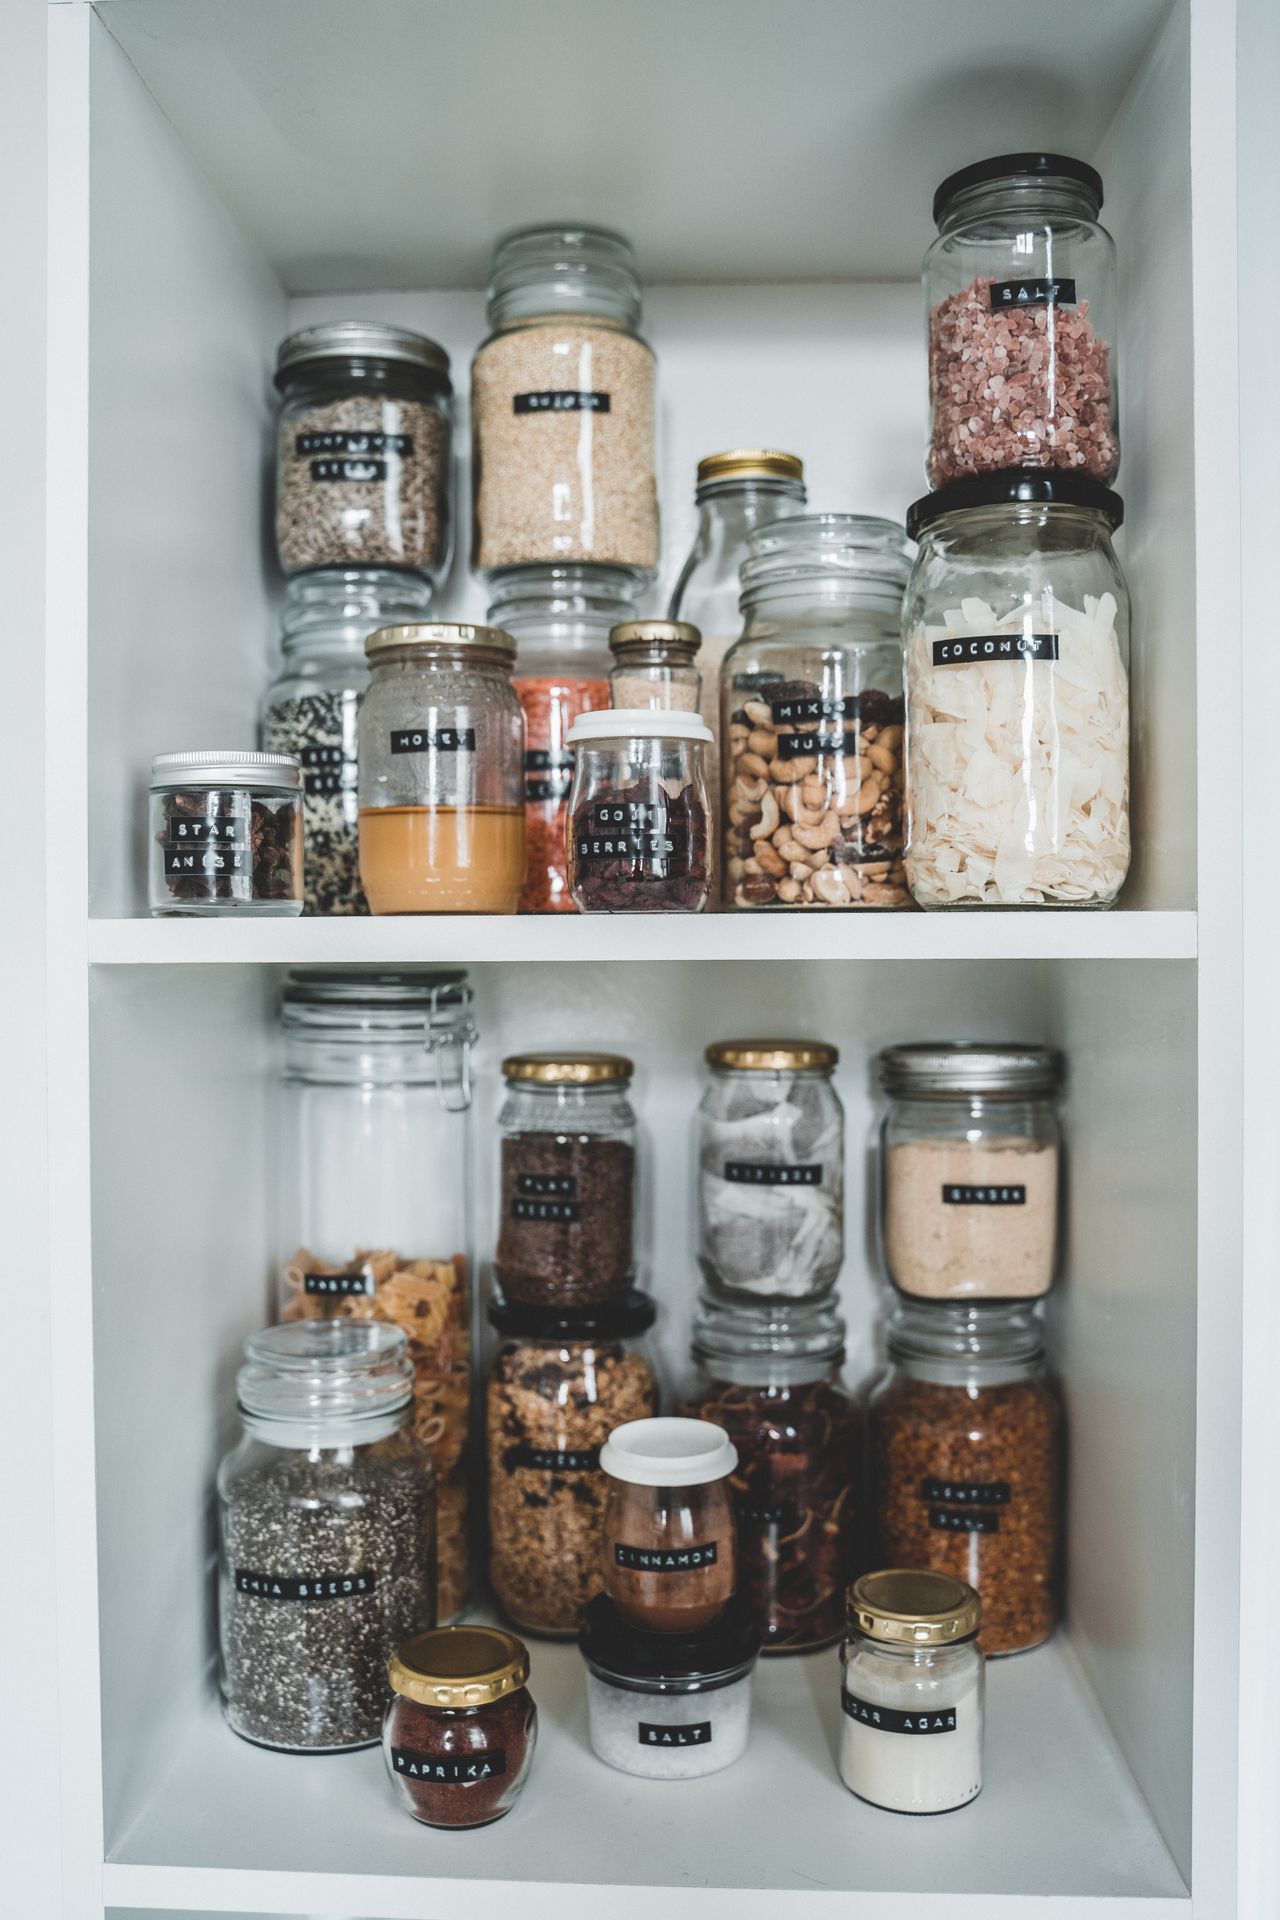
Photo via Pexels
4. Hang Pots and Pans From a Ceiling Rack
A full set of pots and pans eats one entire base cabinet — in a New York kitchen, that's 25% of your cabinet space. A ceiling-mounted rack ($30–$45) moves all of it overhead, freeing that cabinet for food, cleaning supplies, or small appliances. Hang it over the stove or a worktable, never over a walkway where you'll bump your head.
Check your ceiling first: pre-war plaster ceilings need a stud finder and wood screws, not plastic anchors. Hang the heaviest Dutch oven closest to the mounting points and the lightest skillet at the ends. If your lease forbids ceiling mounts, a wall-mounted pot rail on a sturdy stud works almost as well.
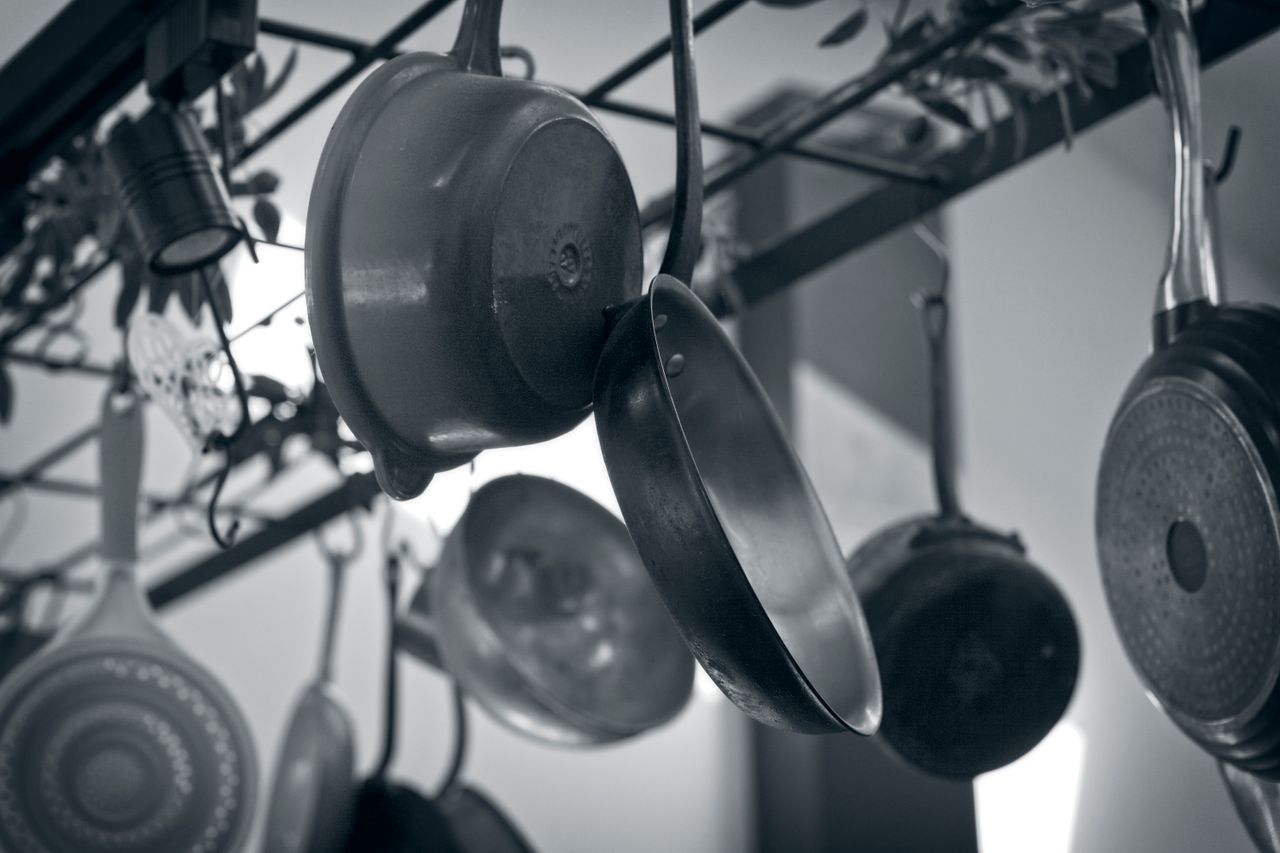
Photo via Pexels
5. Label Every Container
In a big kitchen you can afford mystery jars. In a 70-square-foot kitchen, grabbing the wrong canister wastes time and counter space you don't have. A $10 label maker (or masking tape and a marker) turns a wall of identical jars into a system you can use without thinking.
Label the front, not the lid — you read shelves at eye level, not from above. Include the date you opened anything perishable: flour goes stale in 3 months, spices fade in 6. When two people share a tiny kitchen, labels end the "where does this go?" argument permanently.

Photo: Melissa Doroquez via Wikimedia Commons
6. Put Spices on a Wall-Mounted Rack
Spice jars are small but they multiply — twenty jars rolling around a drawer or crowding a cabinet shelf is chaos. A single-tier wall rack 18 inches wide holds 20 standard spice jars in a strip of wall you'd never use otherwise. Mount it inside a cabinet door if you prefer them hidden, or on the wall by the stove for cooking speed.
Keep only the 10 spices you actually use within reach; the rest live in a labeled box on a high shelf. Alphabetize the rack once and you'll never dig again. Small magnetic tins on the fridge side ($12 for 12 tins) work too, but only on fridges with flat steel doors — many NYC rentals have textured or non-magnetic fronts, so test with a fridge magnet first.

Photo: Arthur S. Siegel via Wikimedia Commons
7. Divide Every Drawer
One junk drawer in a small kitchen can swallow your scissors, tape measure, batteries, and favorite paring knife in a single tangled layer. An adjustable drawer divider ($12–$18) splits one drawer into 4 to 6 zones, and suddenly everything has a home. Measure your drawer's inside width first — NYC pre-war drawers are often odd sizes like 13 or 17 inches.
Give each drawer one job: one for cutlery, one for tools, one for junk. The junk drawer gets a small tray so small items can't migrate. If a drawer is deeper than 4 inches, add a second shallow tray on top — it doubles the usable surface without any carpentry.

Photo: Stilfehler via Wikimedia Commons
8. Move Daily Dishes to Open Shelves
You use the same 4 plates, 4 bowls, and 4 mugs every day — so why are they buried in a cabinet behind the serving platter you touch twice a year? Moving daily dishes to open shelves at arm's height saves dozens of cabinet-door openings a day and frees a full cabinet for the rarely used stuff.
Stack plates by size, heaviest at the bottom, no more than 8 high or the stack gets wobbly. Bowls nest inside each other. This pairs perfectly with the shelf-and-rail setup from tips 1 and 2 — one organized wall can replace two whole cabinets. For more ways to make a compact kitchen feel bigger, see our small kitchen ideas that save space.
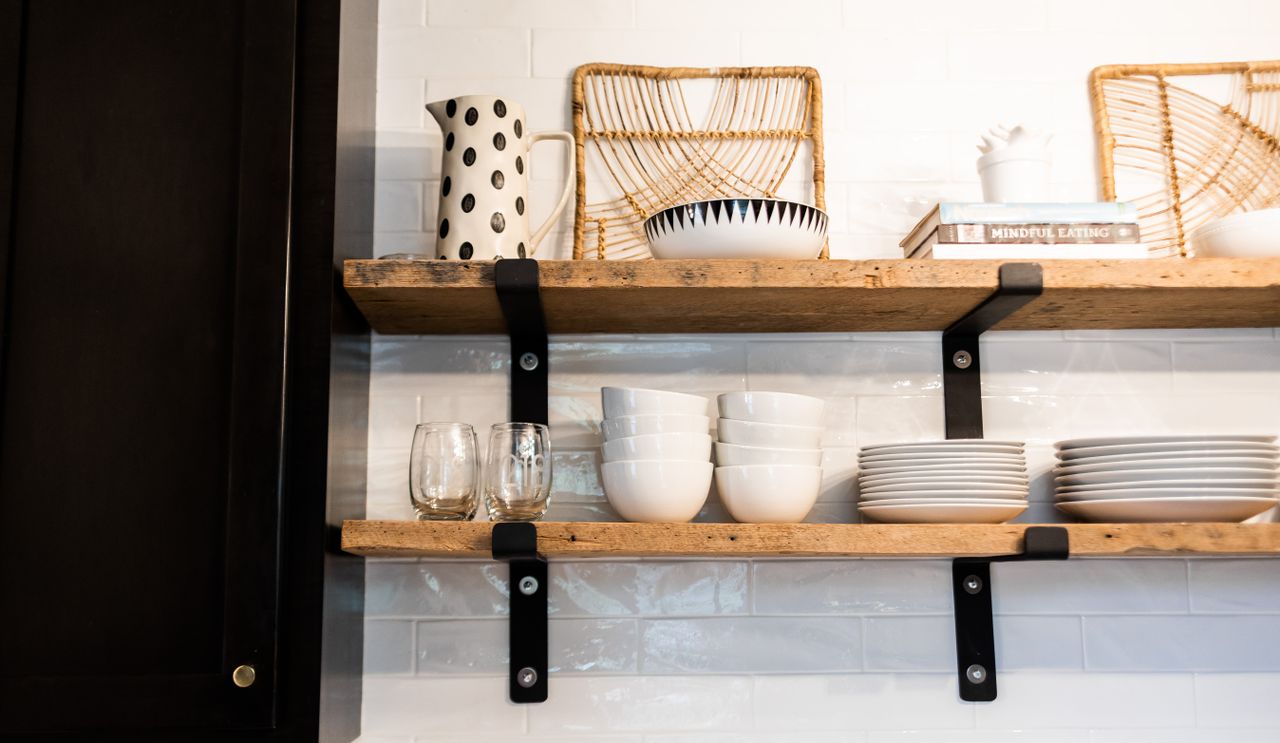
Photo via Pexels
9. Dry Dishes Over the Sink
A dish rack on the counter eats about 2 square feet — in a New York kitchen, that can be half your prep space. An over-the-sink roll-up rack ($20) or a simple wire rack that straddles the basin gives you the same drying space with zero counter footprint. Dishes drip straight into the sink, so there's no puddle to wipe.
Roll-up racks double as a trivet for hot pots and roll away when you need the sink clear. If you hand-wash daily, this one change gives you back more usable counter than any other single tip here. Wash, rack, done — and the counter stays clear for actual cooking.
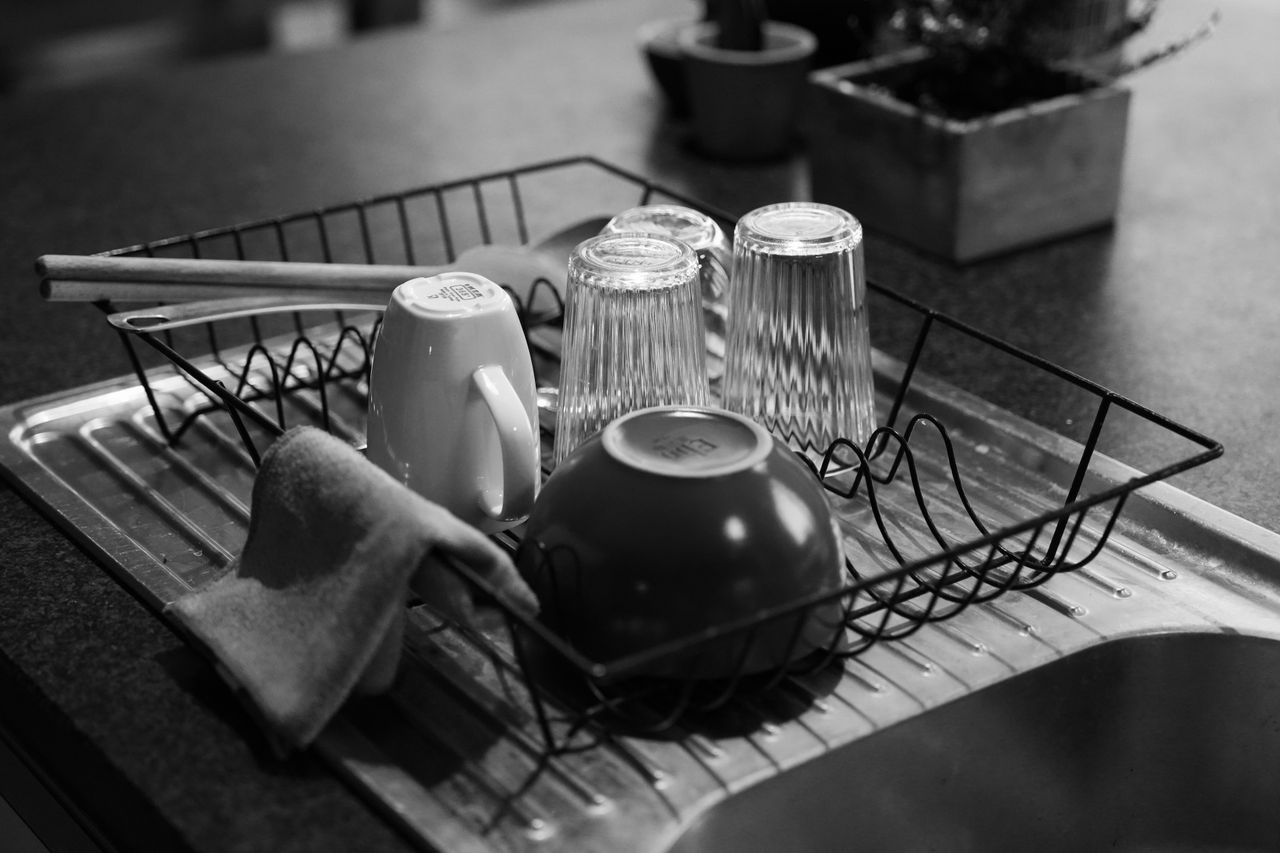
Photo via Pexels
10. Mount a Plate Rack on the Wall
Plates are flat, heavy, and awkward — stacking them in a cabinet wastes the vertical space above the stack and risks chips every time you pull one out. A wall-mounted plate rack holds 6 to 8 plates vertically in a 20-inch-wide strip of wall, each one slidable and visible. No stacking, no digging, no chips.
Mount it near the dishwasher or sink to shorten the put-away trip to seconds. Wooden plate racks ($25–$40) look warm against white subway tile, the unofficial backsplash of New York rentals. Keep everyday plates here and move the good china to the top of a closet where it belongs.
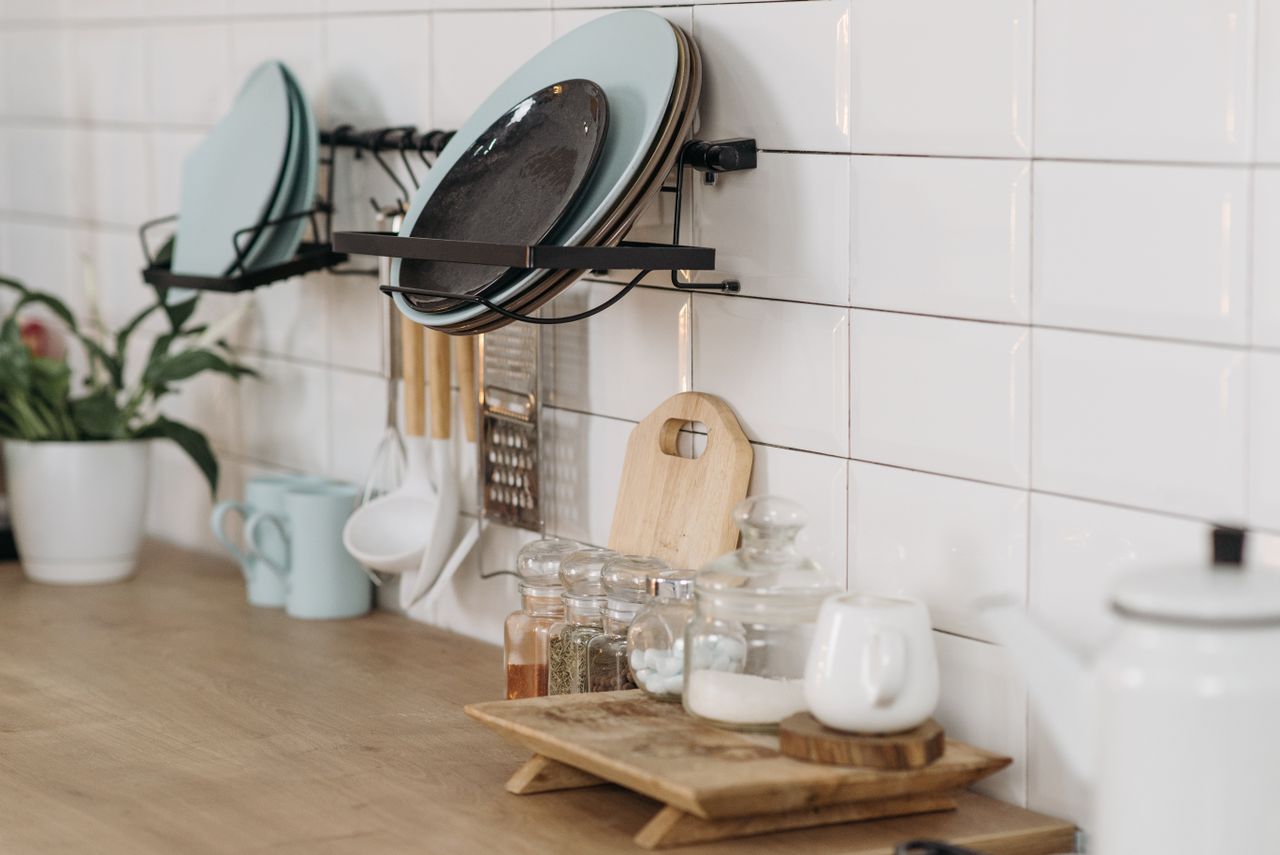
Photo via Pexels
Frequently Asked Questions
How do I organize a really tiny NYC kitchen with no pantry?
Treat your walls and doors as the pantry: open shelves, a hanging rail, and the insides of cabinet doors add the storage a missing pantry would give you. Decant everything into stackable containers so no space is wasted.
What should I not keep in a small New York kitchen?
Anything you use less than once a month: the bread maker, the fondue set, the third frying pan. Box them up and store them in a closet — your kitchen should hold only what you touch weekly.
How can renters organize without drilling holes?
Use heavy-duty adhesive hooks and shelf brackets (Command strips hold up to 7.5 pounds per set), tension rods inside cabinets for dividers, and freestanding racks. Everything in this article has a no-drill option.
Where should I put cleaning supplies in a tiny kitchen?
On the inside of the under-sink cabinet door with adhesive hooks: spray bottles hang by their triggers, and a small caddy holds sponges. Keep only one of each — no backup bottles in a 70-square-foot kitchen.
How much does it cost to organize a small NYC kitchen?
About $100–$150 total if you buy smart: containers ($25), a rail with hooks ($15), drawer dividers ($15), labels ($10), and an over-sink rack ($20). Start with containers and the rail — they give the biggest return.
Final Thoughts
A small New York kitchen isn't a problem to fix — it's a puzzle with a known solution. Walls, doors, and ceilings hold the storage your missing pantry never gave you, and every tip above costs less than a takeout dinner for two. Pick the three that bother you most and do them this weekend.
These New York small kitchen organization ideas work because they were built for the real constraints: rentals, pre-war cabinets, and counters the size of a laptop. For the decorating side, our kitchen countertop decorating ideas show how to keep those newly clear counters looking good. Organize first, decorate second — that order never fails.
Sources
- https://www.apartmenttherapy.com/
- https://www.brickunderground.com/
- https://www.thespruce.com/
- https://www.ikea.com/us/en/
- https://www.containerstore.com/
Gallery
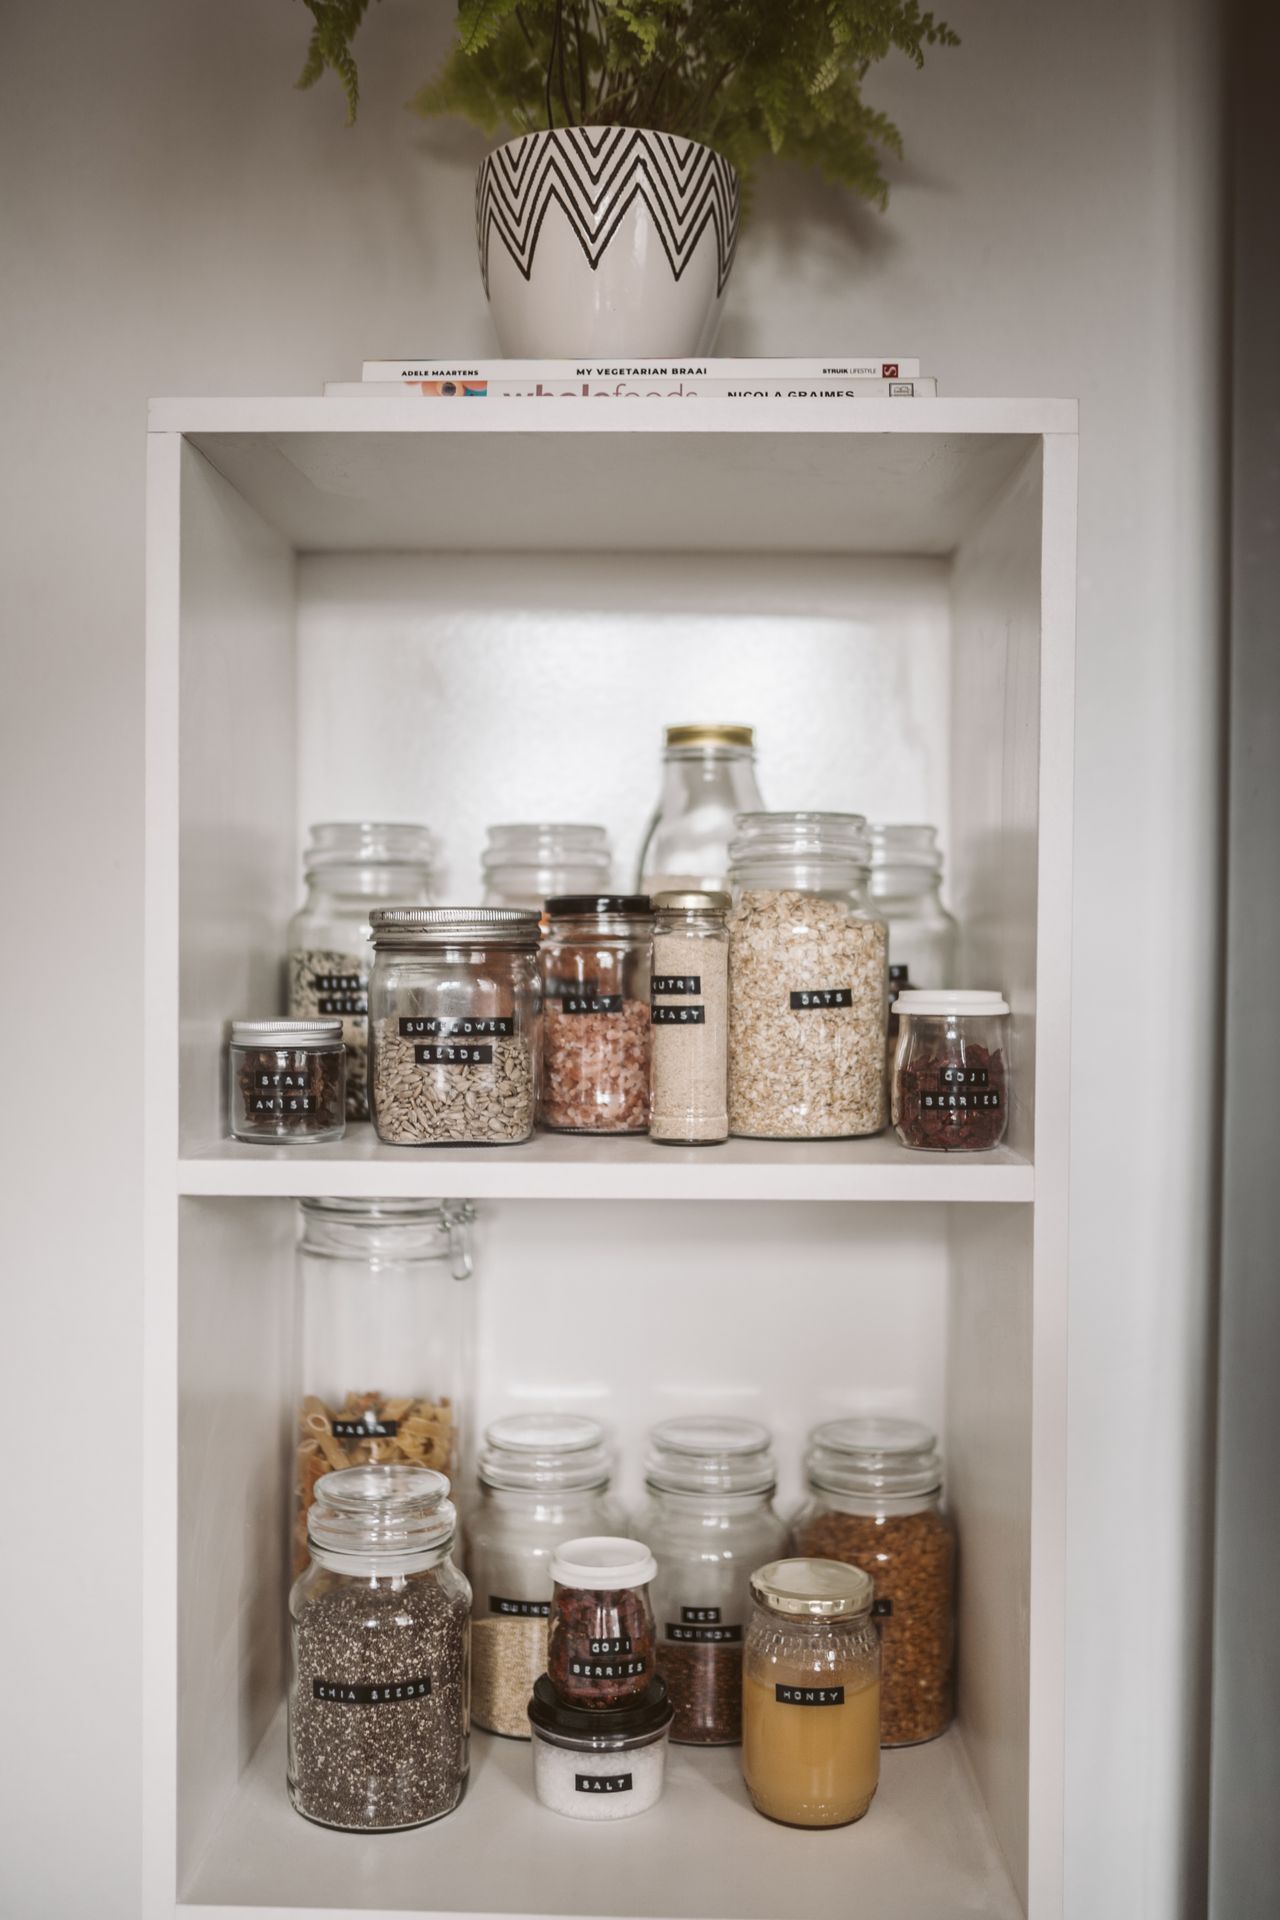
Photo via Pexels
Photo via Pexels
Photo via Pexels

No comments:
Post a Comment