In Canada, "interlock" is the everyday word for interlocking concrete pavers — the small blocks that fit together to form patios, walkways, and driveways. Interlock stone is popular here for one big reason: frost heave. When the ground freezes and thaws, a rigid concrete slab cracks, but individual pavers can shift slightly and settle back without breaking.
A basic patio runs $12 to $20 CAD per square foot installed, and a handy homeowner can lay a small one over a weekend. It pairs beautifully with a sheltered sitting area — see our covered patio ideas attached to the house for the rest of the space. These five ideas show the patterns and details that make interlock patios look their best.

Photo: Acabashi via Wikimedia Commons
Table of Contents
- 1. Classic Herringbone
- 2. Simple Running Bond
- 3. A Circular Medallion
- 4. Permeable Pavers for Drainage
- 5. Steps and Level Changes
1. Classic Herringbone
Herringbone is the pattern most people picture when they think of interlock: rectangular pavers meeting at right angles to form a zigzag. It is the strongest pattern because every block locks against its neighbours, which is why contractors recommend it for driveways that carry car weight. Lay it at 45 degrees to the house for a classic look, or 90 degrees for a more modern feel.
Expect to cut more pavers at the edges with herringbone than with simpler patterns — budget 10 to 15 percent extra material for waste. Rent a wet saw with a diamond blade for clean cuts, and always cut pavers wet to keep the dust down and the blade cool.

Photo: Adrian Pingstone via Wikimedia Commons
2. Simple Running Bond
Running bond is the brick-wall pattern: each paver offset by half a length from the row below. It is the fastest pattern to lay, produces the least cutting waste, and still looks tidy on any patio. If you are laying your first interlock project, start here.
The trick to a professional result is keeping the rows straight. Snap a chalk line every metre or so as a guide, and tap each paver level with a rubber mallet before moving on. A plate compactor run over the finished surface, with a rubber mat to protect the pavers, settles everything into the sand bed.
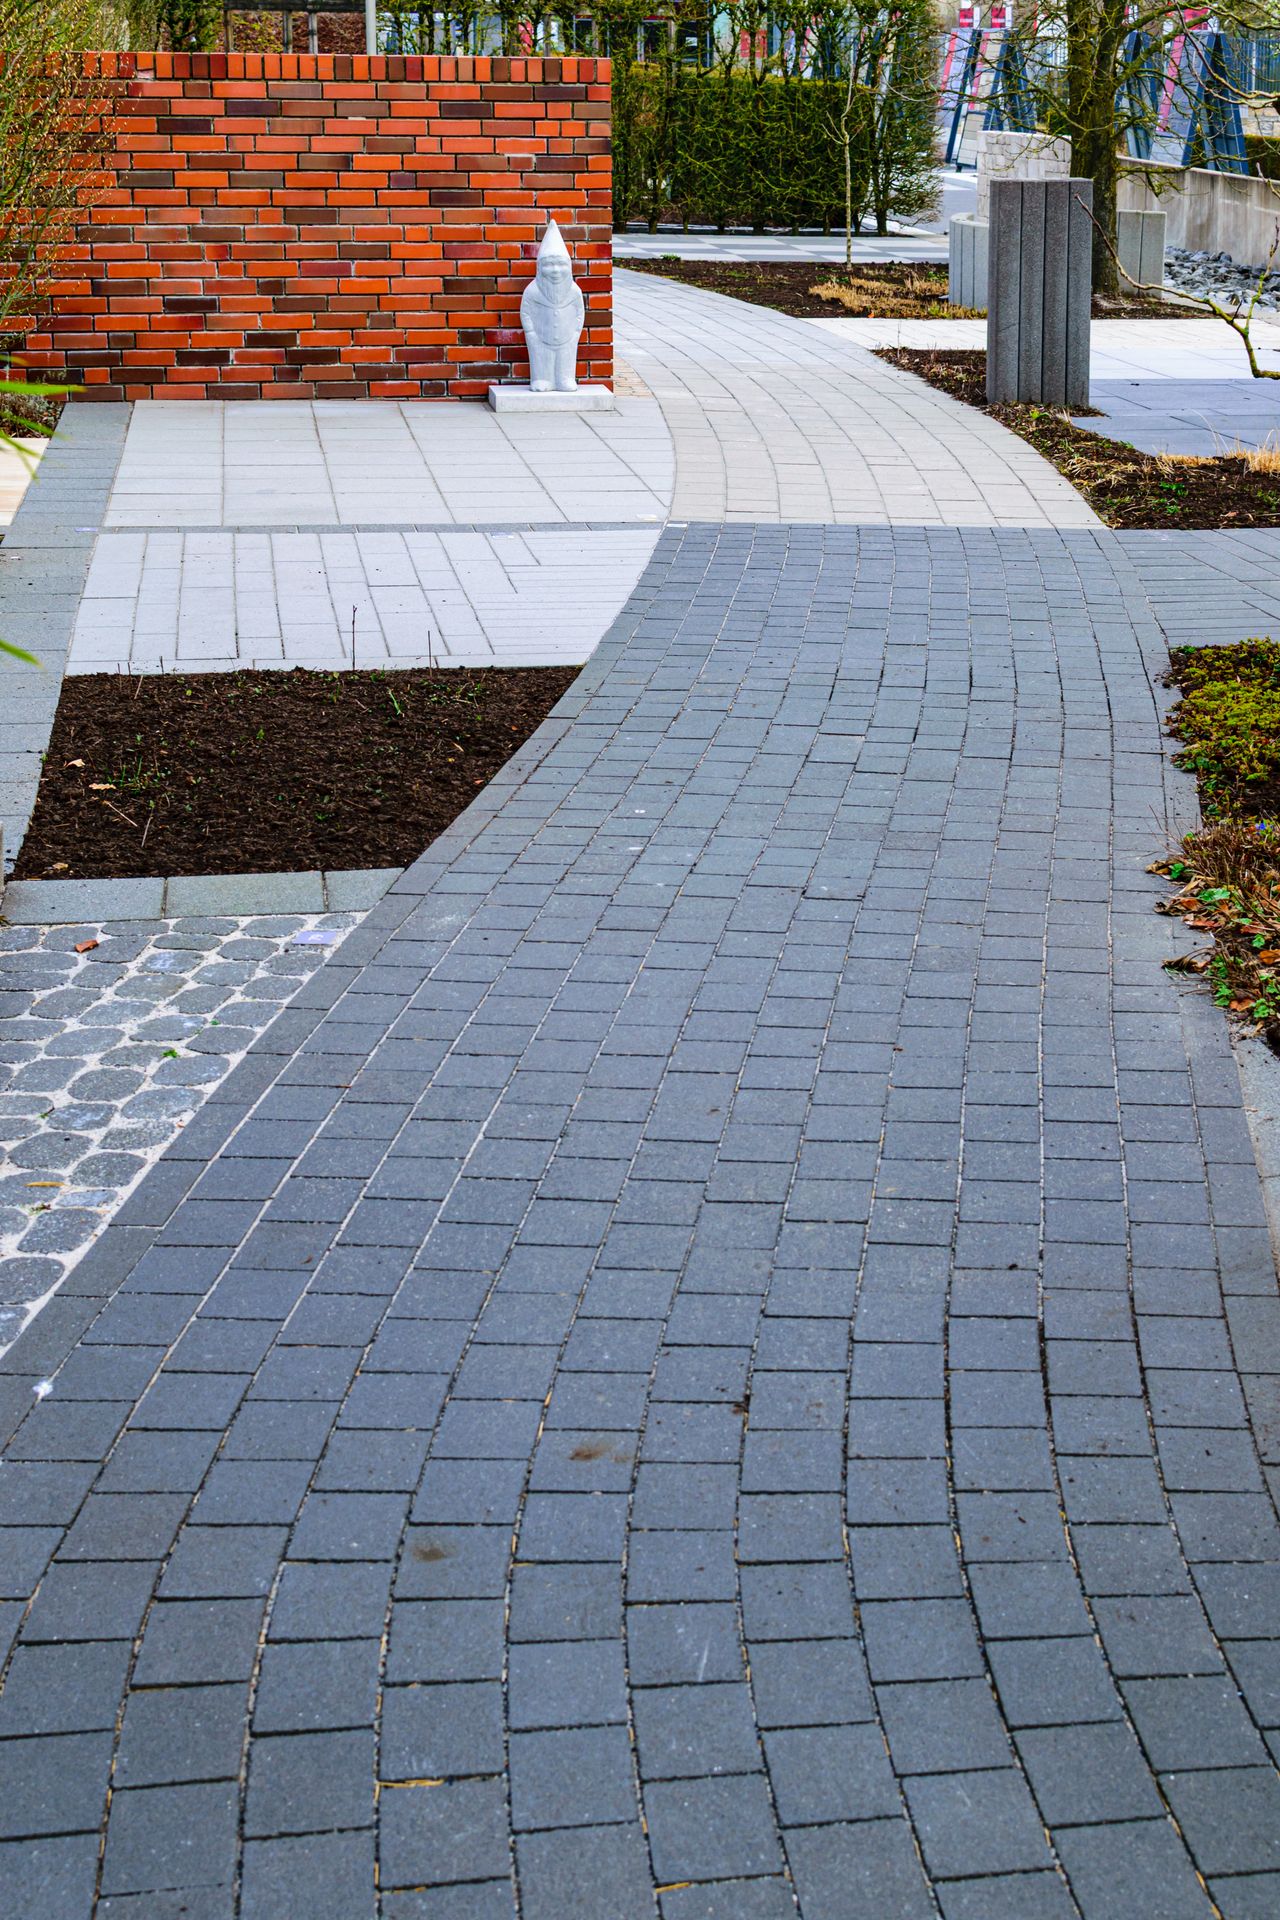
Photo: Sergej ***** via Pexels
3. A Circular Medallion
A circular medallion — a ring or fan of pavers set into the patio — turns a plain surface into a design feature. Kit medallions are sold ready to lay, usually 120 to 180 cm across, and drop into a running-bond or random field like a rug under a table. Centre one under a dining set or a fire bowl for the strongest effect.
Plan the medallion before you lay the field, not after. Lay the circle first on its sand bed, then cut the surrounding field pavers to fit against its edge. Our rustic garden ideas show how a medallion suits a cottage-style yard. Take your time with the cuts — a neat joint line is what sells the look.

Photo: Derek Ramsey via Wikimedia Commons
4. Permeable Pavers for Drainage
Permeable pavers have wider joints filled with small gravel instead of sand, so rain drains straight through into the ground below. They are a smart pick for low spots in the yard and for driveways near the street, where spring meltwater pools. Many municipalities now encourage them because they reduce stormwater runoff.
The base matters more than with standard interlock: use 30 cm of open-graded crushed stone with no fines, so water has somewhere to go. Vacuum or blow the joints clear each autumn — clogged joints are the main reason permeable systems stop draining.

Photo: Roman Eisele via Wikimedia Commons
5. Steps and Level Changes
When the yard slopes, interlock steps connect the levels and look like they were always part of the plan. Use full-size wall block or purpose-made step units — at least 30 cm deep per tread and no more than 18 cm per rise — so the stairs feel comfortable. One wide step doubles as extra seating around a fire area.
Build steps on the same compacted base as the patio, and glue each course to the one below with concrete adhesive. In winter, use calcium-based de-icer rather than rock salt on the steps; it is gentler on both the pavers and nearby planting, a point our winter front porch decor ideas also cover for entryways.

Photo: Jim Barton via Wikimedia Commons
FAQs
How much does interlock stone cost in Canada?
Installed by a contractor, expect $12 to $20 CAD per square foot for a patio and $14 to $25 for a driveway. DIY material costs run about $4 to $8 per square foot, plus base gravel, sand, and edging.
Can I lay interlock myself?
Yes for patios and walkways — the steps are dig, compact gravel, screed sand, lay pavers, compact, and sweep in joint sand. Driveways are heavier work and most homeowners hire out, since the base must be deeper and perfectly compacted.
Will frost heave ruin my patio?
Not if the base is right. A 15 to 20 cm compacted gravel base lets the pavers flex with freeze-thaw cycles instead of cracking. This flexibility is exactly why interlock outperforms poured concrete in Canadian winters.
How do I stop weeds growing between pavers?
Use polymeric sand in the joints — it hardens when wetted and blocks weed roots. Pull any weeds that appear promptly, and top up the joint sand every couple of years as it settles.
Should I seal my interlock patio?
Sealing is optional but worthwhile: it deepens the colour, resists oil stains, and slows weed growth. Wait at least a season after installation, apply on a dry day above 10°C, and re-seal every three to five years.
Final Thoughts
Interlock stone earns its popularity in Canada: it flexes with the frost, repairs one paver at a time, and offers patterns from simple to showpiece. Pick the pattern that matches your patience and your budget, then invest the real effort in the base — that is what separates a patio that lasts decades from one that dips by spring.
Start with a small project like a walkway before tackling the full patio. Once you have laid a few square metres, the rhythm of screeding, laying, and compacting becomes second nature.
Sources
- Family Handyman — How to Install Pavers
- Family Handyman — Homeowner's Guide to Patio Flooring
- Family Handyman — How to Build a Brick Walkway in the Garden
Gallery
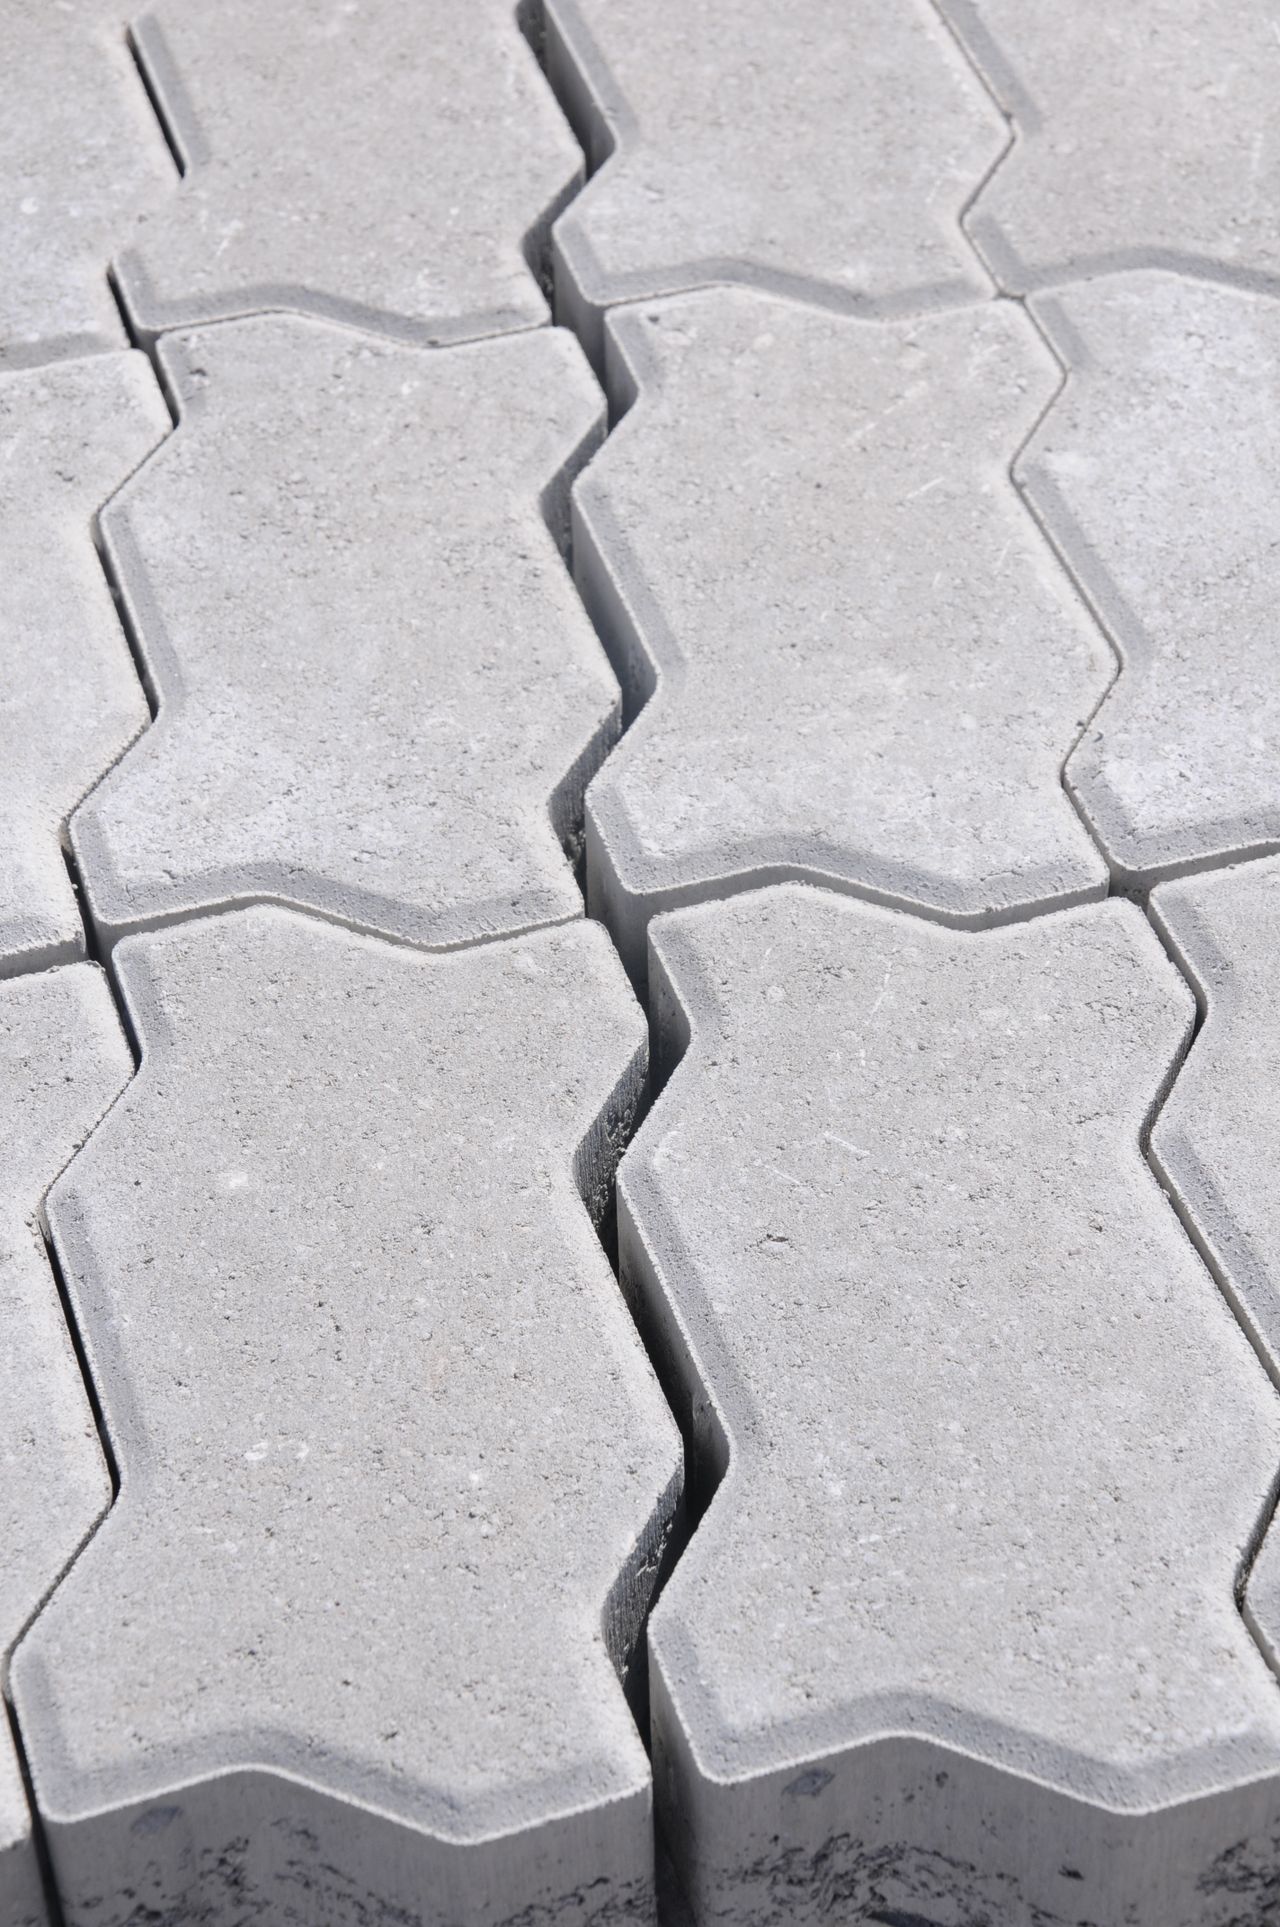
Photo: Moussa Idrissi via Pexels

Photo: Jim Osley via Wikimedia Commons
Photo: Szcze hoo via Pexels

No comments:
Post a Comment