A raised bed can turn even a patch of poor soil into a garden that actually grows food. If you have been wondering how to construct a raised garden from scratch, the good news is that it takes one weekend, basic tools, and no real carpentry skill.
This guide walks you through every step in plain language: picking the spot, cutting the boards, filling the bed, and planting it right. Follow along and you will be growing your first harvest sooner than you think.

Photo via Wikimedia Commons
Table of Contents
- 1. Pick a Spot With Full Sun
- 2. Keep the Bed Four Feet Wide
- 3. Build It 10 to 12 Inches Deep
- 4. Choose Rot-Resistant Lumber
- 5. Screw the Frame Together Square
- 6. Set the Frame on Level Ground
- 7. Line the Bottom to Block Weeds
- 8. Fill It With a Good Soil Mix
- 9. Water the Bed Deeply First
- 10. Add a Trellis for Climbers
- 11. Plant Seedlings With Room to Grow
- 12. Mulch the Surface
- 13. Feed the Soil Through the Season
- 14. Refresh the Bed Each Year
1. Pick a Spot With Full Sun
Most vegetables need six to eight hours of direct sun each day, so watch your yard for a full day before you place anything. Morning sun plus afternoon sun is ideal, and a spot near a water faucet saves you from hauling watering cans across the yard.
Stay clear of low spots where water pools after rain, and keep the bed away from big trees whose roots will steal moisture. For more ideas on shaping the space around your beds, see our guide to designing the landscape.

Photo via Wikimedia Commons
2. Keep the Bed Four Feet Wide
Four feet wide is the sweet spot because you can reach the center from either side without stepping on the soil. Wider beds look impressive on paper but become frustrating the moment you try to weed the middle.
For length, eight feet is the classic choice since it matches standard lumber sizes and needs no extra cuts. Leave at least two feet between beds so you can walk through with a wheelbarrow.

Photo via Wikimedia Commons
3. Build It 10 to 12 Inches Deep
Shallow-rooted crops like lettuce, radishes, and herbs survive in six to eight inches of soil, but ten to twelve inches suits almost every common vegetable. Tomatoes, peppers, carrots, and cucumbers all appreciate the extra room for their roots.
If your native ground is rocky or packed hard, go a little deeper rather than fighting it. A deeper bed also holds more moisture, so it forgives you on the days you forget to water.

Photo via Wikimedia Commons
4. Choose Rot-Resistant Lumber
Cedar is the favorite for a reason: its natural oils resist rot and insects, and a two-inch-thick cedar board can last ten to fifteen years. Redwood works just as well if it is sold in your area.
Pine is cheaper but usually needs replacing within three to five years. One common question is whether modern pressure-treated lumber is safe, and most extension services now say the current copper-based treatments are fine for vegetable beds, though many gardeners still prefer untreated wood for peace of mind.
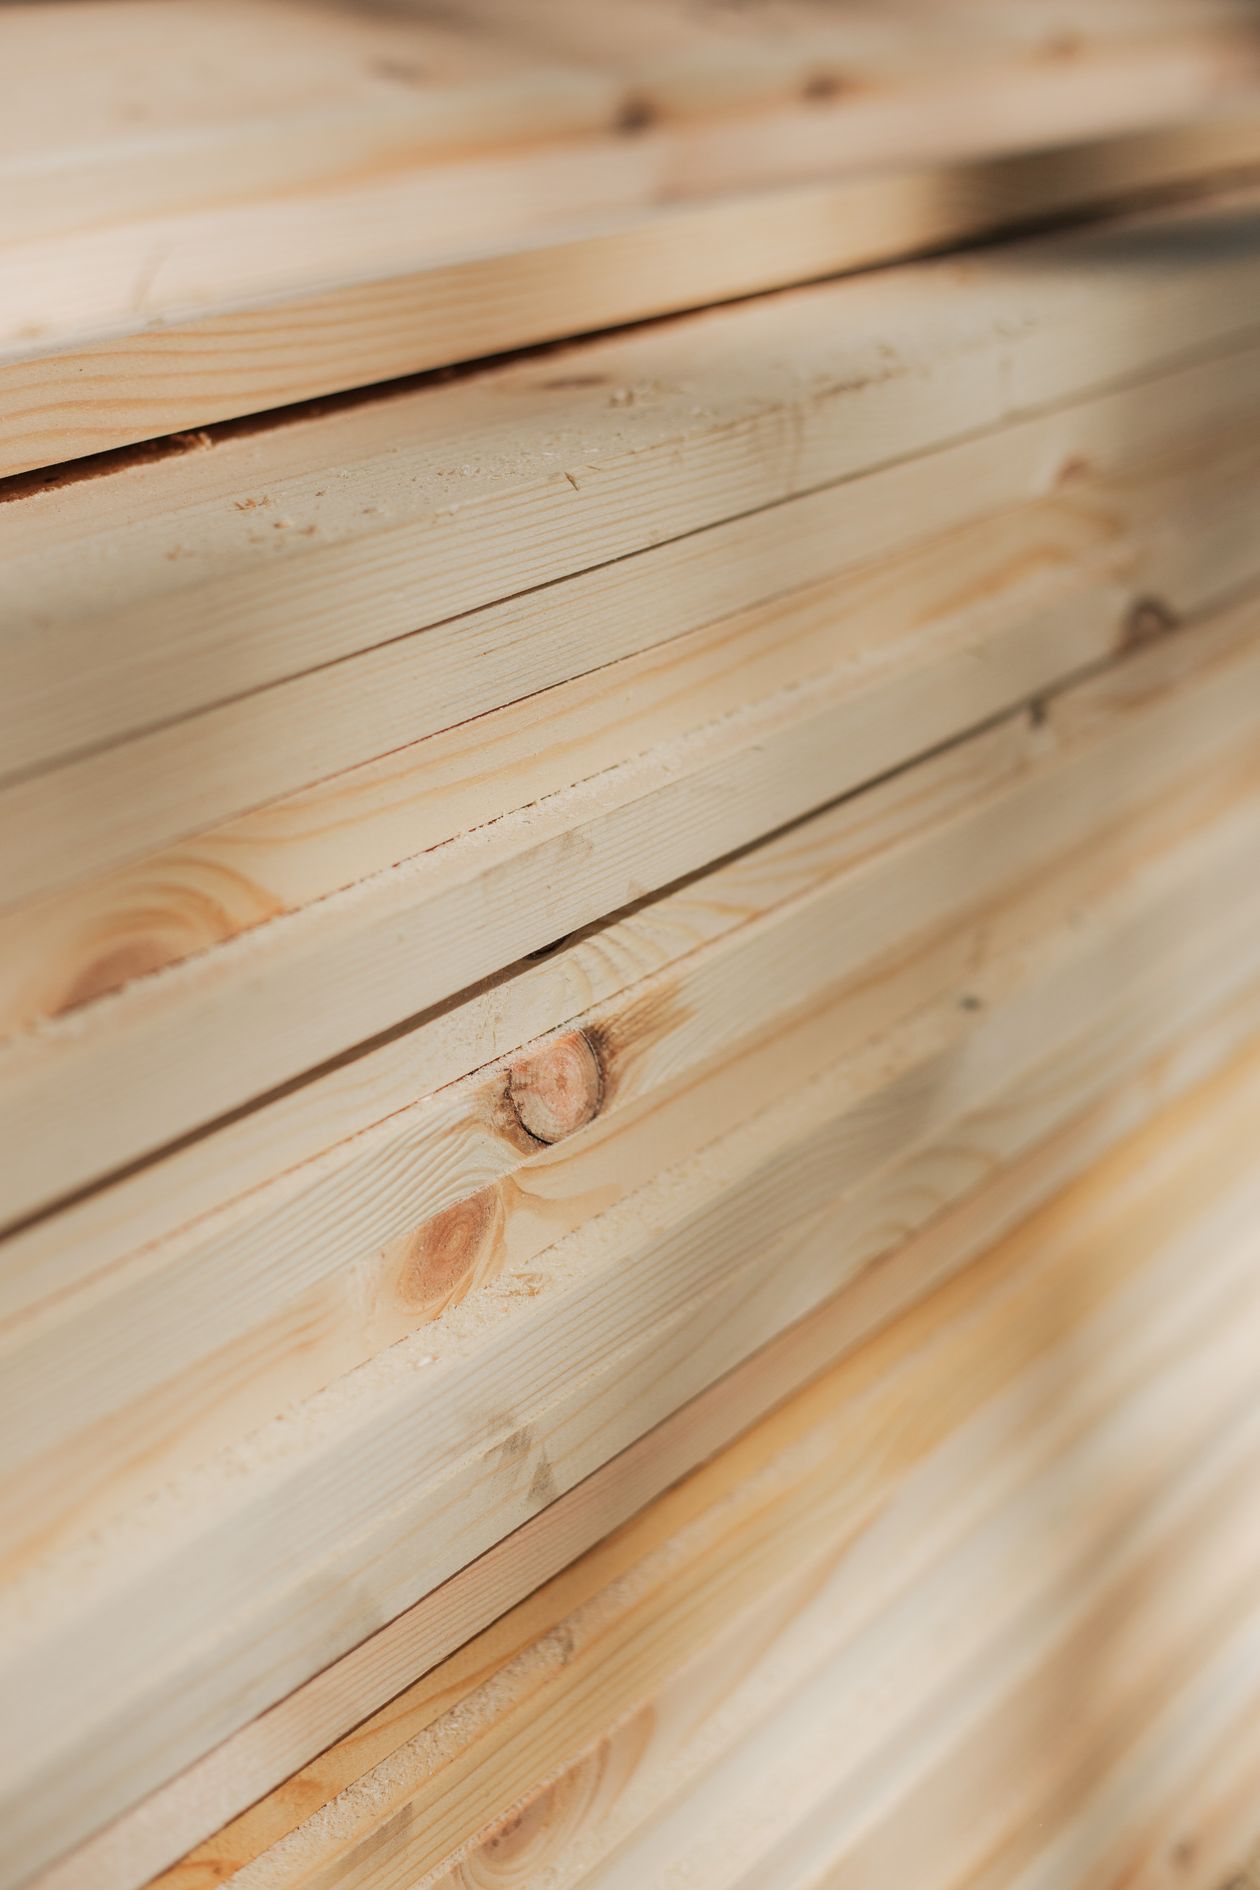
Photo via Pexels
5. Screw the Frame Together Square
Lay the boards out in a rectangle on flat ground and fasten the corners with three-inch exterior deck screws. Pre-drilling pilot holes keeps the wood from splitting, especially near the ends of the boards.
Check that the frame is square by measuring the diagonals; when both measurements match, the corners are true. A slightly out-of-square bed still grows fine, but a square one sits flat and looks much tidier.

Photo via Wikimedia Commons
6. Set the Frame on Level Ground
Move the finished frame to your chosen spot and press it into the ground, then check it with a level. Dig away high spots or shim low corners with small stones so the frame sits flat and does not rock.
Level matters more than it looks: an uneven frame leaves gaps where soil washes out and water pools on one side. Taking ten minutes here saves you a season of annoyance.

Photo via Wikimedia Commons
7. Line the Bottom to Block Weeds
Before adding soil, lay overlapping sheets of plain cardboard or several layers of newspaper right over the grass inside the frame. This sheet mulch smothers weeds and grass without any chemicals, then breaks down into the soil over time.
If moles or voles are a problem in your area, staple half-inch hardware cloth across the bottom of the frame first. Water the cardboard well so it lies flat and stays put while you fill.

Photo via Wikimedia Commons
8. Fill It With a Good Soil Mix
A simple recipe that works almost everywhere is about sixty percent good-quality topsoil and forty percent compost. Never fill a bed with pure bagged potting mix or straight compost, both settle and drain oddly on their own.
A four-by-eight bed at twelve inches deep holds about thirty-two cubic feet of soil, which is more than most beginners expect, so price bulk delivery before you start. Mound the mix slightly above the frame edge since it will settle an inch or two after the first watering.

Photo via Wikimedia Commons
9. Water the Bed Deeply First
Soak the filled bed thoroughly before you plant anything. This settles the soil into air pockets, shows you where the level drops, and gives your first seedlings moist ground to root into from day one.
A simple drip line or soaker hose is worth every penny on a raised bed because it waters the roots instead of the leaves. Wet leaves invite disease, so water at the base whenever you can. Our houseplant watering guide covers the same deep-but-infrequent habit for pots indoors.

Photo via Wikimedia Commons
10. Add a Trellis for Climbers
Cucumbers, pole beans, and peas grow up instead of out when you give them a trellis, which doubles your harvest from the same square footage. Install the trellis on the north side of the bed so it never shades the shorter plants.
A simple frame of bamboo poles and twine costs almost nothing and holds up for a whole season. If you love cucumbers, our companion planting guide for cucumbers lists the best neighbors to tuck in beside them.

Photo via Wikimedia Commons
11. Plant Seedlings With Room to Grow
Transplants from the nursery give beginners a head start over seeds, but resist the urge to cram them in. A seedling tag's spacing advice exists for a reason; crowded plants stay small and get sick more easily.
Dig each hole the same depth as the nursery pot, firm the soil gently around the roots, and water right away. Planting in the cool of the evening helps transplants settle in without wilting.

Photo via Wikimedia Commons
12. Mulch the Surface
A two to three inch layer of straw, shredded leaves, or pine straw over the bare soil keeps moisture in and weeds out. Mulch also stops soil from splashing onto leaves during heavy rain, which cuts down on disease.
Keep the mulch an inch or two away from the stems so the crowns stay dry. If you need low-effort greenery around the beds too, these low-maintenance shrubs make a tidy border.

Photo via Wikimedia Commons
13. Feed the Soil Through the Season
Raised beds drain well, which is great, but it also means nutrients wash out faster than in ground soil. Side-dress heavy feeders like tomatoes and peppers with a handful of compost or a balanced organic fertilizer halfway through the season.
Watch the leaves for clues: pale or yellowing older leaves usually mean the plant is hungry for nitrogen. A thin compost top-up each month keeps most beds productive without any guesswork.

Photo via Wikimedia Commons
14. Refresh the Bed Each Year
Each fall or spring, top up the bed with two to three inches of fresh compost and fork it lightly into the top few inches. Soil settles and shrinks every year, so this keeps the level right and feeds the microbes.
This is also the perfect moment to plan a simple crop rotation so the same plant family never sits in the same spot two years running. For a pretty frame around your growing space, browse our garden aesthetic ideas.

Photo via Wikimedia Commons
Frequently Asked Questions
How much soil do I need for a 4x8 raised bed?
About 32 cubic feet for a 12-inch-deep bed, or roughly one cubic yard. Buying in bulk from a local soil yard is usually much cheaper than bagged mix at that volume.
Is pressure-treated wood safe for vegetable beds?
Modern pressure-treated lumber uses copper-based preservatives that most extension services consider safe for food growing. If you are still unsure, stick with untreated cedar or redwood.
Do I need landscape fabric under the bed?
Not usually. A layer of overlapping cardboard smothers weeds just as well and breaks down into the soil. Save fabric for beds sitting on very aggressive weed roots.
Can I build a raised bed on concrete?
Yes, but make the bed at least 12 inches deep and add drainage holes or a gravel layer at the bottom. Beds on concrete dry out faster, so water them more often.
How often should I water a raised bed?
About one to one and a half inches of water per week, delivered deeply two or three times rather than a daily sprinkle. Stick your finger two inches into the soil; if it is dry, it is time to water.
Final Thoughts
Building your first bed is the hardest part, and honestly it is not hard at all. Now you know how to construct a raised garden that will feed you for years: sunny spot, right size, good wood, great soil, and steady care.
Start with one bed this weekend and easy crops like lettuce, beans, and zucchini. Next season you will be the neighbor everyone asks for advice.
Sources
- Old Farmer's Almanac: How to Build a Raised Garden Bed
- Gardenista: DIY How to Build a Raised Garden Bed
Gallery

Photo via Wikimedia Commons

Photo via Wikimedia Commons

Photo via Wikimedia Commons

No comments:
Post a Comment