There is nothing like a backyard fire on a cool evening — and a kit makes it far easier than building from scratch. A fire pit kit bundles the ring, blocks, or bowl with everything sized to fit together, so you skip the guesswork of matching parts. Most assemble in an afternoon with basic tools.
This guide covers the main kit types sold in Canada, how to choose between wood and propane, where to site your pit safely, and what local bylaws usually require. By the end you will know exactly which kit suits your yard and budget.
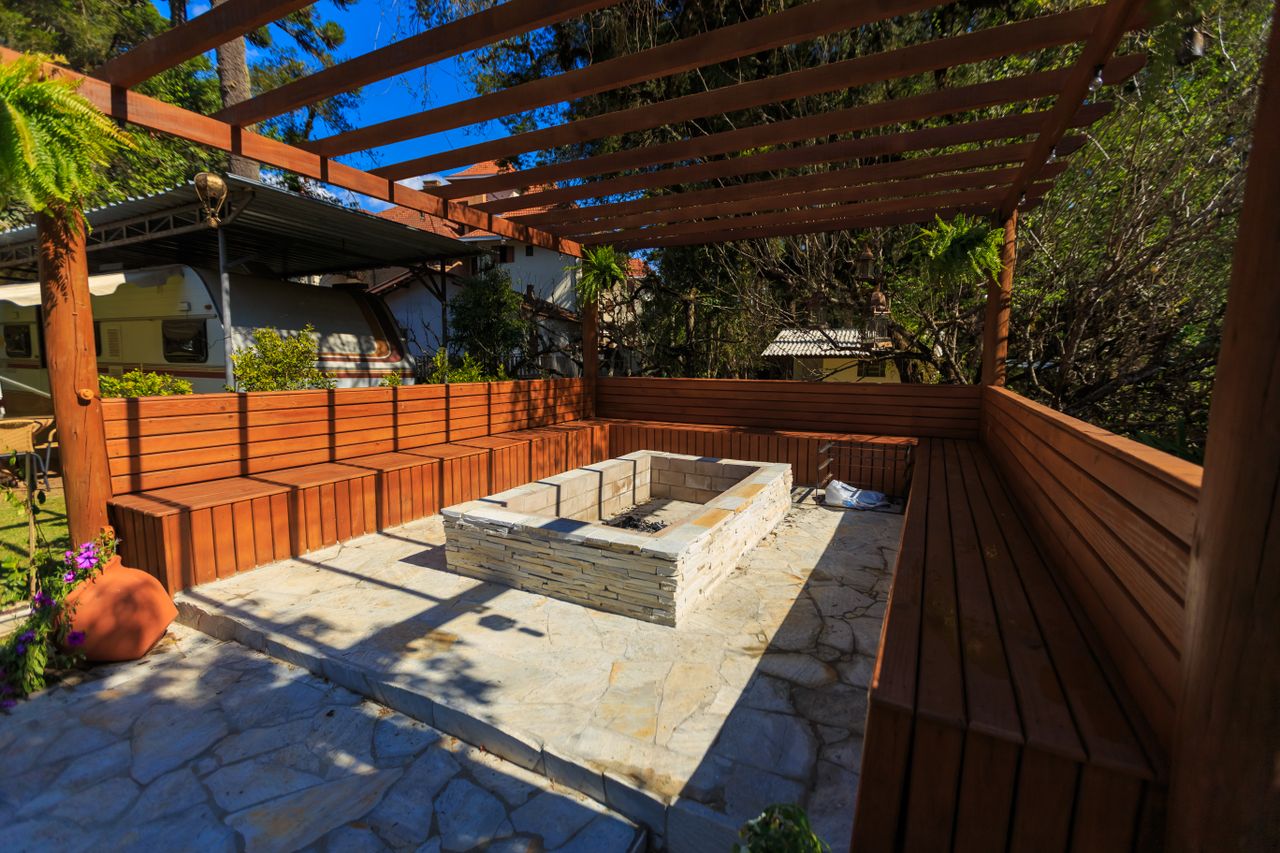
Photo: Pexels
Table of Contents
- 1. What Comes in a Typical Kit
- 2. Concrete Block Kits
- 3. Steel Bowl and Ring Kits
- 4. Wood-Burning vs Propane
- 5. Getting the Size Right
- 6. Preparing the Base
- 7. Clearances and Local Bylaws
- 8. Assembly Tips That Save Headaches
- 9. Building the Seating Circle
- 10. Off-Season Care
1. What Comes in a Typical Kit
A fire pit kit usually includes the fire ring or bowl, wall blocks or panels, a metal liner or insert, and sometimes a spark screen, poker, and cover. Stone kits add cap stones for the top course. Everything is sized to fit — no cutting, no mortar math, no second trip to the store.
Prices in Canada run $250 to $600 for steel kits and $400 to $1,200 for stone block kits at Home Depot, Rona, and Costco. Compare that to hiring a mason, which starts around $3,000. The kit will not be custom, but for most backyards it looks great and works perfectly.
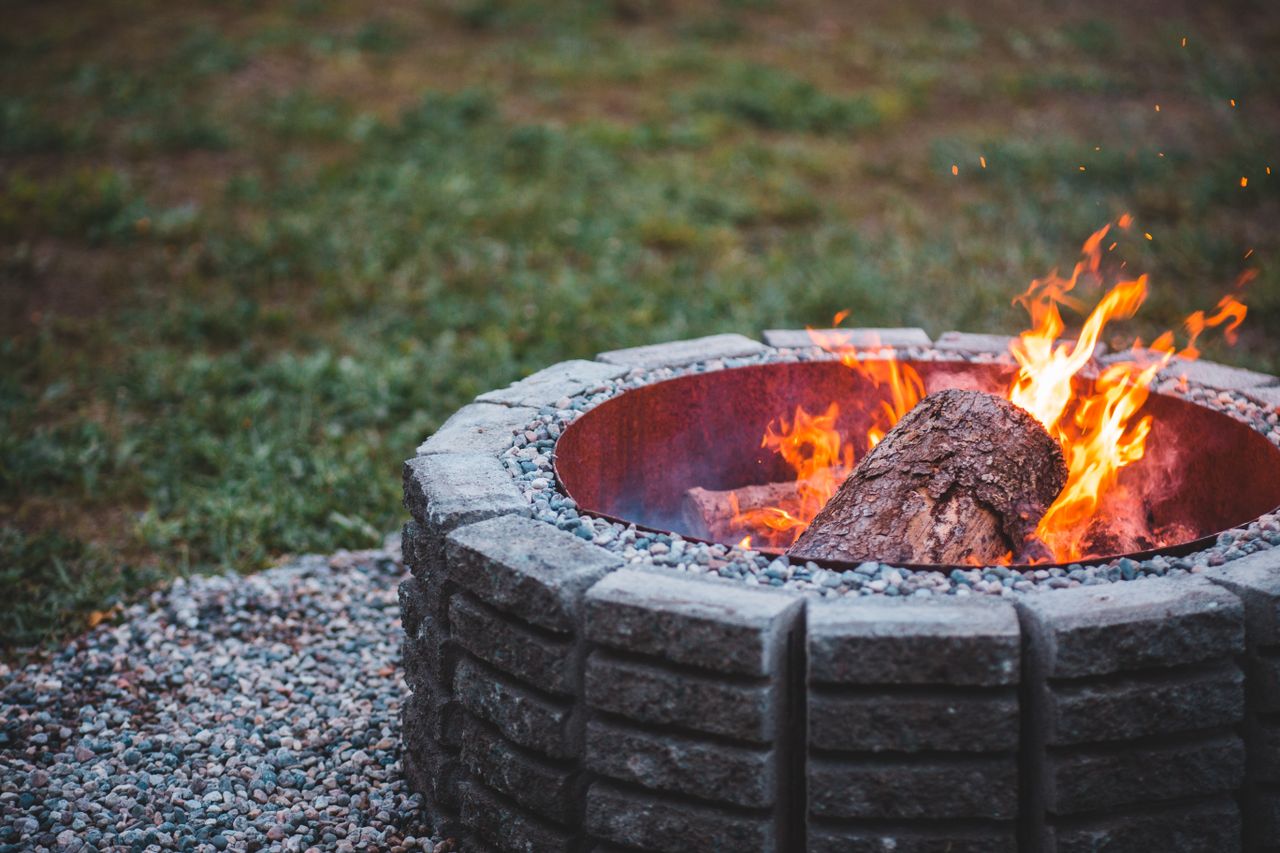
Photo: Pexels
2. Concrete Block Kits
Concrete block kits are the most popular choice — they look like real stone, last decades, and assemble without mortar. The blocks are tapered so they form a circle naturally, usually in three or four courses. A steel liner inside protects the blocks from direct flame and heat cracking.
Expect each block to weigh 10 to 15 kg, so a full kit means moving 300 to 500 kg of material. Have it delivered to the backyard if possible. Once stacked, the structure is held by gravity and the liner — no adhesive needed, though construction adhesive on the cap stones keeps them from shifting. These pair well with covered patio ideas for a complete outdoor room.

Photo: Wikimedia Commons
3. Steel Bowl and Ring Kits
Steel kits are the budget-friendly, portable option. A typical kit is a 75 to 90 cm diameter bowl on legs, sometimes with a decorative cut-out pattern around the rim. They heat up fast, radiate warmth well, and can be moved around the yard or stored for winter.
The trade-off is lifespan. Thin steel rusts through in 3 to 5 years in Canadian weather unless you cover it and store it dry. Look for 3 mm or thicker steel, and oil the bowl lightly before winter storage. At $150 to $350, though, replacing one every few years still costs less than a single stone kit.
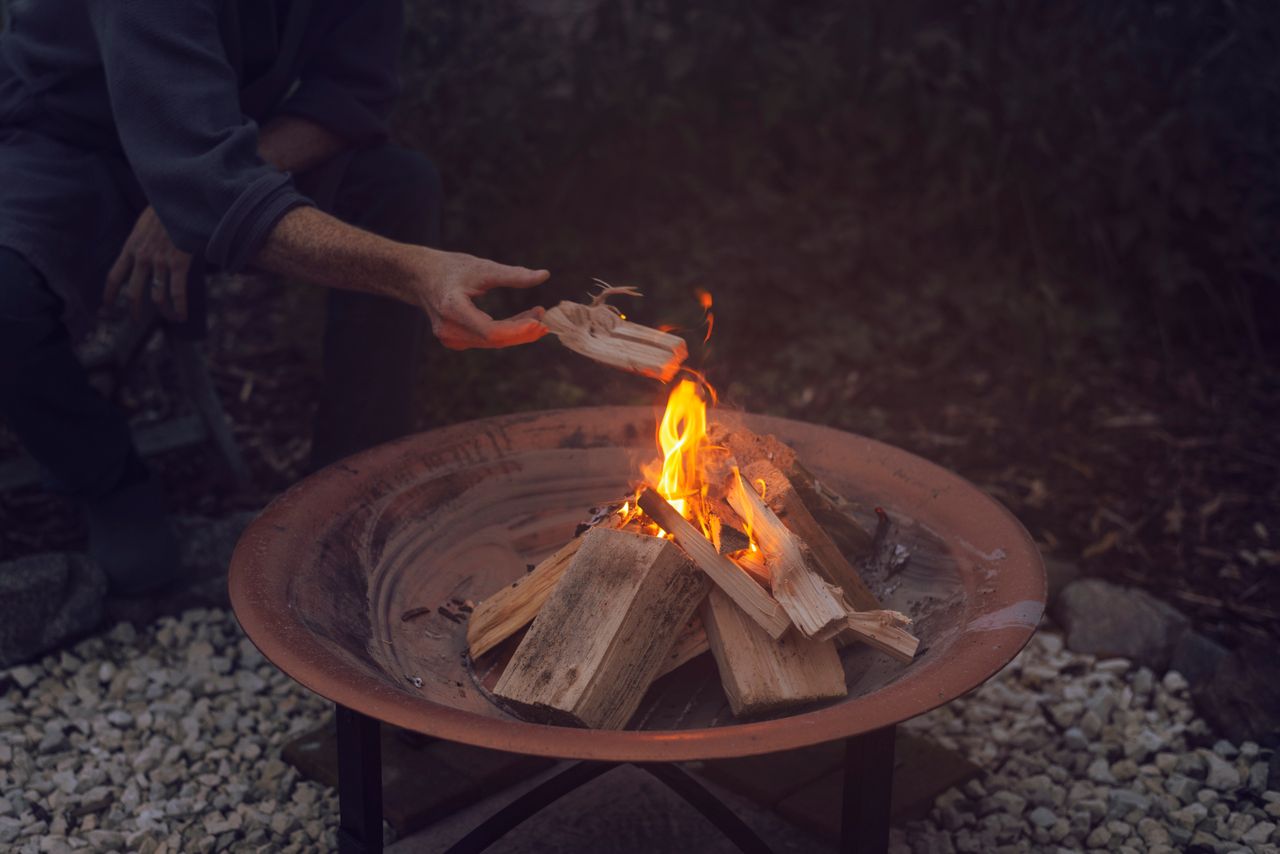
Photo: Pexels
4. Wood-Burning vs Propane
This is the biggest decision. Wood gives real crackle, real smoke smell, and real heat — plus the ritual of building the fire. But it means storing firewood, dealing with smoke drifting toward neighbours, and checking burn bans, which many BC and Alberta municipalities impose all summer.
Propane kits — usually a burner ring set into a stone or concrete bowl with lava rock or glass — light with a switch, produce no smoke or sparks, and are legal during most burn bans. A 9 kg propane tank runs a typical burner 8 to 10 hours and costs $25 to $35 to refill. The flames are smaller and less warming than wood, but the convenience is unbeatable for weeknight use.
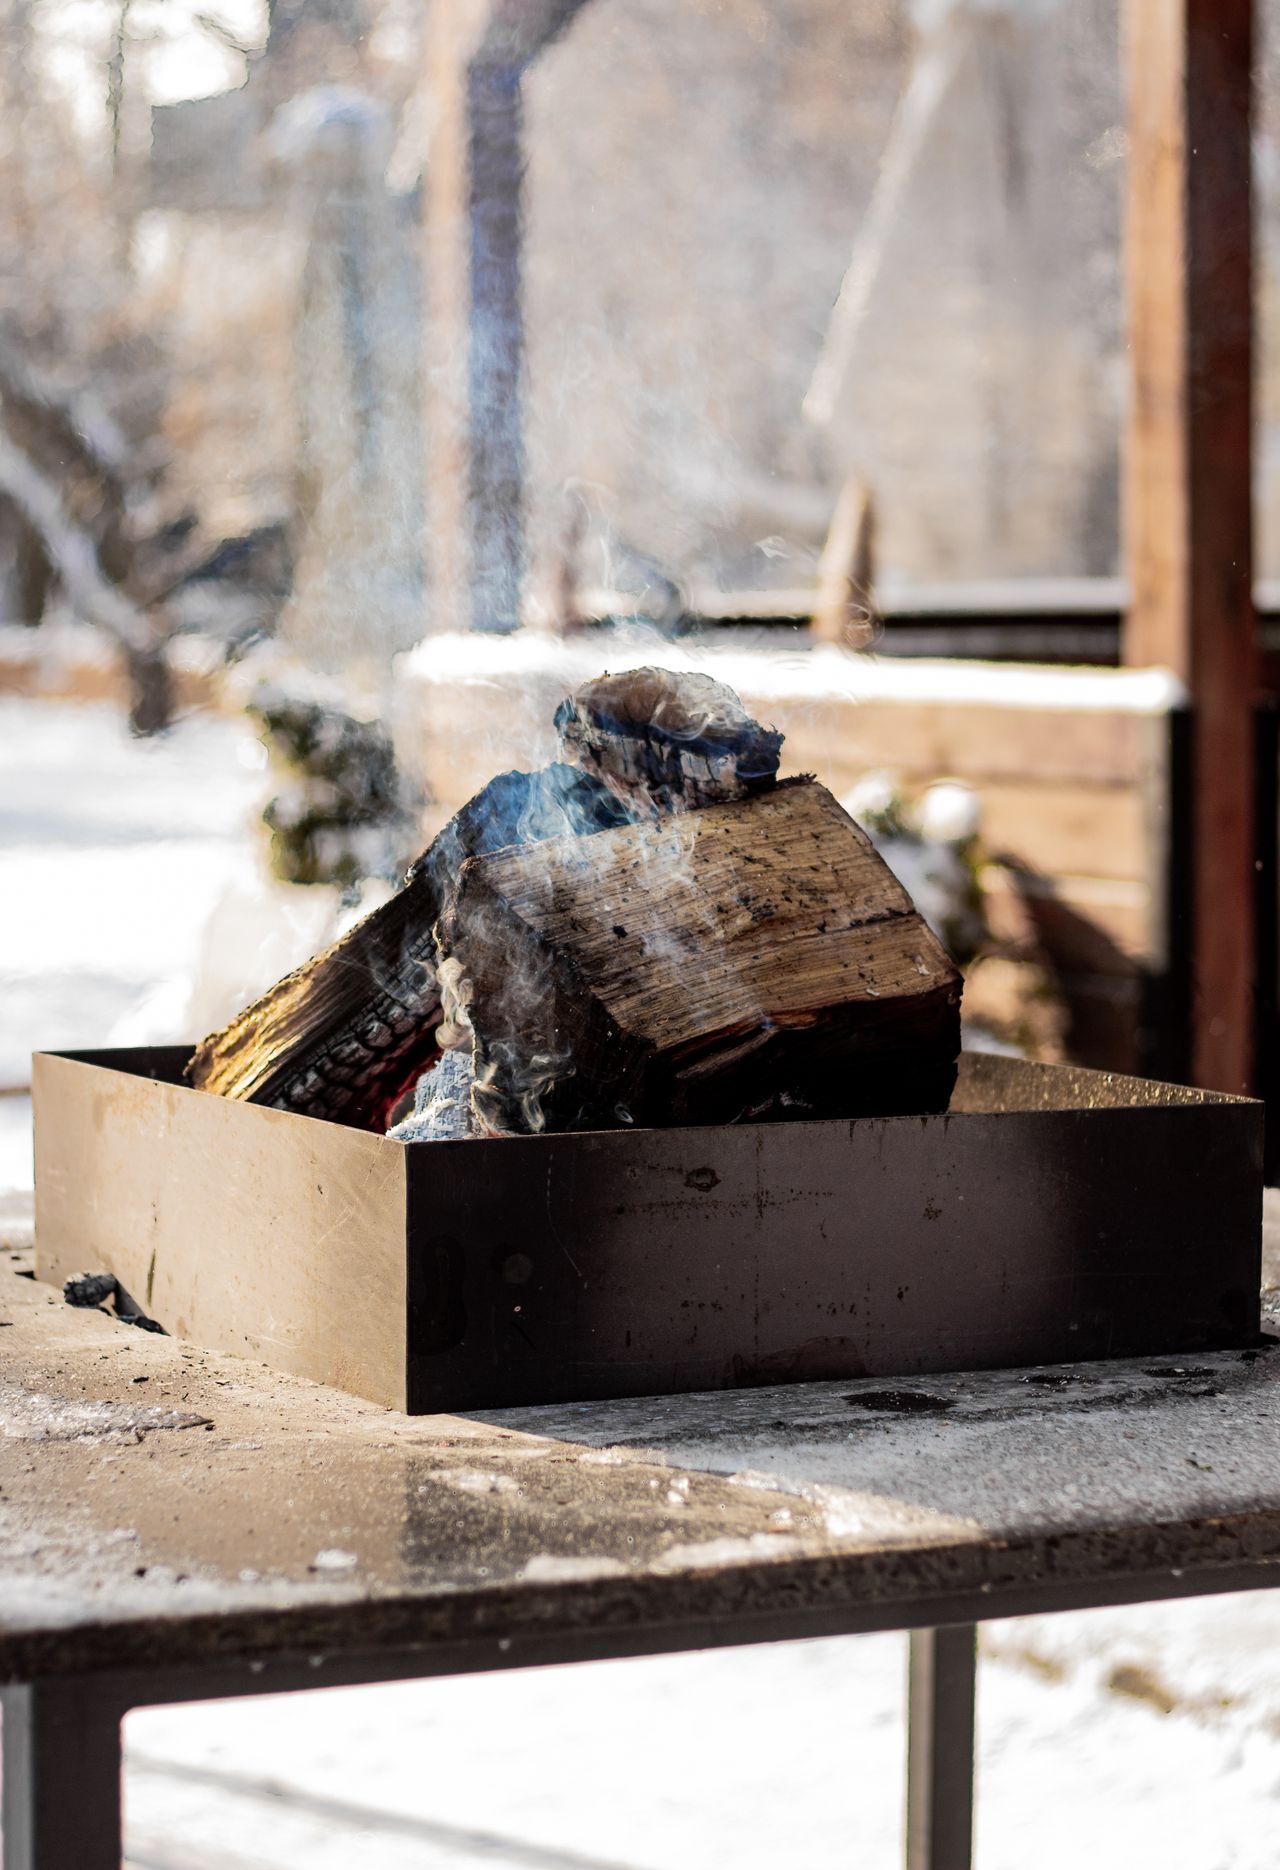
Photo: Pexels
5. Getting the Size Right
For most families, an inner diameter of 75 to 90 cm is ideal — big enough for a real fire, small enough that everyone around it feels the heat. The wall height of 30 to 40 cm lets you rest your feet on the edge and keeps the fire contained. Total footprint with cap stones runs about 1.2 to 1.4 metres across.
Go bigger only if you host large groups regularly. Oversized pits burn through firewood fast — a 1-metre firebox can eat a full wheelbarrow of wood in an evening. And check your yard: you need at least 3 metres of clear space in every direction, which rules out big pits on small city lots.

Photo: Wikimedia Commons
6. Preparing the Base
Never build a fire pit directly on grass or a wood deck. The standard base is 10 to 15 cm of compacted crushed gravel (often called 3/4-inch crush) topped with 2 to 3 cm of levelling sand. This drains water, stays level through freeze-thaw, and will not catch fire from stray embers.
Mark a circle 30 cm wider than your pit, dig out the sod, and compact the gravel with a hand tamper — about $30 to rent for the day. On an existing patio, you can often set the kit directly on pavers or concrete, but put a heat shield or fire mat underneath steel bowls. The whole base job takes a morning and costs under $100 in materials.
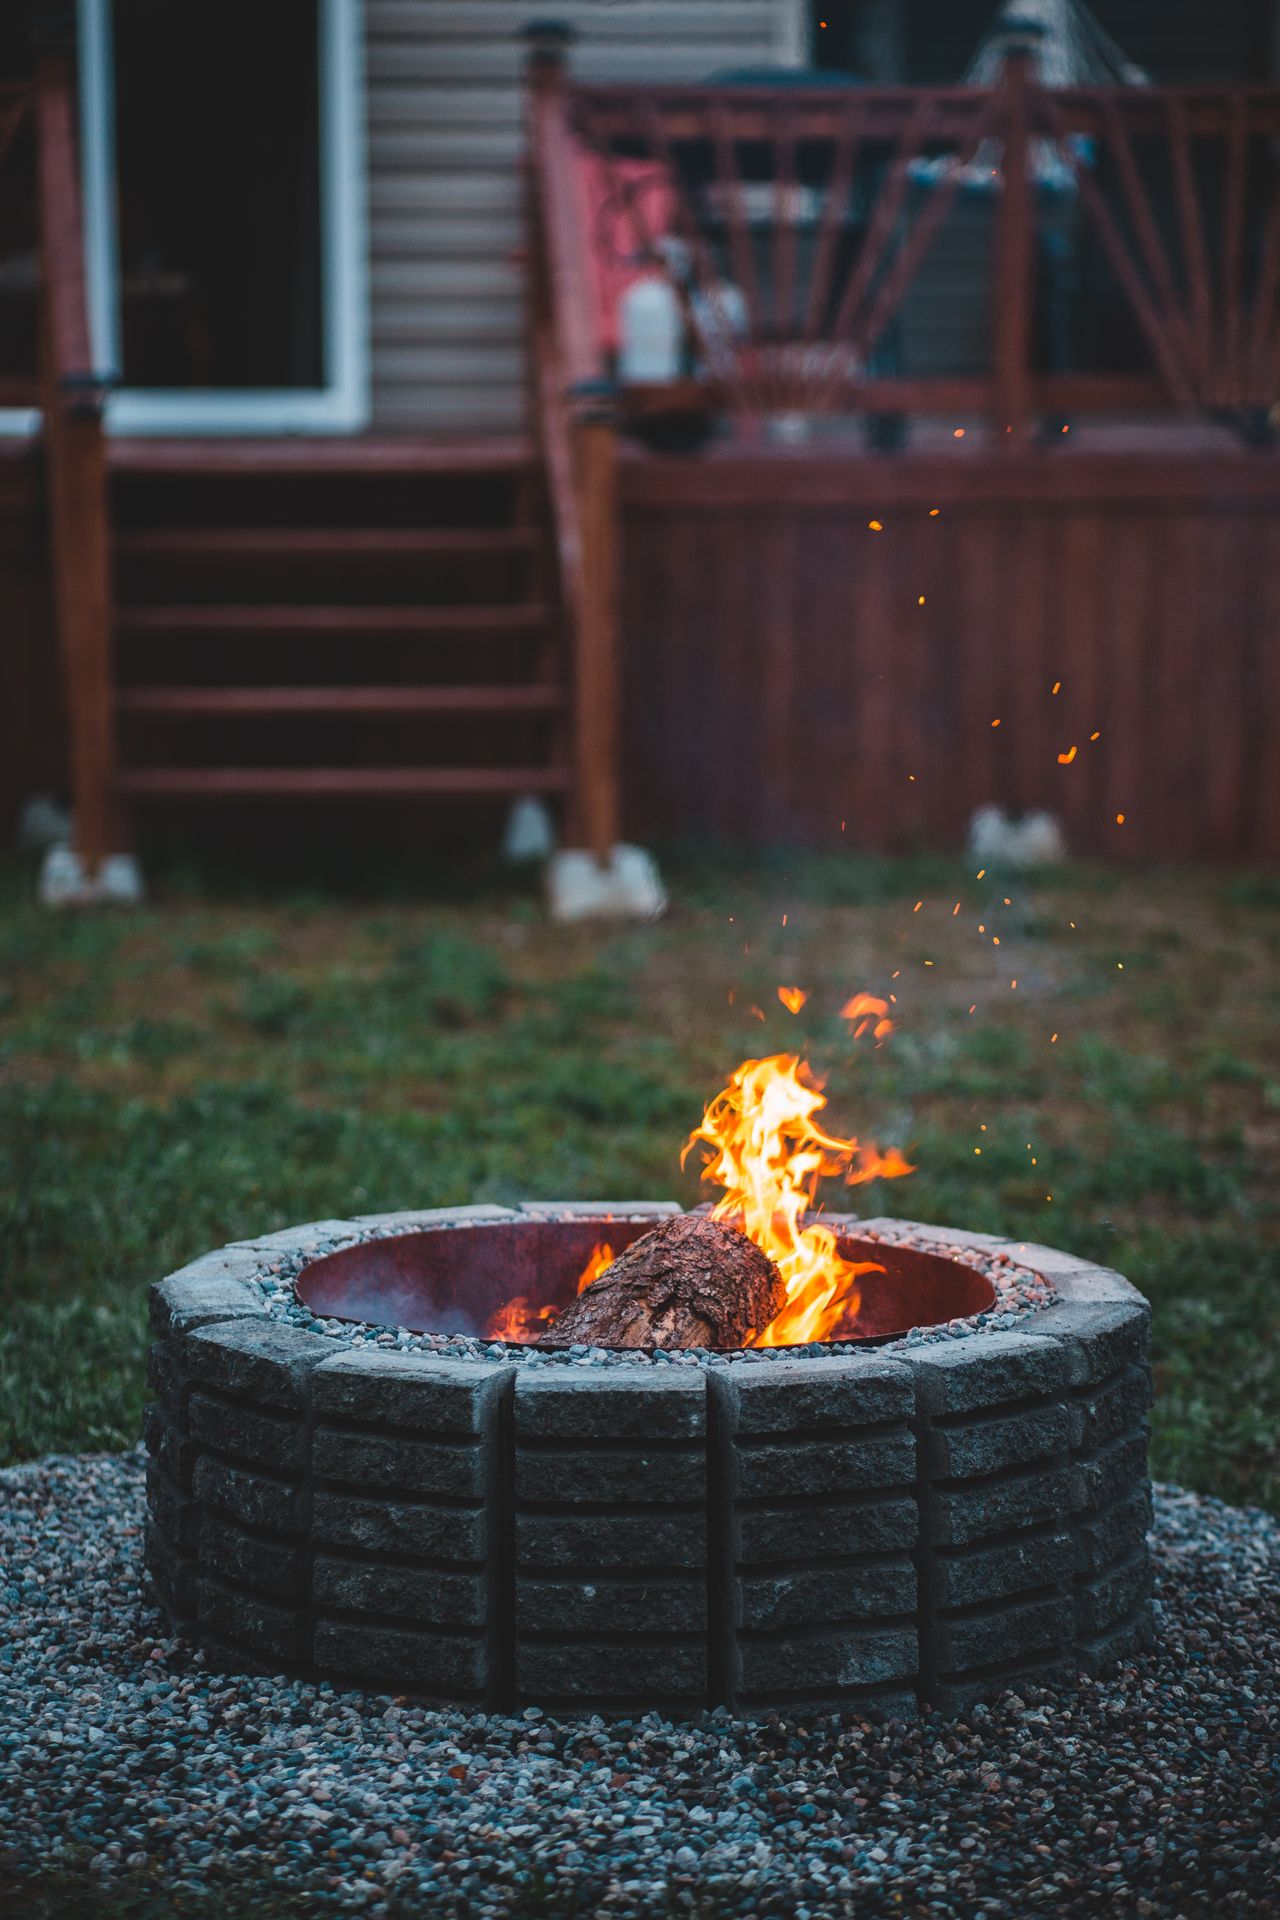
Photo: Pexels
7. Clearances and Local Bylaws
This is the step people skip, and it matters most. Most Canadian municipalities require 3 metres of clearance from buildings, fences, trees, and property lines, and many ban open burning entirely within city limits — allowing only CSA-approved propane or natural gas appliances. Toronto, Vancouver, and Montreal all have strict rules; always check your city's fire bylaw before buying.
Also check for overhead hazards: no low branches, no pergola roof, no awning above the pit. Keep a garden hose or 5 kg ABC fire extinguisher within reach every time you burn. And never leave a fire unattended — most bylaws require an adult present until the fire is fully out, not just dying down.

Photo: Wikimedia Commons
8. Assembly Tips That Save Headaches
Dry-fit everything before you commit. Lay out the first course of blocks on your prepared base and check the circle closes evenly — adjust the base sand, not the blocks, to fix gaps. Most kits go together in 2 to 4 hours with two people; the heavy lifting is the real work, not the stacking.
For steel bowl kits, assemble the legs on a flat surface and tighten bolts in a star pattern like lug nuts. Apply high-heat paint to any scratched spots before the first burn to slow rust. Do a small test fire first — new steel and stone can pop or give off odours on the first heat cycle, which is normal and passes quickly.

Photo: Wikimedia Commons
9. Building the Seating Circle
A fire pit without seating is just a hole that burns things. Plan for one seat per expected guest, spaced about 60 cm apart around the circle. Adirondack chairs are the classic choice at $80 to $200 each, but log stools — 40 to 50 cm tall rounds — are free if you know someone with a chainsaw and look wonderfully rustic.
Set seating back 60 to 90 cm from the pit edge: close enough for warmth, far enough to avoid sparks. If you want inspiration for the whole setup, browse our fireplace and fire feature ideas — many indoor styling principles, like layering textures and anchoring with a rug (use an outdoor-rated one), work outside too.
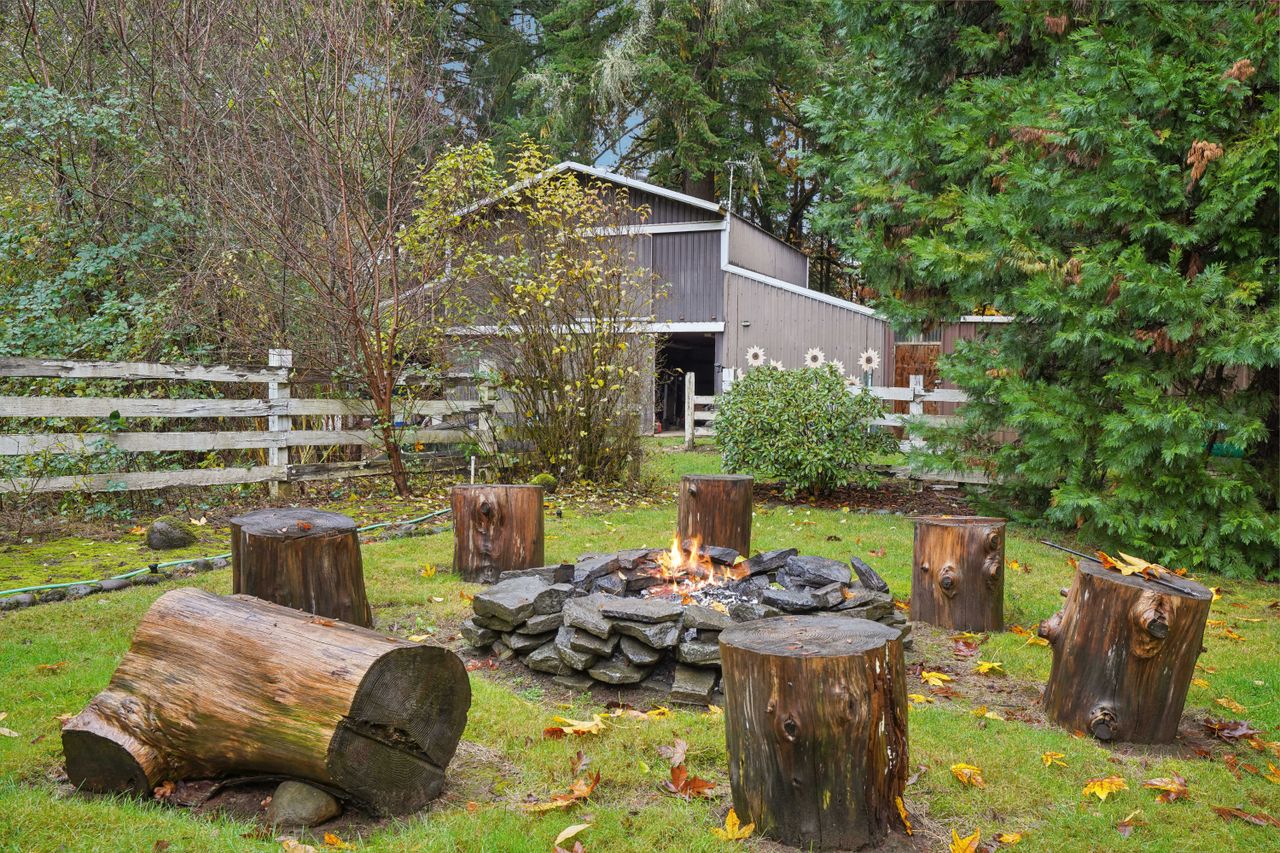
Photo: Pexels
10. Off-Season Care
Canadian winters are brutal on fire pits. For steel kits, the best move is storing the bowl in a shed or garage from November to April — it takes 10 minutes and doubles the lifespan. Stone kits stay put, but cover them with a fitted cover ($30 to $60) to keep freeze-thaw water out of the blocks.
For propane kits, disconnect the tank and store it upright outdoors — never in a basement or garage. Shut off the gas, cover the burner, and check hoses and connections each spring for cracks before the first lighting. A 10-minute spring inspection prevents nearly all propane problems.

Photo: Wikimedia Commons
FAQs
Do I need a permit for a backyard fire pit in Canada?
It depends on your municipality and fuel type. Many cities ban wood-burning outright but allow CSA-certified propane pits without a permit. Always check your local fire bylaw before buying — rules vary enormously.
How far should a fire pit be from the house?
Most bylaws and manufacturers specify at least 3 metres from any building, fence, or combustible structure, plus clear space overhead. More is always safer.
Can I put a fire pit on a wood deck?
Not a wood-burning one. A propane pit may be allowed on a deck with a heat-resistant mat underneath and the manufacturer's approval — check both the manual and your local code first.
What is the best firewood for a fire pit?
Seasoned hardwood like maple, oak, or birch — dried at least 6 months to under 20 percent moisture. It burns hotter with less smoke than softwood. Never burn treated lumber, painted wood, or household rubbish.
How do I put out the fire safely?
Stop adding wood 45 minutes before you plan to leave, spread the embers, and douse with water until everything is cold to the touch. Stir, add more water, and check again. Embers can smoulder for hours.
Final Thoughts
A fire pit kit is one of the best value upgrades for a Canadian backyard — a single weekend of work buys years of summer evenings and shoulder-season gatherings. Choose wood for the full experience or propane for convenience, site it with clearances respected, and build the seating circle generously. The fire itself is simple; the memories around it are the point.
Sources
- National Fire Protection Association
- Wikipedia — Fire Pit
- Health Canada — Wood Smoke and Your Health
Gallery
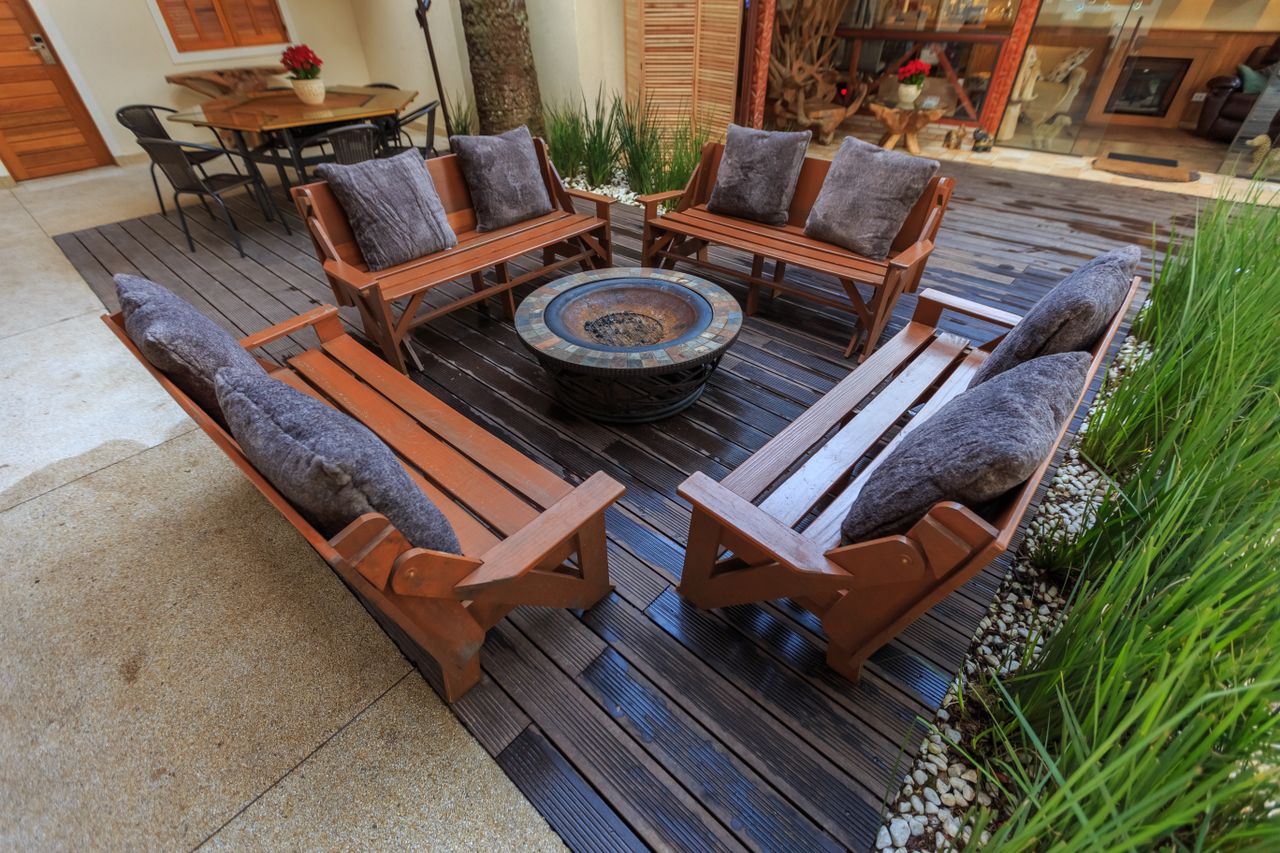
Photo: Pexels
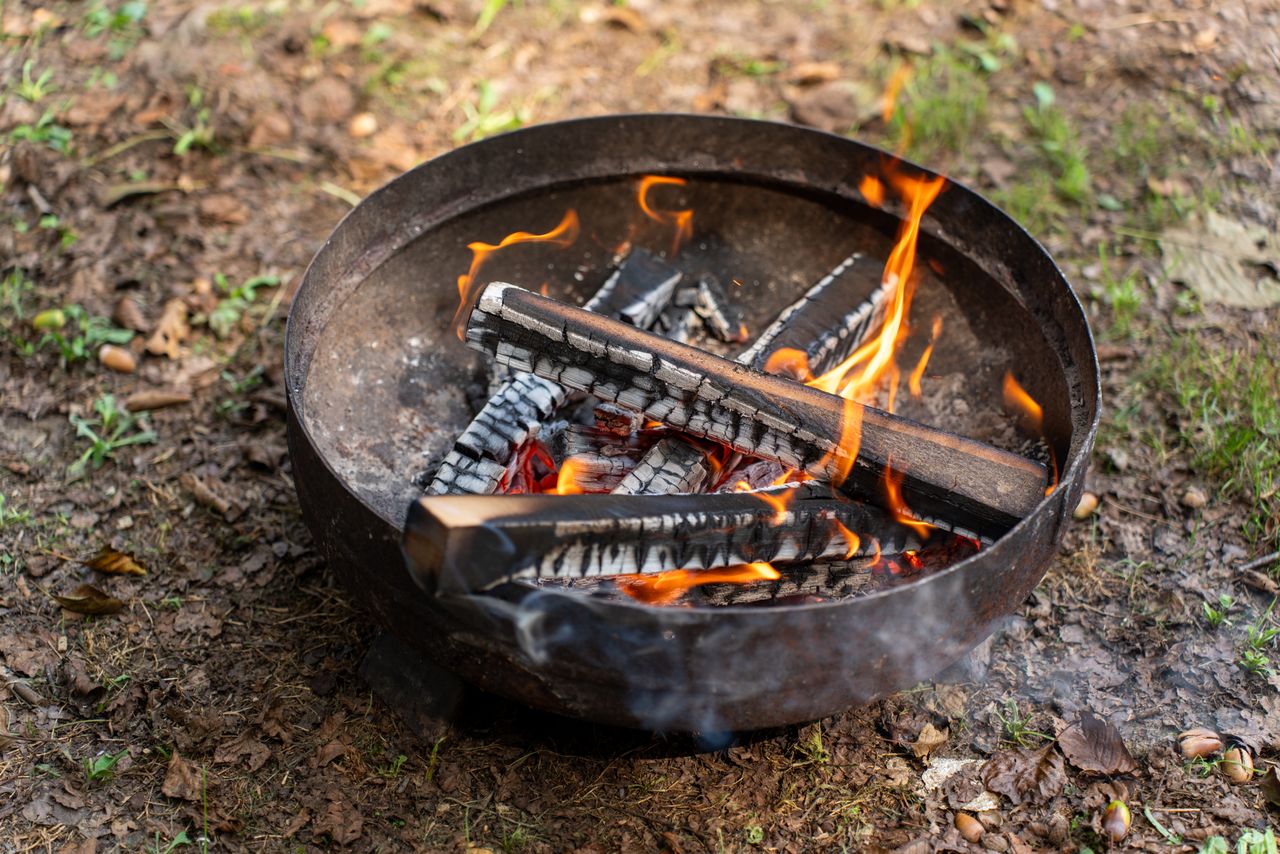
Photo: Pexels

Photo: Wikimedia Commons

No comments:
Post a Comment