This guide to fall garden cleanup walks through the ten jobs that actually pay off before winter, in the order most US gardeners should do them. The goal is not a bare, perfect yard. It is a yard where leaves are off the lawn but working in the beds, sick plants are gone, tools are clean and dry, and tender plants are safe before the first hard freeze. Do the big leaf and lawn jobs first, while the ground is still workable, and leave healthy stems standing where they can shelter birds and insects.
Most of these jobs take one weekend, cost little or nothing, and save real work in spring. You need a rake, a mower, pruners, a wheelbarrow, and a pair of gloves more than you need new equipment. Work in short sessions, check your local frost date, and stop cutting back healthy perennials just because they look messy: a tidy bed and a living bed are not the same thing, and winter wildlife needs the second one.
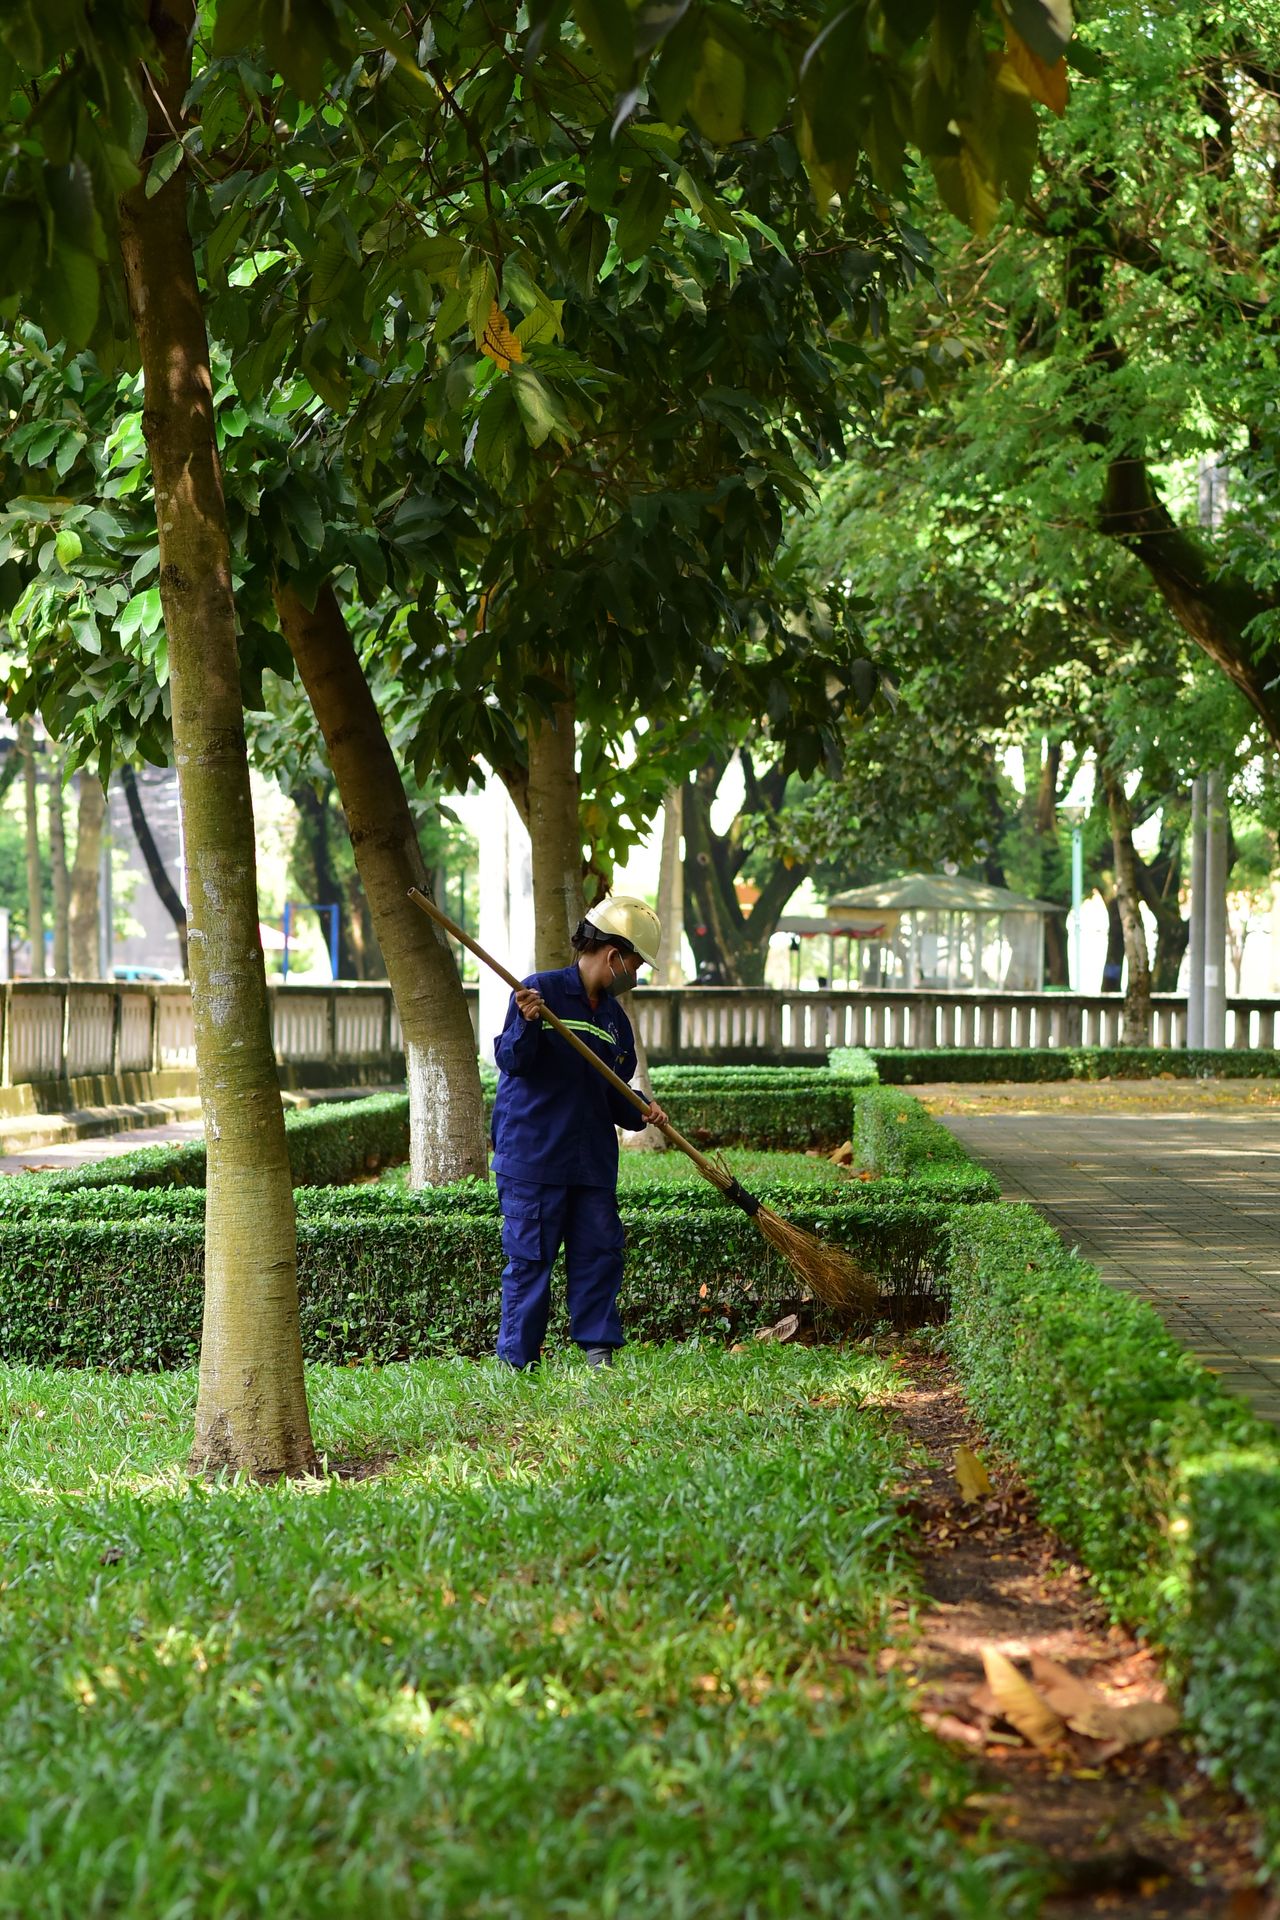
A park worker sweeping leaves along a path beside hedges and grass, a park scene rather than a home yard. Photo via Pexels.
Table of Contents
- 1. Get Leaves Off the Lawn
- 2. Give the Lawn Its Last Mow
- 3. Plant Bulbs and Hardy Greens
- 4. Cut Back Only Sick Growth
- 5. Clear Beds and Feed the Soil
- 6. Plant Bulbs in Pots for Spring
- 7. Start a Leaf Compost Pile
- 8. Clean, Sharpen, and Oil Tools
- 9. Drain Hoses and Store Gear
- 10. Bring Tender Potted Plants Under Cover
1. Get Leaves Off the Lawn
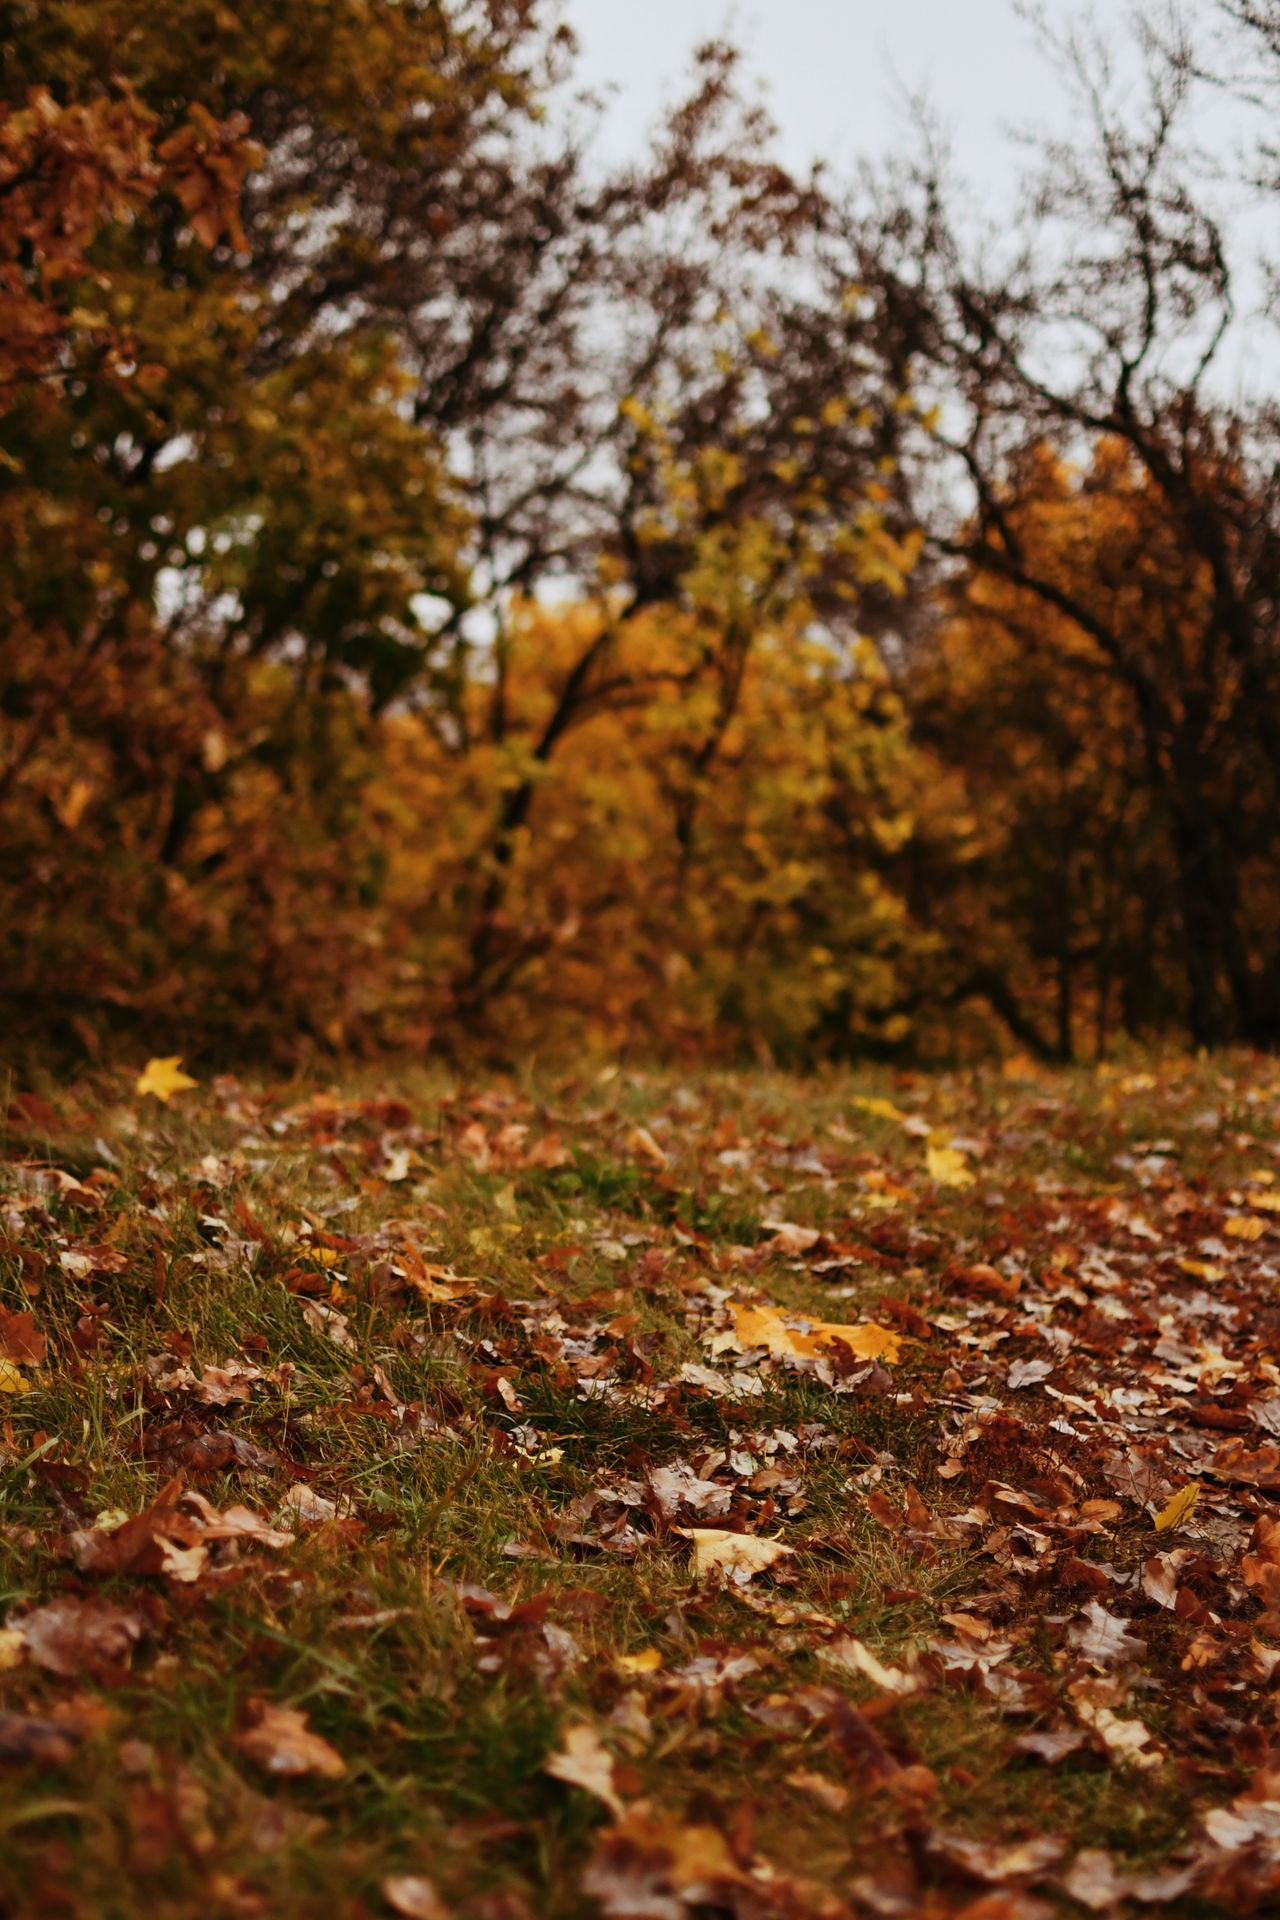
Fallen autumn leaves scattered over grass in a park, with autumn trees blurred behind. Photo via Pexels.
Start with the lawn, because a thick, wet mat of leaves blocks light, traps moisture against grass crowns, and invites snow mold under winter snow. If you can still see plenty of green grass through the leaves, run a mulching mower over them and let the fine pieces fall between the blades, where they feed the soil as they break down. If the layer is so thick that little or no grass shows, rake the excess off the lawn first and move it to beds or a compost pile instead of bagging it all for the curb. Work in sections as leaves fall, rather than waiting for every tree to finish, since one huge weekend of raking is harder on your back and lets the first leaves mat down for weeks. Clear leaves off paths and walkways too, where wet leaves turn slippery, and check storm drains near the street so a leaf dam does not flood a path after rain.
2. Give the Lawn Its Last Mow
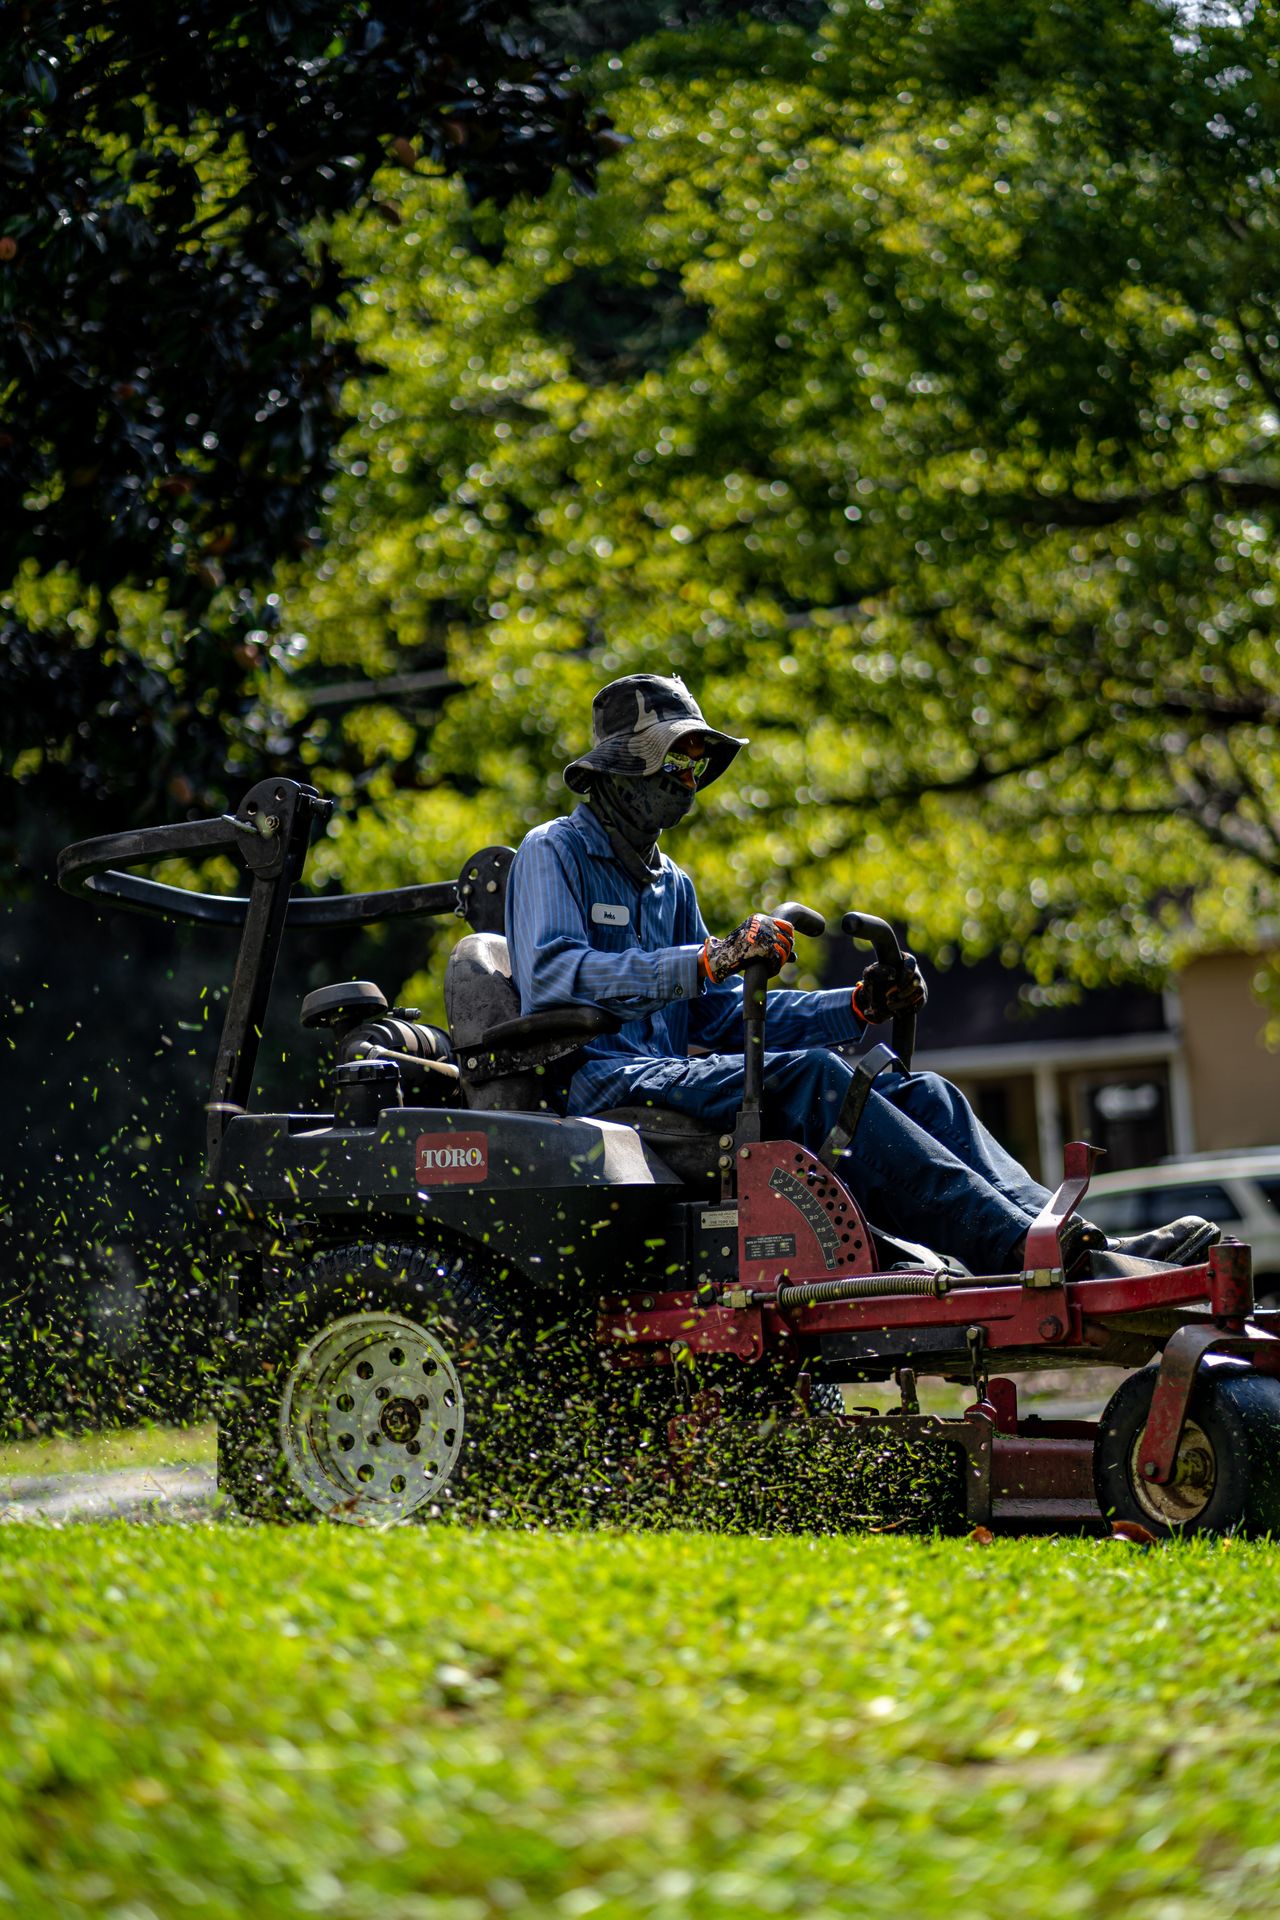
A person on a riding mower cutting a green lawn, a summer-green mowing scene rather than a fall one. Photo via Pexels.
Keep mowing until growth genuinely stops, which in many US regions means late October or even November, rather than parking the mower at the first cool week. For the final cut, aim for grass about 2.5 inches tall: tall enough to protect roots from frost, short enough that long blades do not mat down, trap moisture, and hide pests all winter. Never cut more than one-third of the blade height in one pass, so step the height down gradually over two or three mows if the lawn got long. Mow when the grass is dry, bag or mulch the clippings, and use the last mow to shred any thin leaf layer still on the lawn. After the final mow, clean the mower deck, sharpen or replace the blade, drain or stabilize the fuel as your manual directs, and store the mower dry, so spring starts with a clean cut instead of a repair bill.
3. Plant Bulbs and Hardy Greens
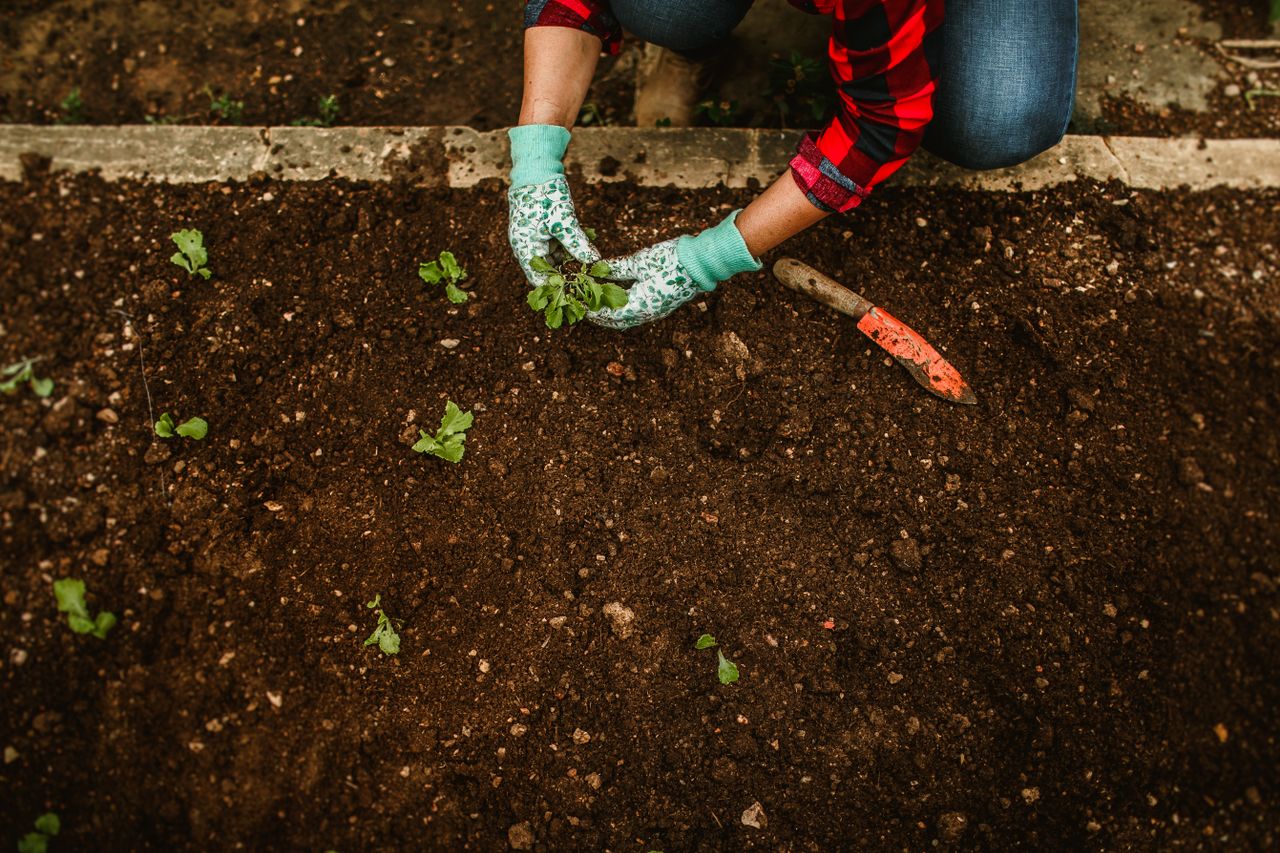
Gloved hands holding a small seedling over a dark prepared garden bed, with a trowel beside it. Photo via Pexels.
Fall is planting season, not just clearing season, and the soil is still warm enough for roots to settle before it freezes. Plant spring bulbs — tulips, daffodils, and crocus — about three times as deep as the bulb is tall, which usually means 6 to 8 inches for tulips and daffodils and 3 to 4 inches for crocus, with the pointed end up and 4 to 6 inches apart. In the same week, sow hardy greens like spinach and lettuce in a sheltered bed, or sow a cover crop such as winter rye or crimson clover on empty beds to protect the soil, stop erosion, and add organic matter when you turn it in next spring. Water new plantings well, then mulch the bed with 2 to 3 inches of shredded leaves or straw, keeping the mulch a couple of inches away from stems. For ideas on making a small space work harder, our guide to small garden landscaping ideas shows how layered beds and clear paths help even a tiny yard. Plant before the ground freezes hard, and mark bulb rows with small stakes so spring digging does not slice them.
4. Cut Back Only Sick Growth
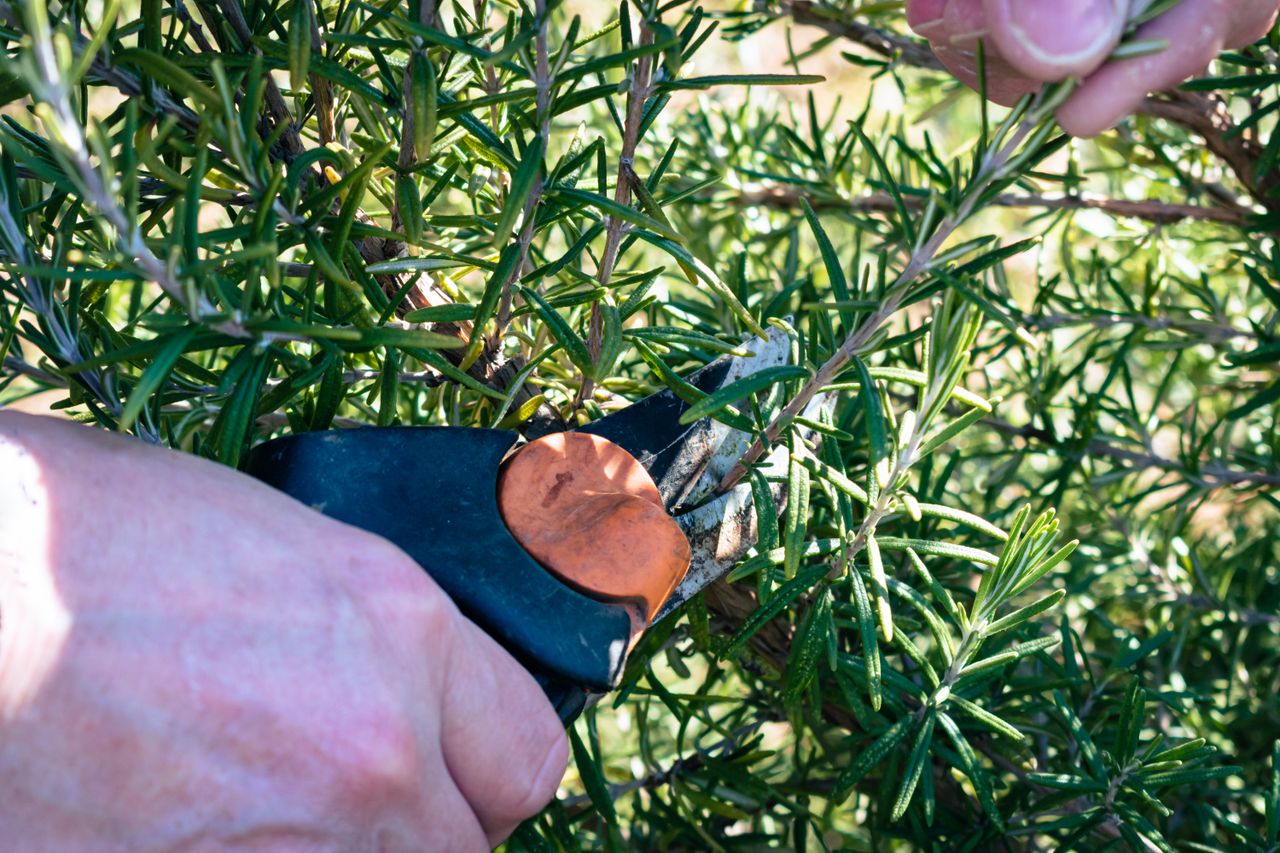
Hands cutting rosemary twigs with pruning shears in sunlight, a healthy herb-trimming example rather than diseased perennial stems. Photo via Pexels.
Resist the urge to cut every perennial to the ground, because healthy standing stems feed birds, shelter overwintering bees and butterflies, and protect plant crowns from freeze and thaw. Cut back only what must go now: plants with clear disease or heavy insect damage, mushy stems that have collapsed after frost, and anything blocking a path or smothering a neighbor. Bag diseased material and throw it in the trash, never in a home compost pile, which rarely gets hot enough to kill pathogens, and clean your pruners with soap and water or rubbing alcohol after handling sick plants so you do not carry disease to the next one. Leave coneflowers, black-eyed Susans, asters, ornamental grasses, and hollow-stemmed plants like bee balm standing until spring, then cut them back before new growth starts, leaving 8 to 15 inches of stem for nesting bees. If a plant looks healthy but messy, that mess is doing a job all winter.
5. Clear Beds and Feed the Soil
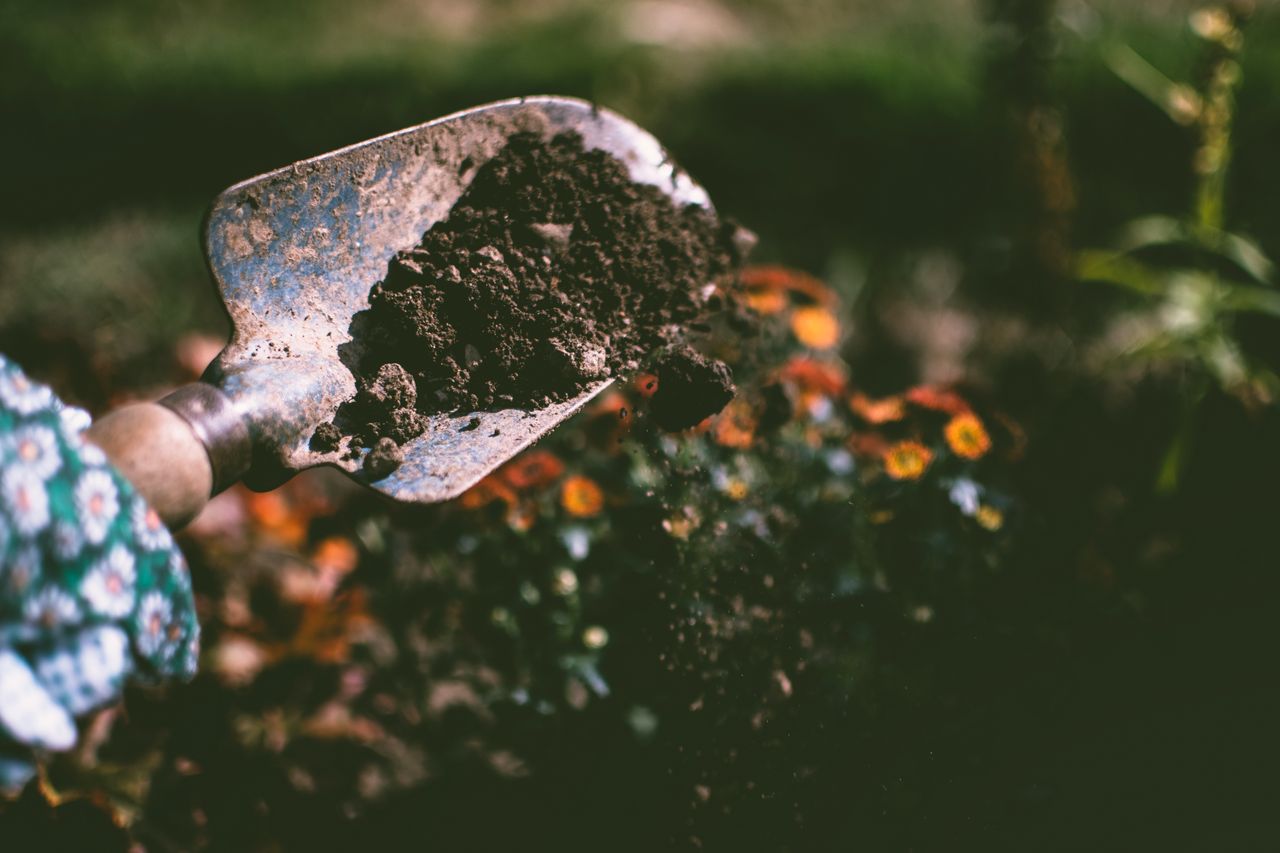
A gloved hand holding a shovel full of dark soil above a flower bed, not a vegetable bed. Photo via Pexels.
Vegetable beds earn their rest in fall, and a little feeding now means far less work when planting starts again. Pull spent annuals, finished tomato and pepper plants, and any weeds that have set seed, since one weed left now can drop hundreds of seeds for spring. Rake the bed smooth, spread 1 to 2 inches of finished compost over the surface, and let worms and winter weather work it in, rather than tilling deeply, which breaks soil structure and brings buried weed seeds to the surface. If you grew tomatoes, peppers, potatoes, or eggplant in a bed with disease, do not plant the same family there next year: rotate beds on a two- to three-year cycle. Our guide to tomato growing tips covers spacing, watering, and feeding in detail for next season's planning. Finish by edging the bed, marking what grew where with a simple sketch, and covering bare soil with shredded leaves or straw so winter rain does not wash your compost away.
6. Plant Bulbs in Pots for Spring
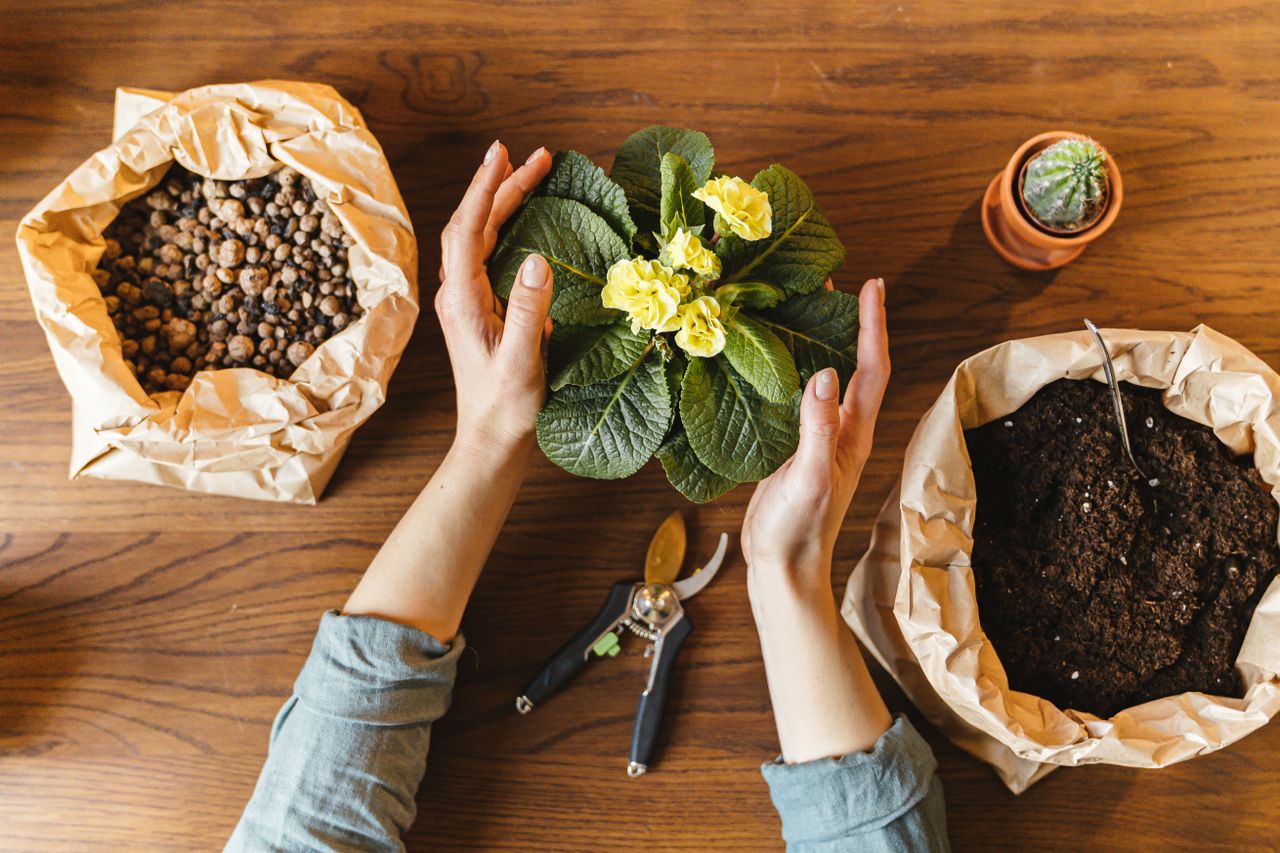
An indoor potting table with a yellow flowering plant, bags of soil and pellets, and pruners, a container-planting scene rather than bulbs in the ground. Photo via Pexels.
If your ground is already hard, or you have only a patio, pots are a fine way to get spring flowers started. Choose a pot at least 10 to 12 inches deep with drainage holes, fill it with potting mix, and plant bulbs in layers: large daffodils or tulips at the bottom, smaller crocus or grape hyacinths above them, with about 1 inch of mix between layers and the top bulbs covered by 2 inches of mix. Water once, then store the pot in a cool, dark place such as an unheated garage or a sheltered porch where temperatures stay between 35°F and 45°F for 12 to 16 weeks, checking every few weeks so the mix stays barely damp, never wet. Bring the pot into light and warmth in late winter, and the bulbs will bloom weeks ahead of garden beds. Label each pot with the variety and planting date, since a pot of bare soil all looks the same by February, and keep pots off bare concrete with a wooden board so a hard freeze does not crack them from below.
7. Start a Leaf Compost Pile
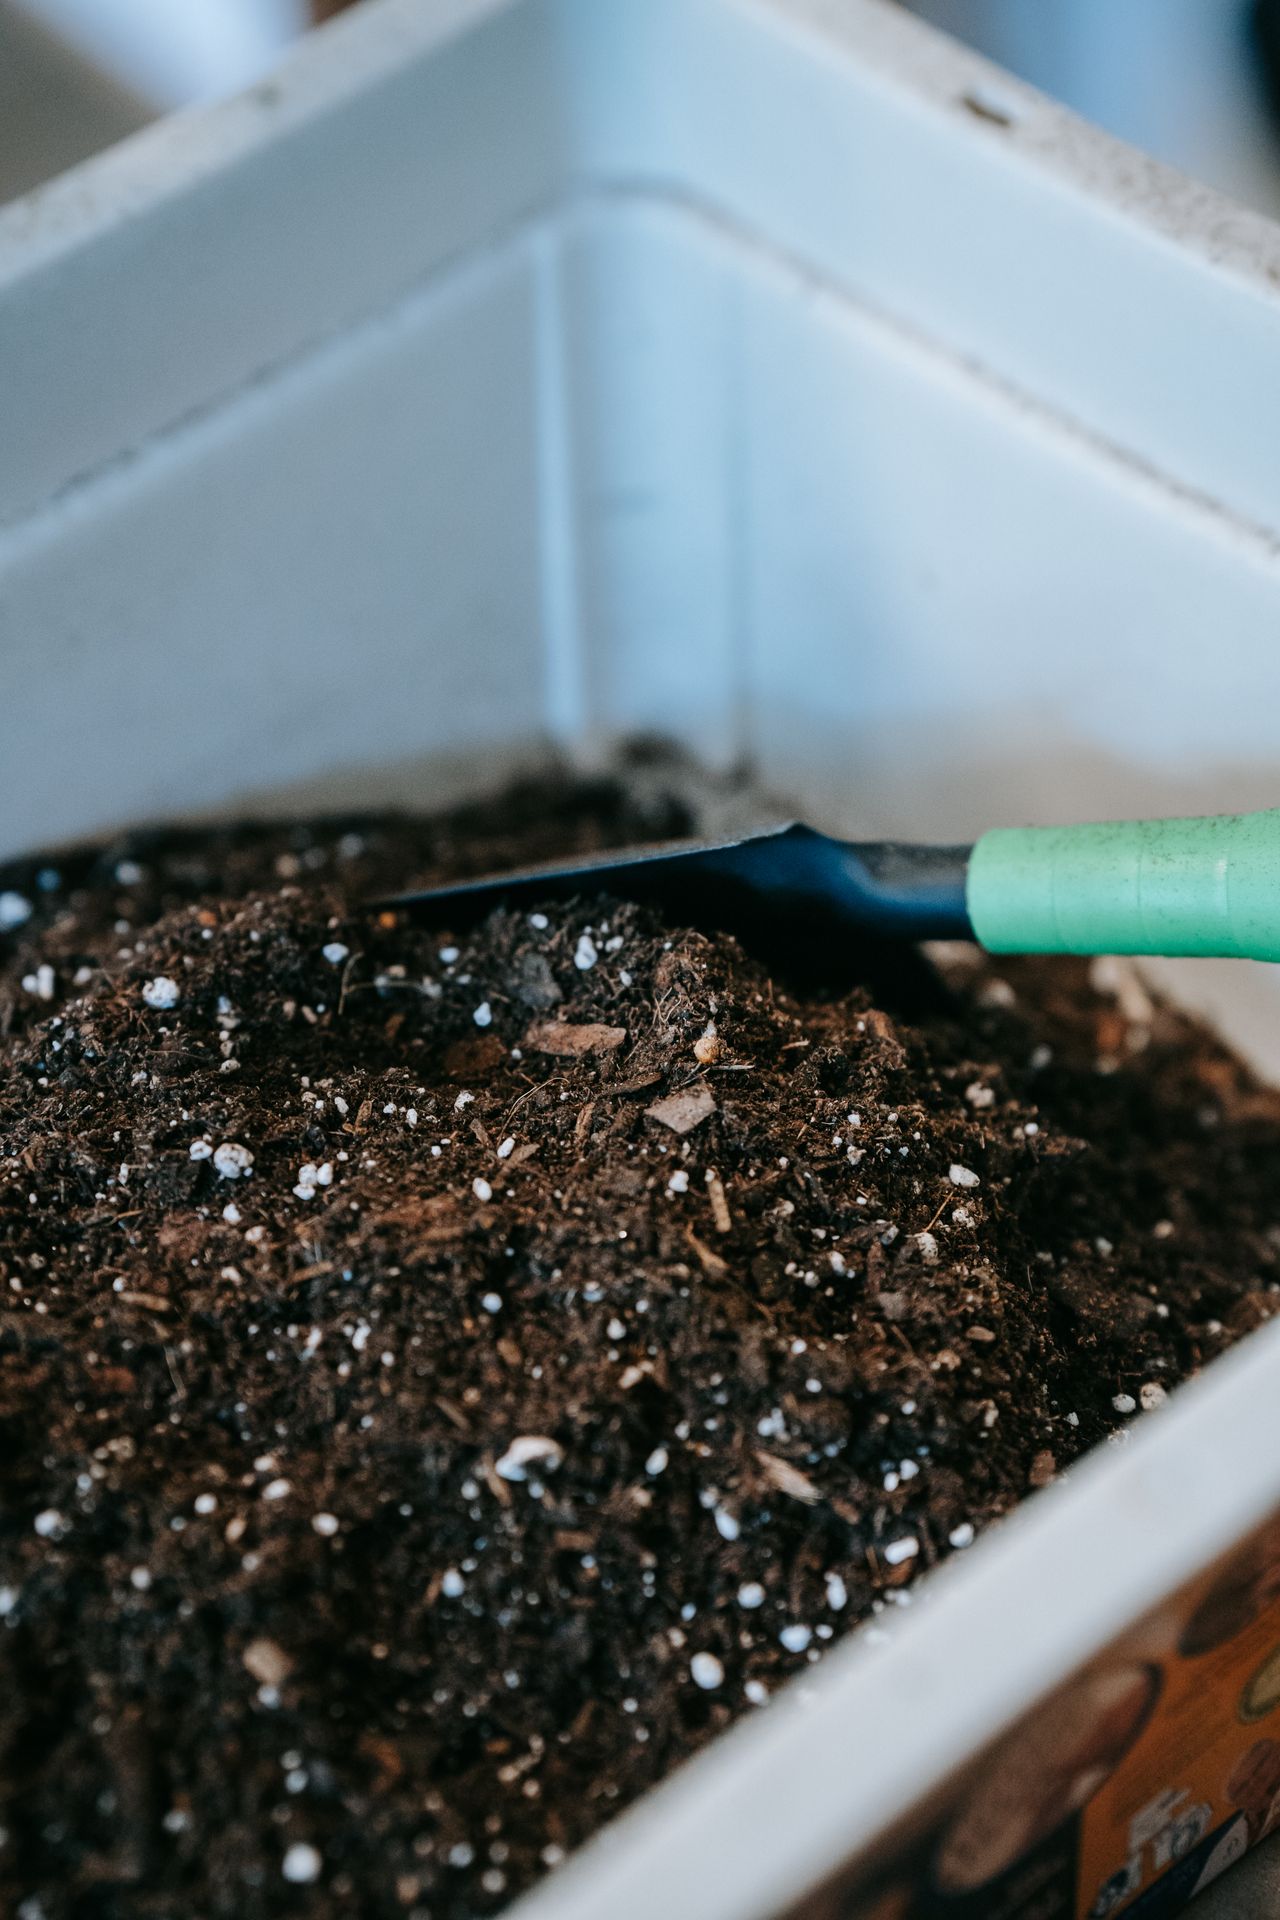
A trowel resting in a white bin of dark potting soil, showing finished soil texture rather than a compost pile itself. Photo via Pexels.
Leaves are the best free compost ingredient most yards produce, but a pile of leaves alone breaks down slowly because leaves are high in carbon and low in nitrogen. Build the pile in layers: each 6- to 8-inch layer of shredded leaves topped with 1 inch of soil or finished compost and a handful of grass clippings or a nitrogen source, until the pile is 3 to 5 feet high, then water it until it feels like a wrung-out sponge. Shred leaves first with a mower if you can, since smaller pieces rot far faster, and turn the pile every two weeks to let air in and keep it from smelling. Keep diseased plants, invasive weeds with seeds, and treated wood out of the pile, and site it on bare soil in a corner where it will not block a path. In six to twelve months you will have dark, crumbly leaf mold and compost worth more than any bagged product, and you will have kept dozens of bags of leaves out of the landfill.
8. Clean, Sharpen, and Oil Tools
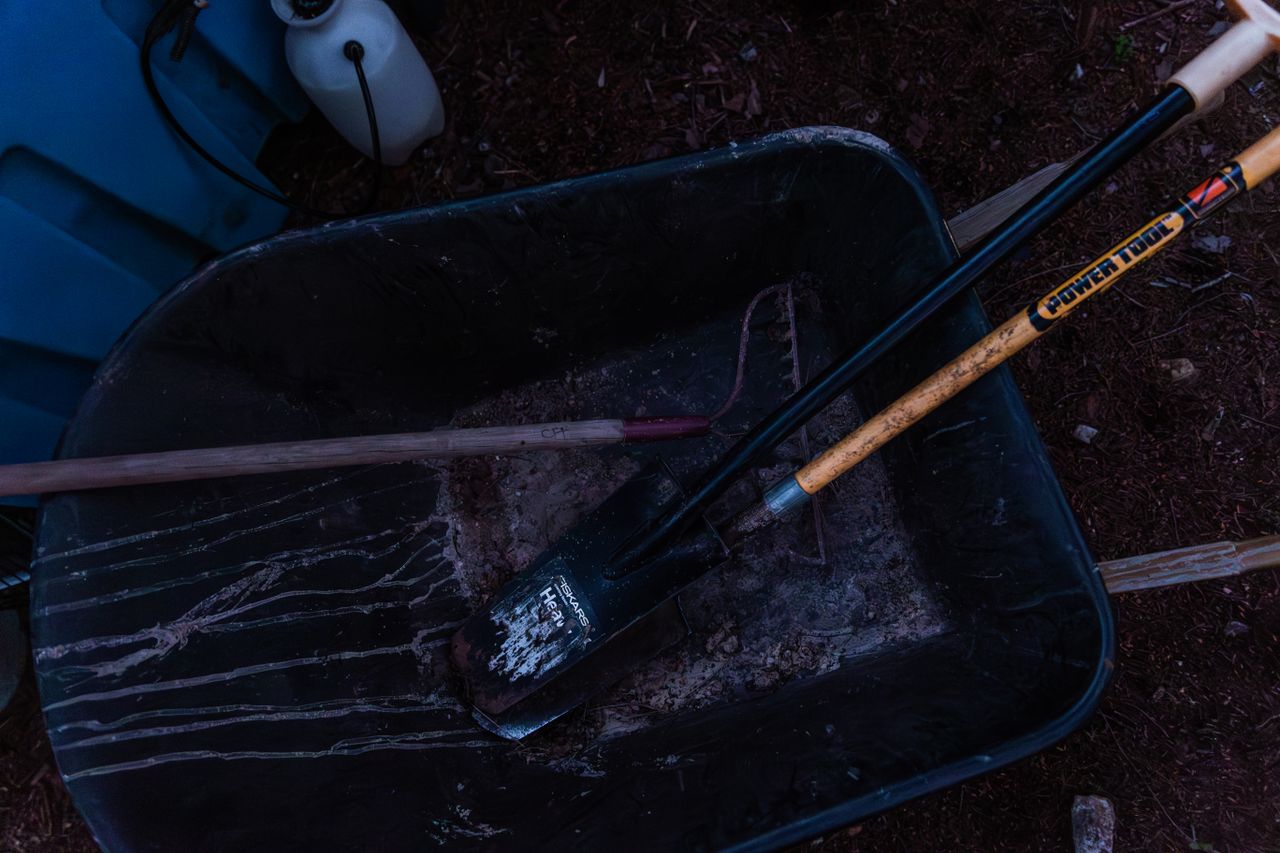
A wheelbarrow holding a shovel and rake in dim light outdoors, with a sprayer bottle behind it. Photo via Pexels.
Tools last decades when they get one good hour of care each fall, and they fail fast when mud and sap sit on them all winter. Knock caked soil off shovels, hoes, and rakes with a wire brush, rinse them, dry them fully, and wipe metal parts with a light coat of mineral or linseed oil to stop rust. Sharpen hoe, spade, and pruner blades with a file, wearing eye protection and working the bevel at its original angle, and sand wooden handles smooth before rubbing in linseed oil so splinters do not greet you in spring. Clean pruner blades with soap and water, dry them, and store every tool hanging or standing in a dry shed or garage, never lying flat on damp ground. A professional sharpening service often costs $5 to $15 per tool, which is cheap insurance for a $40 pruner, and a clean, sharp tool also cuts cleaner, which means plants heal faster next season.
9. Drain Hoses and Store Gear
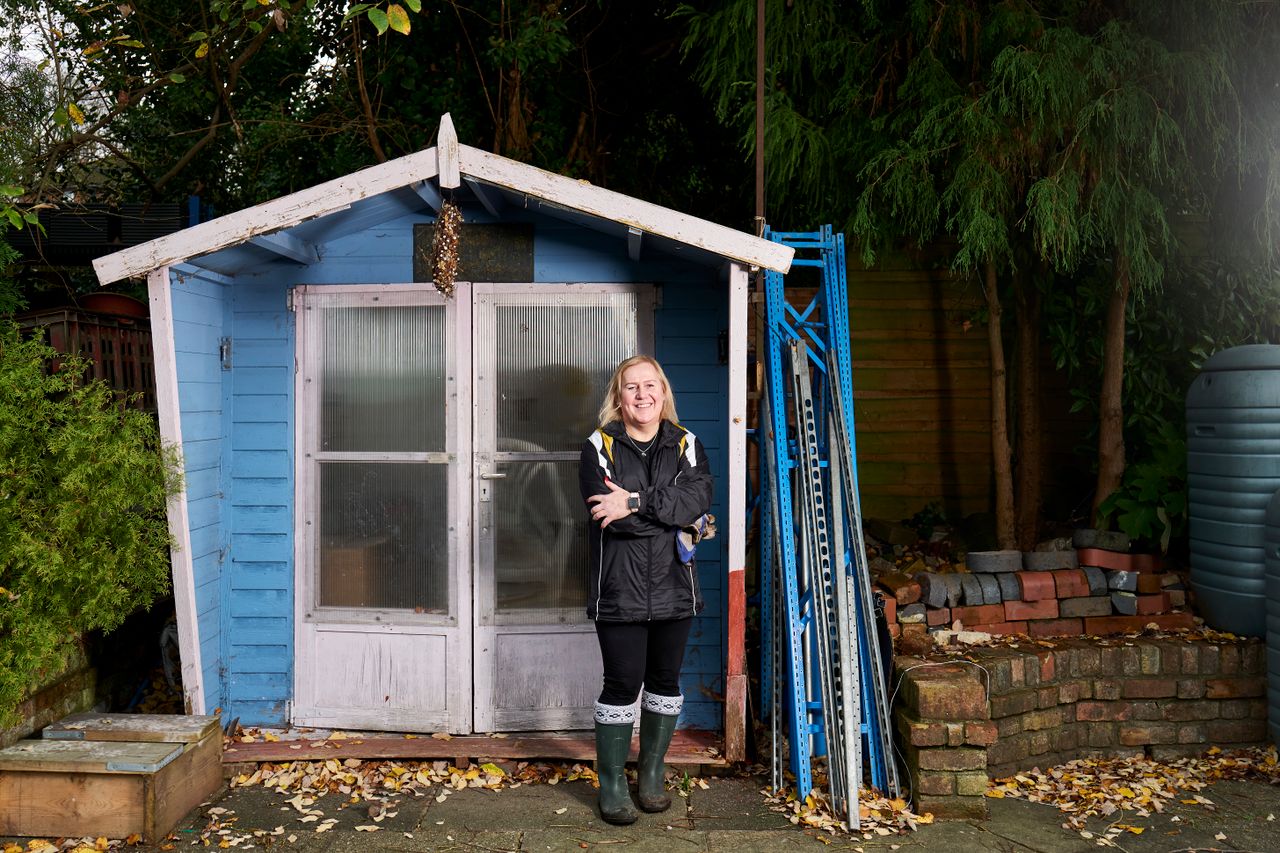
A woman standing in front of a blue garden shed with fallen leaves on the ground and a water butt beside it, with no hose visible. Photo via Pexels.
Water left in a hose, faucet, or irrigation line can freeze, expand, and crack fittings, and the damage often stays hidden until spring, when it can soak a wall for weeks. Disconnect every hose from outdoor faucets before the first hard freeze, drain it fully by uncoiling it downhill, and store it coiled in a shed or garage out of direct sun. If your faucet is not frost-proof, shut off the indoor valve that feeds it, open the outdoor faucet to drain the line, then close it and fit an insulated faucet cover, which costs about $5 to $10. For drip lines, open valves, drain filters, and follow the maker's winter steps, and for an in-ground sprinkler system in zones 7 and colder, have it blown out by a professional, usually $75 to $150, rather than risking a cracked pipe. Empty watering cans, store sprayers and timers indoors, and coil soaker hoses out of reach of mice, which chew them for water in winter.
10. Bring Tender Potted Plants Under Cover
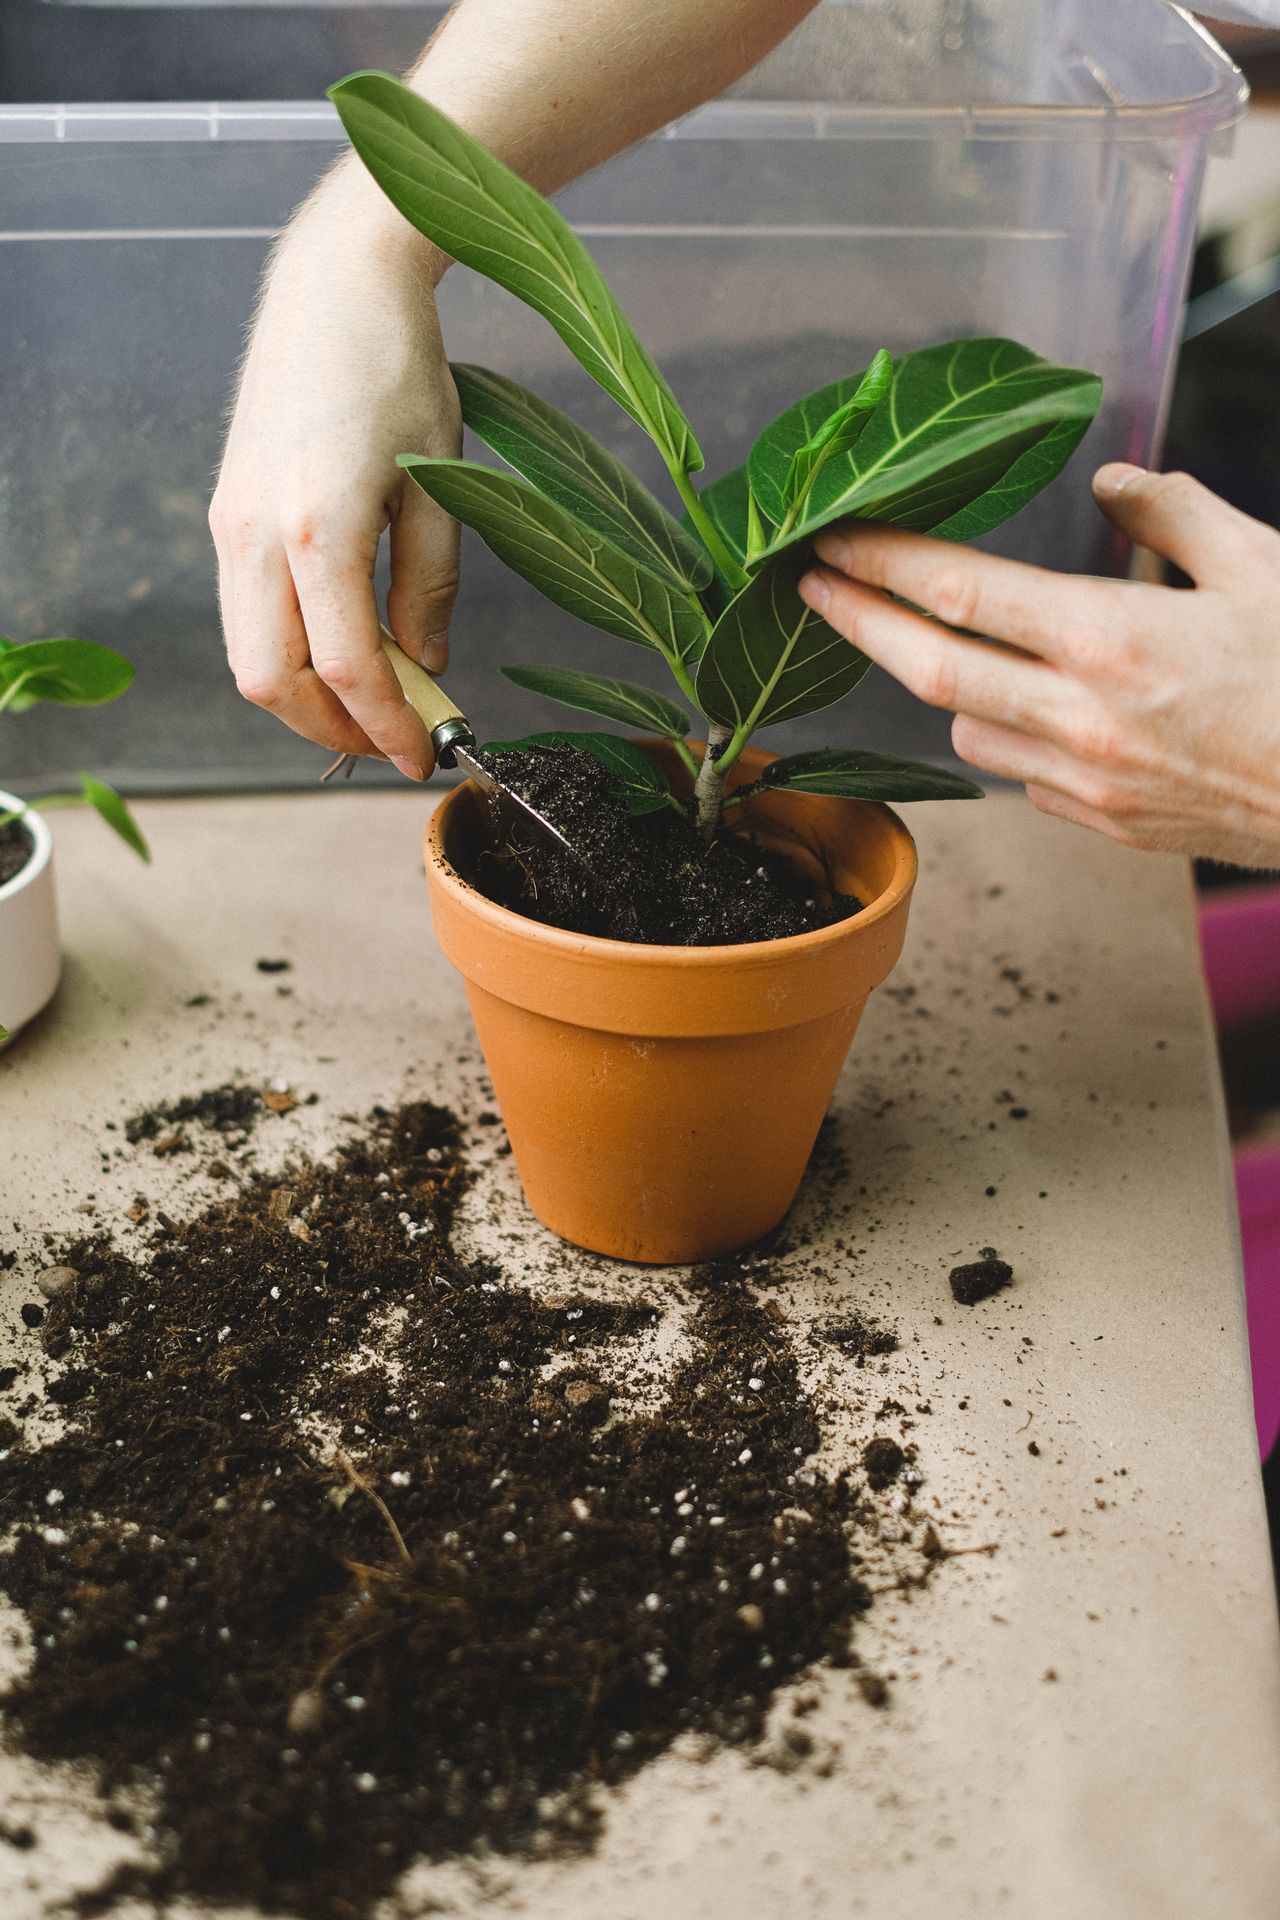
Hands potting a green plant into a terracotta pot on a table, with spilled soil around it. Photo via Pexels.
Tender plants in pots are the first casualties of a cold snap, because a pot has far less soil to insulate roots than the ground does. Before nights drop below 40°F, move tender plants such as citrus, tropicals, and tender herbs into a bright indoor spot or an unheated garage, checking leaves and soil first for aphids, spider mites, and slugs that you do not want to bring inside. For pots that must stay outside, empty annuals, tip the pot upside down or store it on its side in a shed, since soil left in a terracotta or ceramic pot absorbs water, freezes, and cracks the pot. Wrap only the pot, not the plant, in bubble wrap or burlap if a plant must overwinter outdoors in a mild zone, and water evergreens deeply before the ground freezes so they do not dry out in winter wind. Group the plants you moved indoors near your brightest window, water only when the top 2 inches of soil feel dry, and leave feeding until spring growth returns.
Frequently Asked Questions
Should I rake every leaf out of my garden beds?
No. Rake thick leaves off the lawn, where they smother grass, but leave a loose 2- to 3-inch layer in beds, where leaves insulate roots, feed soil, and shelter insects, pulling them a few inches away from plant stems.
When should I stop mowing for the year?
Mow until growth stops, often late October or November, and leave the final cut at about 2.5 inches, which protects roots from frost without letting long blades mat down over winter.
Which perennials should I cut back in fall?
Cut back only diseased, mushy, or path-blocking growth in fall, and leave healthy coneflowers, grasses, asters, and hollow-stemmed plants standing until spring for birds and overwintering insects.
Can I compost diseased plants?
No, do not put diseased plants in a home compost pile, which rarely gets hot enough to kill pathogens. Bag diseased material and throw it in the trash, and clean tools after handling it.
Do I need to winterize a frost-proof faucet?
Yes, even with a frost-proof faucet you must disconnect the hose, since a connected hose traps water and can cause freezing. Shut off and drain older, non-frost-proof faucets fully and add an insulated cover.
Final Thoughts
A good fall weekend is not about making the yard look empty. It is about making smart choices: leaves off the lawn and into beds or compost, sick plants out, healthy stems left standing, tools clean, hoses drained, and tender plants safe. Those choices cost little, they protect the plants and equipment you already own, and they make spring feel like a fresh start instead of a repair job.
Work through the ten jobs in order, mark your bulb rows, and keep a simple sketch of what grew where. When the first hard freeze comes, you will know the lawn can breathe, the beds are fed and mulched, and the shed holds clean tools ready for the first warm day of spring.
Sources
- Penn State University — Why Fallen Leaves Are a Gift Worth Keeping
- Iowa State University Extension — Dealing With Fallen Leaves
- K-State Extension — Winterizing the Garden Tools
Gallery
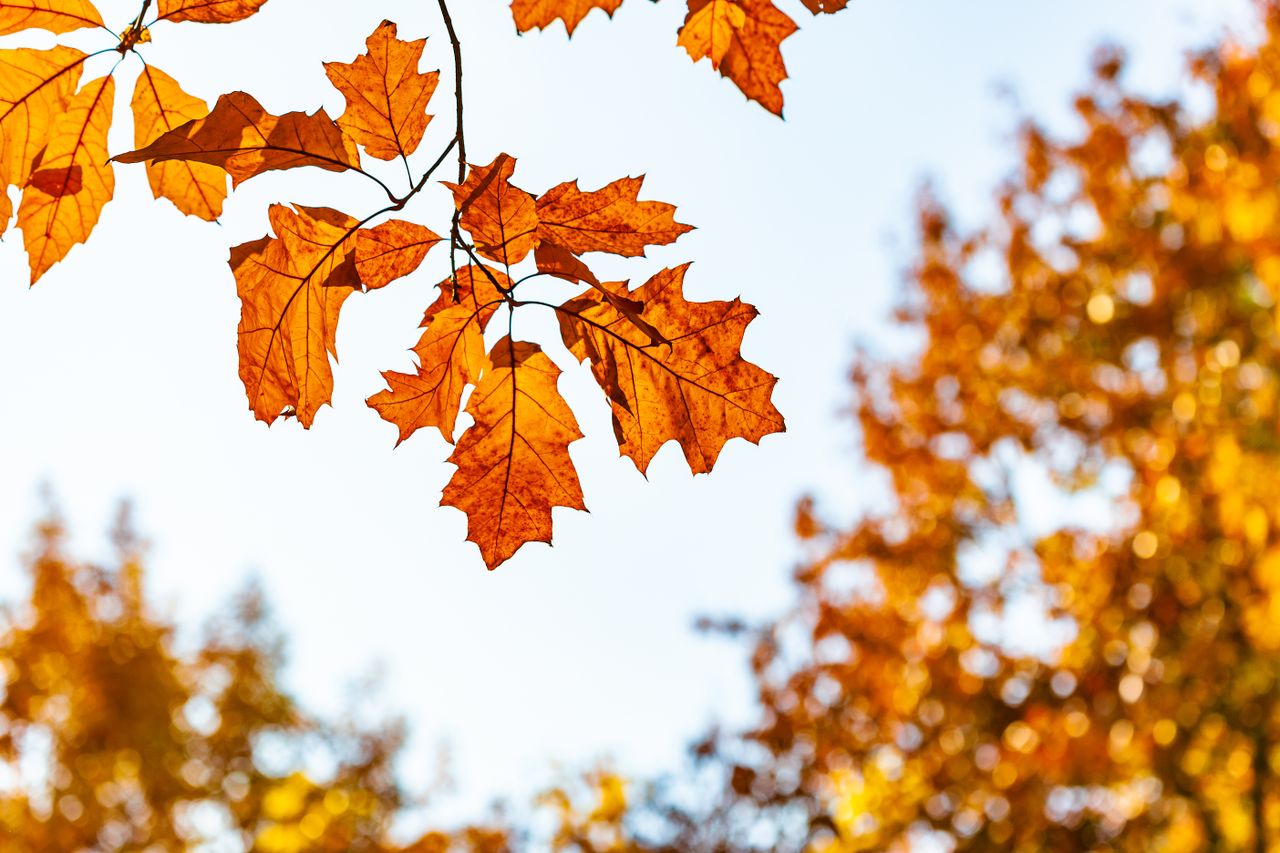
Orange oak leaves on a branch against a bright sky, with autumn trees blurred behind. Photo via Pexels.
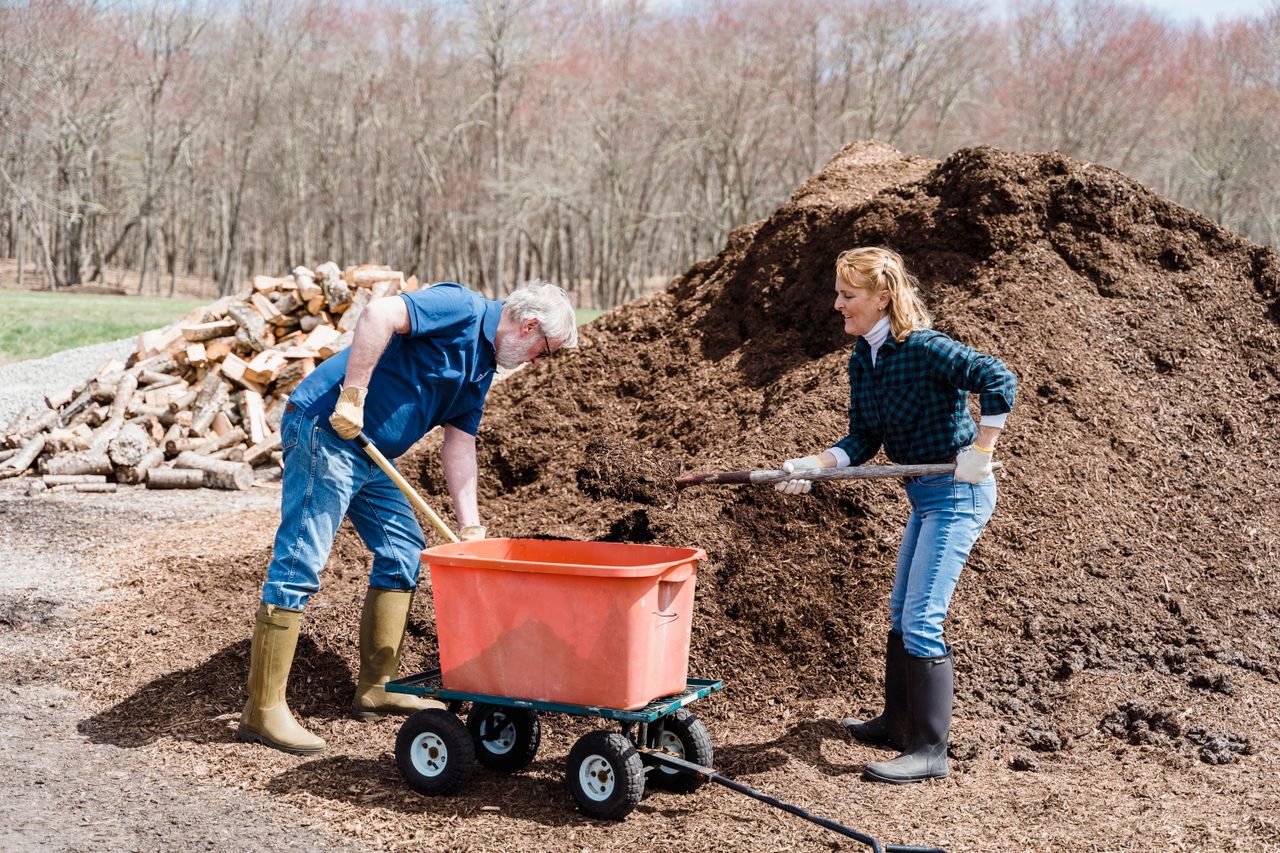
Two people shoveling dark mulch from a large pile into a cart, with a woodpile behind them. Photo via Pexels.
A sunny garden with flowering shrubs, a large tree, and a thatched hut, a general garden scene rather than a cleanup scene. Photo via Pexels.

No comments:
Post a Comment