You do not need two days to bake great sourdough. With a strong starter and a warm kitchen, this same day sourdough bread recipe takes you from mixing bowl to finished loaf in about eight to twelve hours.
These thirteen tips cover every shortcut that matters, from feeding your starter the night before to cooling the loaf properly. Follow them and you will pull a crackling, golden loaf from the oven by dinner.

Photo via Wikimedia Commons
Table of Contents
- 1. Feed Your Starter the Night Before
- 2. Choose Bread Flour for a Stronger Rise
- 3. Mix Well, Then Let the Dough Rest
- 4. Keep the Dough Warm All Day
- 5. Do Three to Four Sets of Stretch-and-Folds
- 6. Watch the Dough, Not the Clock
- 7. Stop the Bulk Rise at About 50 to 75 Percent
- 8. Shape With Confidence
- 9. Preheat Your Dutch Oven Fully
- 10. Score Decisively
- 11. Bake With the Lid On for Steam
- 12. Do Not Fear a Deep Golden Crust
- 13. Cool Completely Before Slicing
1. Feed Your Starter the Night Before
Same-day baking starts the evening before. Feed your starter a hearty 1:5:5 ratio, meaning one part starter to five parts each of flour and water, and leave it at room temperature overnight.
By morning it should be doubled, domed, and full of bubbles of all sizes. That peak activity is what powers a fast ferment, so never start with a sluggish or unfed starter.

Photo via Wikimedia Commons
2. Choose Bread Flour for a Stronger Rise
Bread flour has more protein than all-purpose flour, which means stronger gluten and a taller, chewier loaf. When the schedule is tight, that extra structure really helps.
You can still use all-purpose flour in a pinch, but expect a slightly softer crumb. A spoonful or two of whole wheat or rye flour in the mix also adds flavor without slowing things down.
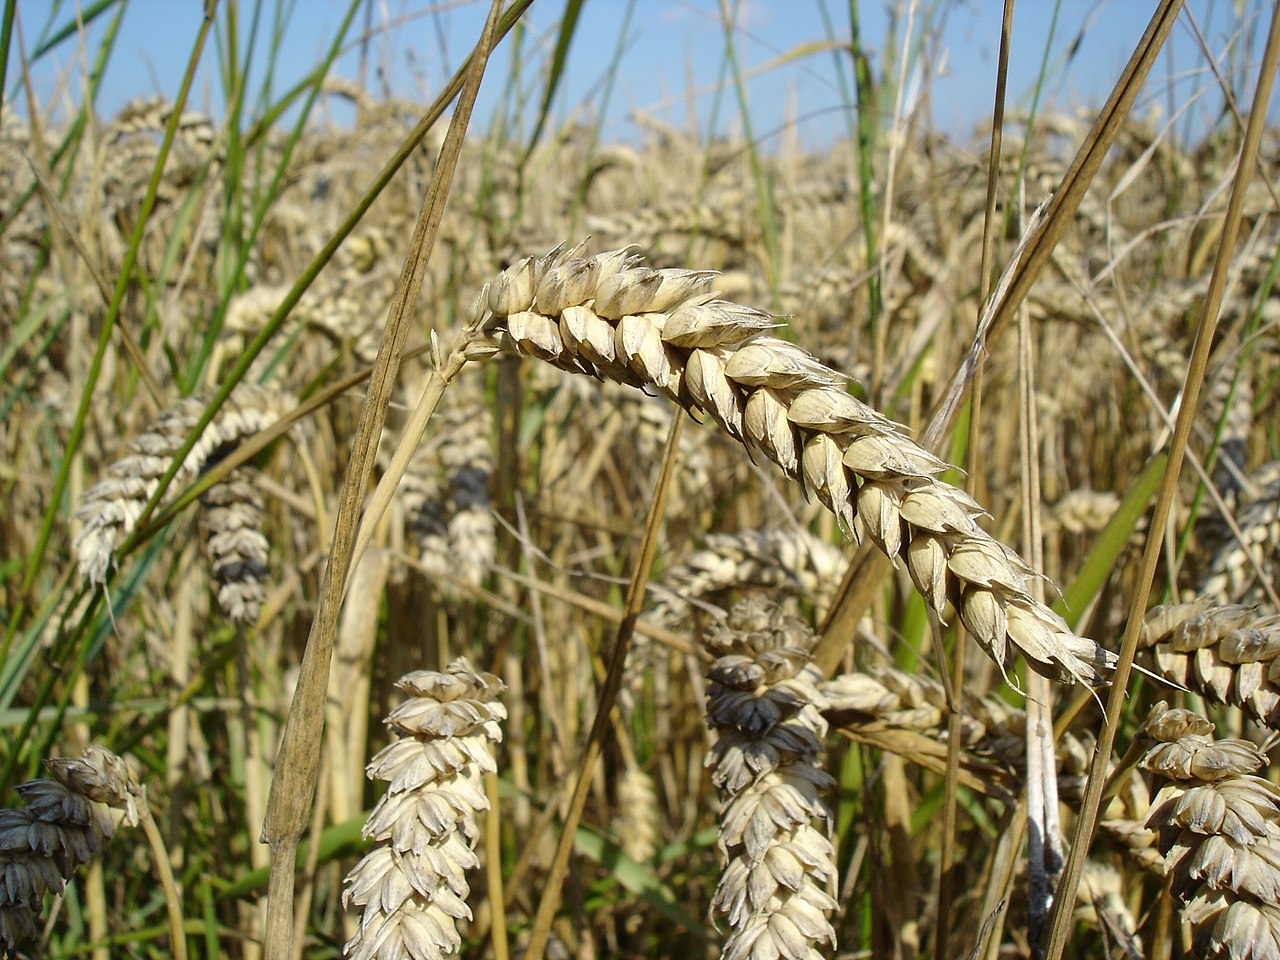
Photo via Wikimedia Commons
3. Mix Well, Then Let the Dough Rest
Combine your active starter, water, flour, and salt until no dry flour remains, then cover the bowl and rest it for twenty to thirty minutes. This short autolyse jump-starts gluten development.
Do not skip the salt or add it much later. Salt tightens the gluten network and keeps fermentation in check, which matters even more on a compressed same-day timeline.

Photo via Wikimedia Commons
4. Keep the Dough Warm All Day
Temperature is the secret engine of same-day sourdough. Aim to keep your dough around 75 to 78°F from mixing through shaping, and everything will move noticeably faster.
Simple tricks work well: the oven with just the light on, a warm corner near the stove, or a proofing box if you own one. Cold dough can add hours you do not have.

Photo via Wikimedia Commons
5. Do Three to Four Sets of Stretch-and-Folds
Instead of kneading, build strength with stretch-and-folds. With damp hands, pull one side of the dough up and fold it over, rotate the bowl, and repeat on all four sides.
Do three to four sets spaced fifteen to thirty minutes apart during the first couple of hours. Each set traps air and tightens the dough, giving you a lighter, more open loaf.

Photo via Wikimedia Commons
6. Watch the Dough, Not the Clock
Every starter and kitchen runs on its own schedule, so learn to read the dough. Look for a puffy, domed surface with bubbles visible along the sides of the bowl.
A straight-sided container with a piece of tape marking the starting level makes judging the rise easy. The dough will tell you when it is ready far better than any timer.

Photo via Wikimedia Commons
7. Stop the Bulk Rise at About 50 to 75 Percent
Here is the biggest same-day mistake: waiting for the dough to double. On a warm, fast ferment, doubling usually means over-proofing, which leads to a flat, dense loaf.
Aim for roughly a half to three-quarters rise, with a smooth, jiggly, domed surface. A slightly tighter, even crumb is perfectly fine and often better for sandwiches.

Photo via Wikimedia Commons
8. Shape With Confidence
After the bulk rise, gently shape the dough into a tight boule or batard. Use confident, quick motions: too much handling degasses the dough you worked all day to aerate.
Place it seam-side up in a floured banneton or a bowl lined with a floured towel. Then let it rest in your warm spot for about an hour while the oven preheats.

Photo via Wikimedia Commons
9. Preheat Your Dutch Oven Fully
A screaming-hot Dutch oven is what gives home sourdough its bakery crust. Put it in the oven and preheat at 450°F for at least thirty minutes before the loaf goes in.
Dutch-oven baking is a skill that carries into other cooking too — our guide on how to bake a potato in the oven covers the same kind of steady, even heat.

Photo via Wikimedia Commons
10. Score Decisively
Scoring lets the loaf expand where you choose instead of bursting randomly. Use a sharp lame or serrated knife and make one confident slash about half an inch deep.
Pro trick: pop the shaped loaf in the freezer for twenty to thirty minutes before scoring. The firmed-up surface is much easier to cut cleanly and holds its shape going into the pot.

Photo via Wikimedia Commons
11. Bake With the Lid On for Steam
Bake covered for the first twenty to twenty-five minutes. The trapped steam keeps the crust soft so the loaf can spring up fully before the exterior sets.
Then remove the lid and bake another eighteen to twenty-five minutes until deeply golden. That two-stage bake is the whole secret to a crackling crust.

Photo via Wikimedia Commons
12. Do Not Fear a Deep Golden Crust
Many beginners pull the loaf too early. A deeply colored, almost mahogany crust means more flavor, not burning, and it stays crisp far longer than a pale one.
The loaf is done when it is richly browned all over and sounds hollow when tapped on the bottom, or when the inside reads about 205°F on a thermometer.

Photo via Wikimedia Commons
13. Cool Completely Before Slicing
This is the hardest tip to follow. Let the loaf cool on a wire rack for at least one full hour before cutting, or the crumb will be gummy and compressed.
As it cools, the inside finishes setting and the crust crackles softly. That patience shows the same care as checking temps in savory cooking — see our burger internal temp guide for why numbers beat guessing.

Photo via Wikimedia Commons
Frequently Asked Questions
Can I really bake sourdough bread in a single day?
Yes. A same day sourdough bread recipe works when your starter is strong and your dough stays warm, around 75 to 78°F. Expect about eight to twelve hours from mixing to cooling.
Do I need a Dutch oven?
It helps a lot, but it is not required. A heavy oven-safe pot with a lid, or a baking stone with a pan of hot water for steam, can get you close to the same result.
Why is my crumb gummy?
Usually the loaf was sliced too soon or pulled from the oven early. Cool it for a full hour and bake until deeply browned, about 205°F inside.
Can I add cheese, olives, or seeds?
Absolutely. Fold mix-ins like shredded cheddar, chopped olives, or seeds into the dough during the first stretch-and-fold so they distribute evenly.
How should I store the finished loaf?
Keep it cut-side down on a board for a day, or in a paper bag for two to three days. For longer storage, slice and freeze it for up to two months.
Final Thoughts
Same-day sourdough proves that great bread does not always need an overnight rest. Warm dough, an active starter, and a hot Dutch oven do most of the work for you.
Try it this weekend and taste the difference fresh baking makes. For more food inspiration, browse our Vienna food guide.
Sources
- Recipecs — Same Day Sourdough Bread
- Natural Rooted Home — Same Day Sourdough Loaf
- King Arthur Baking — Sourdough Baking Guide
Gallery

Photo via Wikimedia Commons

Photo via Wikimedia Commons

Photo via Wikimedia Commons

No comments:
Post a Comment