Learning how to cook a turkey for Thanksgiving feels intimidating the first time, but it is really a simple sequence: thaw safely, season well, roast low and slow, and check the temperature. I have cooked this bird more times than I can count, and the years it turned out dry always came down to the same two mistakes: no thermometer and no resting time. Fix those two things and you are most of the way to a great turkey.
These 10 pro tips cover the whole process, from the day you buy the bird to the moment you pour the gravy. Follow the food-safety numbers from the USDA where they matter, and use the flavor tricks where they count. Pair your turkey with our make-ahead Thanksgiving sides so the oven stays free for the main event.
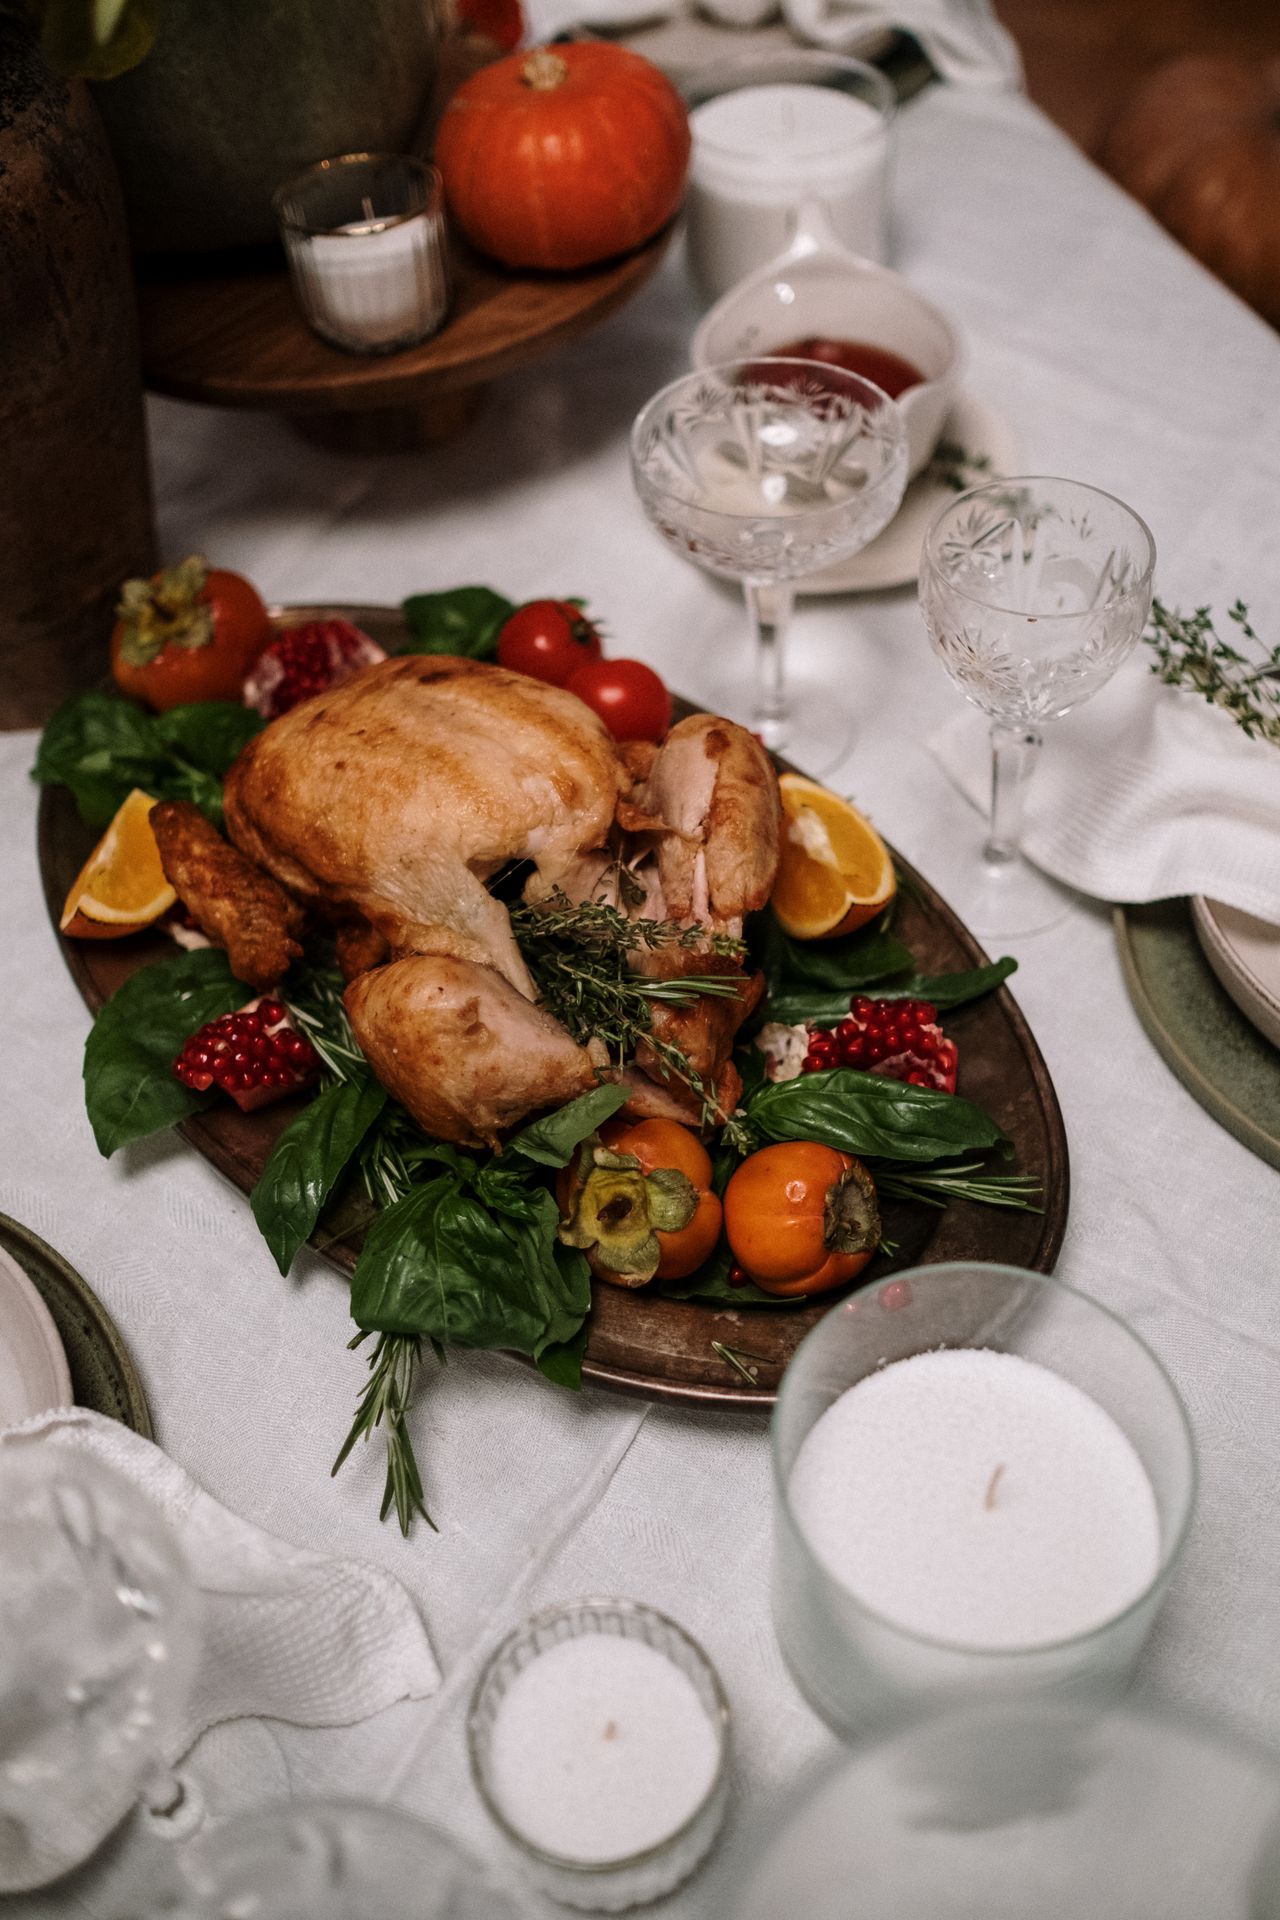
Photo: cottonbro studio via Pexels
Table of Contents
- 1. Thaw in the Fridge and Start Days Early
- 2. Brine Overnight for Juicier Meat
- 3. Season Under the Skin With Butter and Herbs
- 4. Roast Low and Slow at 325°F
- 5. Trust a Thermometer, Not the Timer
- 6. Baste Sparingly, If at All
- 7. Tent With Foil When the Skin Browns Fast
- 8. Rest the Bird 20 to 30 Minutes
- 9. Carve Like a Pro: Legs First, Then Breast
- 10. Turn the Drippings Into Gravy
1. Thaw in the Fridge and Start Days Early
A frozen turkey needs about 24 hours of thawing time for every 4 to 5 pounds in the refrigerator, according to the USDA. That means a 16-pound bird needs 4 full days, and a 20-pounder needs 5. Work backward from Thanksgiving morning and mark the start date on your calendar, because a still-frozen center is the most common holiday disaster.
Never thaw a turkey on the counter. Once it sits at room temperature beyond 2 hours, the outside enters the danger zone where bacteria grow fast while the center is still frozen, the USDA warns. If you are short on time, the cold-water method works: submerge the wrapped bird in cold water, change the water every 30 minutes, and cook it immediately after thawing.
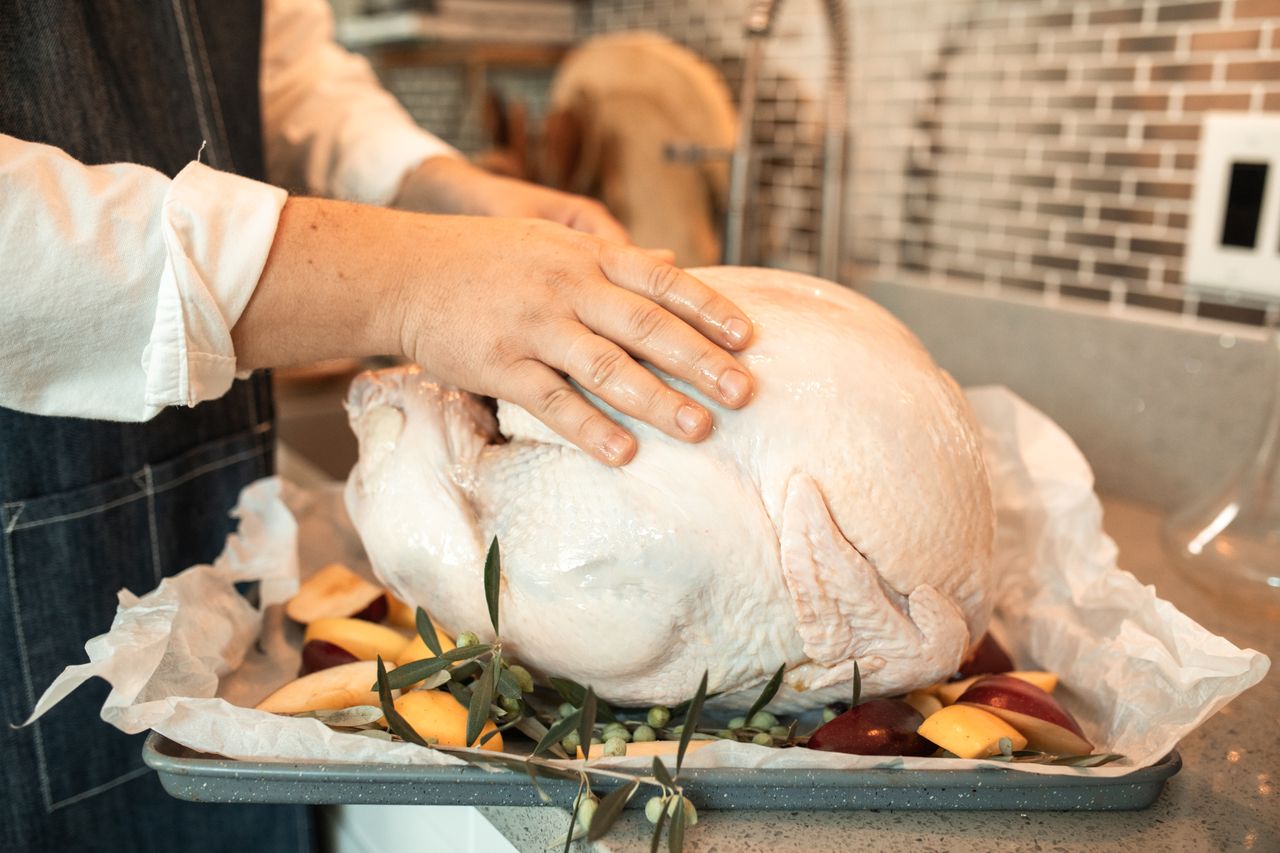
Photo: RDNE Stock project via Pexels
2. Brine Overnight for Juicier Meat
Brining is the single best insurance against dry turkey. A dry brine is simplest: rub the whole bird with about 1 tablespoon of kosher salt per 4 pounds, set it on a rack over a tray, and refrigerate uncovered for 24 to 48 hours. The salt first draws out moisture, then the meat reabsorbs it seasoned, and the uncovered rest dries the skin so it crisps beautifully.
I prefer dry brining because a wet brine needs a huge pot or cooler and a lot of fridge space. One honest caution: if your turkey is labeled "enhanced," "basted," or "self-basting," it has already been injected with a salt solution, so skip the extra brine or the meat will taste too salty.
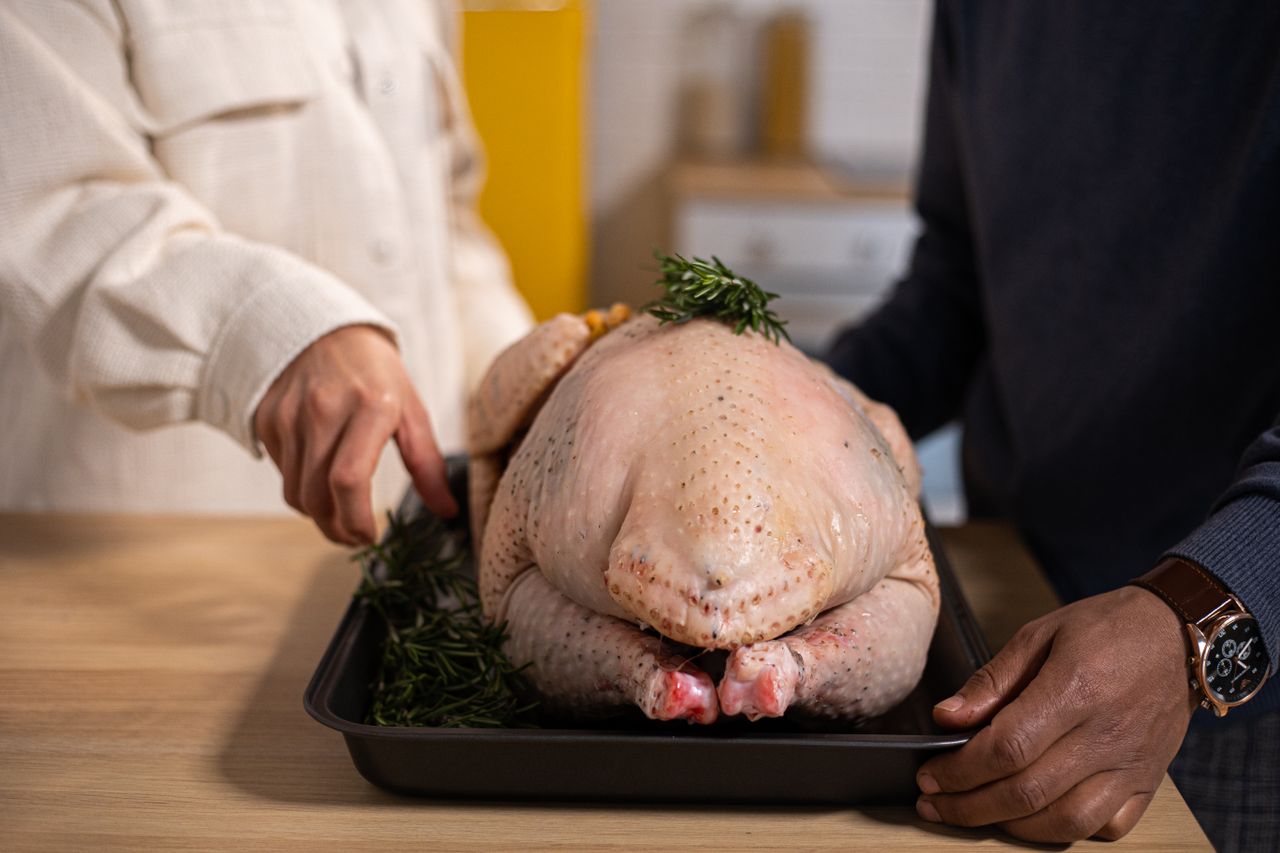
Photo: Monstera Production via Pexels
3. Season Under the Skin With Butter and Herbs
Butter under the skin is where the flavor lives. Gently loosen the skin over the breast with your fingers, then push a softened compound butter (1 stick of butter mashed with 2 minced garlic cloves, 1 tablespoon each of chopped rosemary and thyme, and 1 teaspoon of salt and pepper) underneath. The butter bastes the breast from the inside as it melts, which keeps the leanest meat juicy.
Do not wash the raw turkey first. The USDA advises against it because splashing water spreads bacteria around the sink and counters without making the bird any cleaner. Pat it dry with paper towels instead, then season. If you stuff the bird, do it loosely right before roasting and make sure the stuffing's center also reaches 165°F.
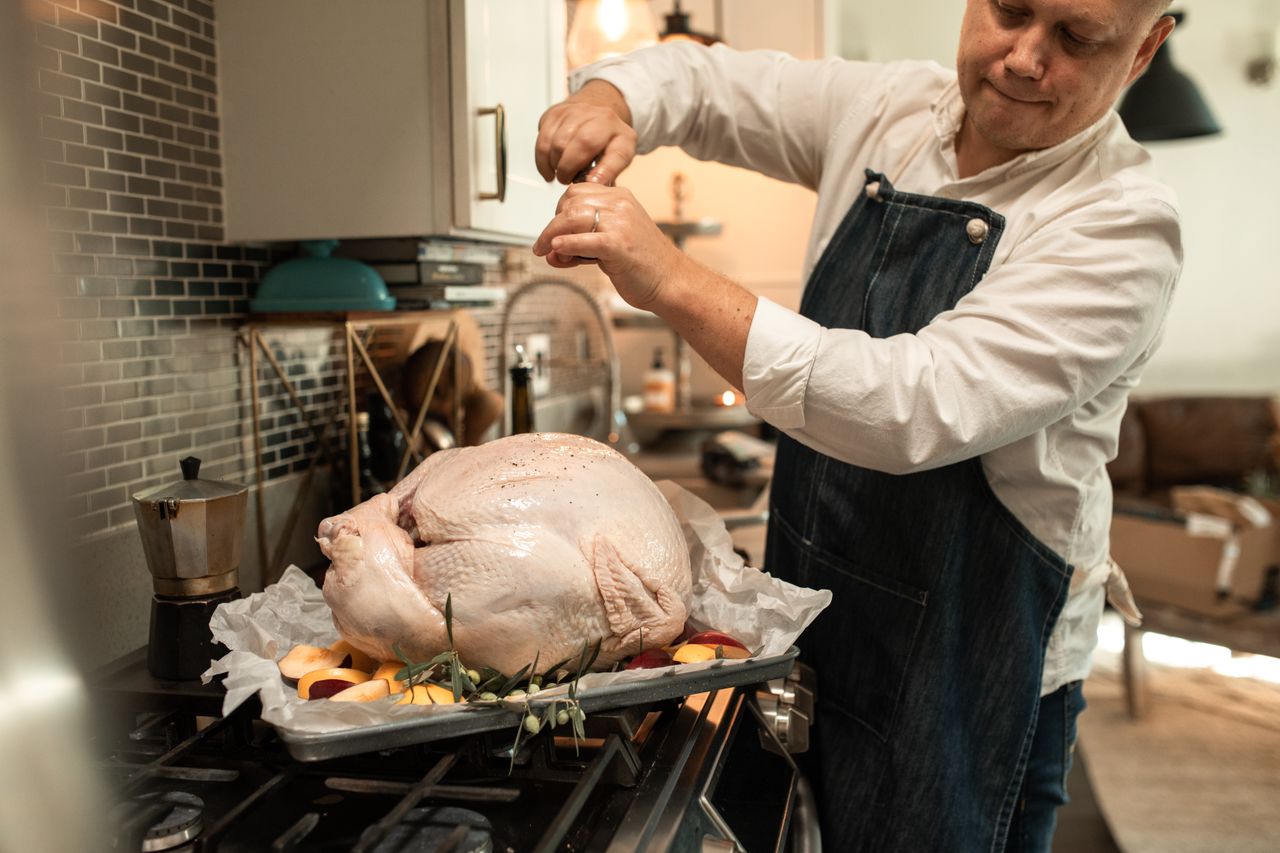
Photo: RDNE Stock project via Pexels
4. Roast Low and Slow at 325°F
The USDA sets the minimum oven temperature for turkey at 325°F, and it is the sweet spot: hot enough to cook safely, gentle enough to keep the breast from drying before the thighs finish. Plan on roughly 13 minutes per pound for an unstuffed bird, so a 16-pound turkey takes about 3.5 hours, but treat that as an estimate only.
Roast the bird breast-side up on a flat rack in a shallow pan so hot air circulates underneath. If you do not own a rack, a bed of rough-chopped carrots, celery, and onion works as a vegetable rack and flavors the drippings for gravy later. Keep the oven door closed as much as possible; every peek drops the temperature.
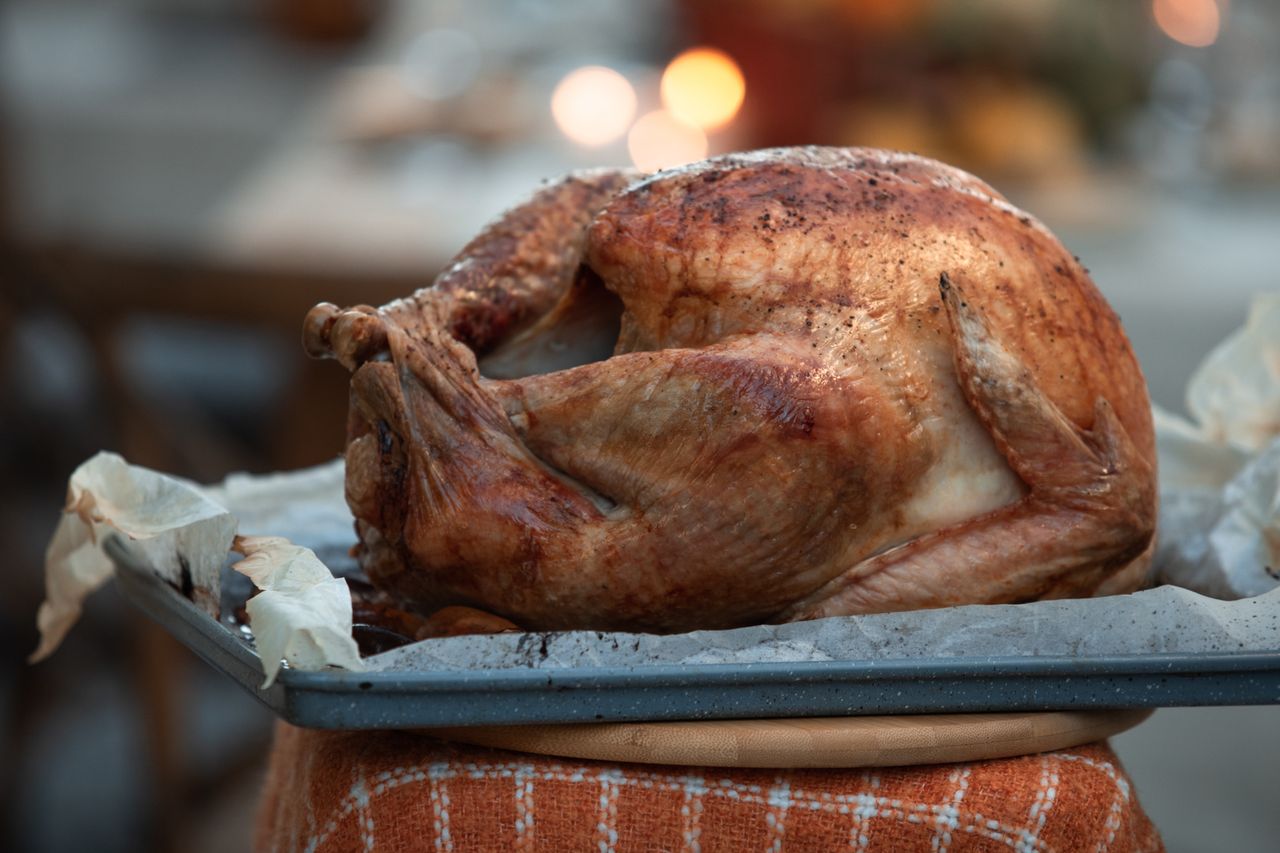
Photo: RDNE Stock project via Pexels
5. Trust a Thermometer, Not the Timer
Pop-up timers are not reliable enough on their own. The USDA is clear: use a food thermometer and check three spots, the thickest part of the breast, the innermost part of the thigh, and the innermost part of the wing. All three must reach 165°F, and the probe should not touch bone, which reads hotter than the meat.
My own practice: I start checking the breast about 30 minutes before the estimated finish time, and I pull the bird when the breast reads around 160°F. Carryover heat takes it up to 165°F while it rests, but I always verify with the thermometer after resting before serving. A $15 instant-read thermometer is the cheapest upgrade in all of holiday cooking.
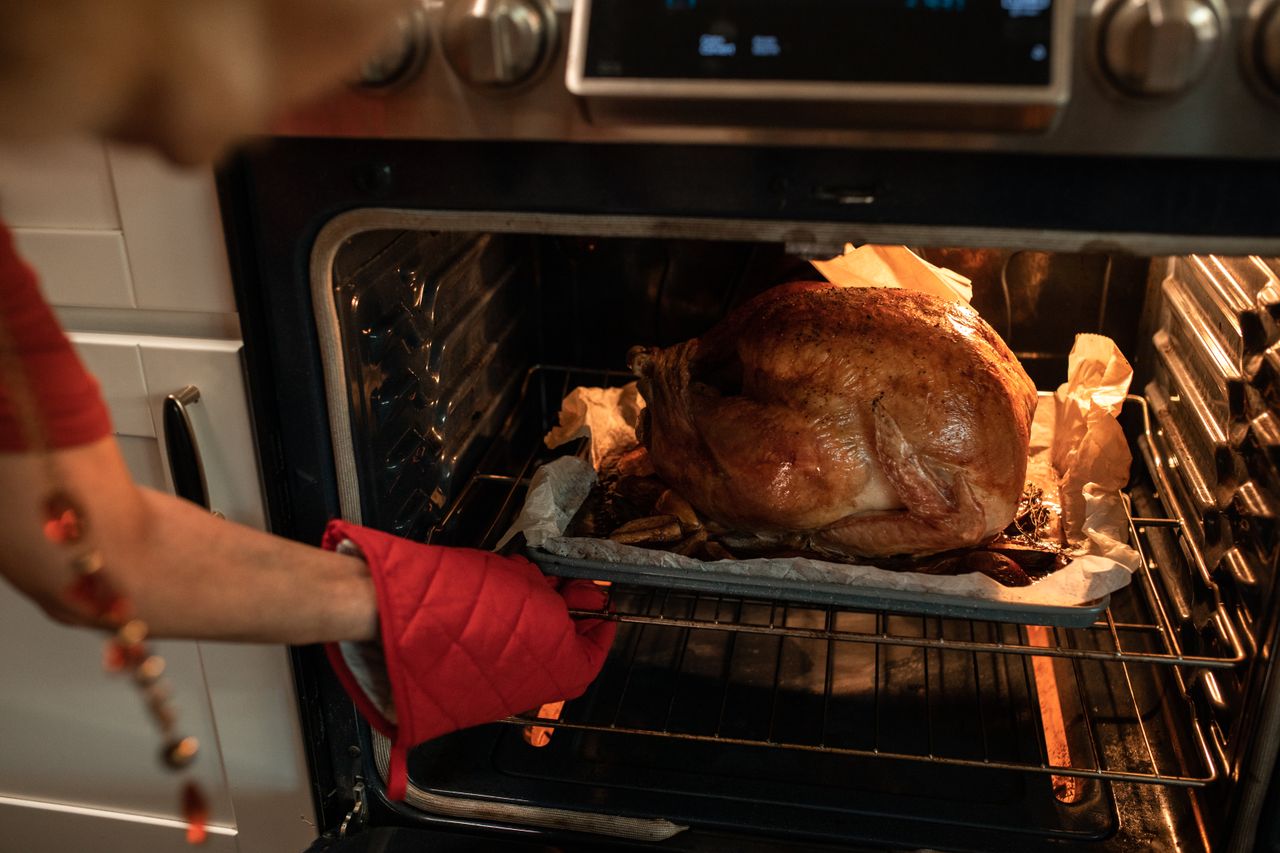
Photo: RDNE Stock project via Pexels
6. Baste Sparingly, If at All
Here is an honest take from years of doing this: frequent basting does not make the meat juicier, because the liquid never penetrates below the skin. What it does is soften the crisp skin you worked for and lets oven heat escape each time you open the door. If you brined and buttered the bird, you can skip basting entirely.
If you love the ritual, baste once or twice late in cooking with the pan juices to deepen the color. Use a brush or spoon, work quickly, and get the door shut again. Do not baste in the first hour; the skin is still setting and needs dry heat.
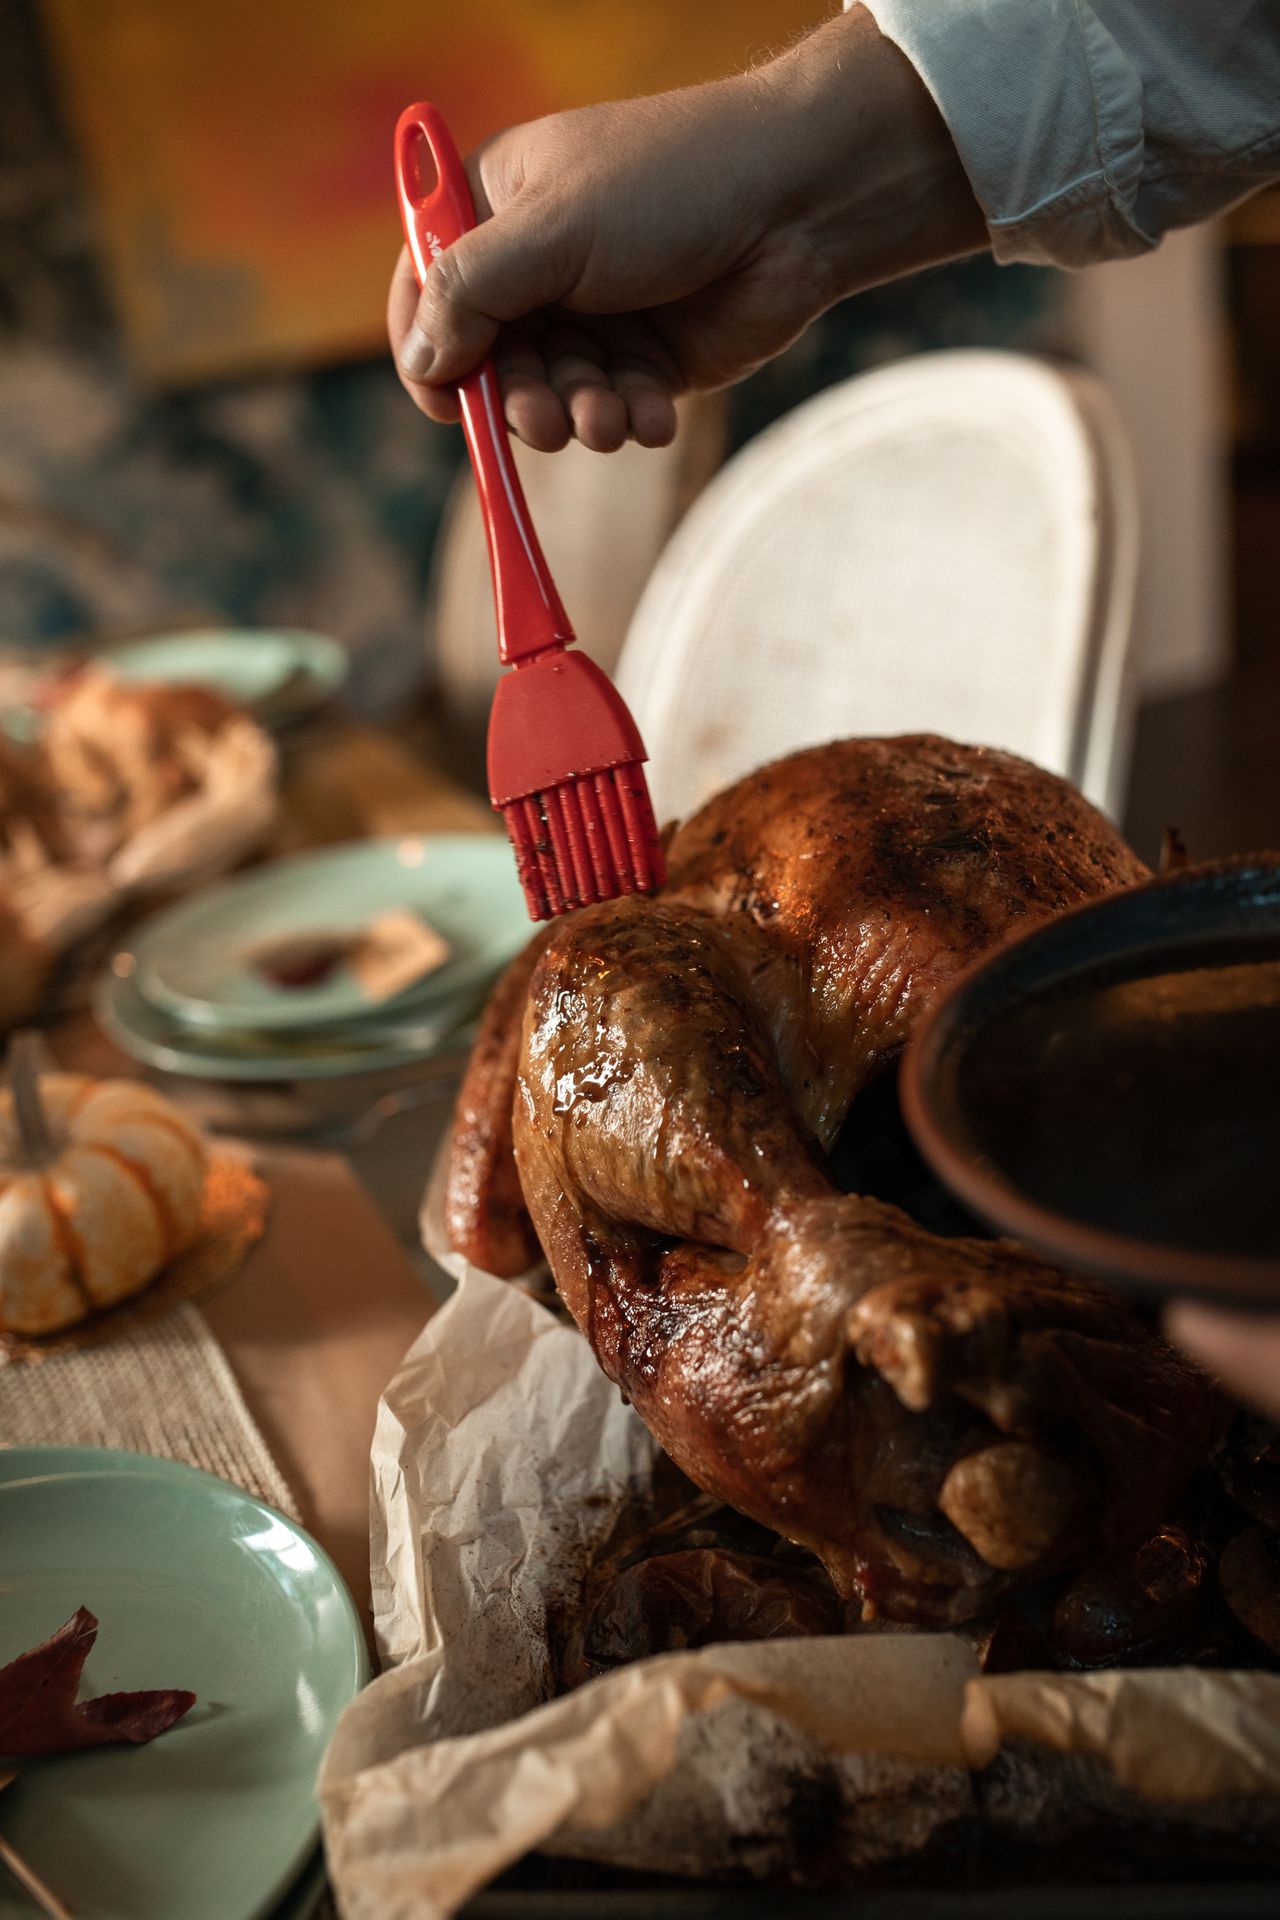
Photo: RDNE Stock project via Pexels
7. Tent With Foil When the Skin Browns Fast
The breast browns faster than the thighs cook, especially on bigger birds. When the skin turns deep golden but the thermometer still shows the thigh well below 165°F, lay a loose sheet of aluminum foil over the breast. This is called tenting, and it slows browning without steaming the skin the way a tight wrap would.
Keep the foil loose and shiny-side out so it reflects heat rather than trapping steam. Start checking for this around the two-thirds mark of the estimated cook time. A little char at the edges is fine and even tasty, but black, bitter skin is not.
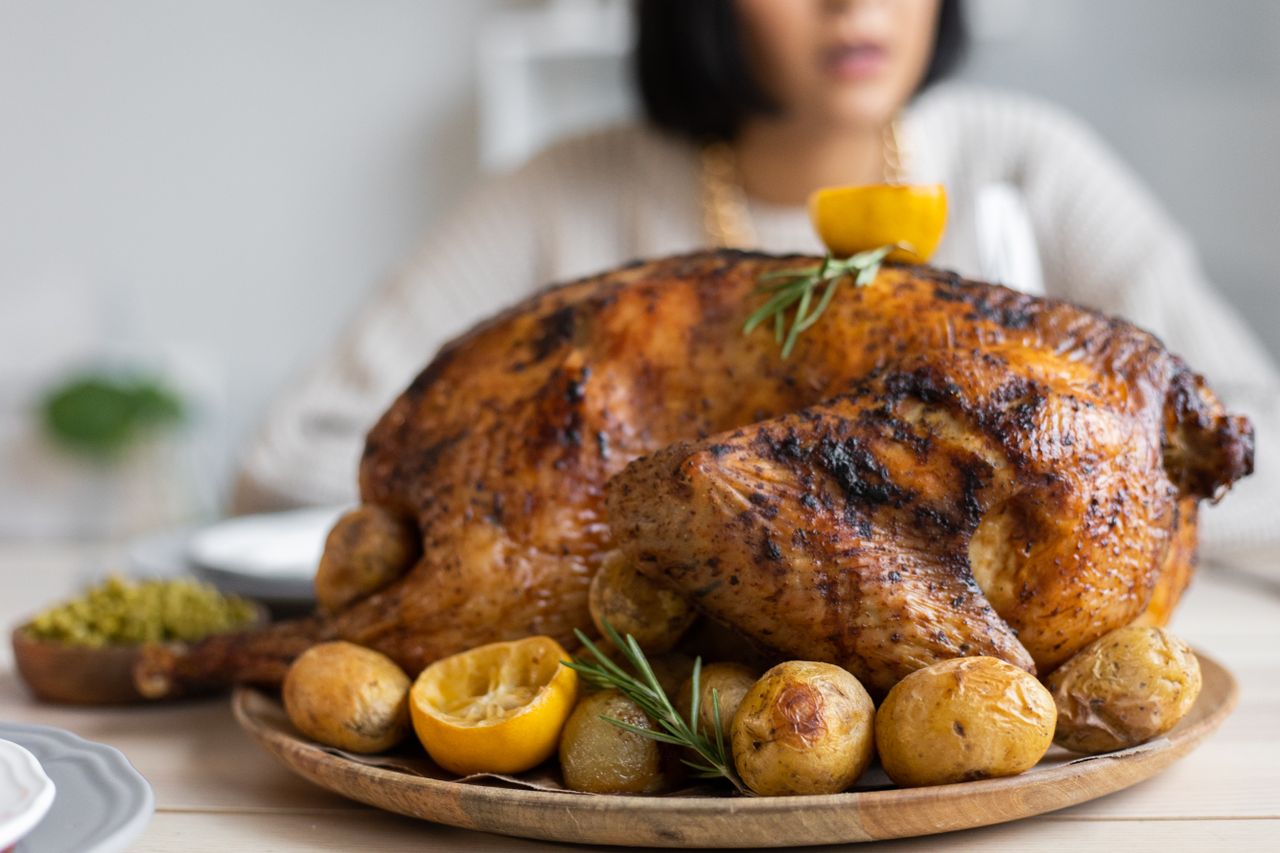
Photo: Monstera Production via Pexels
8. Rest the Bird 20 to 30 Minutes
Do not carve the turkey straight out of the oven. Resting for at least 20 minutes lets the juices redistribute through the meat instead of running all over the cutting board. The USDA lists the 20-minute rest on its safe-cooking page, and it is purely about quality: cut too early and the breast dries out in front of your guests.
Tent the bird loosely with foil while it rests and set the table in the meantime. This is also when you make the gravy, so the timing works out perfectly. The turkey will still be plenty hot to serve after a proper rest.
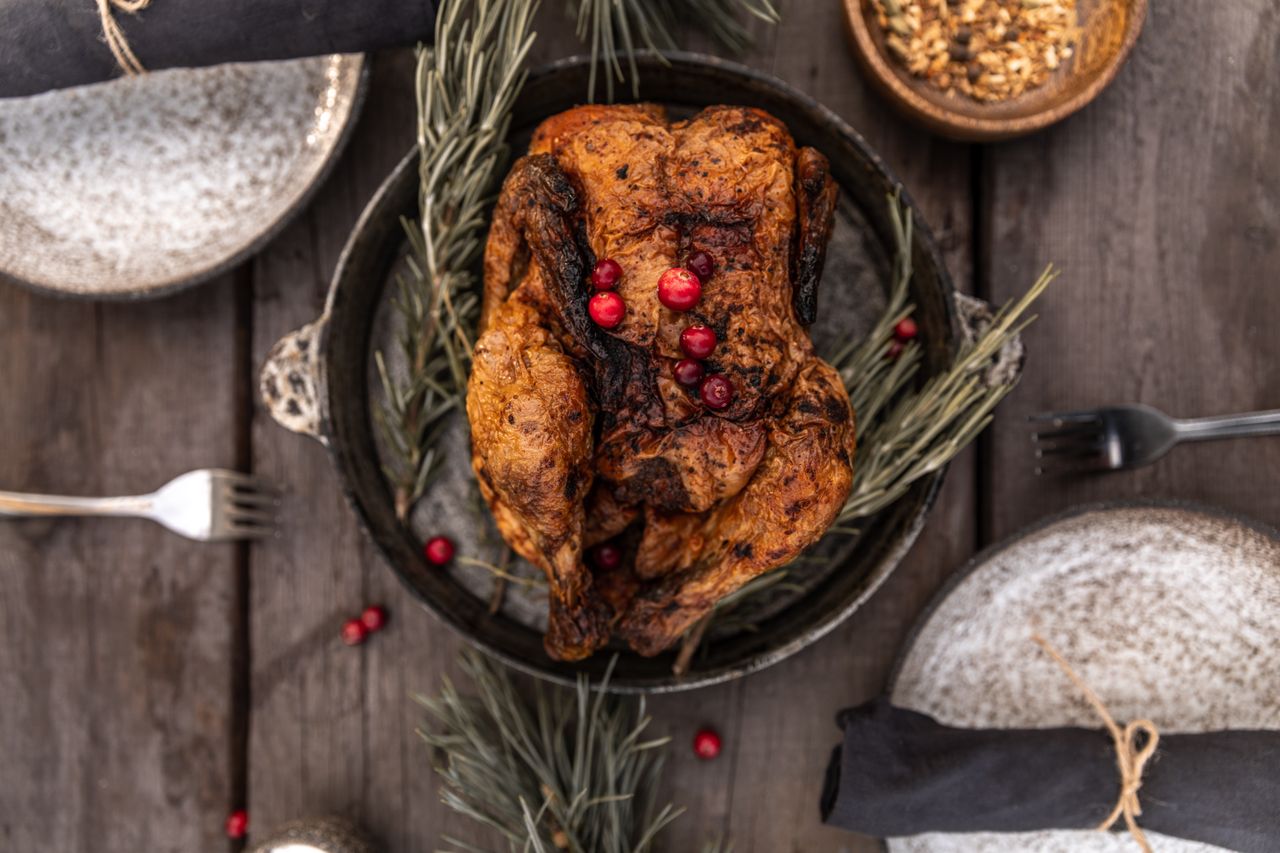
Photo: KATRIN BOLOVTSOVA via Pexels
9. Carve Like a Pro: Legs First, Then Breast
Carving at the table looks dramatic but gives you ragged slices. Move the rested bird to a large cutting board with a juice groove. Remove each leg and thigh first by cutting through the joint where it meets the body, then separate the drumstick from the thigh. Slice the breast meat across the grain in even, half-inch slices for the most tender bite.
Use a long, sharp carving knife, not a serrated bread knife, which tears the meat. Arrange the slices on a warmed platter and spoon a little of the resting juices over the top. If the breast looks slightly pink near the bone even at 165°F, do not worry; the USDA notes that harmless pink coloration can occur and the thermometer reading is what counts.
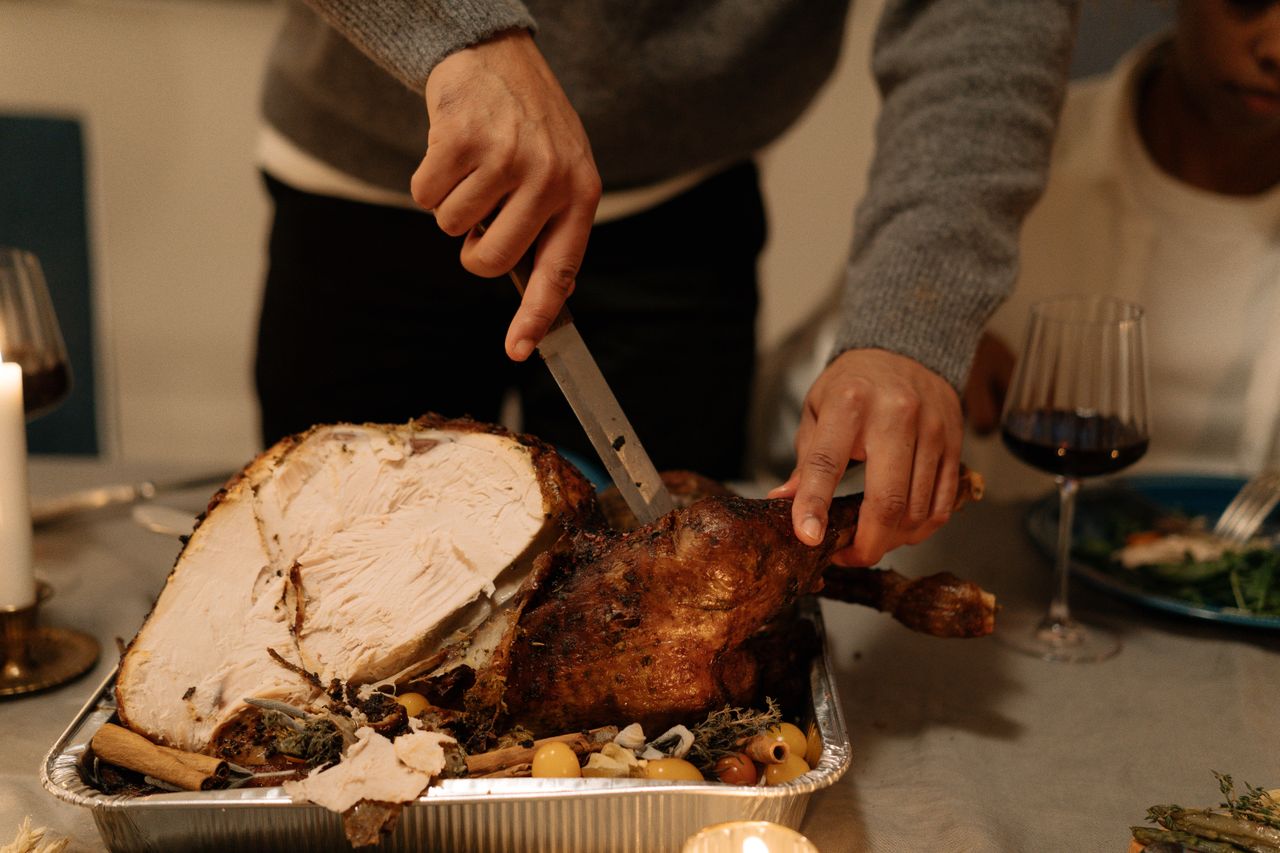
Photo: cottonbro studio via Pexels
10. Turn the Drippings Into Gravy
Do not throw away the pan drippings; they are liquid gold. Pour them into a fat separator or a measuring cup, let the fat rise, and spoon off all but about 4 tablespoons. Whisk in 4 tablespoons of flour, cook for a minute until it smells nutty, then slowly whisk in 3 to 4 cups of warm turkey or chicken stock until smooth. Simmer 5 minutes, season with salt and pepper, and strain if you like it silky.
Make-ahead trick: simmer the turkey neck and giblets (not the liver, which turns bitter) in stock the day before, so you have rich backup stock if the drippings are thin. Save every scrap of leftover meat too; our Thanksgiving leftover recipes turn them into sandwiches, soups, and pot pies.
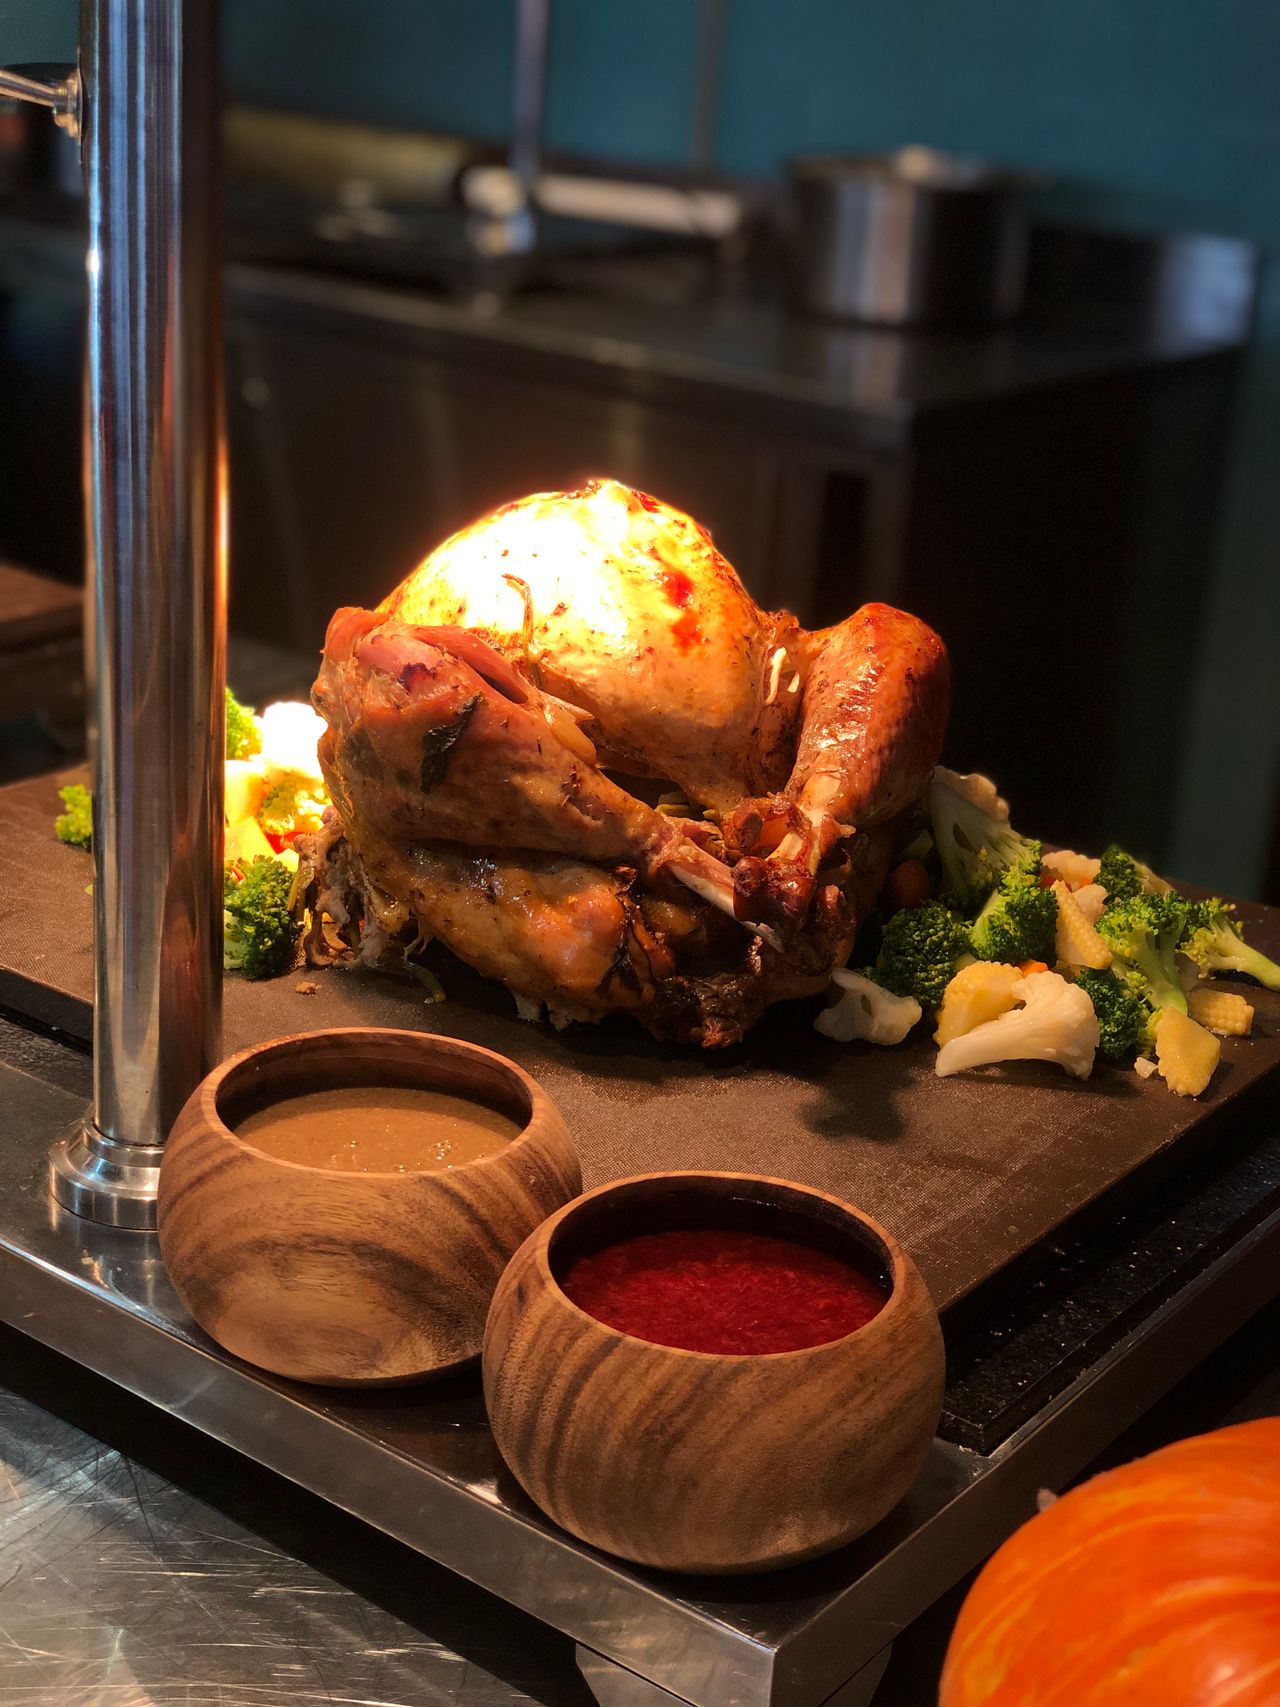
Photo: Fasca Lhotka via Pexels
Frequently Asked Questions
How long does it take to thaw a 20-pound turkey?
About 5 days in the refrigerator, since the USDA calls for roughly 24 hours per 4 to 5 pounds. In a cold-water bath it takes about 30 minutes per pound, so roughly 10 hours, with the water changed every 30 minutes.
Can I cook a turkey from frozen?
Yes, the USDA says it is safe, but it takes at least 50 percent longer, and you cannot brine or season under the skin until it thaws enough to handle. It is a backup plan, not a first choice.
Should I cook the stuffing inside the turkey?
You can, but it is riskier and slower. The stuffing's center must reach 165°F, which often means the breast overcooks. Baking the stuffing in a separate dish is safer and gives you crisp edges.
Why is my turkey always dry?
The usual causes are no brine, no thermometer, and no rest. Brine the bird, pull it when the breast hits 160°F (it coasts to 165°F), and rest it 20 minutes before carving.
My turkey finished an hour early. How do I keep it warm?
Tent it loosely with foil and hold it at room temperature for up to 2 hours; a rested bird stays hot inside. Do not put it back in a low oven for an hour, which dries the breast out.
Final Thoughts
Once you have done this a few times, you realize how to cook a turkey for Thanksgiving is less about talent and more about patience. Thaw it in time, salt it the night before, keep the oven at 325°F, and let the thermometer make the decisions. Do those four things and you will carve a juicy, golden bird that makes the whole table go quiet for a minute. Happy Thanksgiving.
Sources
- USDA: Turkey Day Myths (thawing, temperatures, thermometers)
- USDA: Thanksgiving food safety guidance
- USDA FSIS: Turkey basics, safe thawing
- USDA FSIS: Turkey basics, safe cooking
Gallery
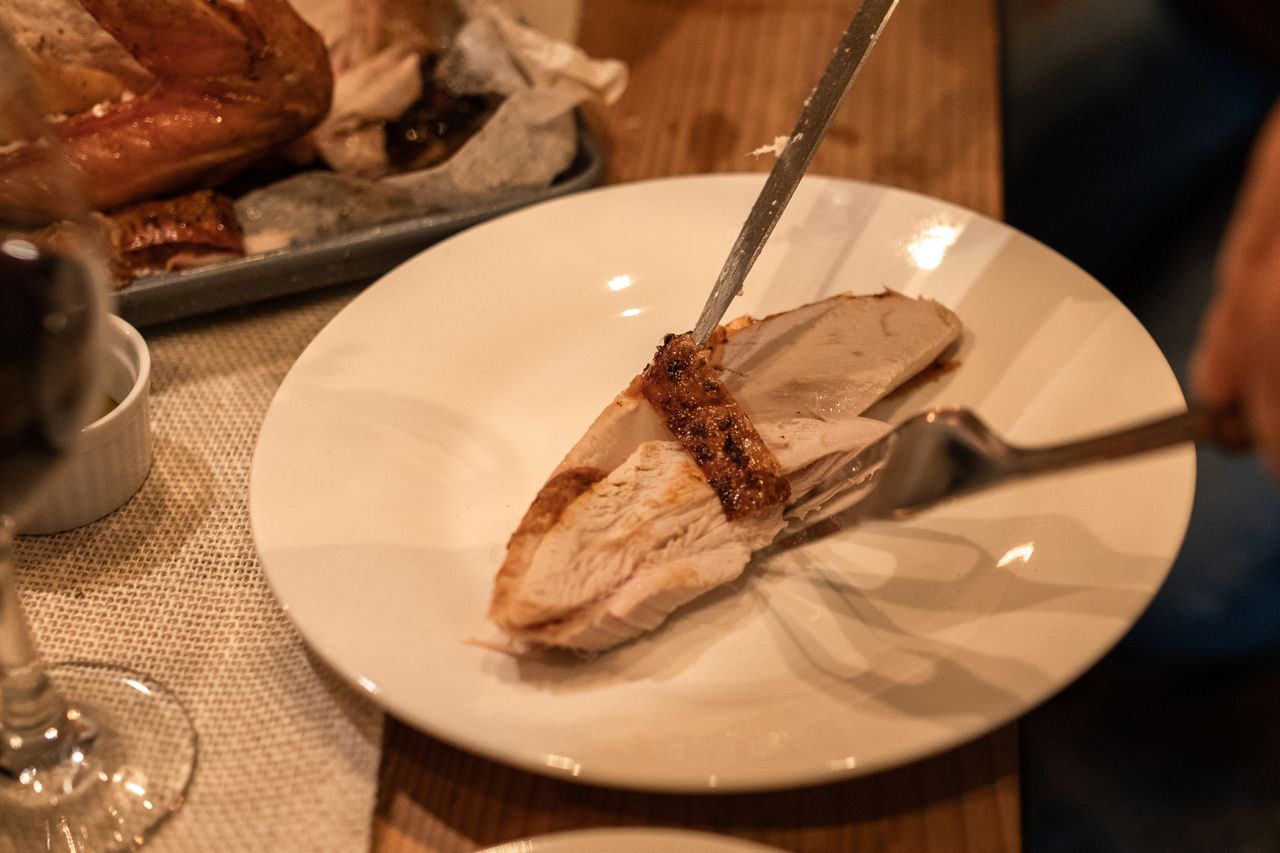
Photo: RDNE Stock project via Pexels
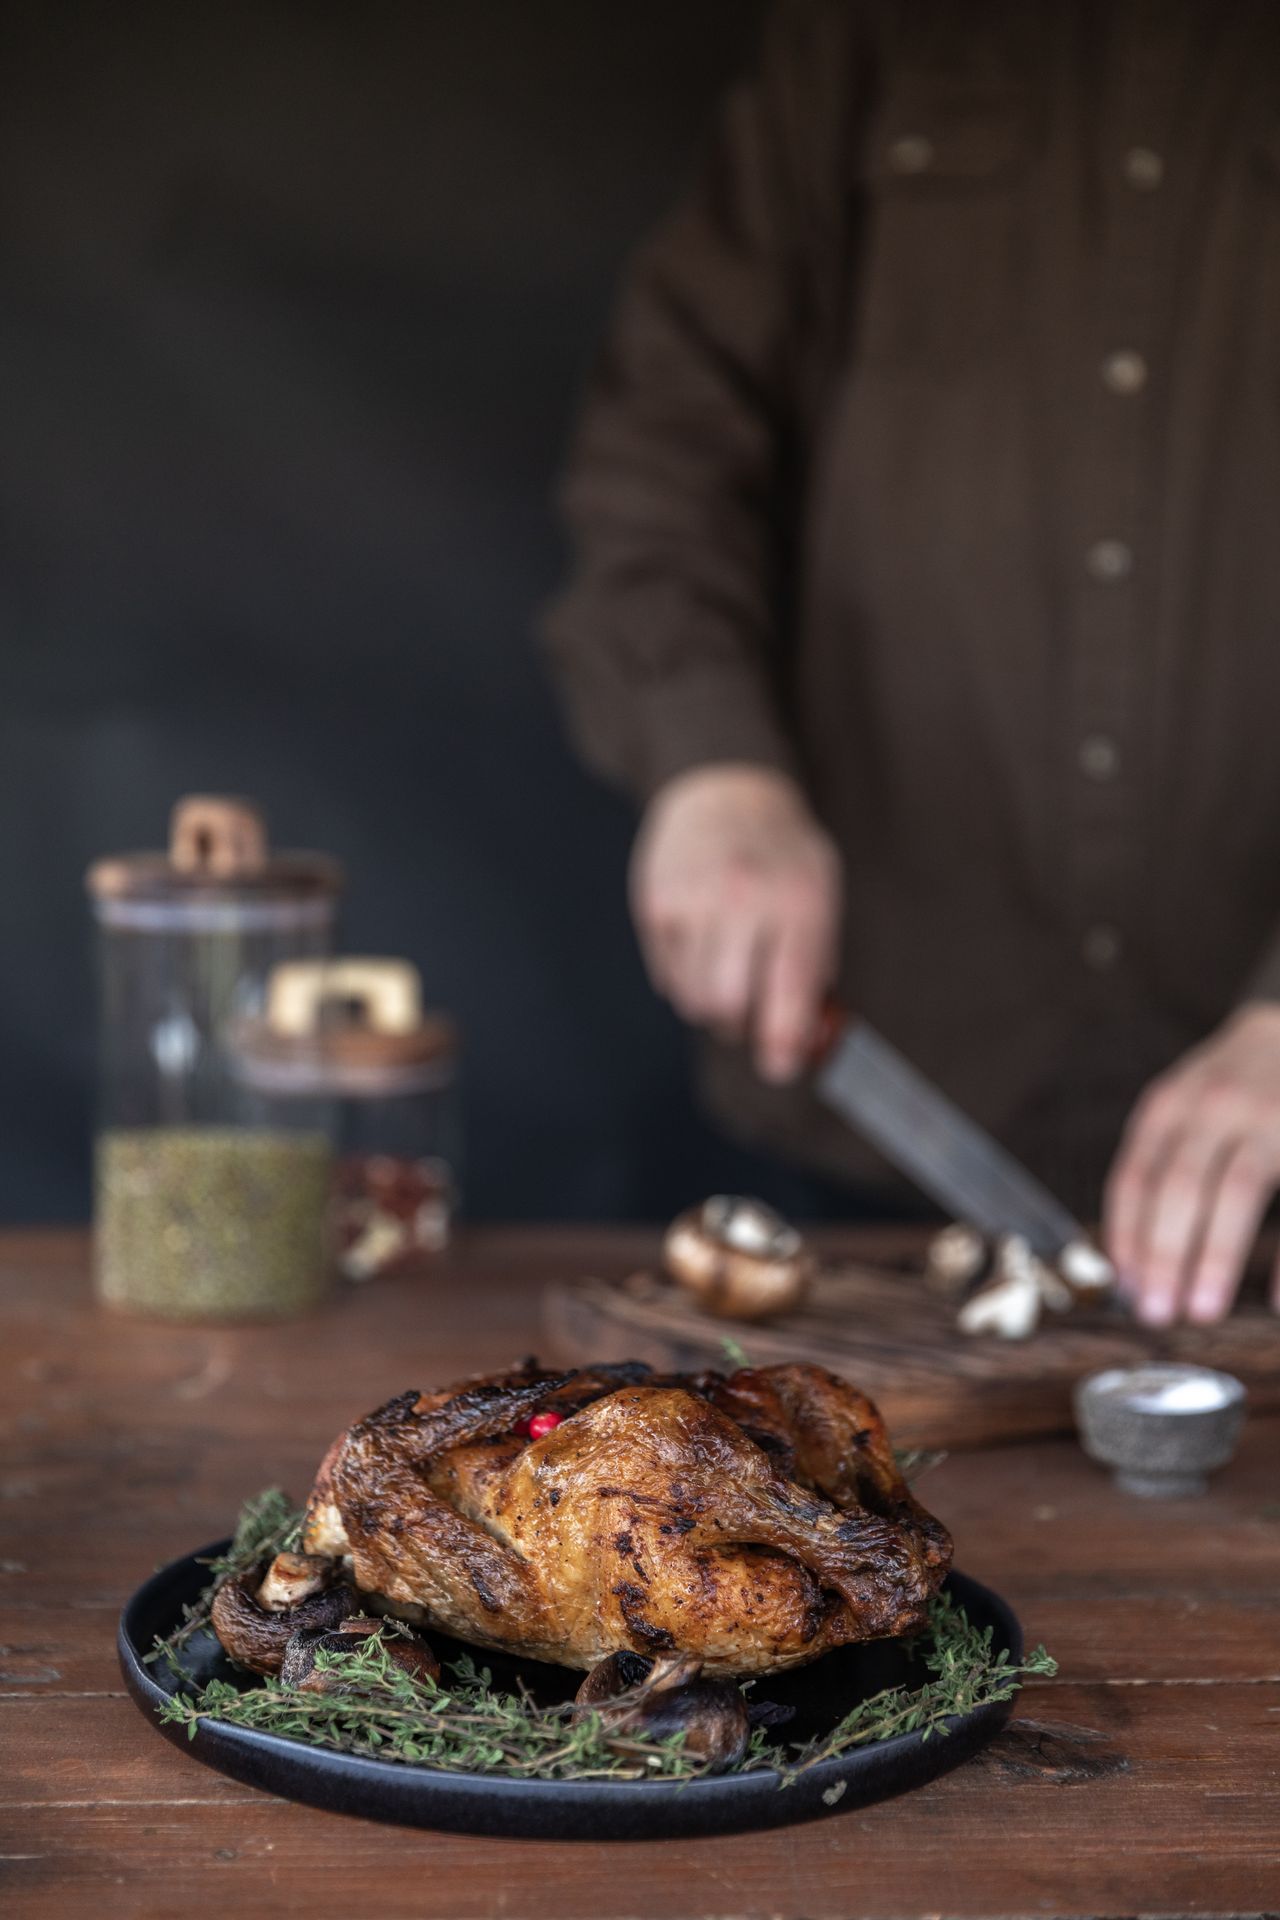
Photo: KATRIN BOLOVTSOVA via Pexels
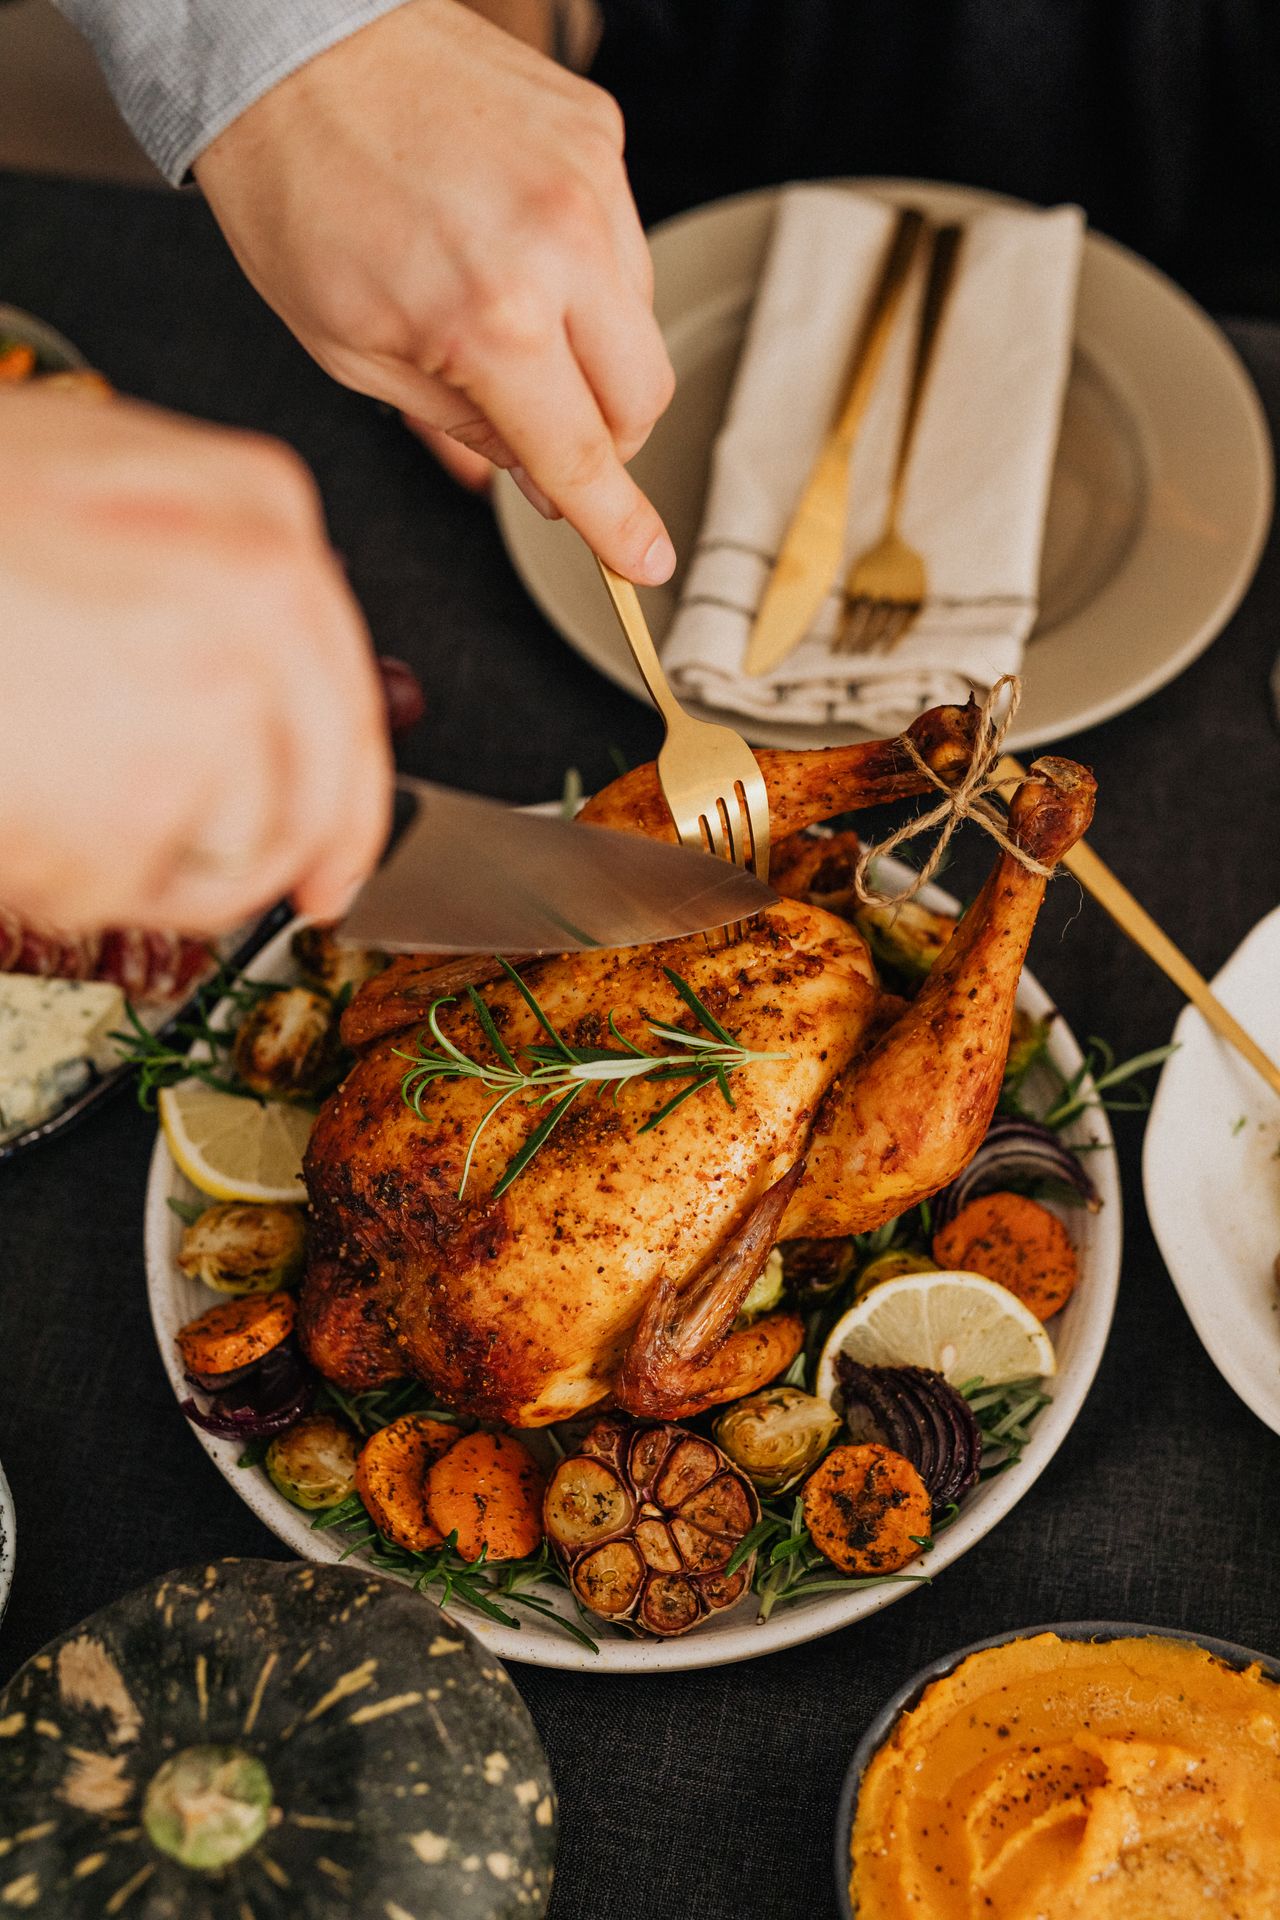
Photo: https://kaboompics.com/ via Pexels

No comments:
Post a Comment