This green bean casserole recipe from scratch skips the canned soup entirely and tastes like the dish always wanted to be. A homemade mushroom sauce takes about 15 minutes, the beans stay bright green instead of army-drab, and a batch of hand-fried shallots on top beats anything from a canister. I have made it both ways for years, and the from-scratch version is the one guests ask about.
The base method is simple: blanch fresh beans, whisk a quick mushroom cream sauce, combine, bake at 375°F, and finish with something crunchy. Once you know the base, the 10 twists below let you shape it to your table. It also pairs well with our other make-ahead Thanksgiving sides for a stress-free holiday.
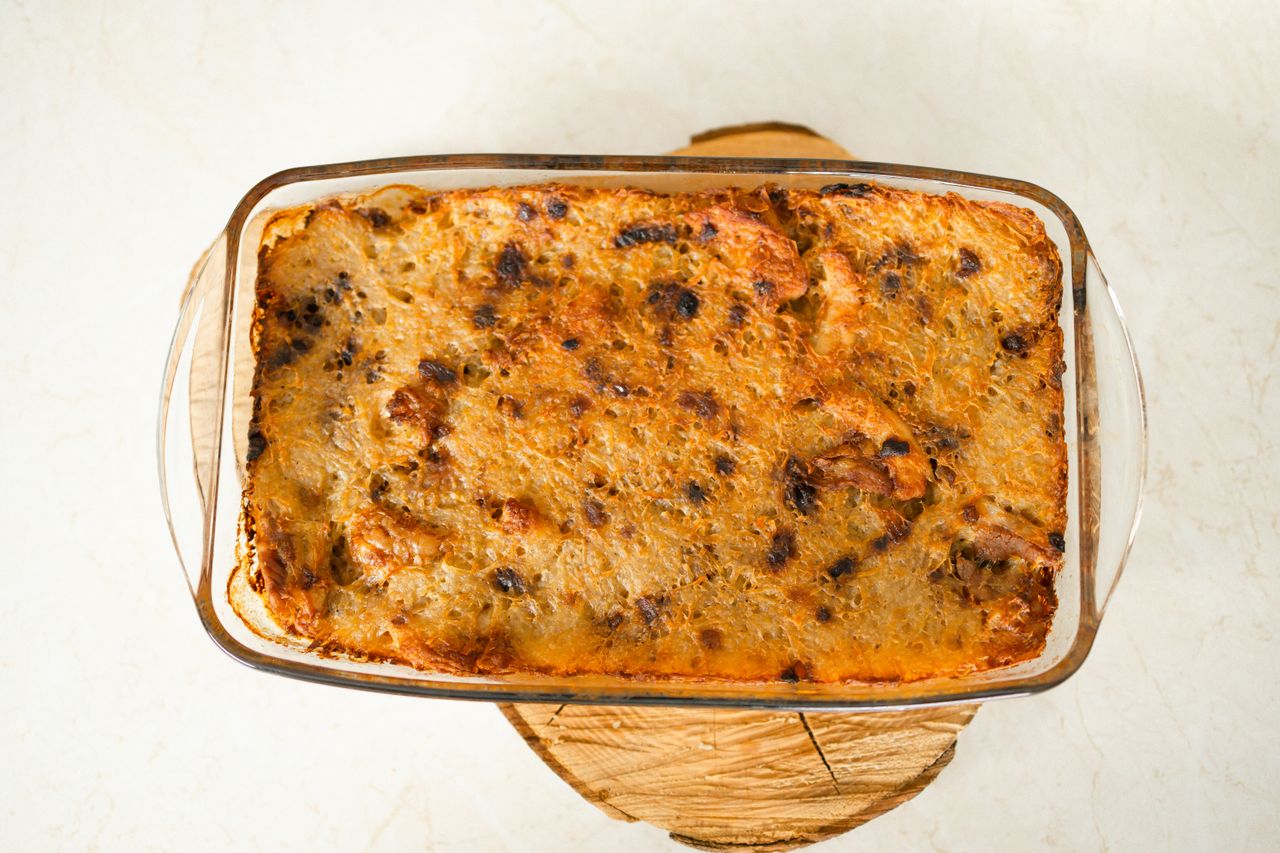
Photo: Maksim Goncharenok via Pexels
Table of Contents
- 1. Start With Fresh Green Beans
- 2. Make the Mushroom Sauce From Scratch
- 3. Crisp Your Own Shallot Topping
- 4. Add a Gooey Cheese Layer
- 5. Stir in Toasted Almonds for Crunch
- 6. Bake in a Smaller Dish for Crispy Edges
- 7. Use Frozen Beans When Fresh Cost Too Much
- 8. Try Individual Servings
- 9. Blanch and Chill the Beans a Day Ahead
- 10. Reheat Without a Soggy Topping
1. Start With Fresh Green Beans
Fresh beans are the whole point of going from scratch. Buy about 2 pounds of firm, bright-green beans with no brown spots, trim the stem ends, and cut them into 2-inch pieces. Canned beans turn to mush in the oven and give the dish that tired, gray look everyone associates with the shortcut version.
Blanching is what keeps fresh beans vivid. Drop them into a big pot of well-salted boiling water for 3 to 4 minutes, then straight into ice water. University extension guides, including the University of New Hampshire Extension, recommend 3 minutes of blanching for green beans to stop the enzymes that dull color and flavor. Shock them cold, drain well, and they will stay snappy through the bake.
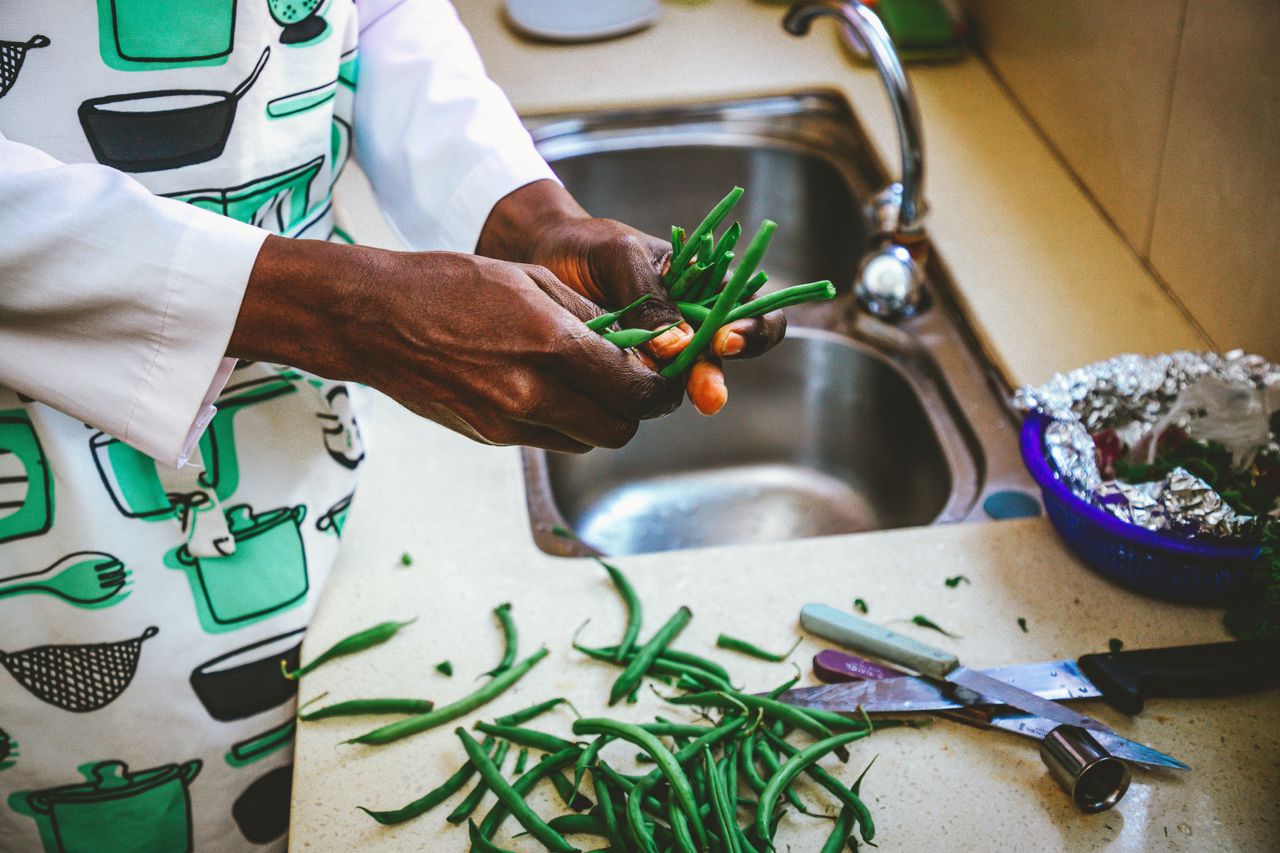
Photo: Lionel Ntasano via Pexels
2. Make the Mushroom Sauce From Scratch
The homemade sauce is easier than it sounds. Sauté 1 pound of sliced cremini mushrooms in 2 tablespoons of butter over medium-high heat until they release their liquid and brown, about 8 minutes. Stir in 2 minced garlic cloves, then 2 tablespoons of flour, and cook 1 minute before whisking in 1 and 1/2 cups of milk or half-and-half. Simmer 4 to 5 minutes until it coats a spoon, and season with salt, pepper, and a pinch of nutmeg.
Why it beats the can: you control the salt, the mushrooms actually taste like mushrooms, and the sauce thickens from a real roux instead of starches. A splash of dry sherry or a teaspoon of soy sauce deepens the flavor without anyone being able to name the secret. If the sauce seems thin, remember it thickens more in the oven.
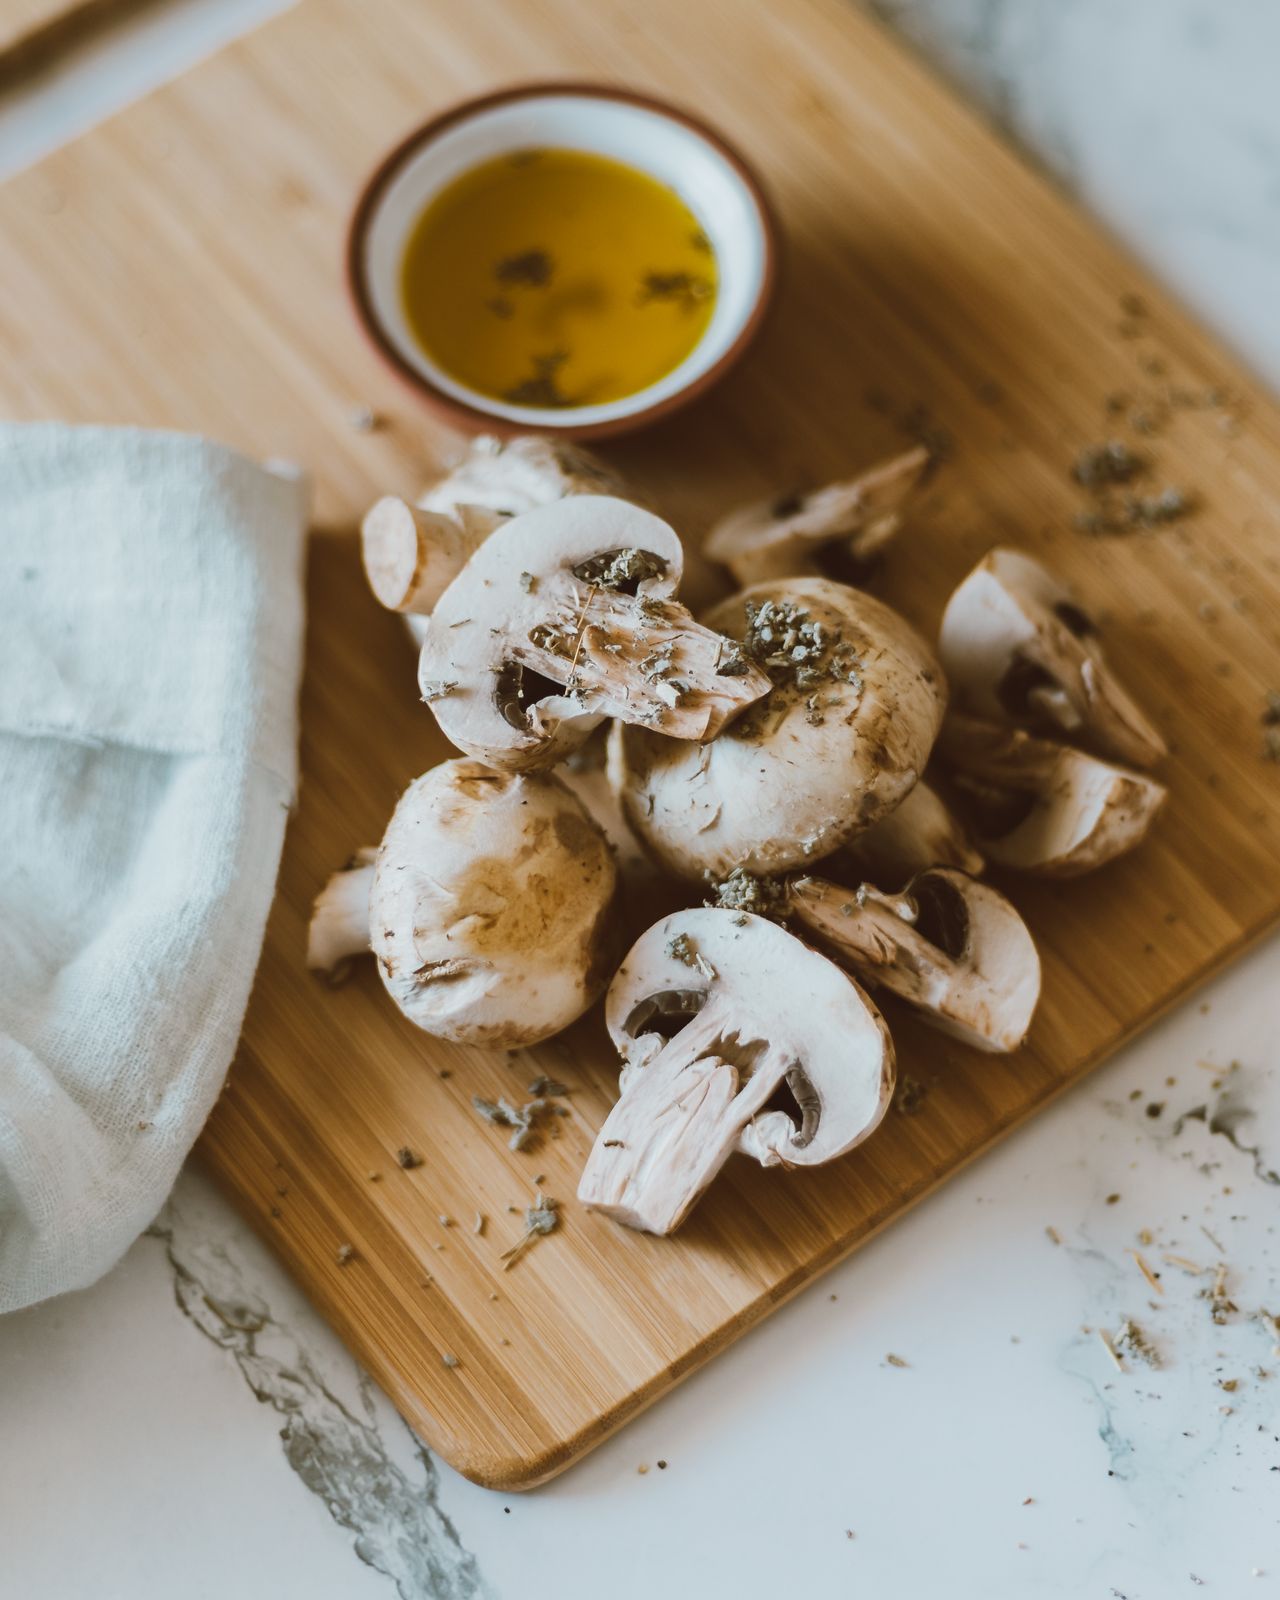
Photo: Jess Loiterton via Pexels
3. Crisp Your Own Shallot Topping
Hand-fried shallots are the upgrade people notice first. Slice 3 large shallots paper-thin, toss with 1/2 cup of flour and a big pinch of salt, and fry in 1/2 inch of neutral oil heated to about 350°F until deep golden, 2 to 3 minutes per batch. Drain on a rack, not paper towels, so steam escapes and they stay shatteringly crisp.
Do not crowd the pan; too many shallots at once drops the oil temperature and they go greasy instead of crisp. Honest note: these lose their crunch after a day, so fry them the day you serve the casserole. Store-bought crispy onions are a fine backup, but once you taste homemade, the canister version tastes like salt and cardboard.
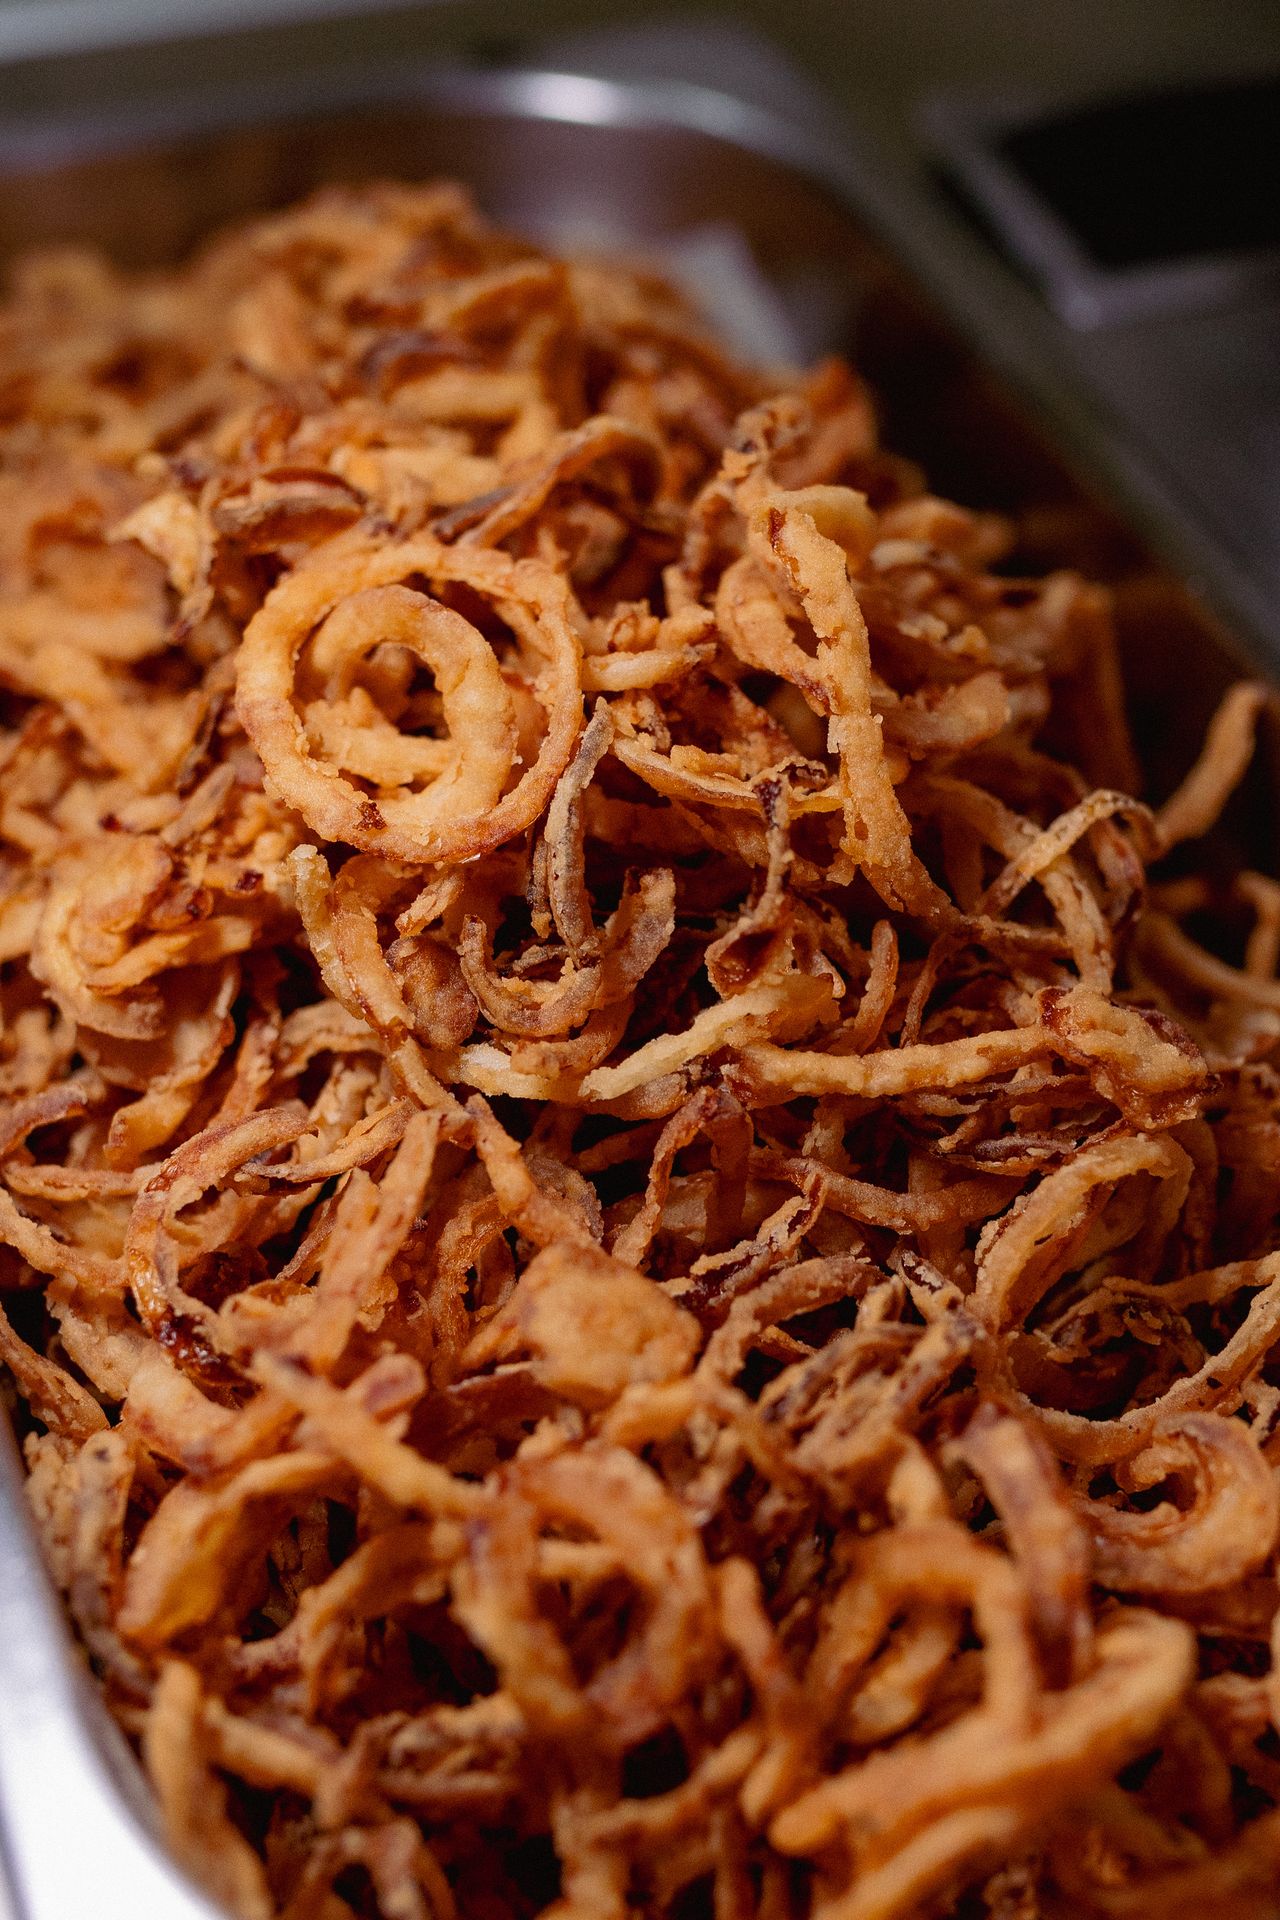
Photo: Jonathan Borba via Pexels
4. Add a Gooey Cheese Layer
A layer of cheese turns this from a side dish into the dish people fight over. Stir 1 cup of shredded sharp cheddar or Gruyère into the sauce before combining with the beans, then sprinkle another 1/2 cup over the top for the last 10 minutes of baking. Gruyère melts silkier and tastes nuttier; cheddar gives that classic comfort-food pull.
Shred your own cheese from a block. Pre-shredded cheese is coated with anti-caking starch that makes sauces grainy, and in my experience the difference in melt is night and day. Let the casserole rest 10 minutes after baking so the cheese sets instead of sliding off.
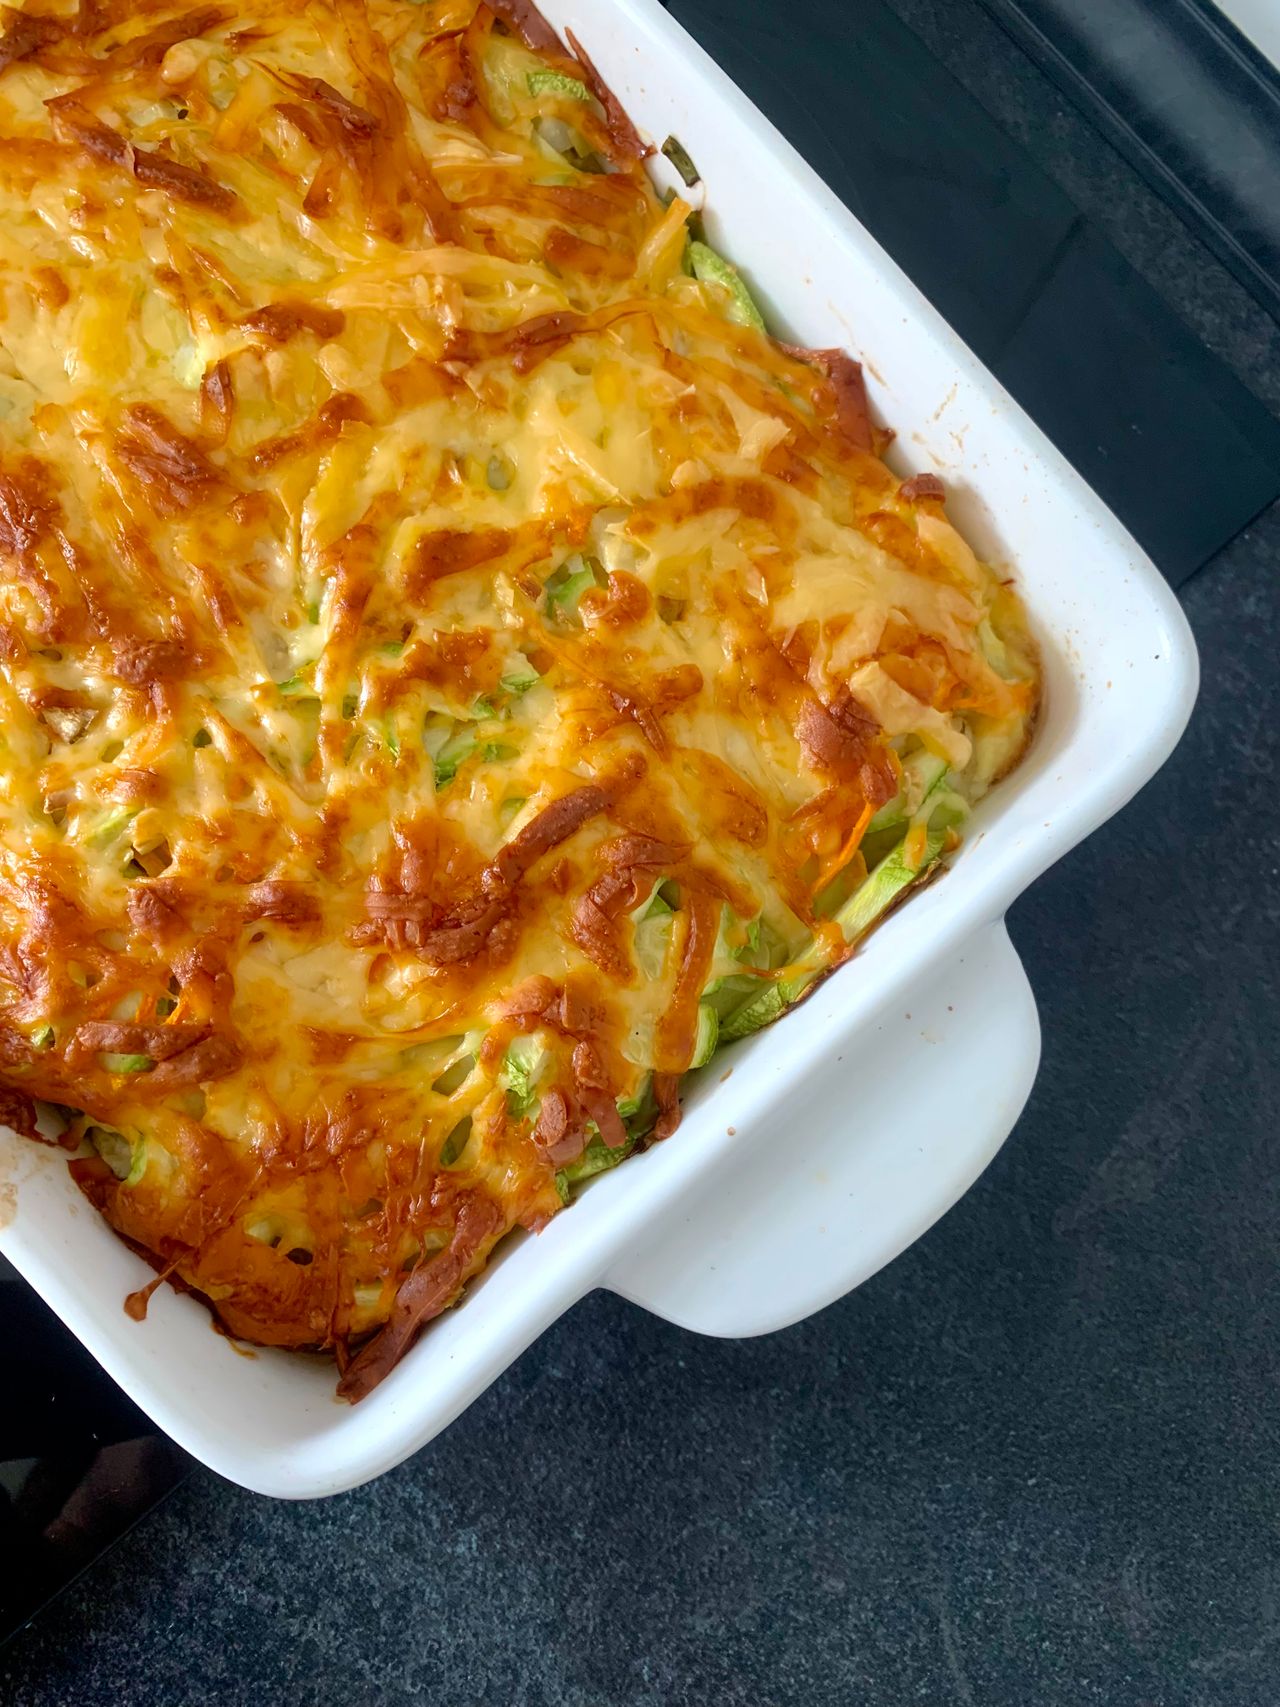
Photo: Helen Brudna via Pexels
5. Stir in Toasted Almonds for Crunch
Toasted sliced almonds add a second layer of crunch that plays beautifully against the creamy sauce. Toast 1/2 cup of sliced almonds in a dry skillet over medium heat for 3 to 4 minutes, shaking often, until golden and fragrant. Fold half into the casserole and scatter the rest over the top with the shallots.
Watch them like a hawk; nuts go from golden to burnt in under a minute once they start coloring. This twist also makes the dish feel a little more special for the holiday table. For nut allergies, toasted panko breadcrumbs browned in butter give a similar crunch.
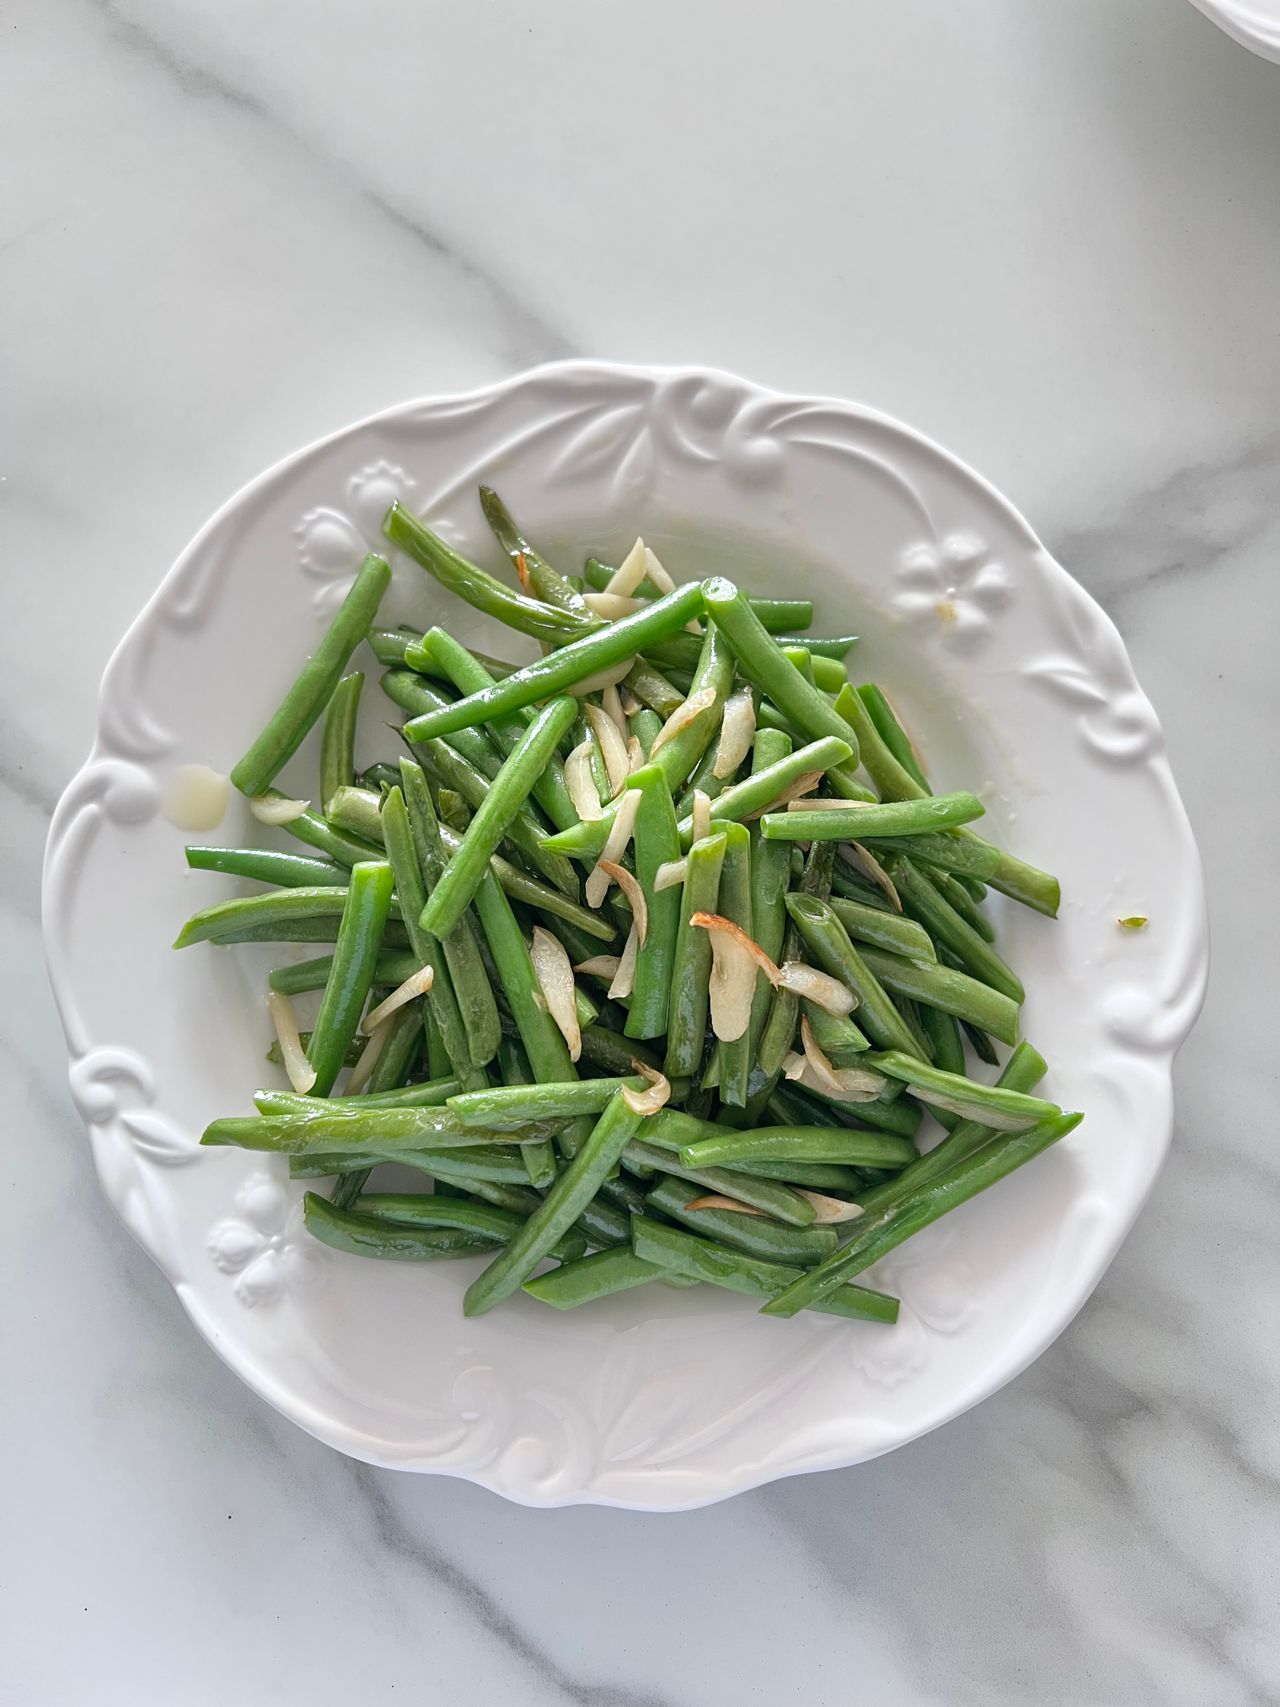
Photo: Anya Dunes via Pexels
6. Bake in a Smaller Dish for Crispy Edges
The dish you bake in changes the whole texture. A smaller, deeper dish, like an 8x8-inch pan instead of a 9x13, gives you more creamy center and a thicker layer of crispy topping per serving. A wide shallow dish gives more browned, caramelized edges. Neither is wrong; pick based on what your family fights over.
Whatever dish you choose, do not fill it more than about 2 inches deep or the center will not heat through evenly. Butter the dish before filling so the edges release cleanly. Glass or ceramic dishes brown more gently than metal, which is what you want here.
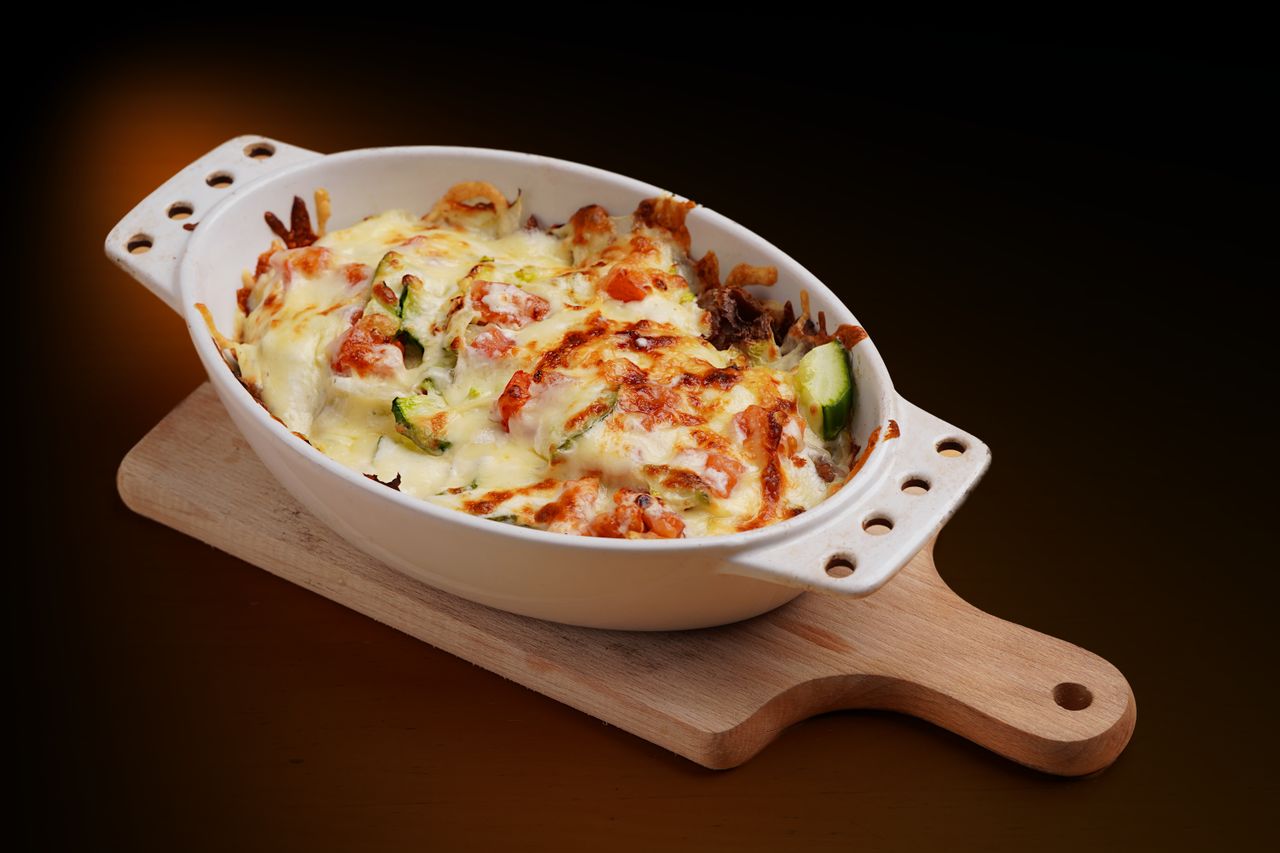
Photo: Sylwester Ficek via Pexels
7. Use Frozen Beans When Fresh Cost Too Much
Fresh beans are best, but frozen are a perfectly good plan B, especially when fresh prices spike before the holidays. Thaw 2 pounds of frozen cut green beans, squeeze out the excess water in a clean towel, and skip the blanching step entirely since they were blanched before freezing. Excess water is the enemy; it is what makes budget casseroles soupy.
Do not use canned beans if you can avoid it; they are already fully cooked and turn to mush in the oven. If frozen is what you have, bump the sauce up with extra mushrooms and a squeeze of lemon at the end to brighten everything. Nobody at the table will know the difference once the crispy topping goes on.
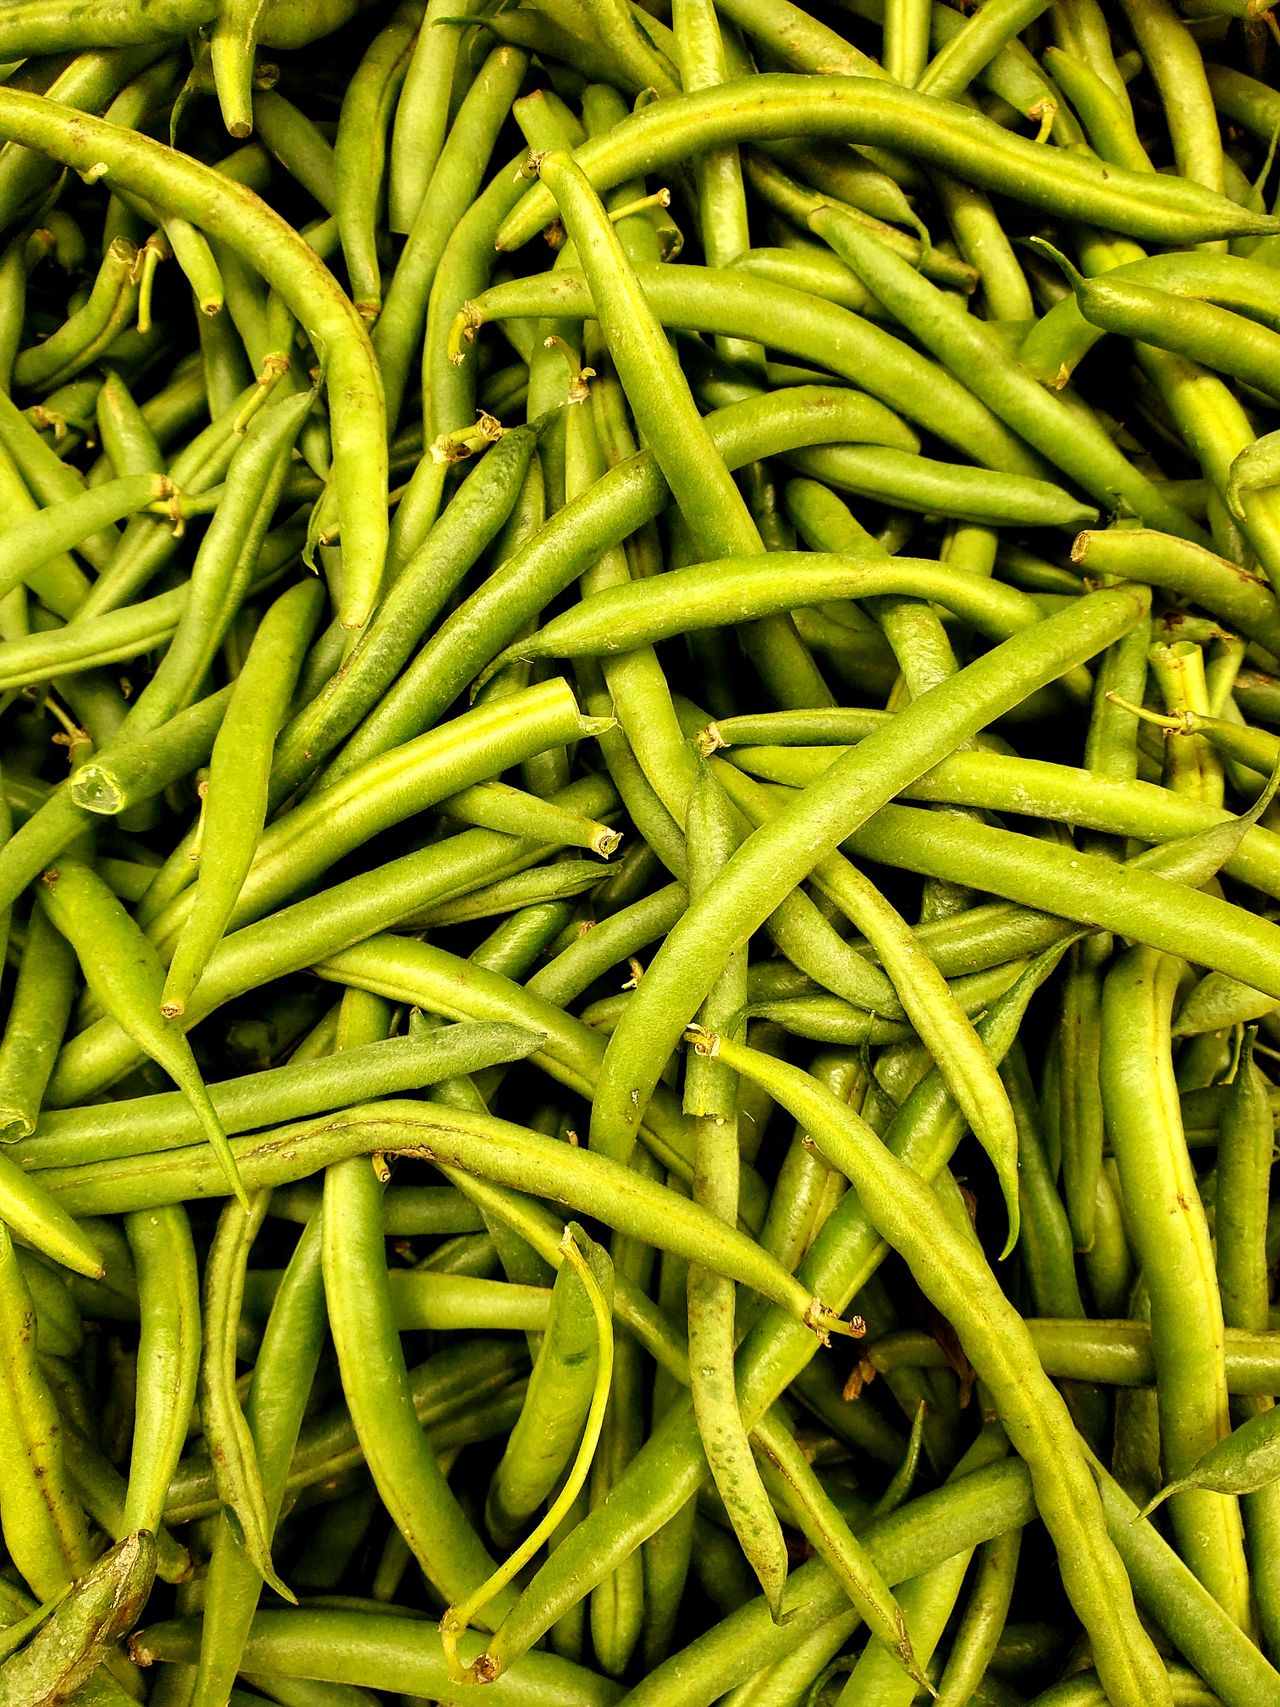
Photo: Bridgette Lynn via Pexels
8. Try Individual Servings
Baking the casserole in individual ramekins or small oven-safe dishes makes for a beautiful holiday presentation and guarantees everyone gets topping in every bite. Divide the bean and sauce mixture among 6 to 8 buttered ramekins, top each with shallots, and bake at 375°F for 18 to 20 minutes until bubbly.
Smaller portions bake faster, so start checking 5 minutes early. This is a great trick when you are hosting a smaller group and do not want a giant pan of leftovers. For more crowd-pleasing bakes, browse our comforting and easy casserole dishes for the rest of the season.
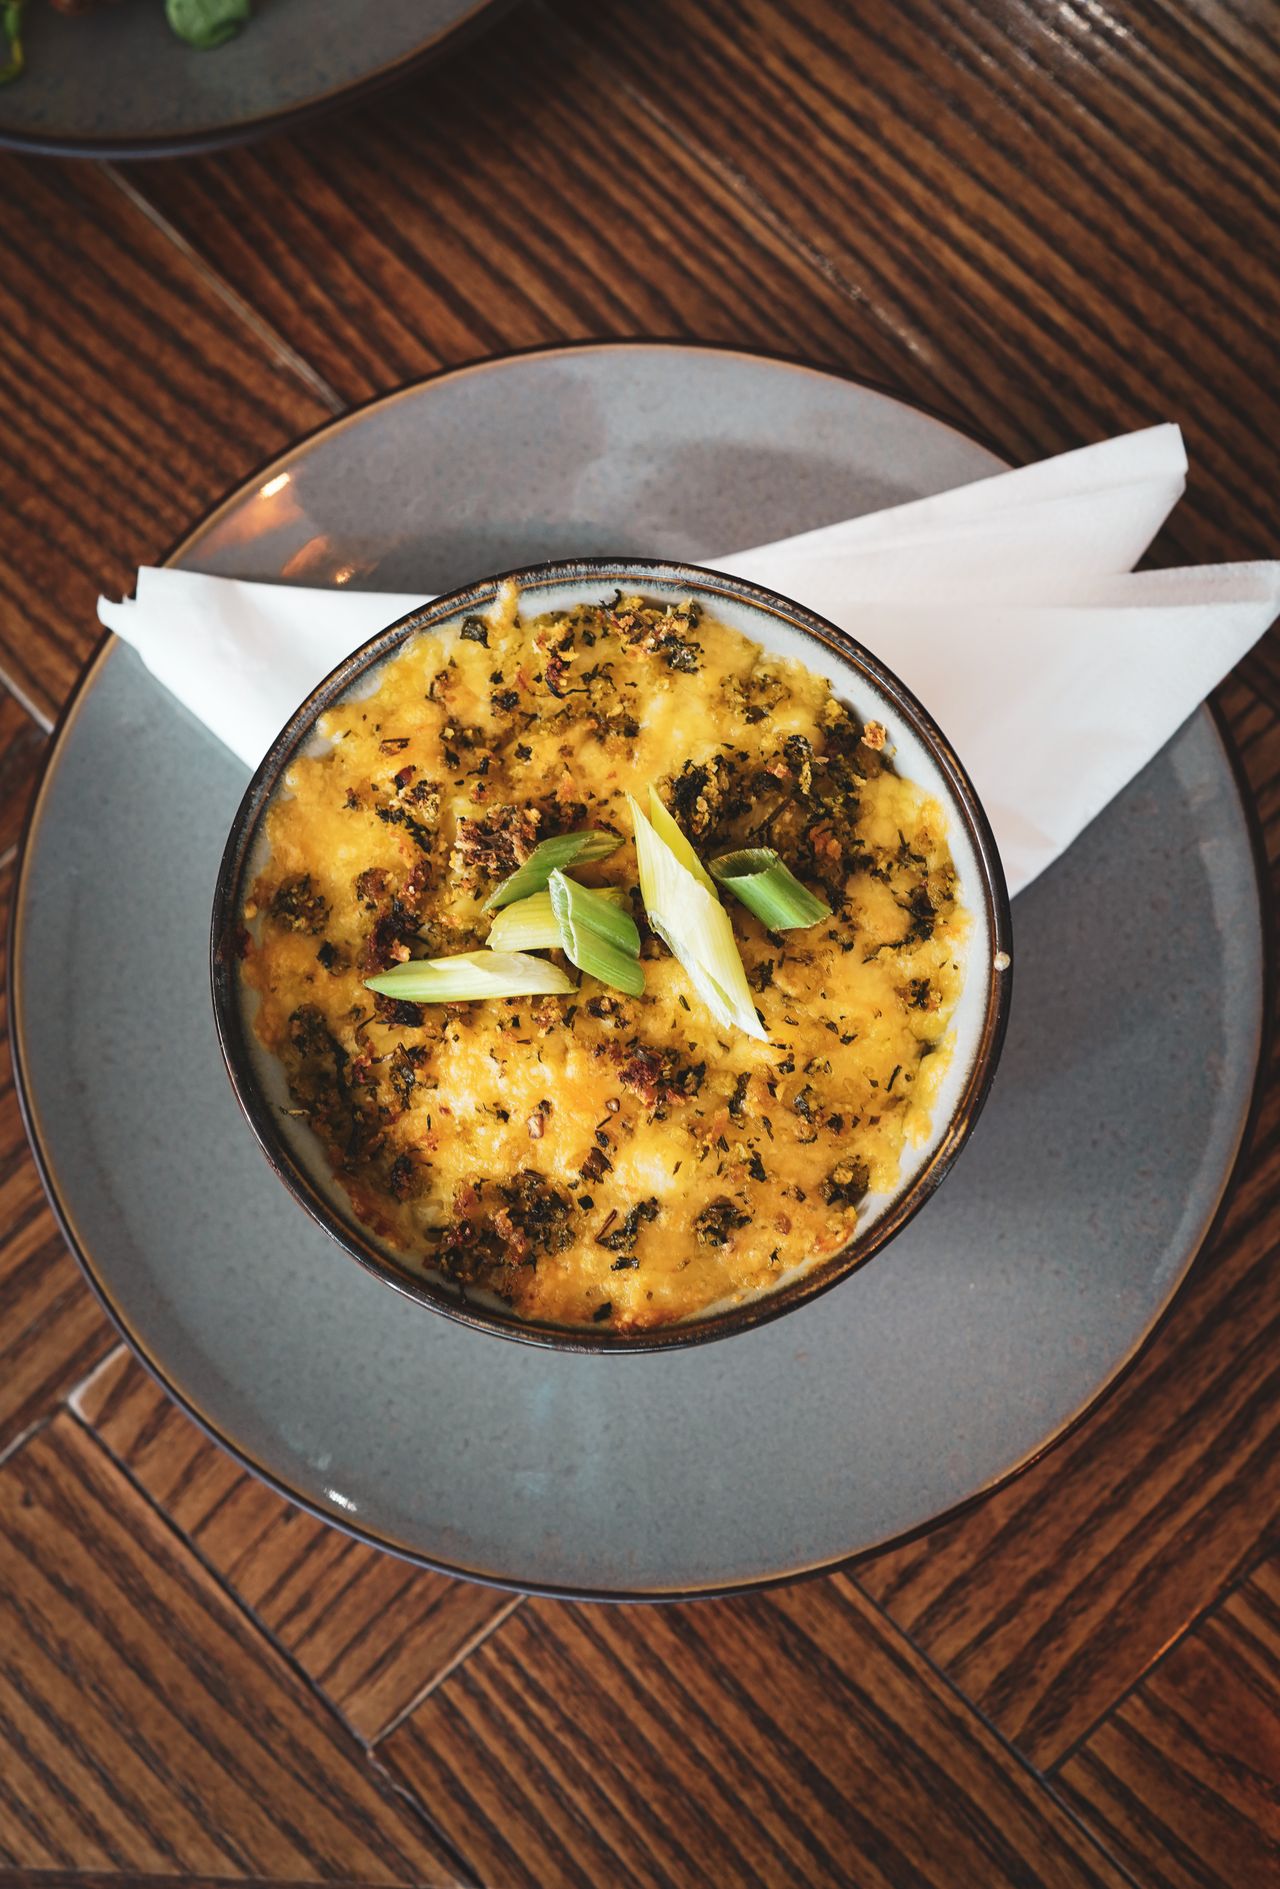
Photo: Boys in Bristol Photography via Pexels
9. Blanch and Chill the Beans a Day Ahead
Thanksgiving day is chaotic, so do the bean prep the day before. Blanch the trimmed beans for 3 minutes, shock in ice water, drain thoroughly, and refrigerate in a sealed container with a paper towel to absorb moisture. The sauce can also be made a day ahead and refrigerated separately.
On the big day, just combine, top, and bake. The beans will taste just as fresh because the ice bath locked in their color and bite. Keep the fried shallots in an airtight container at room temperature and add them only in the last 5 minutes of baking so they stay crisp.
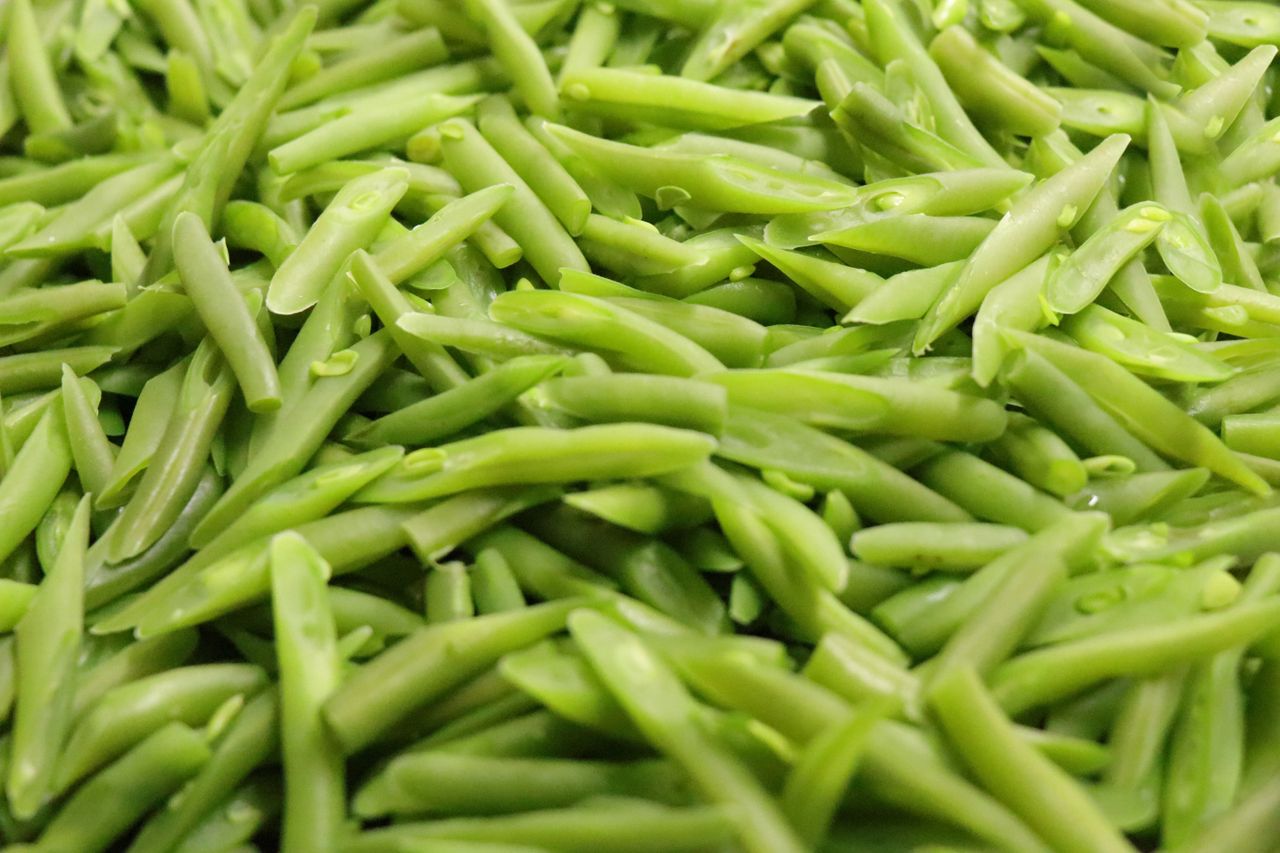
Photo: Gabriel Reloaded Croch via Pexels
10. Reheat Without a Soggy Topping
Leftover casserole reheats well if you protect the topping. Warm it in a 350°F oven for 20 to 25 minutes, covered loosely with foil for the first 15 minutes, then uncovered so the top re-crisps. The microwave works in a pinch but turns the shallots soft, so the oven is worth the wait.
Food-safety note: the USDA advises reheating leftovers to 165°F throughout, and never leave the casserole at room temperature for more than 2 hours. Store leftovers in the fridge within that window and eat them within 3 to 4 days. Honestly, the leftovers rarely survive that long in my house.
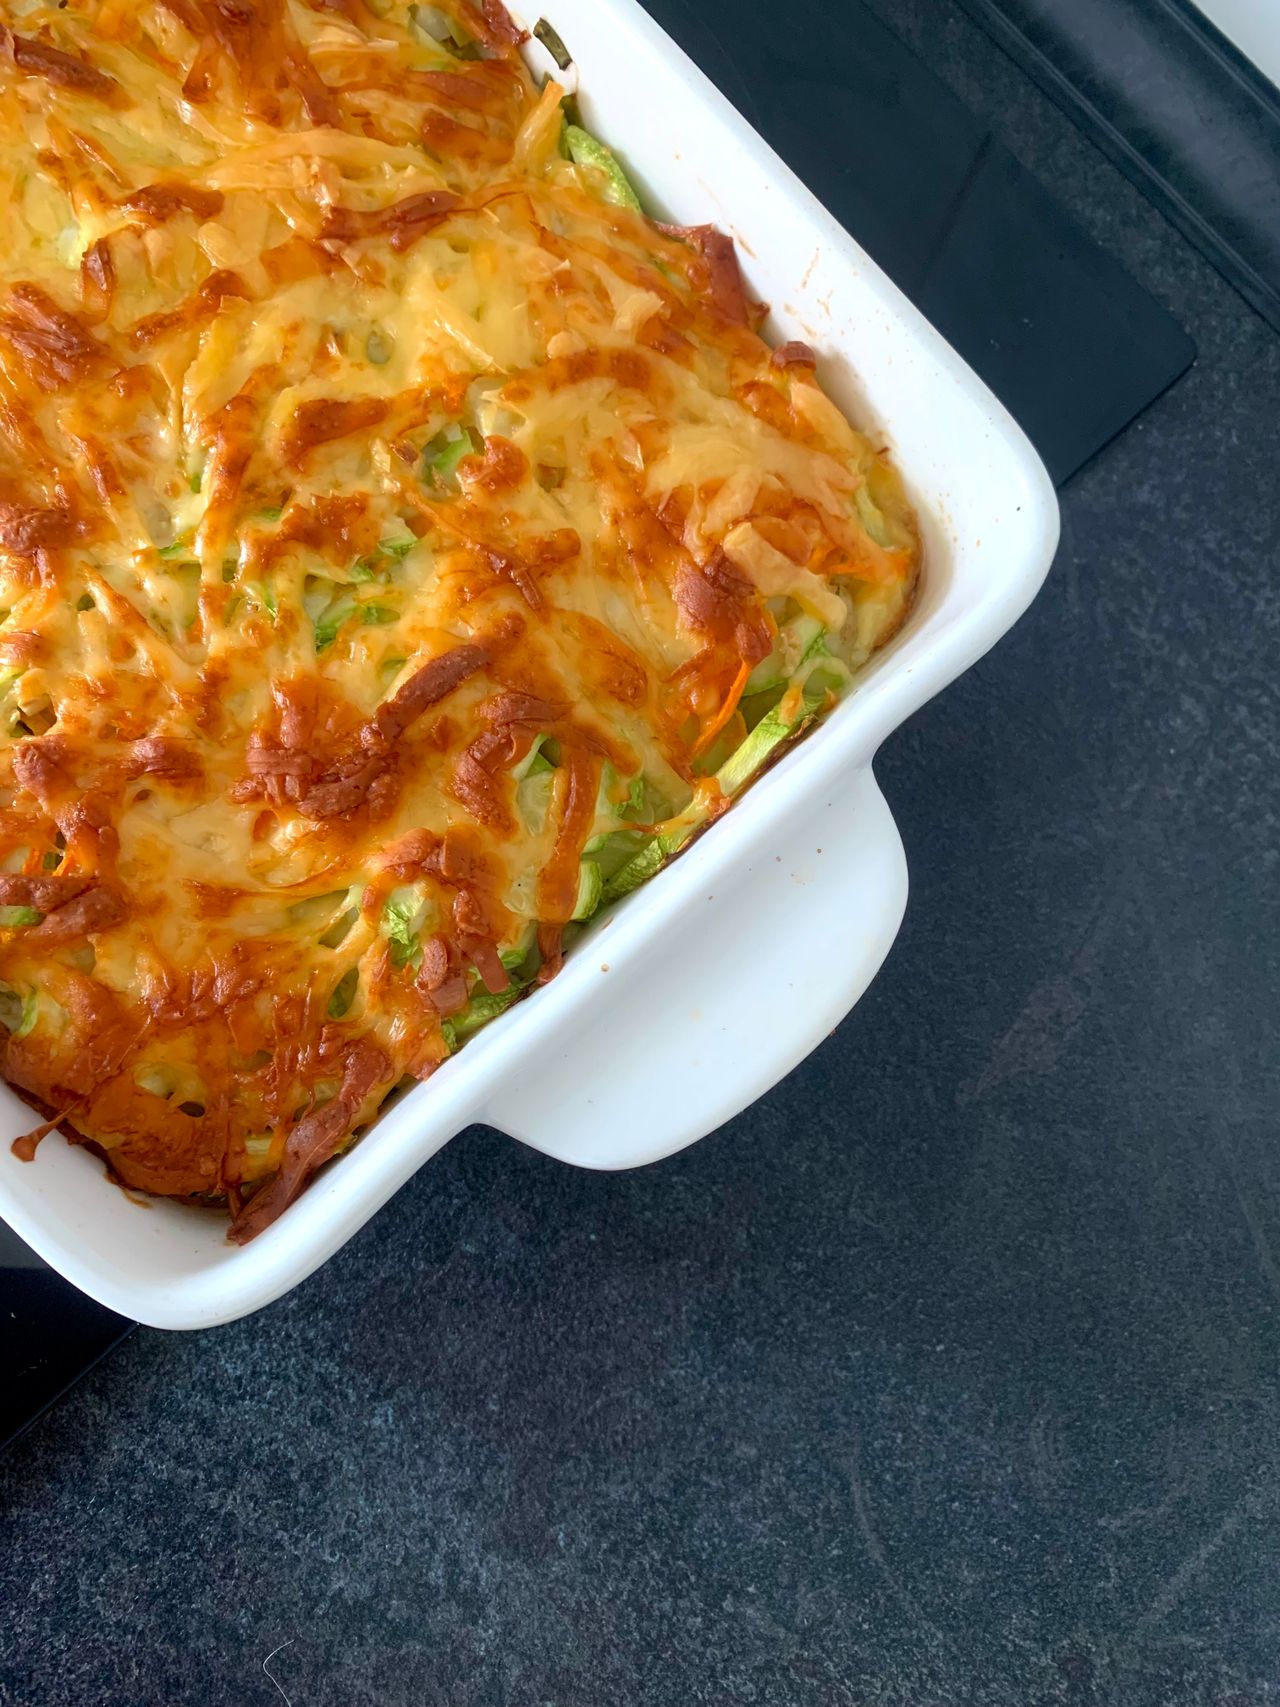
Photo: Helen Brudna via Pexels
Frequently Asked Questions
Can I make green bean casserole ahead of time?
Yes. Blanch the beans and make the sauce up to 2 days ahead, store separately in the fridge, then assemble and bake on the day. Add the crispy topping in the last 5 minutes so it stays crunchy.
Why is my green bean casserole watery?
Almost always excess moisture from the beans. Drain blanched beans very well, squeeze thawed frozen beans dry, and make sure your sauce is thick enough to coat a spoon before it goes in the oven.
Can I use frozen green beans instead of fresh?
Yes. Thaw, squeeze dry, and skip blanching. The result is very close to fresh once baked in the sauce with a crispy topping.
How do I keep the fried onion topping crispy?
Fry the shallots the day you serve it, drain on a rack, and add them in the final 5 minutes of baking. Any earlier and the steam from the sauce softens them.
Can I make it without canned cream of mushroom soup?
That is exactly what this recipe does. A simple roux-based sauce with real mushrooms, milk, and seasoning replaces the can with better flavor and less sodium.
Final Thoughts
This green bean casserole recipe from scratch proves the classic dish was always worth making properly. Blanch the beans, build a real mushroom sauce, fry your own shallots, and bake it hot. It takes a little more time than opening cans, but the bright color, real flavor, and shattering crunch are the difference between a side dish people skip and one they remember.
Sources
- University of New Hampshire Extension: Freezing Vegetables (blanching times)
- USDA: Thanksgiving food safety guidance (reheating leftovers to 165°F)
Gallery
Photo: Mark Heyne via Pexels
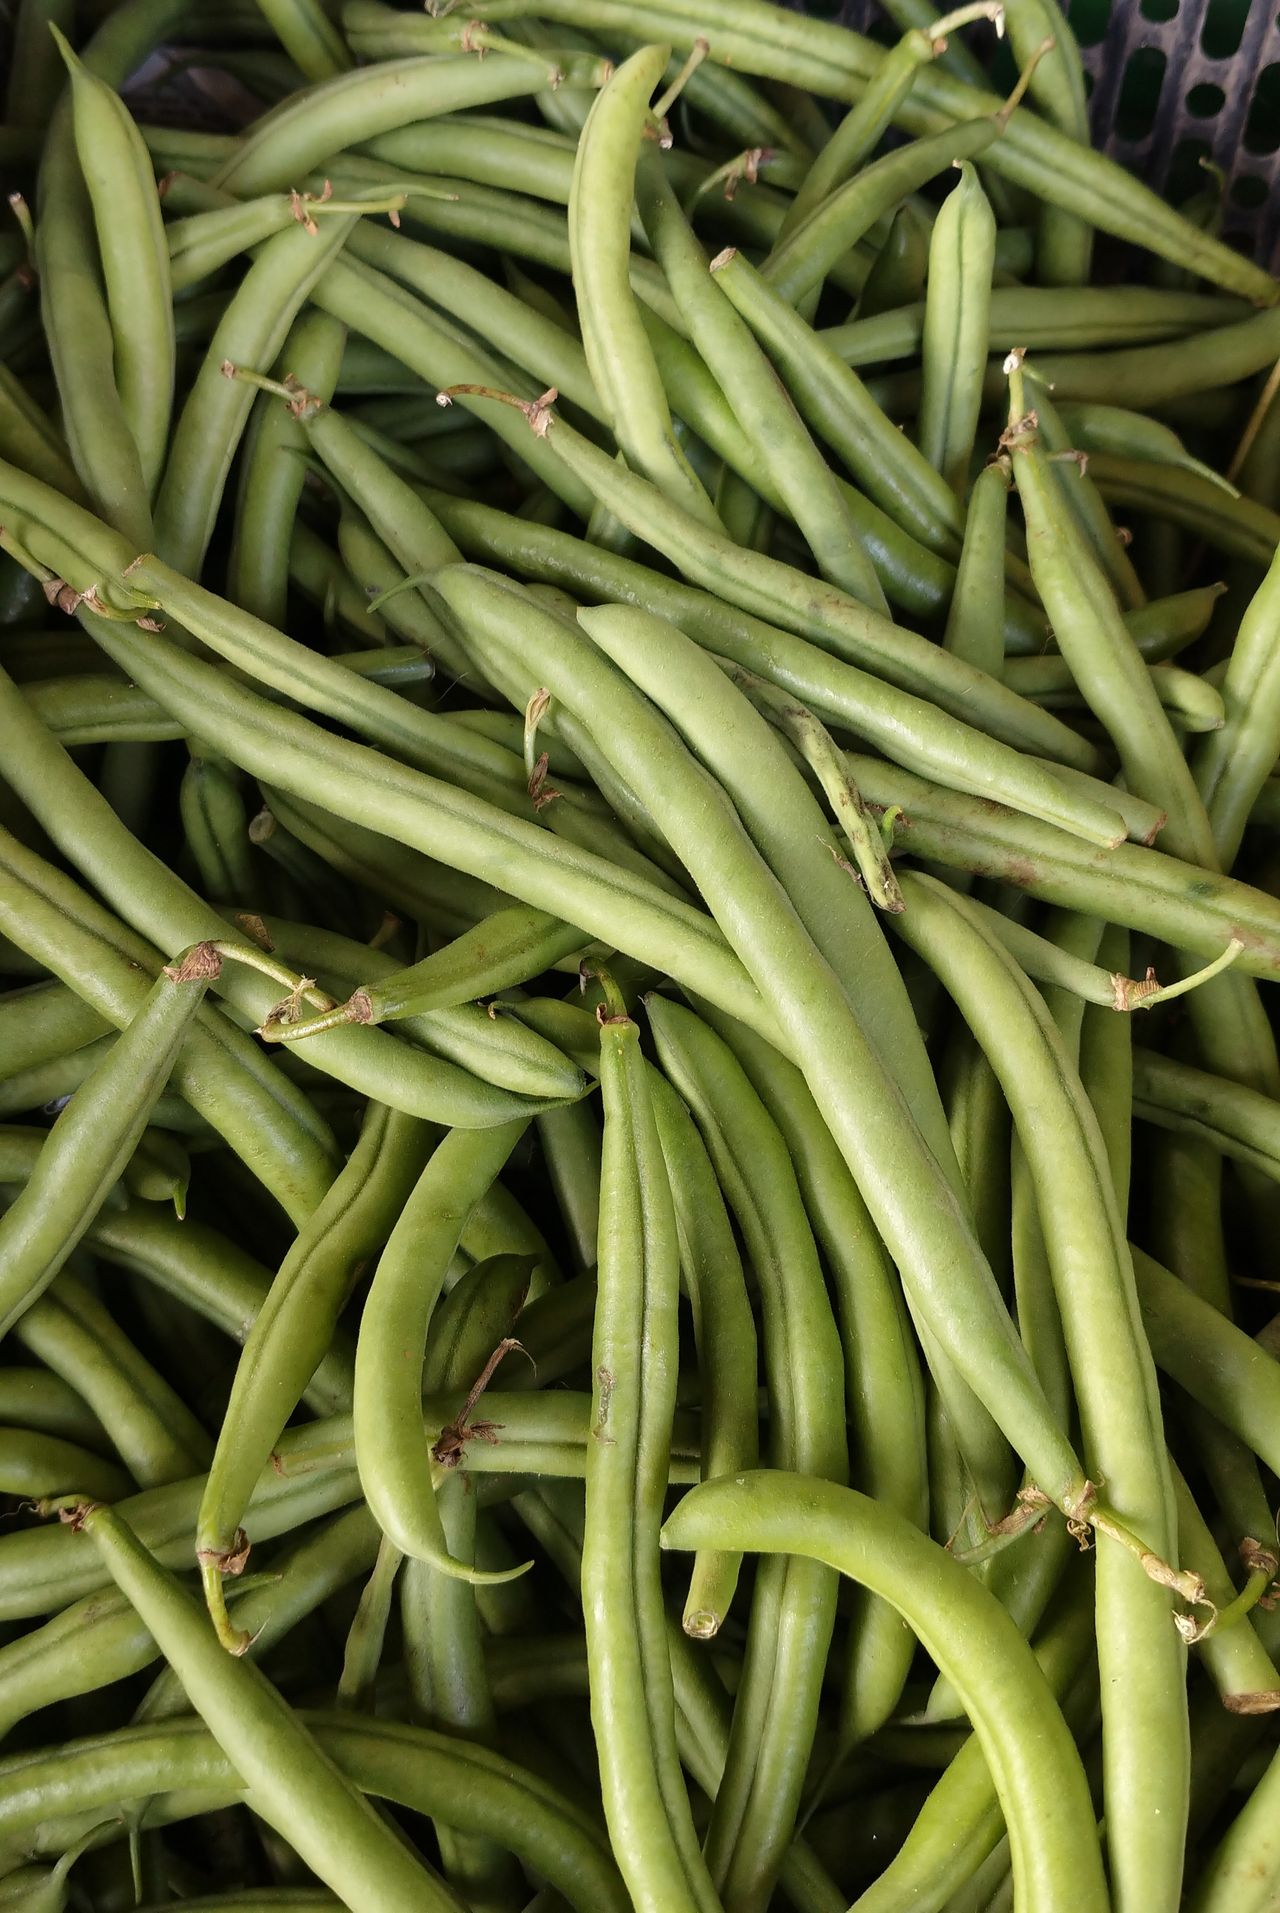
Photo: Ram Kondisetti via Pexels
Photo: Michael Sawyer via Pexels

No comments:
Post a Comment