New boots always look better than they feel. If you have ever wondered how to break in winter boots without limping through the first week, you are not alone: stiff leather, pinched toes, and raw heels are the most common complaints new boot owners share online.
The good news is that a little patience beats pain every time. This ten-step routine walks you through a gentle progression, from short indoor wears to full winter days, so your boots mold to your feet instead of fighting them.

Photo: Ross Kohl via Wikimedia Commons
Table of Contents
- 1. Start With Short Indoor Sessions
- 2. Double Up With the Thick-Sock Trick
- 3. Condition the Leather Before the First Wear
- 4. Warm Them With a Hair Dryer, Then Walk
- 5. Re-Lace to Relieve Pressure Points
- 6. Guard Hot Spots Early With Moleskin
- 7. Take the Stairs to Flex the Ankles
- 8. Let a Cobbler Handle Stubborn Spots
- 9. Know When It Is the Fit, Not the Break-In
- 10. Give It Two to Three Weeks
- FAQs
1. Start With Short Indoor Sessions

Photo: Jeanne Boleyn via Wikimedia Commons
Wear your new boots around the house for one to two hours at a time during the first few days. Do the dishes in them, pace the living room, climb your own stairs. Your body heat starts softening the leather while the clean floors keep the soles pristine in case you need a size exchange.
Keep these sessions short on purpose. The moment you feel a real hot spot forming, take the boots off. Pushing through pain does not speed anything up; it just buys you blisters.
2. Double Up With the Thick-Sock Trick

Photo: Cottoneyejoe234 via Wikimedia Commons
Always break boots in wearing the thickest socks you plan to use in winter, ideally merino wool or proper boot socks. The extra padding cushions your skin while the added bulk gently stretches the leather from the inside, which is exactly the shape you want.
One Reddit-favorite variation is wearing two pairs at once for the first few wears. It feels snug, but that snugness is doing the stretching work for you, and your feet stay protected while the boots give.
3. Condition the Leather Before the First Wear

Photo: R. Henrik Nilsson via Wikimedia Commons
A thin layer of leather conditioner or boot cream before you ever step outside makes the hide fibers far more pliable. Massage it in with your fingers, paying extra attention to stiff zones like the ankle and the vamp where the boot bends.
Let the boots rest overnight so the conditioner can soak in fully. This one step can shave days off the softening process, and it protects the leather from winter salt at the same time.
4. Warm Them With a Hair Dryer, Then Walk

Photo: Dinkun Chen via Wikimedia Commons
This is the trick boot lovers swear by online. Blast warm (not scorching) air into each boot for twenty to thirty seconds to soften the leather, then pull them on over thick socks and walk around until they cool. The leather molds to your foot shape as it cools down.
Keep the dryer moving and never hold it in one spot long enough to dry out or scorch the leather. A few seconds per area is plenty, and you can repeat the process a couple of times over the first week.
5. Re-Lace to Relieve Pressure Points

Photo: Simon Speed via Wikimedia Commons
Sometimes the problem is not the boot but the lacing. If the top of your foot aches, skip crossing the laces over that spot or leave that section slightly looser. If your heel slips, use a heel-lock lacing pattern to pin it in place.
Experiment a little each day during the break-in period. Small lacing tweaks redistribute pressure, and many ankle boots styled with jeans feel like a different pair once the laces are dialed in.
6. Guard Hot Spots Early With Moleskin

Photo: CauliflowerMoon via Wikimedia Commons
The moment you feel rubbing on a heel or toe, stop and stick on moleskin or a blister pad. These create a physical barrier between your skin and the leather, and the slight added thickness helps stretch that exact spot faster.
Do not wait until a blister forms. Treating a hot spot early is the difference between a comfortable break-in and a week of bandaged heels, and it is the single most repeated piece of advice in every boot forum.
7. Take the Stairs to Flex the Ankles

Photo: Thomas Bresson via Wikimedia Commons
Flat walking barely bends a stiff boot shaft. Stairs, hills, and curb steps force the ankle to flex through its full range, which is exactly where new boots feel like cardboard. A few trips up and down your stairs each evening works wonders.
You can also flex the boots by hand while watching TV: hold the toe and heel and gently bend the sole back and forth. It loosens the shank without any foot pain at all.
8. Let a Cobbler Handle Stubborn Spots

Photo: Stephen McKay via Wikimedia Commons
If one spot, say a bunion or a wide forefoot, refuses to give after a week, a cobbler can stretch just that area with professional tools. It usually costs less than a pizza and takes a day or two.
Choose your cobbler carefully, though, since a bad stretch cannot be undone. Ask how long they have been stretching boots specifically, and start with the gentlest option before going aggressive.
9. Know When It Is the Fit, Not the Break-In
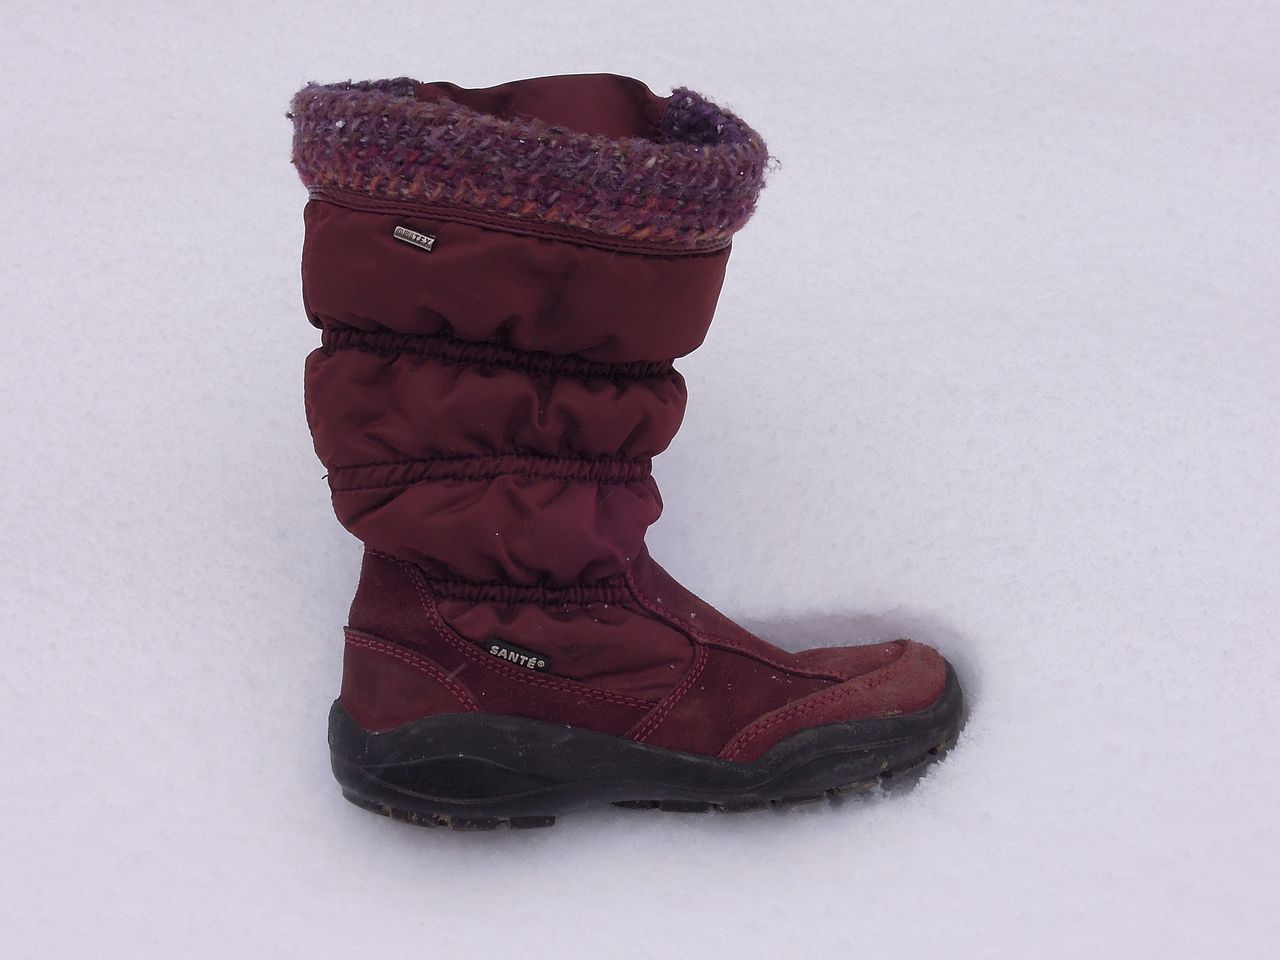
Photo: Oto Zapletal via Wikimedia Commons
Here is the hard truth every boot forum repeats: no amount of breaking in will fix a bad fit. Leather gives a little in width, but it will never meaningfully gain length, and a boot that crushes your toes on day one will crush them on day thirty.
If your toes hit the front, your heel lifts badly, or you feel numbness, stop breaking them in and exchange them instead. A good fit should feel snug but never painful right out of the box.
10. Give It Two to Three Weeks

Photo: Aurinya via Wikimedia Commons
Plan on a gradual ramp-up: short indoor wears the first week, half-day outings the second, and full days only in week three. By then the footbed has molded to your arch and the heel cup has shaped itself around your heel.
Rushing this timeline is how people end up hating boots they would otherwise love. Mark it on your calendar and treat the break-in like a project, not a race; for more easy winter dressing ideas, browse our comfortable women's clothing picks.
Frequently Asked Questions
How long does it take to break in new boots?
Most leather winter boots need two to three weeks of gradual wear. Synthetic and faux-leather pairs often feel fine within a few days.
Can I break in boots in a single day?
You can soften them noticeably in a day with the hair dryer and thick-sock method, but a truly custom fit still takes a couple of weeks of regular wear.
Does the hair dryer trick damage leather?
Not if you keep the heat moderate and the dryer moving. Excessive heat in one spot can dry out or crack the leather, so use short bursts.
Should I buy a bigger size to make break-in easier?
No. Buy the size that fits with your winter socks on. Extra length causes heel slip and blisters, which no break-in routine can fix.
What if my boots still hurt after three weeks?
See a cobbler for a targeted stretch, or accept that the last may not suit your foot shape. Persistent pain is a fit problem, not a patience problem.
Final Thoughts
Breaking in boots is really about working with the leather instead of against it: short wears, thick socks, a little conditioner, and honest attention to hot spots. Follow the routine above and your boots will feel custom-made by the time real winter arrives.
And remember the golden rule from every seasoned boot wearer: that is how to break in winter boots the pain-free way, but comfort should never require suffering. If a pair fights you for weeks, the pair is wrong, not your feet.
Sources
- Yardbarker: Break In Leather Boots So They Fit Like a Glove
- Bustle: 4 Ways to Break In a New Pair of Boots Quickly
- Bustle: 7 Ways to Break In New Boots for Fall and Winter
- My Outdoor Joy: These Boots Are Made for Walking, Or Are They?
- Outback Traders: Step-by-Step Boot Break-In Guide
Gallery
Photo: HopsonRoad via Wikimedia Commons

Photo: aholaS via Wikimedia Commons

Photo: D-Kuru via Wikimedia Commons

No comments:
Post a Comment