Old wooden furniture deserves better than the landfill — and the right woodcare paint can turn a scratched dresser or dated side table into the best piece in the room. But walk into any Canadian hardware store and the wall of finishes is overwhelming: chalk, milk, latex, stain, varnish, wax.
This guide breaks down every major type of wood finish in plain language, with honest advice on when to use each one, how to prep properly, and what each option really costs. If you are choosing colours too, our dark sage green paint ideas are a reader favourite for furniture.

Image: Pexels
Table of Contents
- 1. Chalk Paint for Beginners
- 2. Milk and Mineral Paint
- 3. Latex and Acrylic Furniture Paint
- 4. Stains That Show the Grain
- 5. Varnish and Polyurethane
- 6. Lacquer and Enamel for Drama
- 7. Prep and Tools That Matter
- 8. Brushes, Rollers, and Technique
- 9. Going Bold With Colour
- 10. Folk-Art and Hand-Painted Details
1. Chalk Paint for Beginners
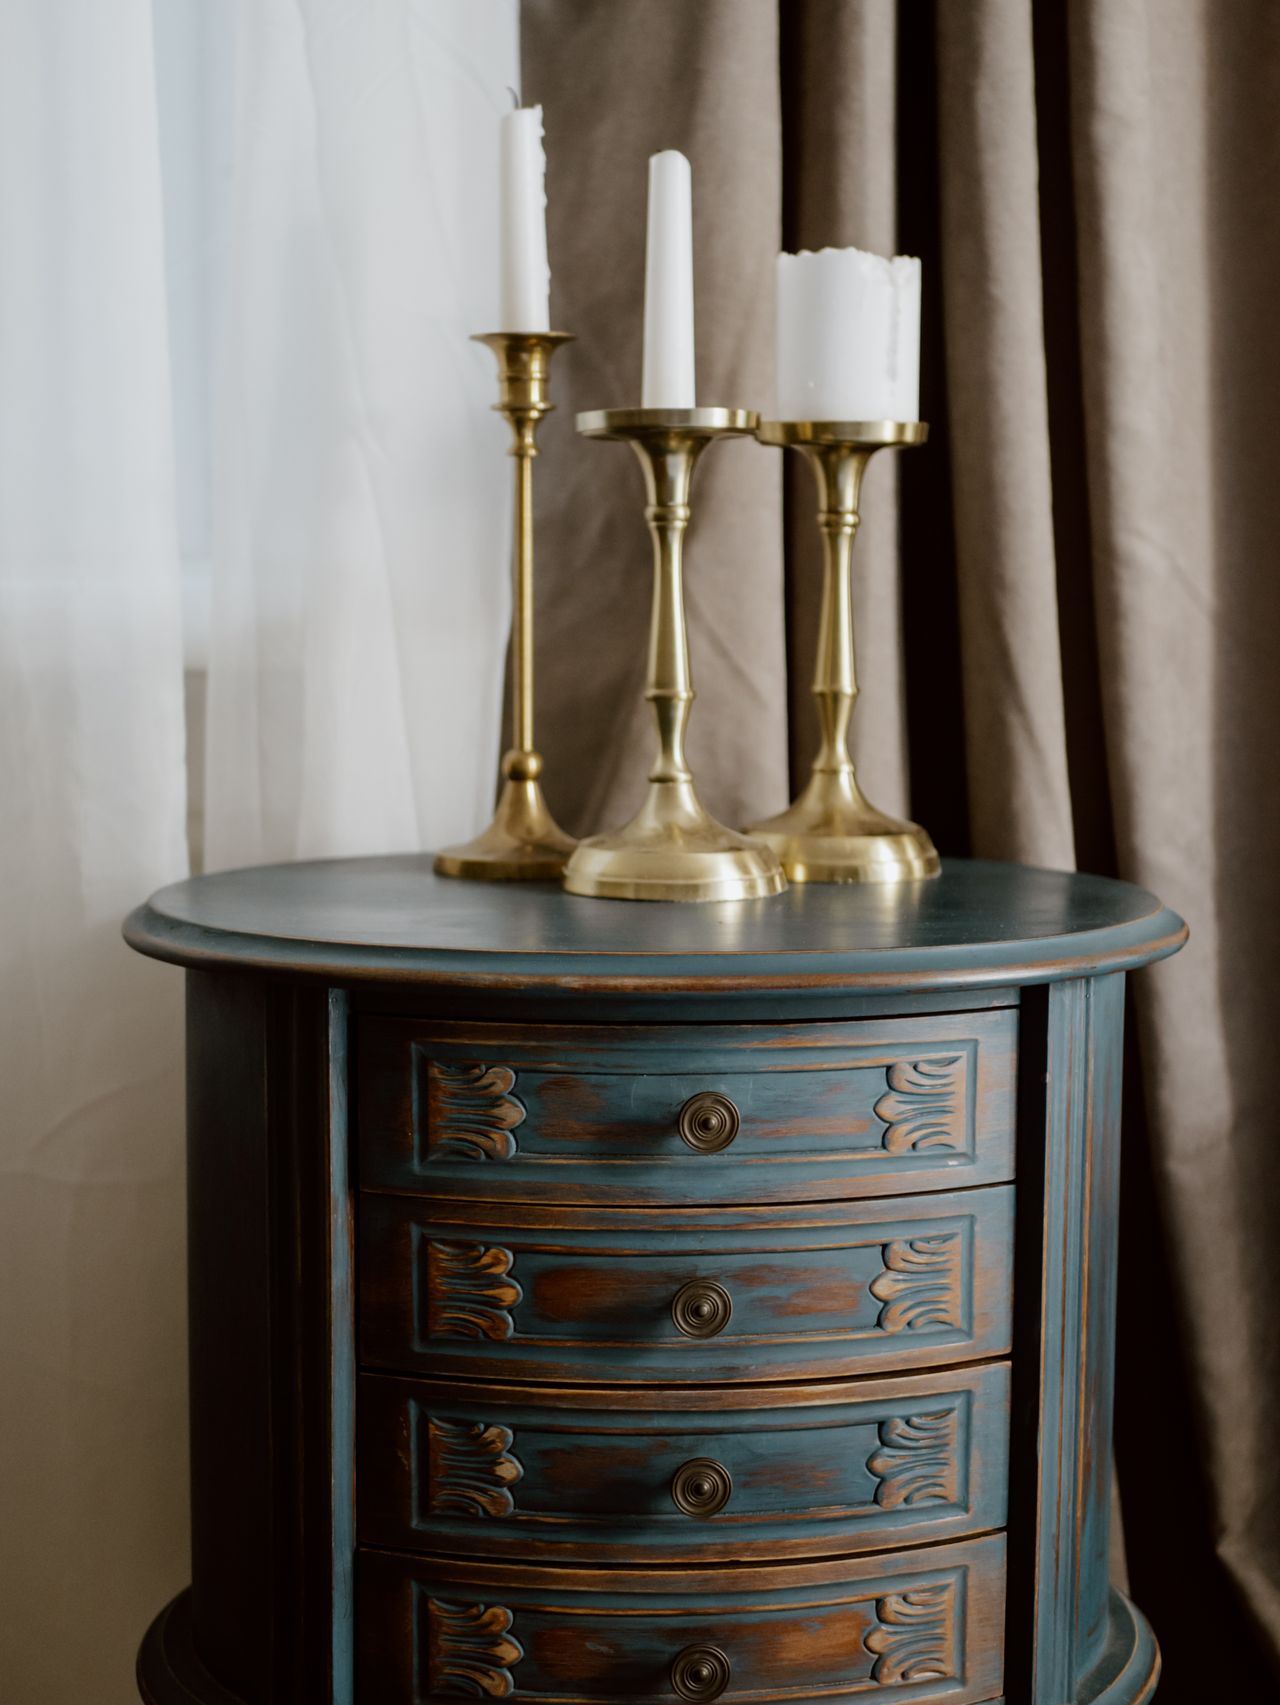
Image: Pexels
Chalk paint is the friendliest starting point for painting furniture: it sticks to almost anything with minimal sanding, dries to a soft matte finish, and distresses beautifully at edges for a vintage look. Most pieces need just two coats.
Seal it with clear wax or a matte topcoat, or the finish will mark easily — chalk paint on its own is not durable. A 1-litre tin costs $35 to $50 CAD and covers roughly one dresser or two side tables.
2. Milk and Mineral Paint

Image: Wikimedia Commons
Milk paint is made from milk protein, lime, and pigment — it is one of the oldest wood finishes in the world and gives an authentic chippy, timeworn look as it naturally resists full adhesion. Mineral paint is its modern cousin: similar matte look, far better durability.
Use milk paint when you want genuine antique character on folk or farmhouse pieces; choose mineral paint for pieces that get handled daily. Both are low-odour and a good pick for indoor winter projects.
3. Latex and Acrylic Furniture Paint
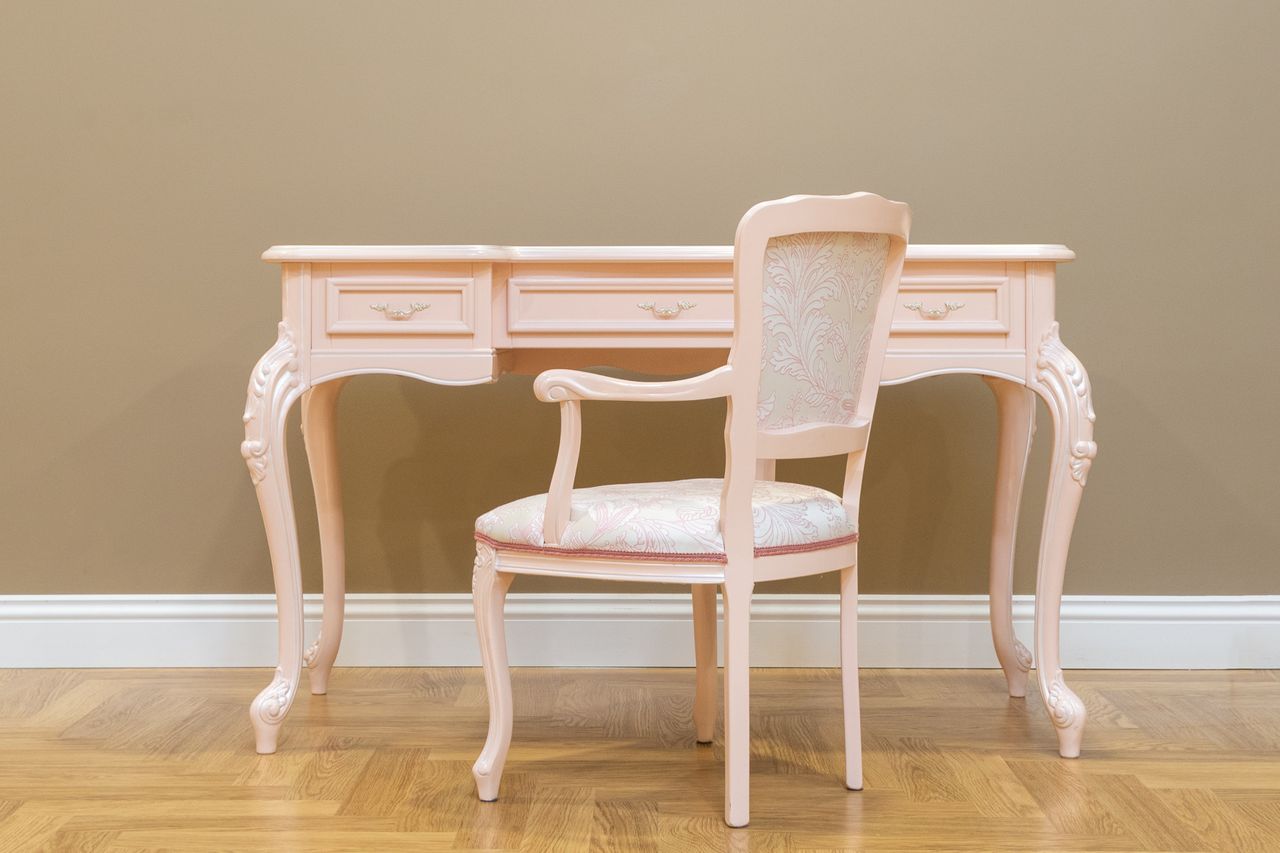
Image: Pexels
Standard latex or 100% acrylic paint is the workhorse of furniture painting: affordable, widely available in thousands of colours, and tough enough for daily use when properly prepped and topcoated. It is the right choice for most dressers, desks, and bookcases.
The non-negotiable step is primer — a quality bonding primer stops bleed-through from wood tannins, especially on oak and mahogany. Budget $60 to $90 CAD per 3.78-litre can, which covers several large pieces. See our dresser decor ideas for styling once the paint dries.
4. Stains That Show the Grain
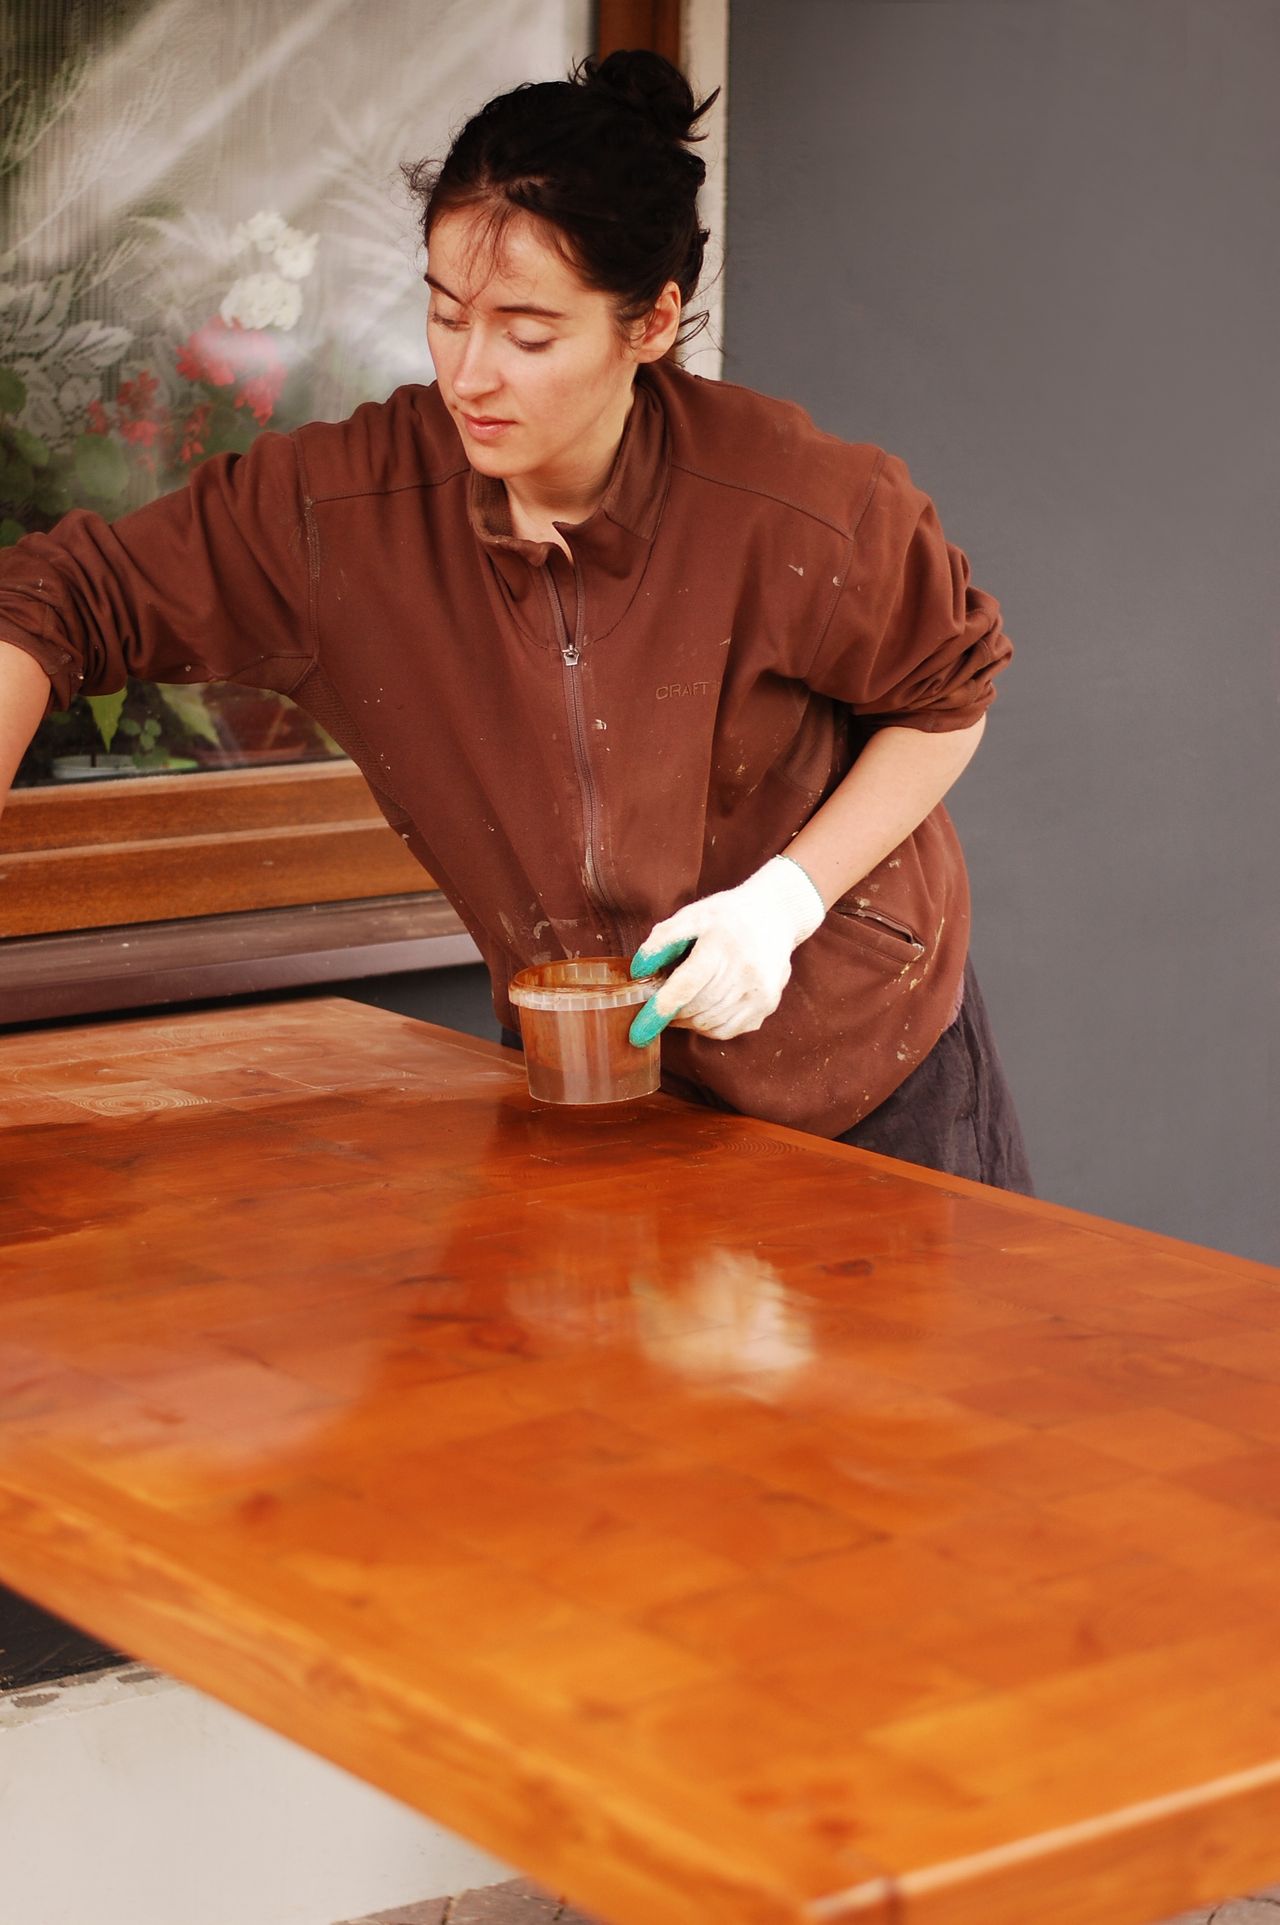
Image: Pexels
When the wood itself is beautiful, stain enhances it instead of hiding it. Oil-based stains penetrate deeply and give rich, even colour; water-based stains dry faster and smell less, which matters for indoor Canadian winter projects.
Always test stain on a hidden spot first — pine and maple absorb unevenly and can look blotchy without a pre-stain conditioner. Apply with the grain, wipe off the excess after 5 to 15 minutes, and let it cure fully before topcoating.
5. Varnish and Polyurethane

Image: Wikimedia Commons
Varnish and polyurethane are clear protective topcoats, not colours: they go over stain or bare wood to shield tabletops, floors, and chair arms from scratches, water rings, and daily wear. Oil-based versions amber slightly; water-based stay crystal clear.
For dining tables and other hard-use surfaces, three thin coats beat one thick coat every time. Lightly sand with 220-grit between coats and wipe away all dust — dust nibs are the number-one reason DIY varnish looks rough.
6. Lacquer and Enamel for Drama

Image: Wikimedia Commons
Nothing says glamour like a high-gloss lacquered piece — deep red, emerald, or black lacquer turns a plain chair into a statement. True spray lacquer dries in minutes and levels to a glass-smooth finish, but it needs ventilation and practice.
For a DIY-friendly alternative, use a high-gloss enamel applied with a foam roller in thin coats. Enamel is tougher than lacquer against chips, making it the better pick for pieces that get knocked around.
7. Prep and Tools That Matter
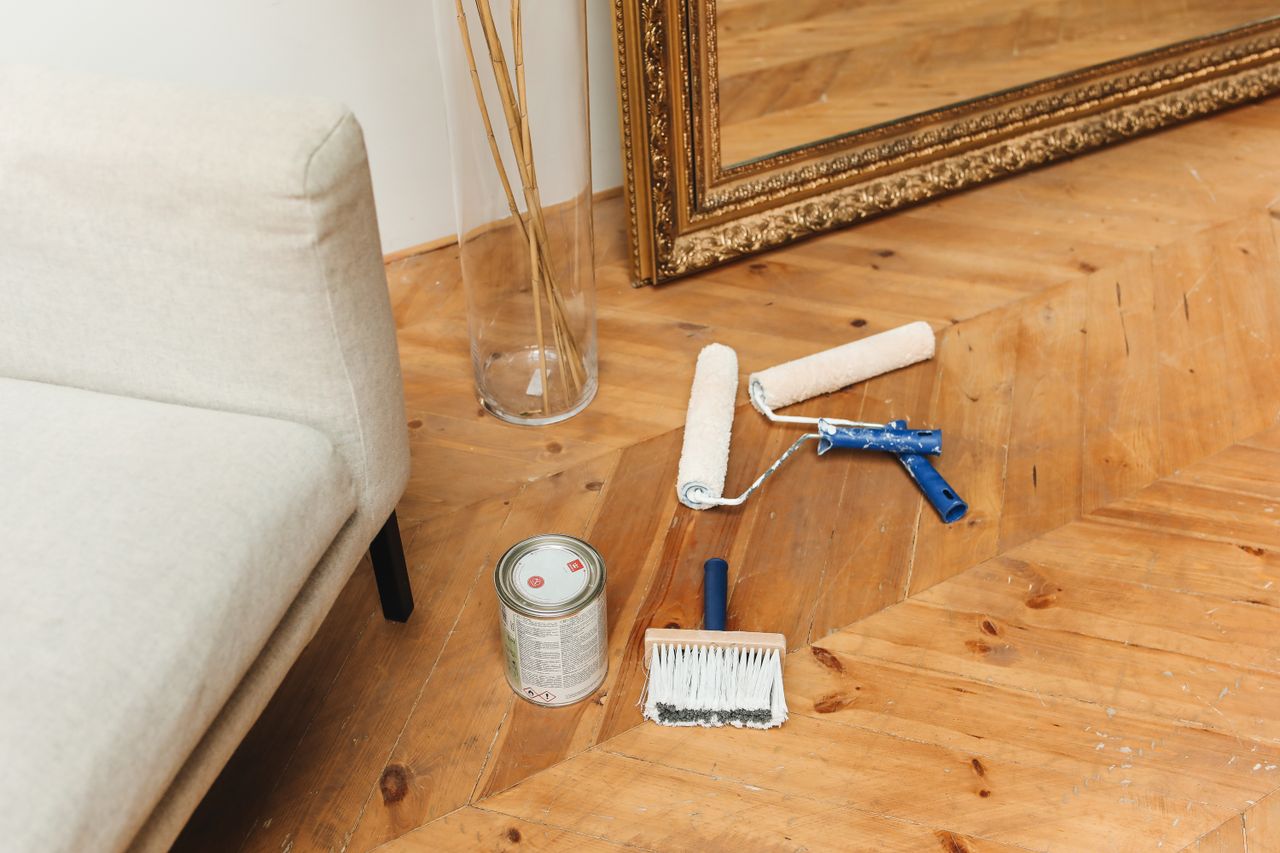
Image: Pexels
Great finishes are 80 percent preparation. The basic kit is simple: a degreasing cleaner, 120- and 220-grit sandpaper or sanding sponges, quality primer, painter’s tape, drop cloths, and a tack cloth for final dust removal.
Clean first, then sand: grease and wax stop paint bonding no matter how well you sand. Fill dents with wood filler, sand smooth when dry, and always wipe the piece completely clean before the first coat goes on.
8. Brushes, Rollers, and Technique
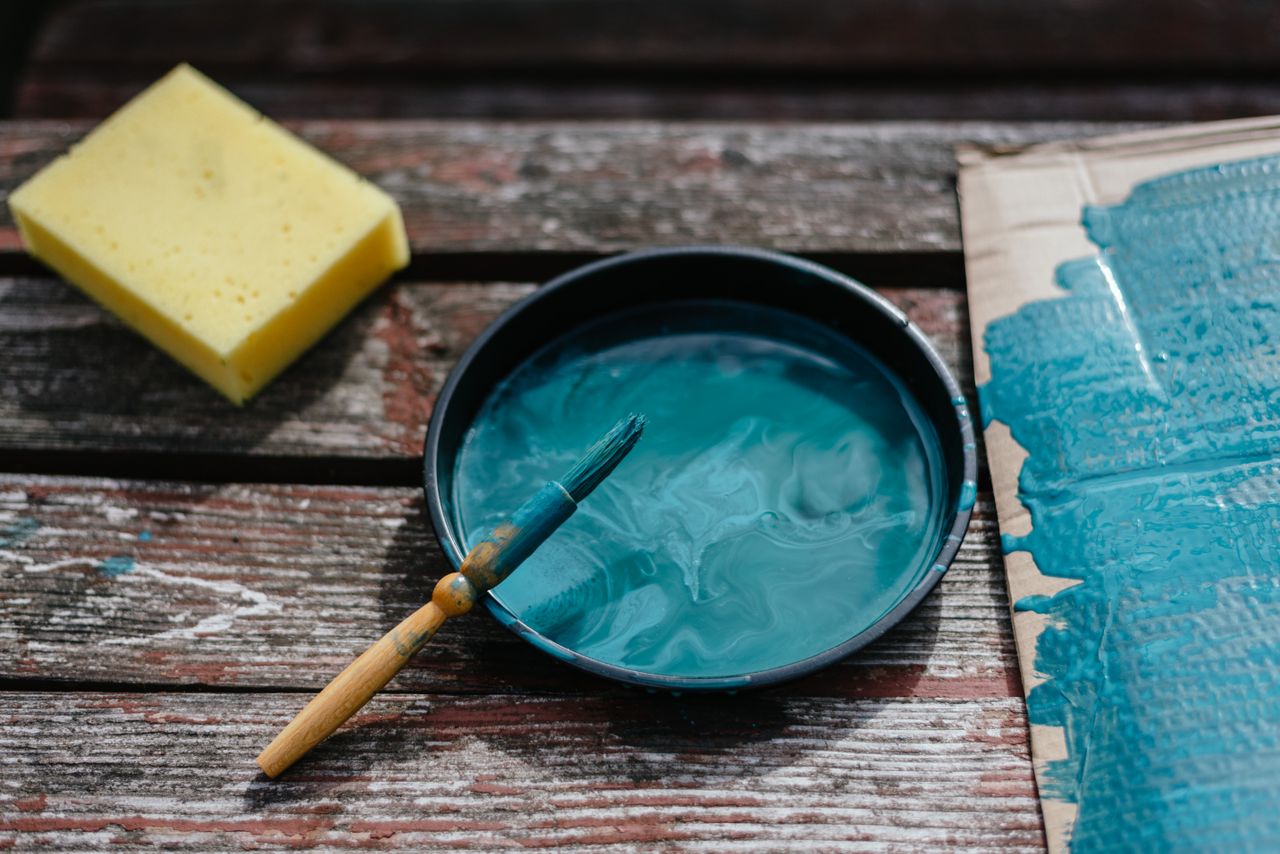
Image: Pexels
Use a good synthetic brush for detail work and a small foam roller for flat panels — the roller leaves a smoother, brush-mark-free finish on table tops and drawer fronts. Cheap brushes shed bristles into wet paint, so a $15 brush is money well spent.
Work in thin coats and resist the urge to overbrush: lay the paint down, smooth it once with the grain, and walk away. Most finishes need two to three thin coats with light sanding between, not one heavy coat that drips and sags.
9. Going Bold With Colour
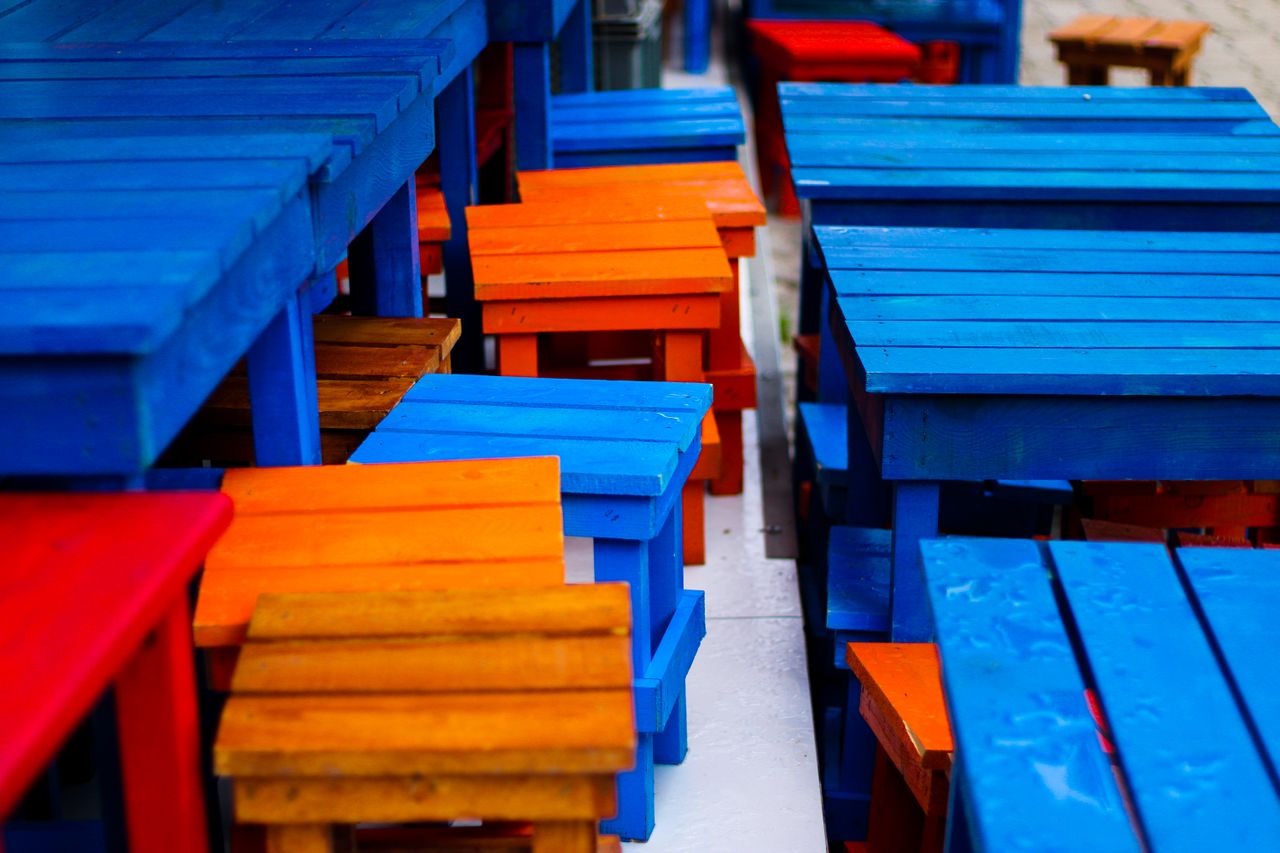
Image: Pexels
Painted furniture is the lowest-risk way to try bold colour: a single piece in cobalt, terracotta, or mustard energises a neutral room without repainting walls. Colourful pieces also hide everyday wear better than white.
Repeat the colour once elsewhere in the room — a cushion, a lamp, a plant pot — so the piece looks intentional rather than random. Our bathroom painting tips cover bold colour in small, steamy spaces too.
10. Folk-Art and Hand-Painted Details
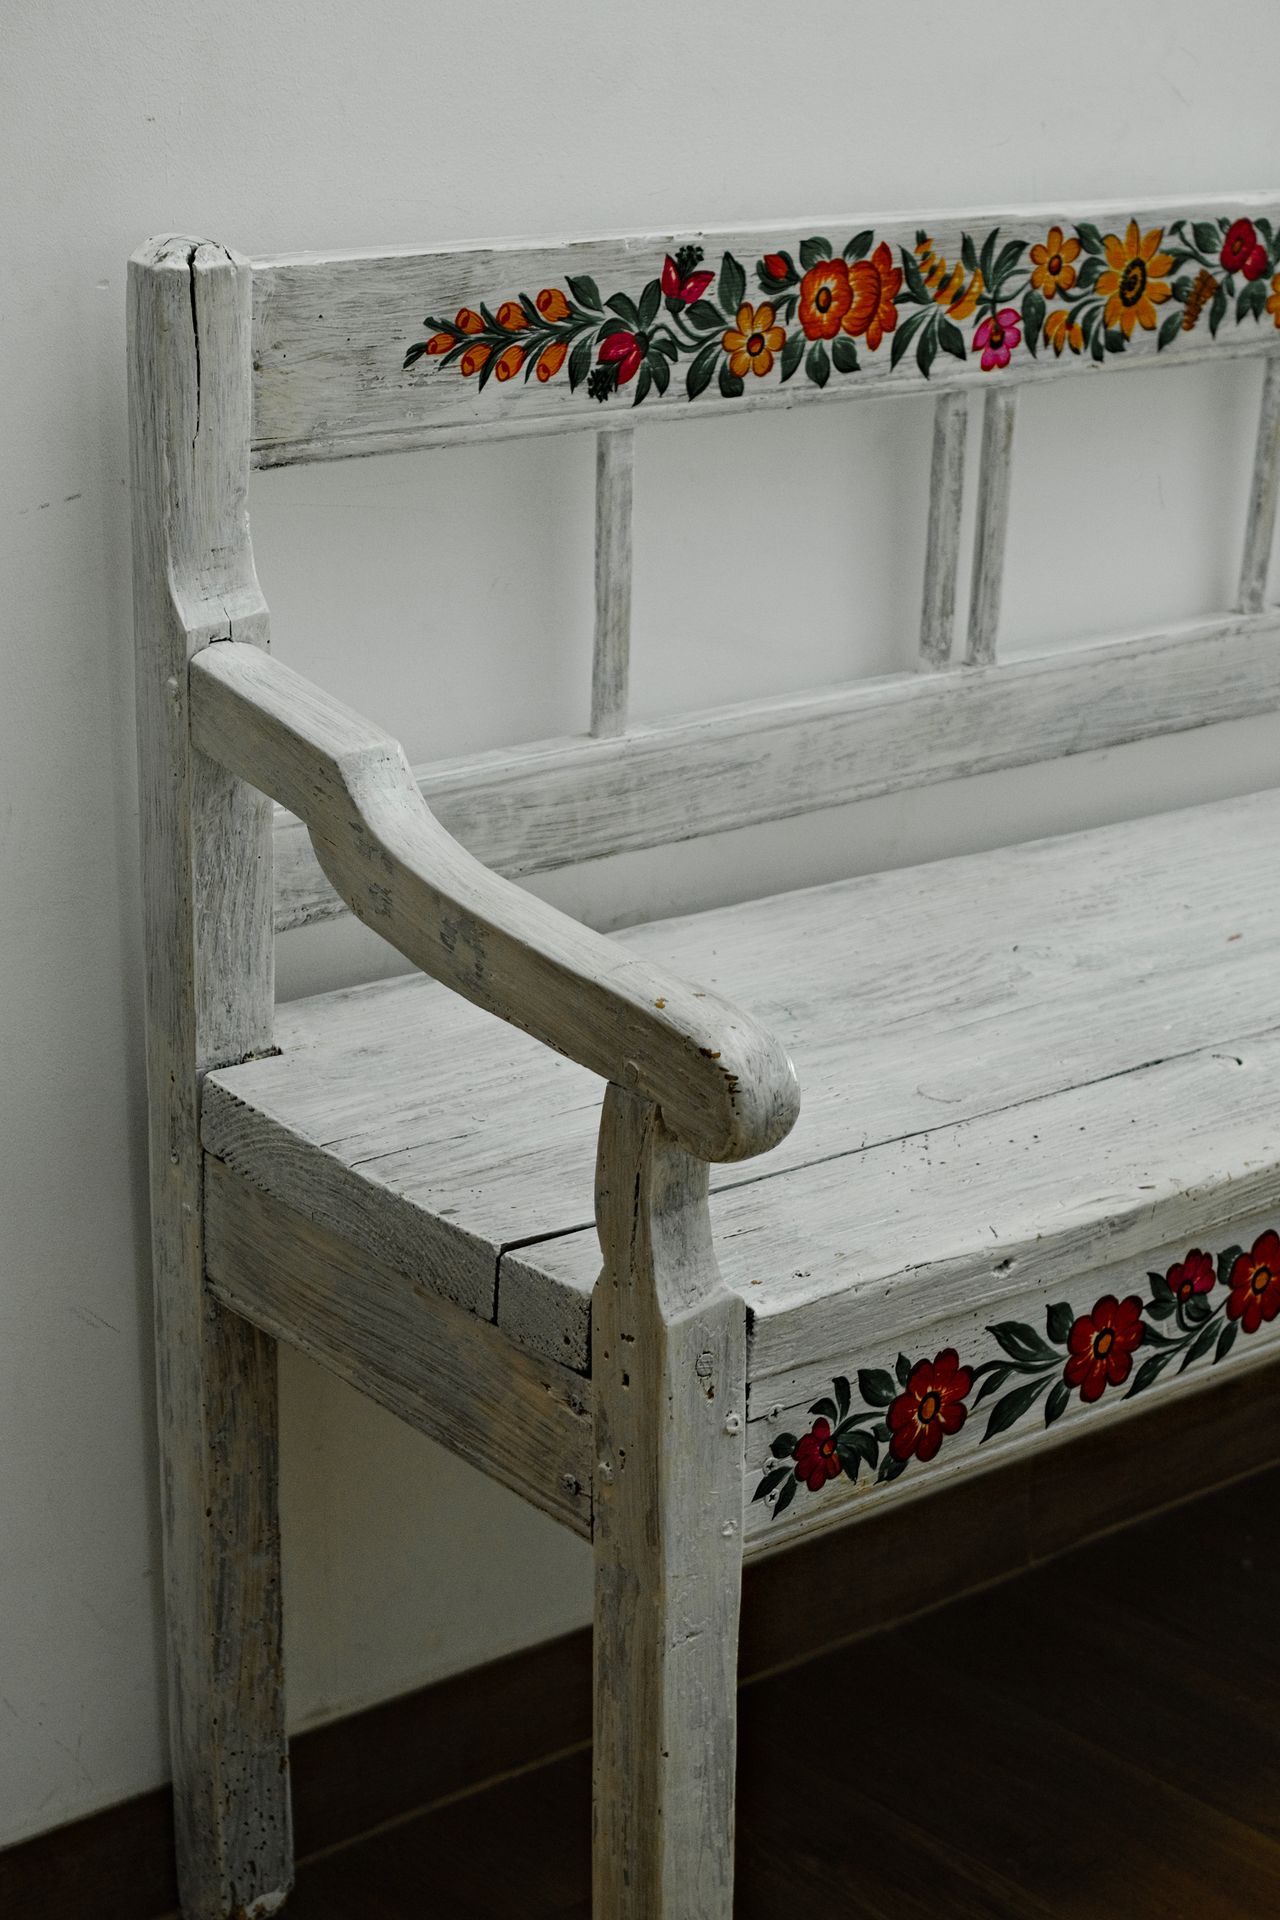
Image: Pexels
Hand-painted flowers, birds, and borders turn simple furniture into heirlooms. You do not need fine-art skills: simple daisy chains, dots, and leaf borders painted with a small round brush look charming and folk-authentic.
Sketch the design lightly in pencil first, use acrylic craft paint for the details, and seal the whole piece with two coats of clear matte varnish. This is a lovely weekend project and a thoughtful handmade gift.
FAQs
What is the difference between furniture paint and regular wall paint?
Furniture paint is formulated to bond to wood and flex with it: furniture enamels, chalk paints, stains, and varnishes. Wall paint can work on furniture in a pinch but chips faster without proper primer and topcoat.
Do I need to sand before painting wood furniture?
Almost always, yes — at least a light scuff-sand with 120-grit so the new finish can grip. The exception is chalk and mineral paints, which are designed to adhere with minimal prep on clean, sound surfaces.
What is the most durable paint for a dining table?
A 100% acrylic enamel or a catalyzed finish, sealed with two to three coats of water-based polyurethane on the top. Chalk paint alone is too soft for table tops.
Can I paint over varnished wood?
Yes: clean thoroughly with a degreaser, scuff-sand the varnish, apply a bonding primer, then paint. Skipping the primer is the main reason paint peels off old varnish.
How much does furniture paint cost in Canada?
Expect $35 to $50 CAD per litre for chalk or mineral paint, $60 to $90 for a 3.78-litre can of quality acrylic enamel, and $15 to $30 for a litre of polyurethane. One dresser typically needs one litre of paint plus primer.
Final Thoughts
The secret to beautiful painted furniture is matching the finish to the job: chalk or mineral paint for vintage charm, acrylic enamel for hardworking pieces, stain plus varnish when the grain deserves the spotlight. Prep well, apply thin coats, and let everything cure fully — patience is the cheapest upgrade in woodcare.
Sources
Gallery
Image: Pexels
Image: Pexels
Image: Pexels

No comments:
Post a Comment