Torch on roofing is the go-to method for flat and low-slope roofs across Canada. Instead of nails or glue, the installer heats a bitumen membrane with an open-flame torch and fuses it to the roof deck, creating a watertight skin with no fasteners to leak.
This guide explains the method in plain language. You will learn how the torch-down process works, which buildings suit it, what it costs, how long it lasts, and the safety rules that matter. Everything is written for Canadian homes and our demanding climate.
Table of Contents
- 1. What Torch-On Roofing Actually Is
- 2. How the Torch Method Works
- 3. Base Sheet and Cap Sheet
- 4. Where Torch-On Is Used
- 5. Homes With Flat Sections
- 6. Commercial and Industrial Roofs
- 7. Concrete Decks and Parkades
- 8. City Buildings and Retrofits
- 9. Drainage Details Matter
- 10. Lifespan and Maintenance
- Frequently Asked Questions
1. What Torch-On Roofing Actually Is
Torch-on roofing is a two-layer bitumen membrane system made for roofs too flat for shingles. The rolls look like thick black felt with a granular top surface. Each roll is about one metre wide and 10 metres long, and the layers overlap by about 10 cm at every seam.
What makes it special is the bond. A propane torch melts the bitumen on the underside of the roll as it is unrolled, welding it to the layer below. Done right, the seams become one continuous waterproof sheet with no nails, no screws and no gaps for water to find.
2. How the Torch Method Works
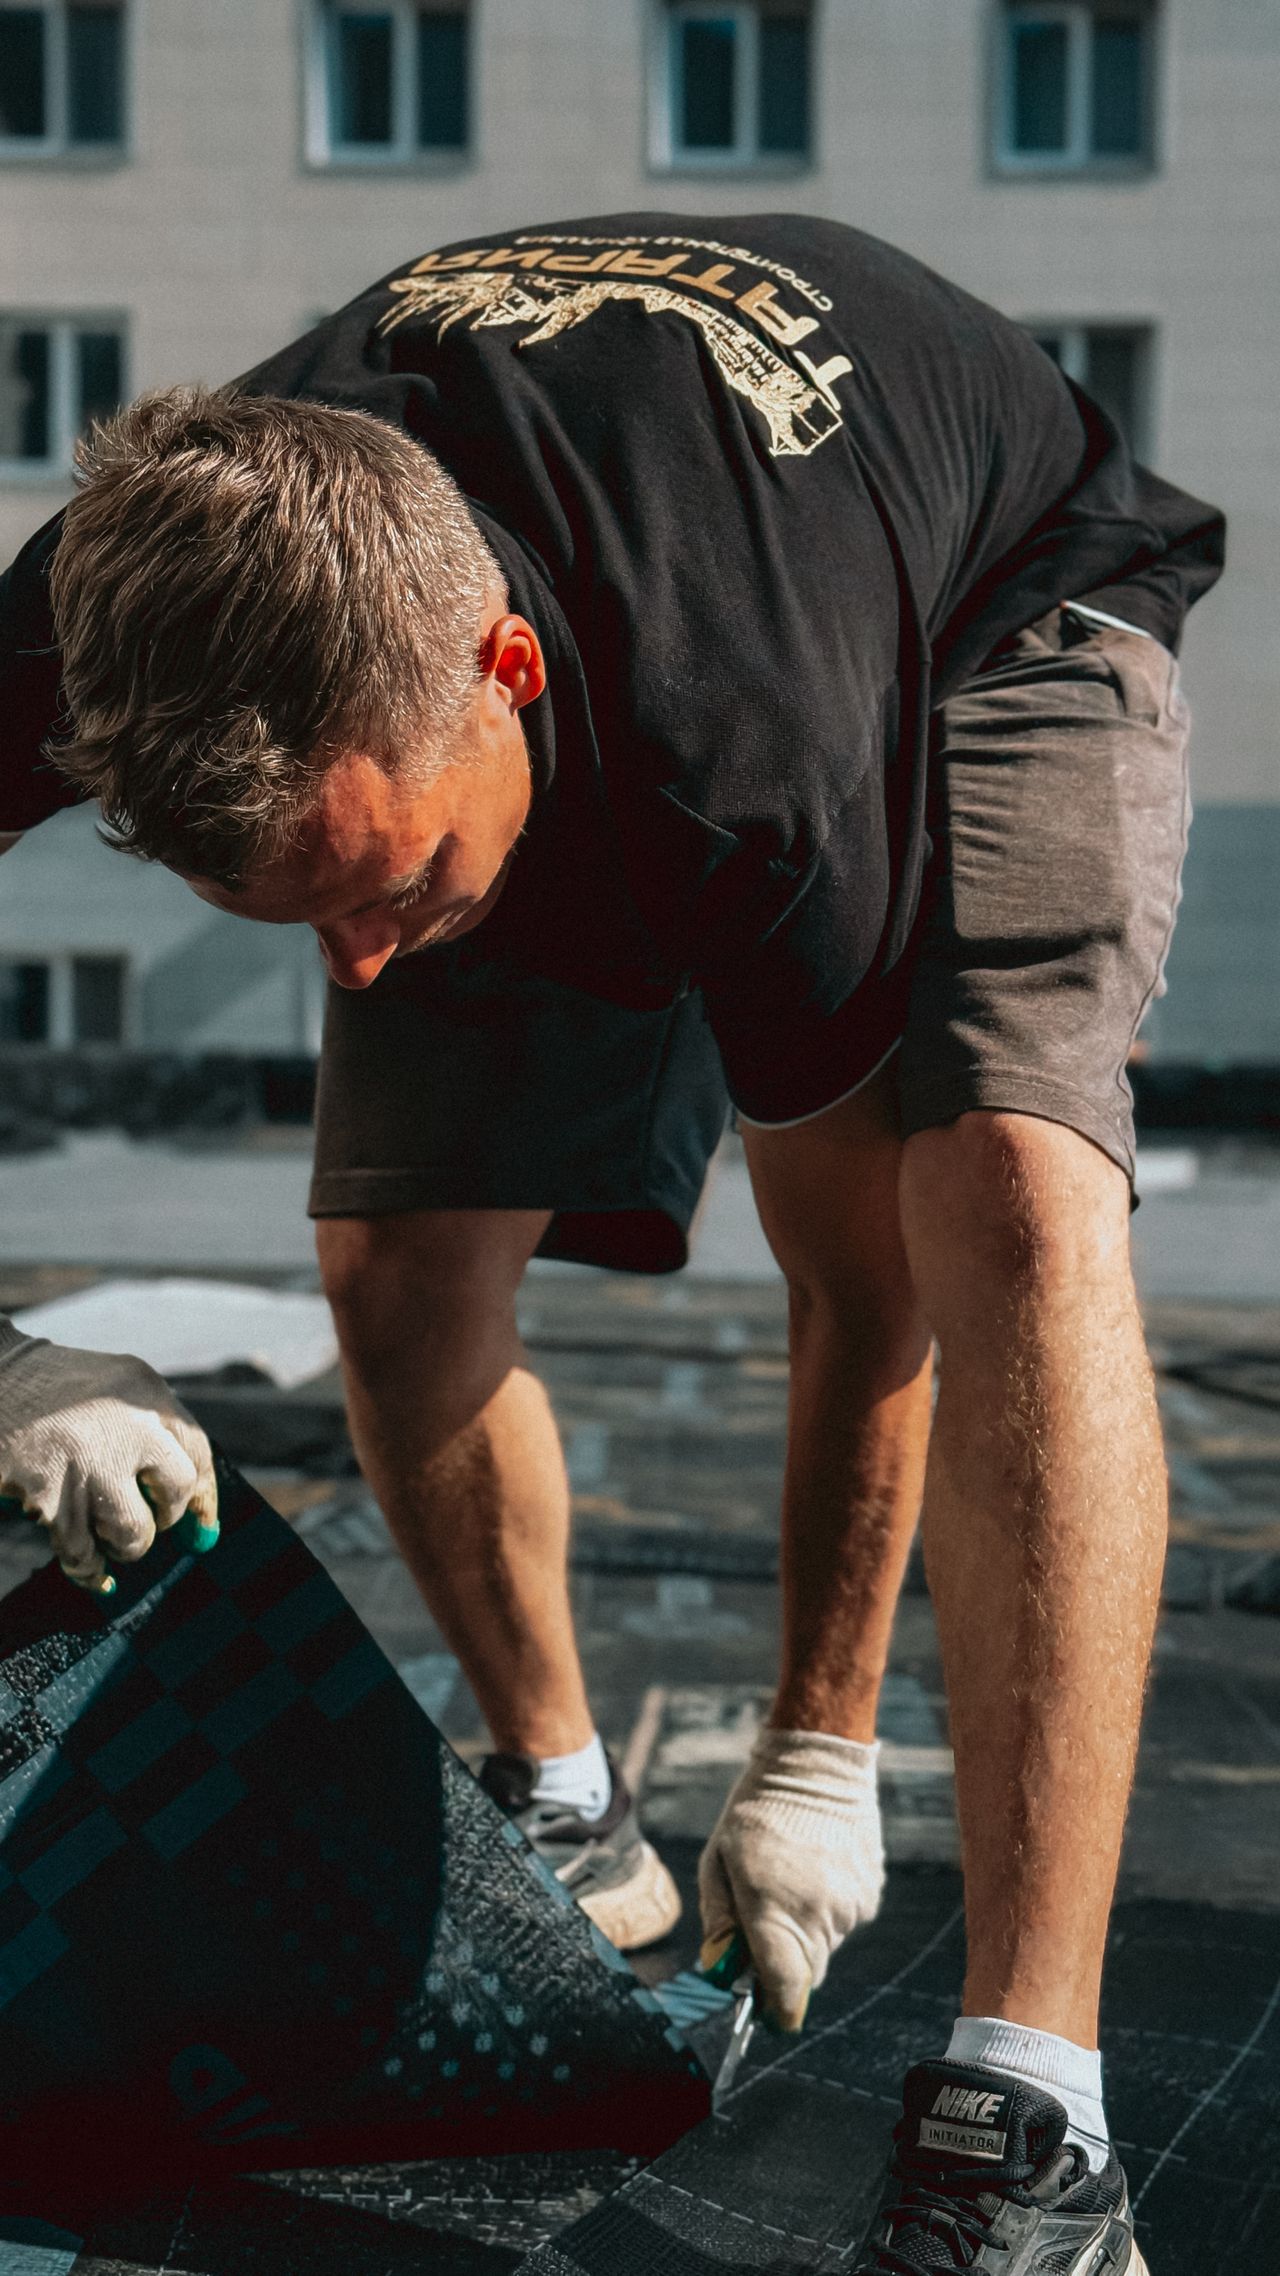
The crew starts by sweeping the deck clean and rolling out the base sheet. Then the real work begins: one installer walks backwards, playing the torch flame across the membrane's underside while a second worker presses the hot roll firmly into place. The bitumen must melt evenly, not scorch.
Seams get a second pass with the torch and a heated trowel to smooth them flat. Around vents, drains and parapets, the membrane is cut to fit and torched down in smaller pieces. It is skilled, physical work, which is why torch-on installation is strictly a job for trained professionals.
3. Base Sheet and Cap Sheet
The system has two parts. The base sheet goes down first and is usually smooth black bitumen about 3 mm thick. The cap sheet goes on top at about 4 mm, with a granular or sandy surface that protects against UV rays and foot traffic.
Some systems add a third layer or use a self-adhered base for extra safety on wooden decks. The cap sheet colour is usually black, grey or white. White granular caps reflect more sun and can slightly lower summer cooling costs on top floors.
4. Where Torch-On Is Used
You will find torch-on membranes on apartment blocks, schools, warehouses and any home with a flat or nearly flat section. It handles slopes from dead flat up to about 2/12 pitch. Anything steeper usually gets shingles or metal instead.
It is also the standard fix for problem flat roofs. If an old tar-and-gravel roof is leaking but the deck is sound, a torch-on overlay often costs half of a full rebuild. The old surface is cleaned, primed and covered with the new two-ply system.
5. Homes With Flat Sections
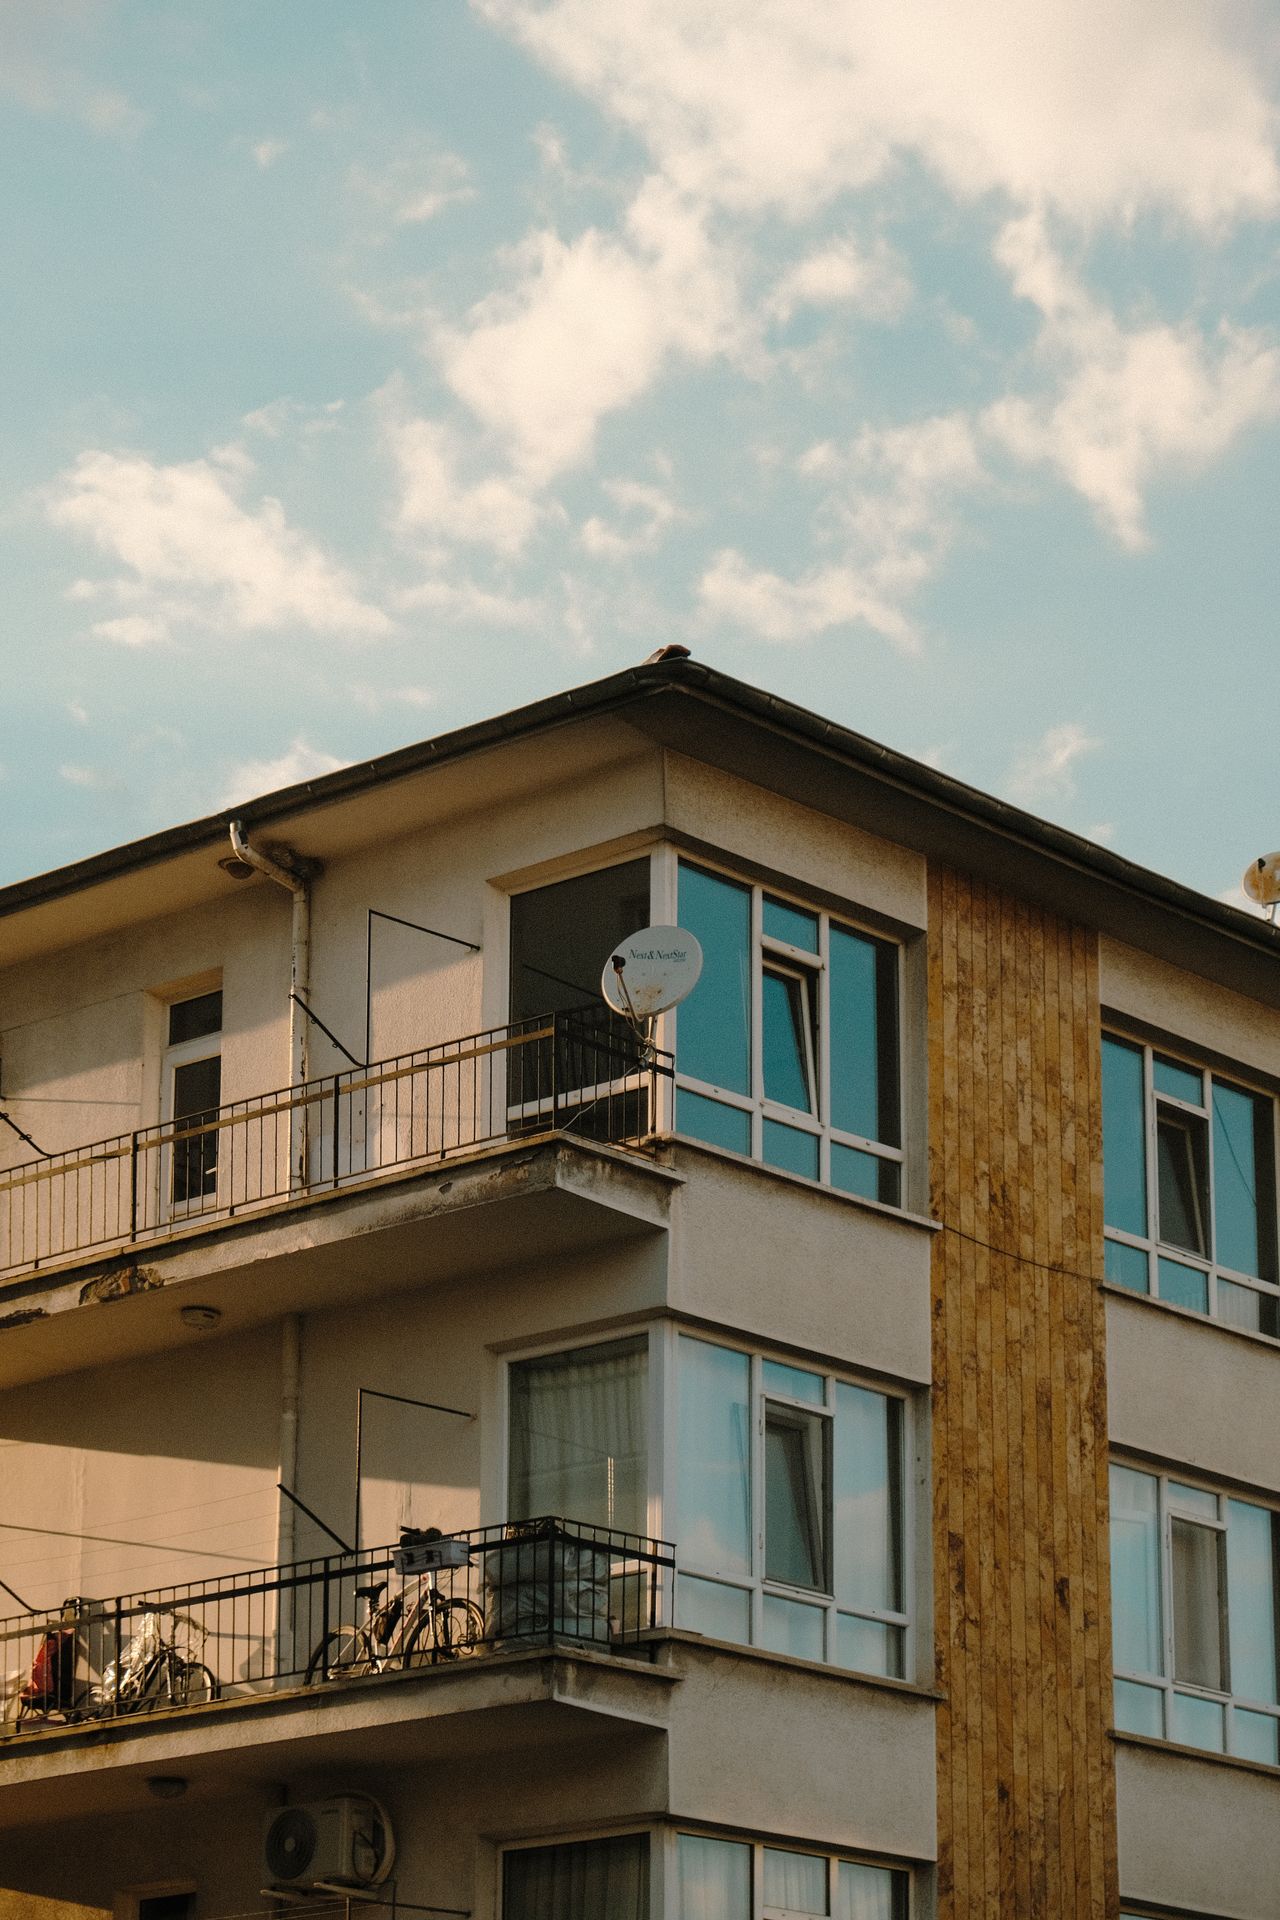
Many Canadian homes mix roof types: a pitched shingle roof over the main house and a flat membrane over a garage, porch or extension. These flat sections are prime torch-on territory. They are also where most residential leaks start, so they deserve proper attention.
If your porch or garage roof is blistering or ponding, get it assessed before the damage spreads to the walls below. A small flat section of 20 square metres typically costs $1,700 to $3,000 to re-cover. Pair the job with your covered patio attached to the house plans, since patios often share the same low-slope structure.
6. Commercial and Industrial Roofs
On commercial buildings, torch-on competes with EPDM rubber and TPO single-ply membranes. Torch-on wins on puncture resistance and repairability: a damaged spot can be patched with a torch and a scrap of membrane in minutes, while single-ply repairs need special adhesives.
The trade-off is installation risk. Open flames on a big industrial roof demand strict fire watch procedures, and some insurers charge more for torch-applied work. Many commercial specs now require a self-adhered base sheet with only the cap torched, cutting flame time dramatically.
7. Concrete Decks and Parkades
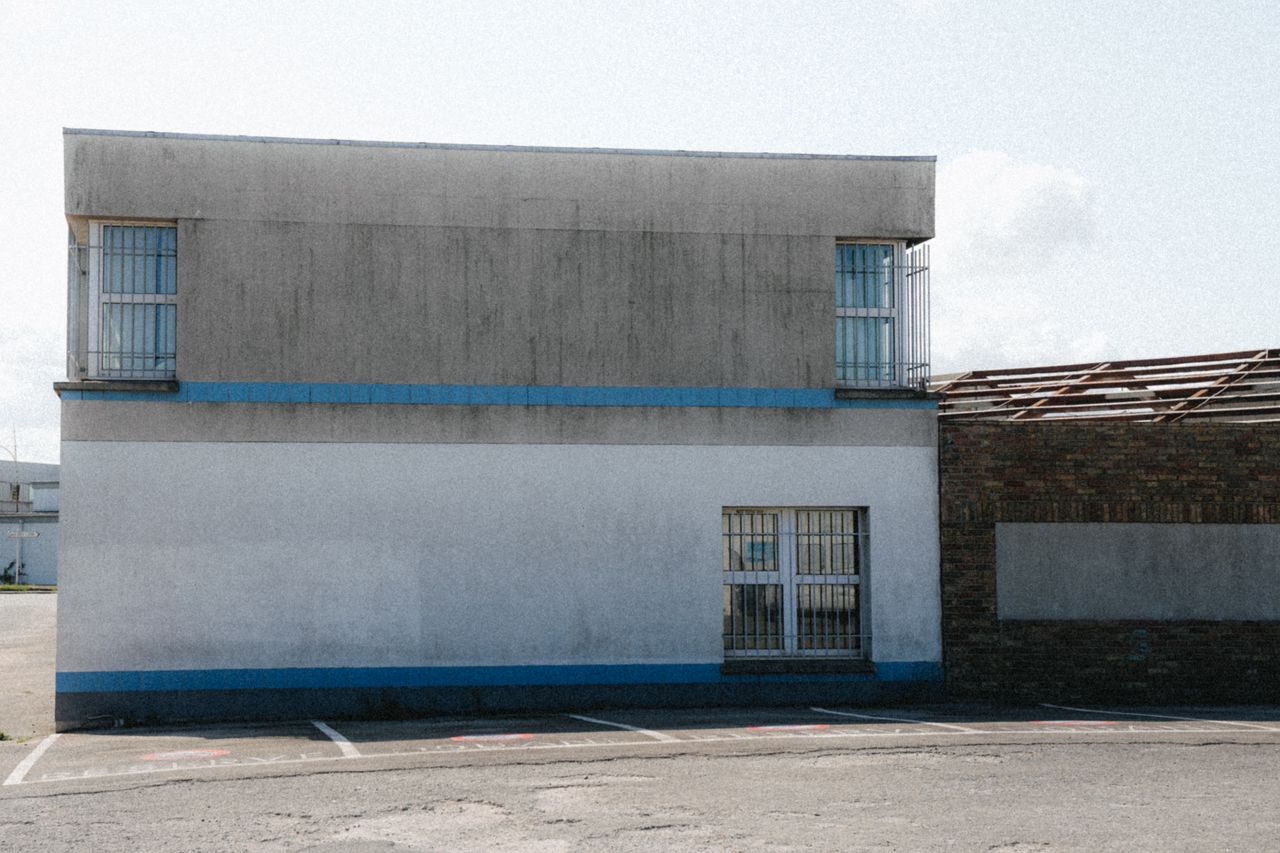
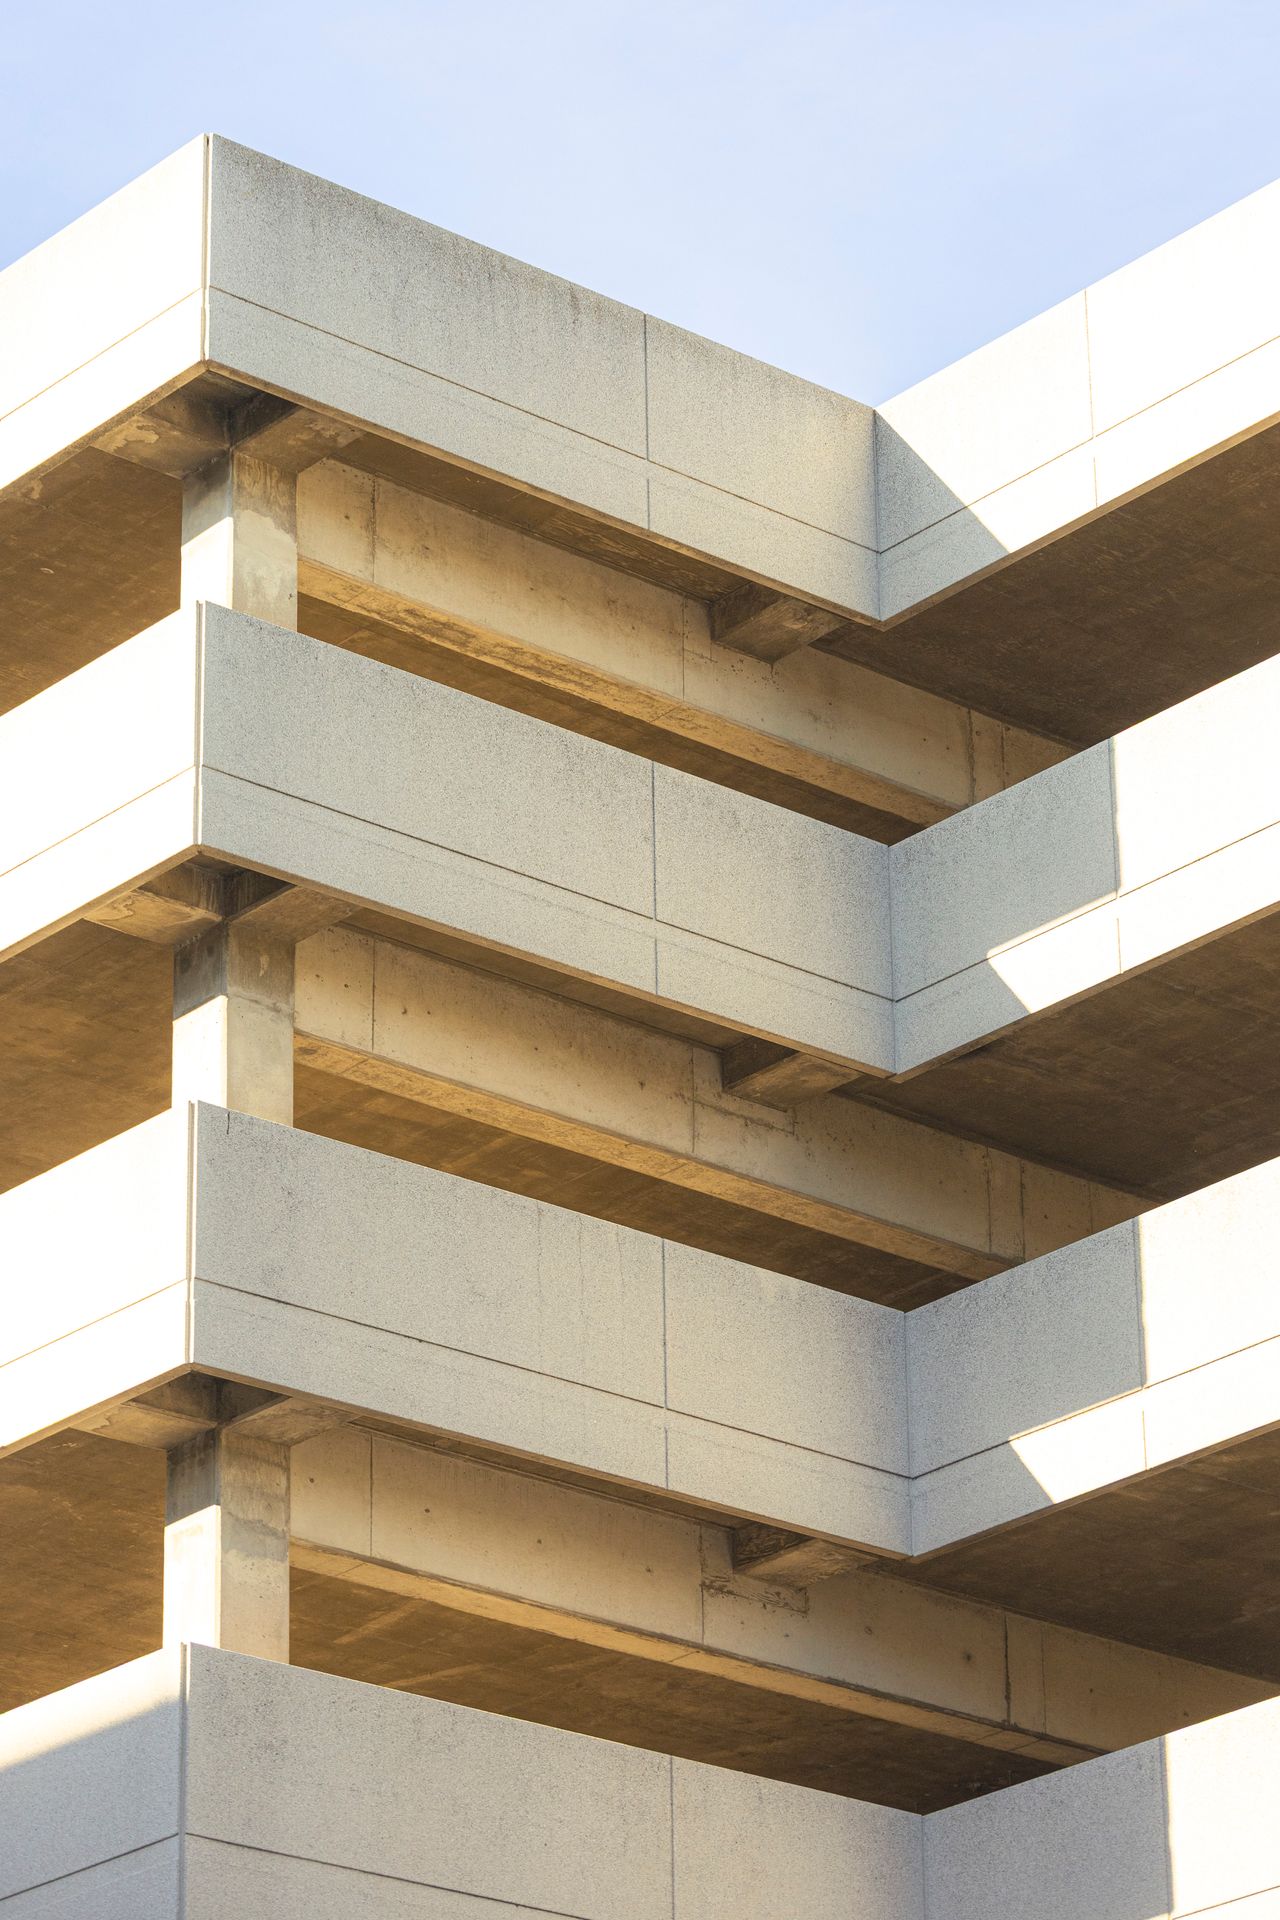
Torch-on bonds beautifully to concrete, which is why it is standard on parkade decks and concrete rooftops. The primer soaks into the concrete pores and the melted bitumen keys into the surface, creating a bond that resists wind uplift extremely well.
On occupied buildings, the crew must manage fumes and flame carefully around air intakes and exits. A good contractor coordinates with the building manager on timing and ventilation. Never let anyone torch directly over an occupied space without a written fire safety plan.
8. City Buildings and Retrofits
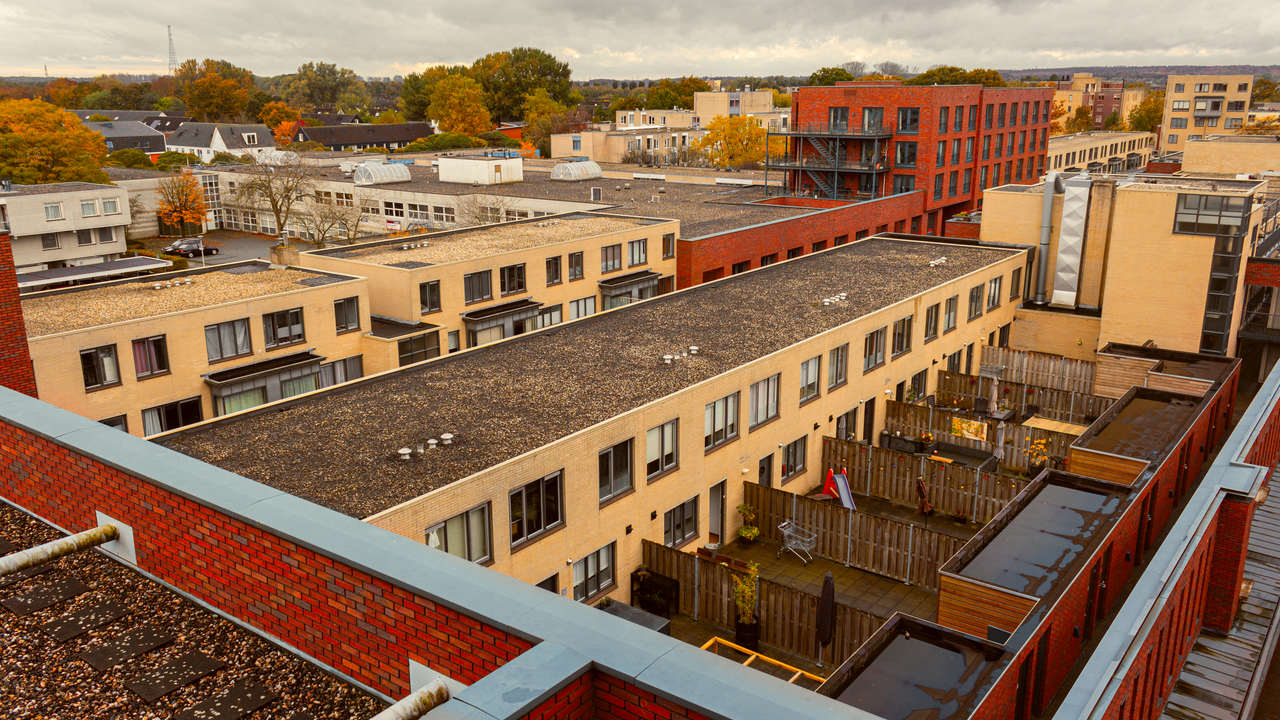
In dense neighbourhoods, torch-on is often the only practical way to renew an old flat roof. The materials arrive as rolls, not hot kettles of tar, so there is less mess, less smell and less equipment blocking the lane. That matters when the building sits wall to wall with neighbours.
Retrofits need a careful look at the existing layers first. Most codes allow a maximum of two roofing systems, so a third layer means a full tear-off. A core sample, a small plug cut from the roof, tells the contractor exactly how many layers are already there.
9. Drainage Details Matter
Flat does not mean level. Every torch-on roof needs a slight slope, at least 1 to 2 percent, toward drains or scuppers. Ponding water that sits for more than 48 hours after rain is a warning sign: it speeds up membrane aging and finds every weak seam.
Drains, gutters and downspouts should be inspected and resealed during the roofing job. It costs little extra while the crew is already there, and clogged drainage is behind a surprising share of flat roof failures. Keep leaves and ice clear of drains every autumn.
10. Lifespan and Maintenance
A quality torch-on system lasts 15 to 25 years in Canada. The granular cap protects against UV, but our freeze-thaw cycles and standing snow still age it. Annual inspections in spring catch small issues before they become leaks.
Maintenance is simple: keep the surface clean, trim overhanging branches, and never let anyone drag sharp equipment across it. Small blisters or lifted seams can be re-torched by a roofer in under an hour. And when the roof eventually needs renewal, a sound old membrane often accepts a new overlay, saving you the cost of a tear-off. Even the view from below benefits when the whole exterior is cared for, right down to winter front porch decor that welcomes visitors home.
Frequently Asked Questions
What is torch on roofing?
It is a flat roofing method where bitumen membrane rolls are heat-welded to the roof deck with a propane torch, forming a seamless waterproof layer.
How long does a torch-on roof last?
About 15 to 25 years in Canada with basic maintenance like yearly inspections and prompt seam repairs.
Is torch-on roofing safe?
In trained hands, yes. Installers follow strict fire watch rules, but it is never a DIY job because of the open flame involved.
Can a torch-on roof be repaired?
Yes, easily. Damaged areas are cut out and patched with new membrane torched into place, which is one of its biggest advantages.
What does it cost in Canada?
Expect $85 to $150 per square metre installed for a two-ply system, depending on the deck condition and access.
Final Thoughts
Torch on roofing remains the trusted choice for flat roofs because it is tough, repairable and proven in our climate. The keys are a sound deck, proper drainage and a certified crew that respects fire safety. Get those three right, and your flat roof will stay dry for decades.
Sources
- National Roofing Contractors Association – nrca.net
- CertainTeed – certainteed.com
Gallery

No comments:
Post a Comment