That can of pumpkin in your pantry started life as a real pumpkin, and once you taste the homemade version, you will notice the difference right away. Fresh puree is brighter, sweeter, and full of true pumpkin flavor, and it takes less than an hour of real work. If you have ever wondered how to make pumpkin puree from scratch, it is mostly roasting and blending, with one small draining trick that makes all the difference.
This guide covers the whole job: which pumpkin to buy, how to cut it safely, the roasting time and temperature, and how thick the finished puree should be. You will also learn how much puree one pumpkin makes, how it compares to canned, and how to freeze it in perfect 1-cup portions for pies, soups, and baking all fall and winter long.
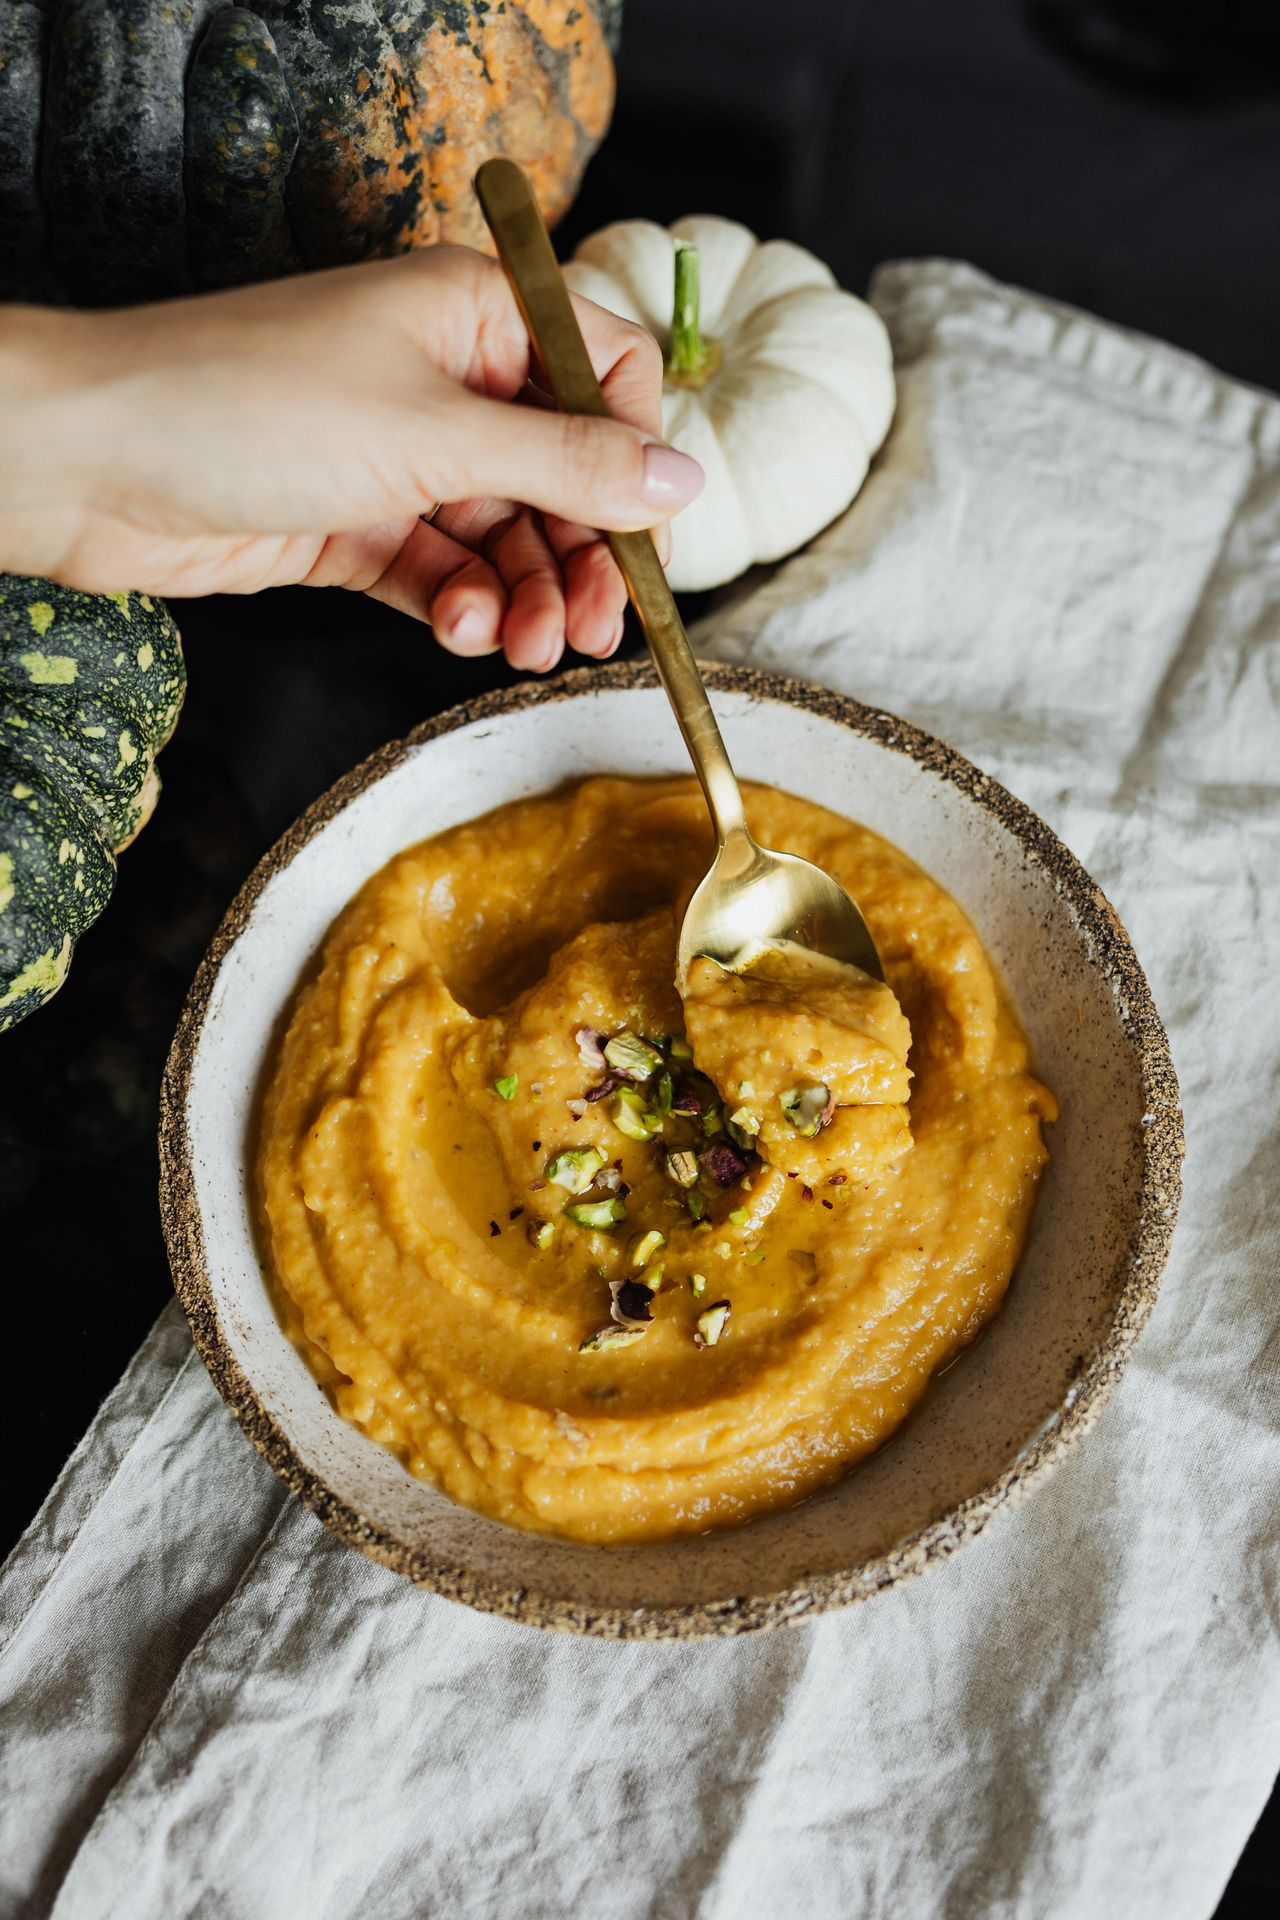
Photo via Pexels
Table of Contents
- 1. Choose the Right Pumpkin: Pie and Sugar Types
- 2. Where to Find Them: Patch, Market, or Store
- 3. Wash, Halve, and Scoop the Seeds
- 4. Roast Until Completely Tender
- 5. Scoop and Blend It Smooth
- 6. Drain It for Thick, Bakery-Style Puree
- 7. Fresh vs Canned: An Honest Comparison
- 8. Yield: How Much Puree per Pumpkin
- 9. Roast the Seeds Too
- 10. Store, Freeze, and Use It All Season
- Frequently Asked Questions
- Final Thoughts
- Sources
- Gallery
1. Choose the Right Pumpkin: Pie and Sugar Types

Photo: Willis Lam, CC BY-SA 2.0, via Wikimedia Commons
The single most important choice is the pumpkin itself. Look for small pumpkins sold as sugar pumpkins or pie pumpkins, usually 2 to 4 pounds each. Their flesh is dense, smooth, and sweet, with far less water and stringiness than the big ones. Common varieties include Sugar Pie, New England Pie, and Baby Pam, and heirloom types like Long Pie are prized by bakers where you can find them.
The giant carving pumpkin by the store door is bred for size and thin walls, not for eating. Its flesh is watery, pale, and stringy, and the puree it makes is a letdown in a pie. A good pie pumpkin feels heavy for its size, has firm, unblemished skin, and sounds solid when you knock on it. If no pie pumpkins are available, butternut squash and red kuri squash make excellent puree with the same method and are often sweeter than pumpkin itself.
2. Where to Find Them: Patch, Market, or Store

Photo: Visitor7, CC BY-SA 3.0, via Wikimedia Commons
Pie pumpkins show up in most grocery stores from late September through November, usually in a bin near the winter squash rather than with the carving pumpkins by the door. Farmers markets and farm stands often have better flavor and lower prices, and they are the best place to find heirloom pie varieties. Pick them up and compare: for the same size, the heavier pumpkin has thicker, denser flesh and gives you more puree.
Whole small pumpkins store surprisingly well. Kept in a cool, dry spot around 50 to 55°F, like a garage or basement corner, a sound pie pumpkin lasts 1 to 2 months, so you can buy a few when they are cheap and process them on a quiet weekend. If you enjoy the full from-the-ground story, our guide on how to grow pumpkins from seeds walks through growing your own pie patch next season.
3. Wash, Halve, and Scoop the Seeds
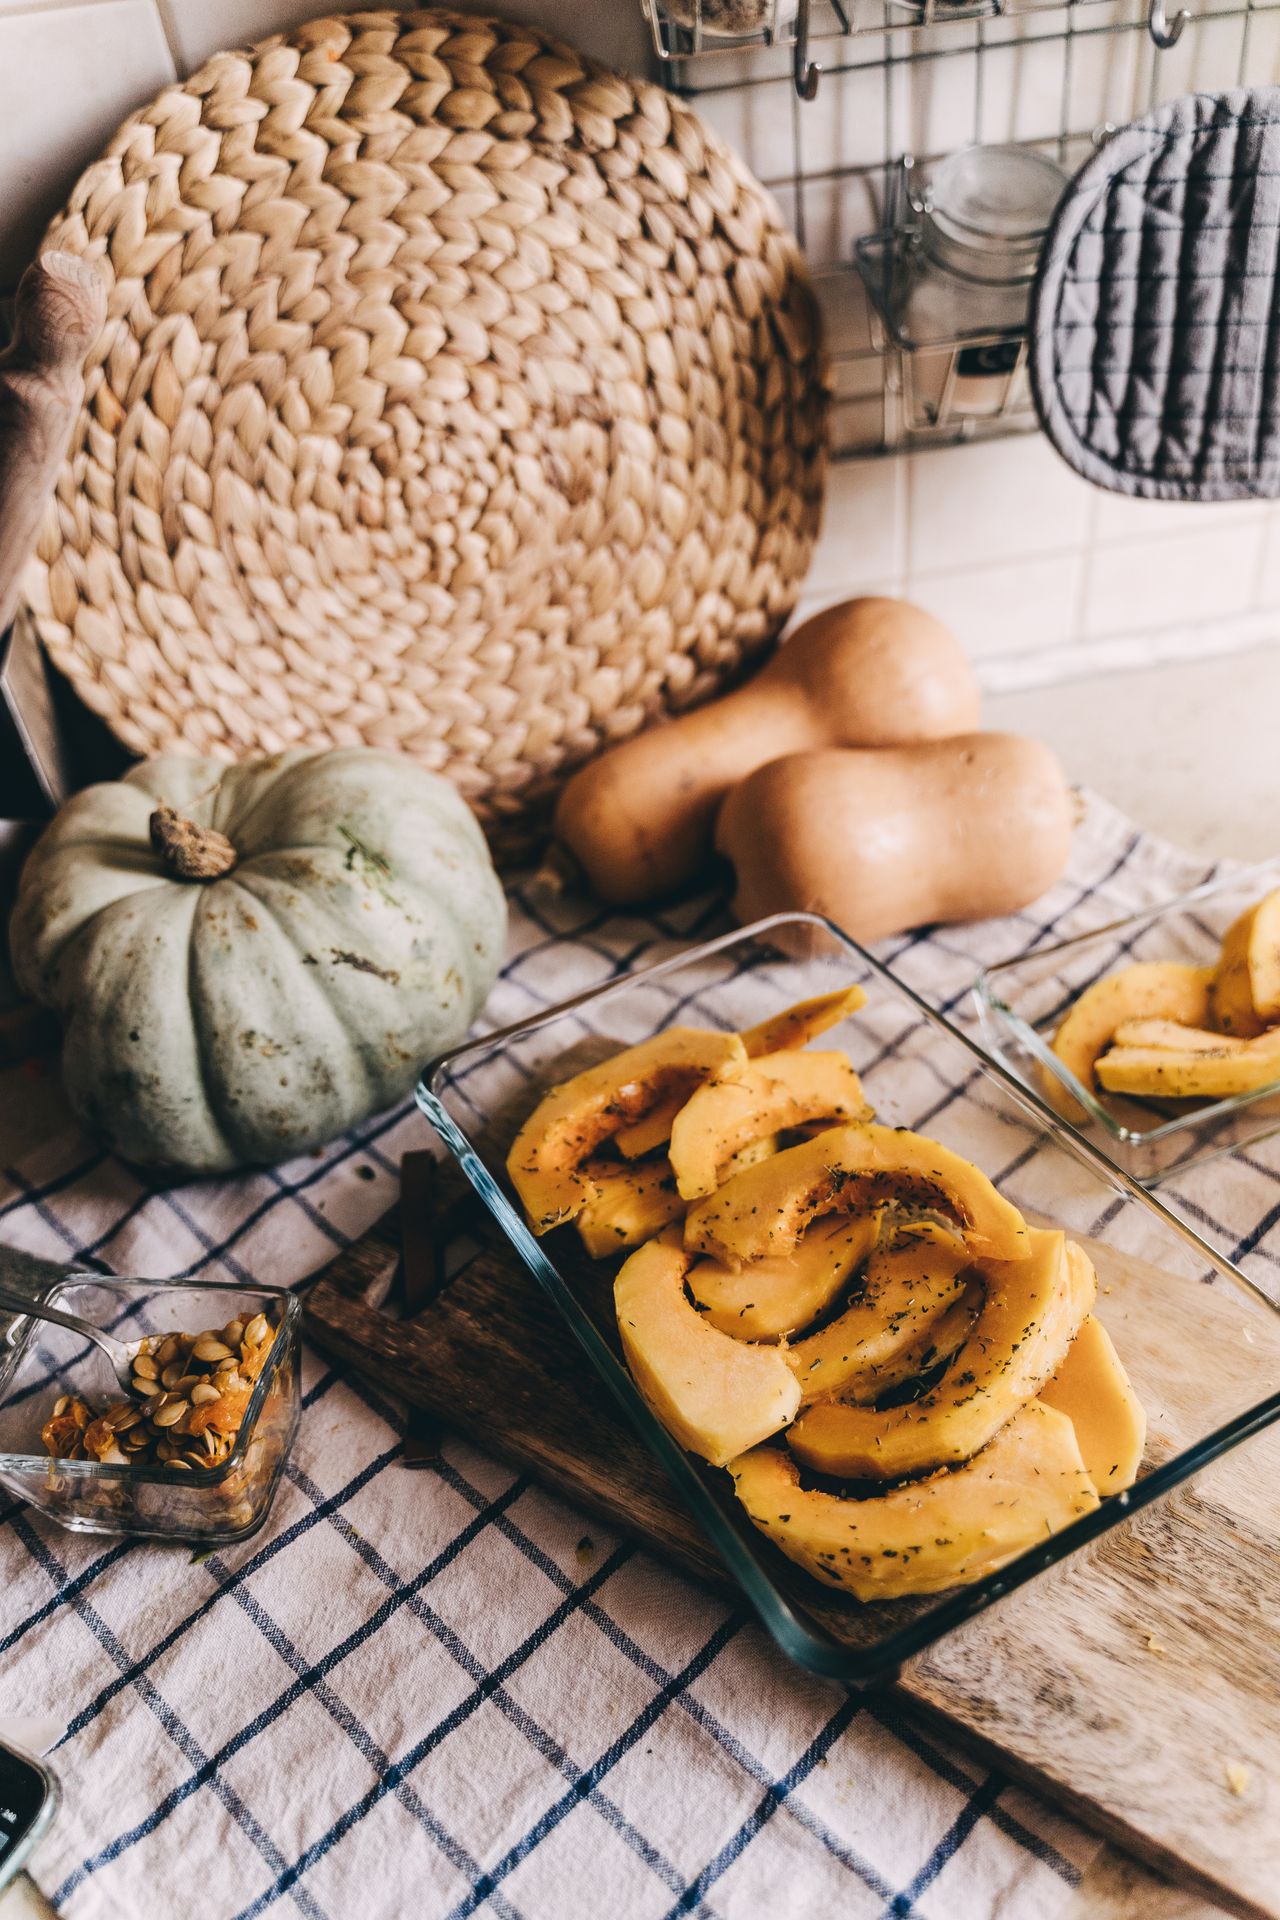
Photo via Pexels
Scrub the pumpkin under running water to remove field dirt, since you will roast it with the skin on. Dry it well so it does not slip. Cut off the stem end to make a flat base, stand the pumpkin on that base, and slice it in half from top to bottom with a large, sharp chef's knife, rocking the blade gently and keeping your fingers well above the cut. A pumpkin that rolls is the real danger here, so the flat base matters.
Scrape out the seeds and stringy pulp with a sturdy metal spoon or an ice cream scoop, which makes quick work of the job. Save the seeds in a bowl of water for roasting later; the strings float and the seeds sink, which makes them easy to clean. At this point the halves are ready for the oven. For very large pumpkins, cut the halves into 2- to 3-inch wedges so they roast faster and more evenly.
4. Roast Until Completely Tender
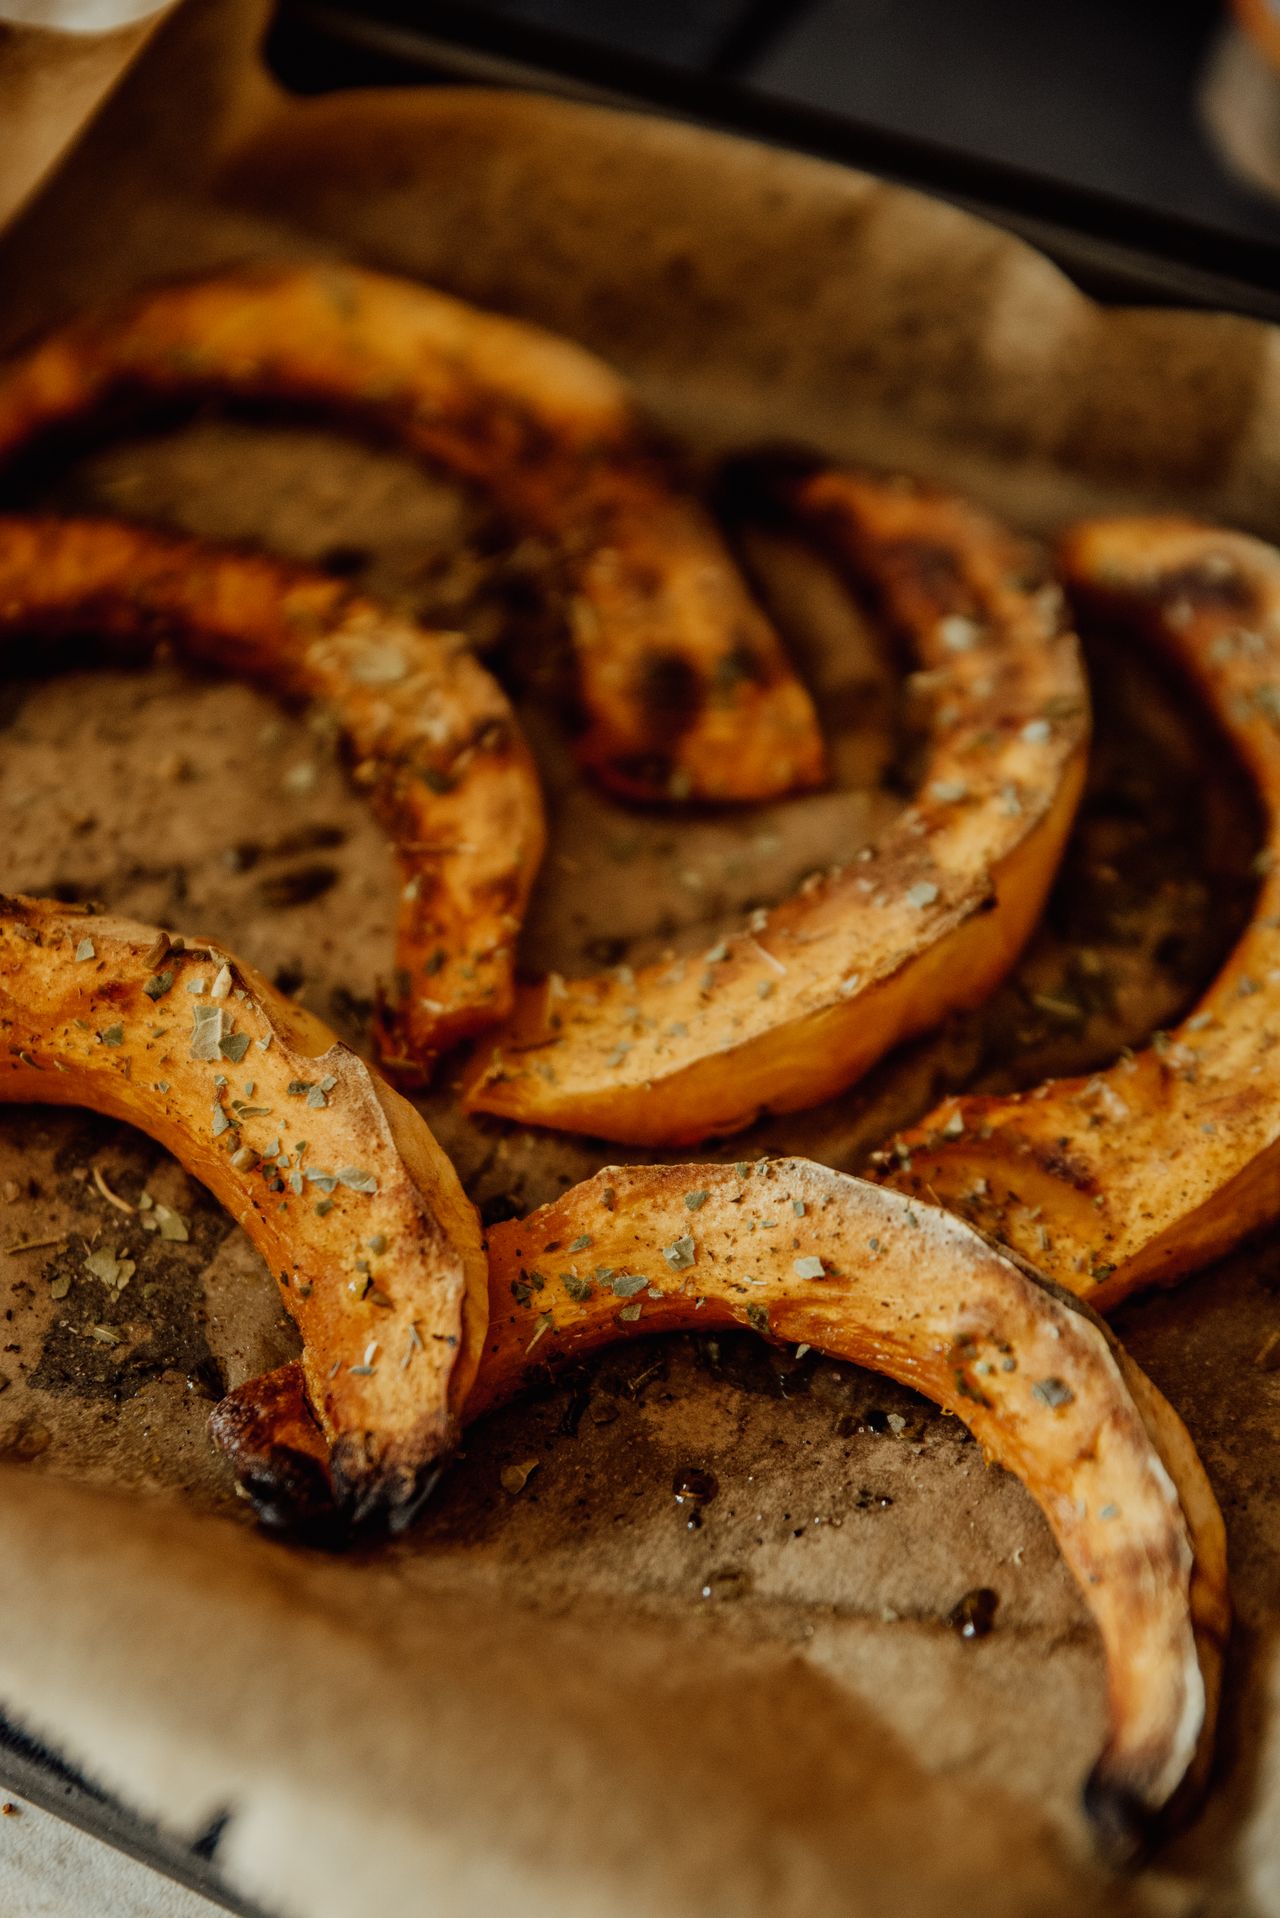
Photo via Pexels
Heat the oven to 400°F and line a rimmed baking sheet with parchment paper for easy cleanup. Set the halves cut-side down on the sheet. Roasting cut-side down traps steam against the flesh, so it softens evenly and the skin protects it from drying out. Poke the skin of each half 2 or 3 times with a knife tip; the small vents let steam escape and make the skin loosen beautifully later.
Roast for 35 to 45 minutes for a 2- to 3-pound pumpkin, and up to 60 minutes for a larger one. Judge by tenderness, not the clock: the skin will wrinkle and darken, and a fork should slide into the flesh with no resistance at all. Under-roasted pumpkin makes fibrous puree, so when in doubt, give it 10 more minutes. Let the halves cool on the pan for 15 to 20 minutes, until you can handle them comfortably.
5. Scoop and Blend It Smooth

Photo: Donovan Govan, CC BY-SA 3.0, via Wikimedia Commons
Once the pumpkin is cool enough to touch, the skin peels away in big sheets, or you can scoop the flesh out with a large spoon. Drop the soft flesh into a food processor or blender, working in batches if you have a lot. Blend for 1 to 2 minutes, stopping to scrape down the sides, until the puree looks completely smooth and glossy with no fibrous strands.
If the puree seems thick and the machine strains, add water 1 tablespoon at a time to keep it moving. If you have no machine, a potato masher and a little patience give a more rustic puree that is still lovely in soups and quick breads, or push the flesh through a food mill for the silkiest result. Taste it plain at this stage. Good fresh puree tastes sweet and clean, almost like a mild sweet potato.
6. Drain It for Thick, Bakery-Style Puree

Photo: Veganbaking.net, CC BY-SA 2.0, via Wikimedia Commons
Fresh puree holds more water than the canned kind, and that extra water is the main reason homemade pies sometimes bake up loose. The fix is simple and hands-off: spoon the puree into a fine-mesh sieve lined with cheesecloth or a clean tea towel, set it over a bowl, and let it drain for 30 minutes to 2 hours. You may lose a half cup or more of pale liquid, and what remains is thick, rich, and concentrated.
For pie, aim for the texture of canned puree: it should mound on a spoon and hold soft peaks, not pour. For soups, sauces, and smoothies, you can skip the draining and keep the looser texture, since the extra liquid just becomes part of the dish. Do not throw the drained liquid away. It is mild pumpkin broth, good in soups, rice, and even bread dough.
7. Fresh vs Canned: An Honest Comparison

Photo: BMRR, CC BY 3.0, via Wikimedia Commons
Here is a secret the cans do not advertise: most canned pumpkin is made from Dickinson squash, a close cousin of butternut, chosen because it is dense and naturally thick. That is why canned puree is so dark and firm, and why your fresh puree looks lighter orange and softer. Neither is fake; they are simply different squash, and both are delicious when used with their texture in mind.
Fresh puree wins on flavor, cost in season, and the satisfaction of using the whole pumpkin, seeds and all. Canned wins on convenience and consistency, and for a pie where the set really matters, well-drained fresh puree performs just as well. If you bake our pumpkin pie from sugar pumpkins, drain your homemade batch until it matches the firmness of canned, and the pie will slice cleanly every time.
8. Yield: How Much Puree per Pumpkin

Photo: Willis Lam, CC BY-SA 2.0, via Wikimedia Commons
A good rule of thumb is that 1 pound of whole pumpkin gives about 1 cup of drained puree. A typical 2- to 3-pound sugar pumpkin yields roughly 1 1/2 to 2 cups, which is right around one standard 15-ounce can. So if a recipe calls for a can of pumpkin, one small pie pumpkin is your answer, and a 4-pound pumpkin covers a pie with a little left over for oatmeal or muffins.
Because pumpkins vary, process more than you think you need and freeze the extra; it is no more work to roast two pumpkins than one. Weigh or measure your finished puree and write the amount on each storage container. Future you, standing in the kitchen in December with a pie to make, will be very grateful for that small note.
9. Roast the Seeds Too
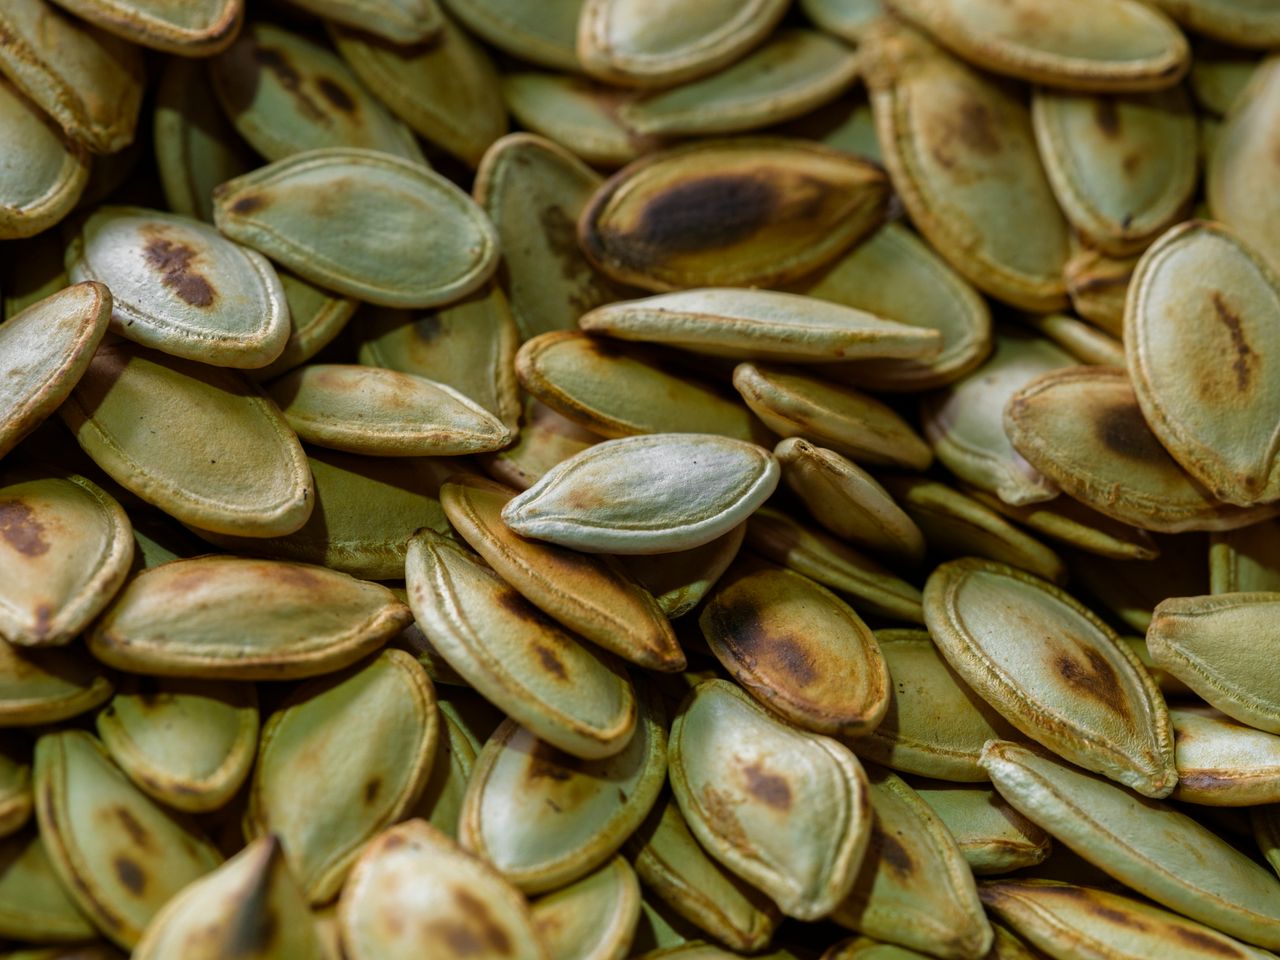
Photo via Pexels
Do not throw away the seeds; they are the cook's snack. Rinse them in a colander, picking off the strings, then spread them on a towel to dry for an hour, or pat them very dry. Toss each cup of seeds with 1 teaspoon of oil and 1/2 teaspoon of fine salt. For extra flavor, add smoked paprika, garlic powder, or a sweet mix of cinnamon and a teaspoon of sugar.
Roast on a parchment-lined sheet at 300°F for 20 to 30 minutes, stirring once halfway, until the seeds are golden, dry, and crisp; they will pop and crackle a little as they finish. Cool completely before storing in a jar, where they keep for about 2 weeks. Sprinkle them over the pumpkin soup you make with the puree, over salads, or onto the top of pumpkin muffins before baking.
10. Store, Freeze, and Use It All Season

Photo: Peggy Greb, Public domain, via Wikimedia Commons
Fresh puree keeps in a sealed container in the fridge for 5 to 7 days. For longer storage, freeze it. Spoon it into zip-top bags in 1-cup and 1 3/4-cup portions (the second matches a standard can), press out the air, and freeze the bags flat so they stack like books and thaw fast. Frozen puree is best used within 6 months, though it stays safe longer. One important safety note: home canning of pumpkin puree is not recommended by the USDA, because the dense puree cannot be heated evenly enough; freezing is the safe way to keep it.
Thaw a bag overnight in the fridge, then stir the puree and drain off any liquid that separated before you measure it. Then put it to work: pies and cheesecake, pumpkin bread and muffins, a pot of soup, overnight oats, smoothies, pasta sauce, even stirred into your dog's dinner as a fiber-rich treat. If your freezer is full of little orange bags and you need inspiration, our list of what to do with pumpkin puree has ideas for every one of them.
Frequently Asked Questions
Can I use a regular carving pumpkin for puree?
You can, and it is safe, but the result is usually disappointing: watery, stringy, and pale, with much less flavor than a pie pumpkin. If a carving pumpkin is all you have, drain the puree for the full 2 hours and consider blending in a roasted sweet potato or butternut squash to add body and sweetness. For pie, a sugar pumpkin is worth the small extra cost.
How long does homemade pumpkin puree last?
In the refrigerator, 5 to 7 days in a clean, sealed container. In the freezer, it keeps its best quality for about 6 months in flat, air-pressed bags. Always label the bags with the amount and the date. If thawed puree smells sour or looks slimy, throw it out.
Is homemade puree a one-to-one swap for canned?
Yes, once it is drained to a similar thickness. Measure cup for cup: a 15-ounce can holds about 1 3/4 cups. If your puree is still looser than canned after draining, your pie or bread may need a few extra minutes in the oven, and very wet batters benefit from 1 extra tablespoon of flour.
Can I make puree without an oven?
Yes. Steam the wedges over boiling water for about 25 to 30 minutes until completely tender, or cook them in a slow cooker on low for 4 to 5 hours. An Instant Pot also works: wedges on a trivet with 1 cup of water, 12 to 15 minutes at high pressure. The flavor is a little milder than roasted, and the puree is wetter, so drain it well.
Why is my homemade puree lighter in color than canned?
Because canned pumpkin is usually made from Dickinson squash, which has deep orange, dense flesh, while pie pumpkins are naturally a lighter golden orange. Color does not equal quality; your lighter puree often tastes fresher and sweeter. The color deepens in the oven as pies and breads bake.
Final Thoughts
Making your own puree is one of those small kitchen skills that pays you back all season. One small pumpkin, an hour in the oven, a quick blend, and a patient drain give you a freezer stocked with the base for pies, soups, breads, and cozy breakfasts, at a fraction of the store price.
Start with one sugar pumpkin this week and taste the puree warm, straight off the spoon. Then freeze the rest in labeled 1-cup bags and enjoy the quiet pleasure of pulling one out in the middle of winter, when fresh pie pumpkins are long gone, and baking like it is still October.
Sources
- Homesteading Guide, Making Pumpkin Puree from a Whole Pumpkin: homesteadingguide.com/how-to-make-pumpkin-puree
- Yummy Toddler Food, How to Roast Pumpkin to Make Puree: yummytoddlerfood.com
- The Modern Day Cottage, Homemade Pumpkin Puree for Baking: themoderndaycottage.com/creamy-homemade-pumpkin-puree
- Milk Glass Home, How to Freeze Pumpkin Puree: milkglasshome.com/can-you-freeze-pumpkin
Gallery

Photo: Kathryn Moore, CC BY-SA 4.0, via Wikimedia Commons

Photo: DrKathyShaginaw, CC BY-SA 4.0, via Wikimedia Commons

Photo: Patricia, CC BY 2.0, via Wikimedia Commons

No comments:
Post a Comment