Few desserts start arguments like a butter tart. Gooey or firm? Raisins or plain? Every Canadian has a strong opinion, and every bakery from Ontario to B.C. claims the true version. Looking for a butter tarts recipe classic enough to end the debate at your table? These ten tips get you there.
The formula is beautifully simple: a flaky pastry shell filled with a buttery brown-sugar mixture, baked until the edges set and the centre stays soft. A dozen costs about $8 to make at home, and they disappear faster than any other square on the tray.

Photo: Rob Campbell via Wikimedia Commons
Table of Contents
- 1. Make a Proper Flaky Pastry
- 2. Chill the Shells Before Filling
- 3. Fill Only Two-Thirds Full
- 4. Settle the Raisin Debate Your Way
- 5. Bake for Gooey, Not Firm
- 6. Try the Maple Syrup Variation
- 7. Add Nuts for Crunch
- 8. Cool Completely Before Moving
- 9. Finish With Flaky Sea Salt
- 10. Bake a Double Batch for the Freezer
1. Make a Proper Flaky Pastry
The shell matters as much as the filling. Rub 125 g of cold butter into 190 g of flour with a pinch of salt until it looks like coarse crumbs, then bring it together with 60 mL of ice water. Rest the dough in the fridge for 30 minutes before rolling.
Roll to 3 mm, cut 10 cm rounds, and press them into a muffin tin without stretching. A thin, even shell bakes crisp and holds the syrupy filling without going soggy. Our winter baking ideas has more pastry practice for cold weekends.

Photo: Stephanie Spencer via Wikimedia Commons
2. Chill the Shells Before Filling
Once the pastry is in the tin, chill the whole tray for 15 minutes while the oven heats to 190°C. Cold pastry hitting a hot oven puffs into flaky layers instead of slumping down the sides of the cup.
This one step prevents the most common butter tart failure: shells that shrink and leave the filling with nowhere to sit. Set a timer — it is easy to forget the tray in the fridge while you mix the filling.

Photo: Geo Swan via Wikimedia Commons
3. Fill Only Two-Thirds Full
The filling bubbles up dramatically in the oven, so spoon it in only two-thirds of the way. Overfilled tarts spill syrup onto the tray, weld themselves to the tin, and come out looking like a science experiment.
Whisk 200 g of brown sugar with 80 g of melted butter, 125 mL of corn syrup, two eggs, 5 mL of vanilla, and a pinch of salt. Stir gently — vigorous beating whips in air that makes the filling puff and crack.

Photo: Kaarina Dillabough via Wikimedia Commons
4. Settle the Raisin Debate Your Way
Here is the honest truth: both camps are authentically Canadian. Raisin tarts are the old Ontario farmhouse style; plain tarts dominate in Quebec and the Maritimes. Make half the batch each way and let your family vote.
If you use raisins, plump them in hot water for five minutes first so they stay soft and jammy instead of turning into little pebbles. About 80 g of raisins is plenty for a dozen tarts — a few per shell, not a handful.

Photo: Geo Swan via Wikimedia Commons
5. Bake for Gooey, Not Firm
The great divide: a proper butter tart centre should be soft and slightly runny, not set like custard. Bake at 190°C for 18 to 20 minutes, and pull them when the edges are set but the centres still wobble.
They firm up as they cool, so a wobble in the oven becomes perfect goo at room temperature. If you wait until the centres look done, you will get firm, cakey tarts — still tasty, but not the classic.

Photo: Themightyquill via Wikimedia Commons
6. Try the Maple Syrup Variation
Swap the corn syrup for pure maple syrup and you get a distinctly Canadian twist with deeper, woodsier flavour. Use a dark, robust maple syrup — the delicate grade gets lost against the brown sugar.
Maple tarts bake a little darker, so start checking at 16 minutes. They cost more to make, but for a bake sale or a gift box, the maple version always sells out first.
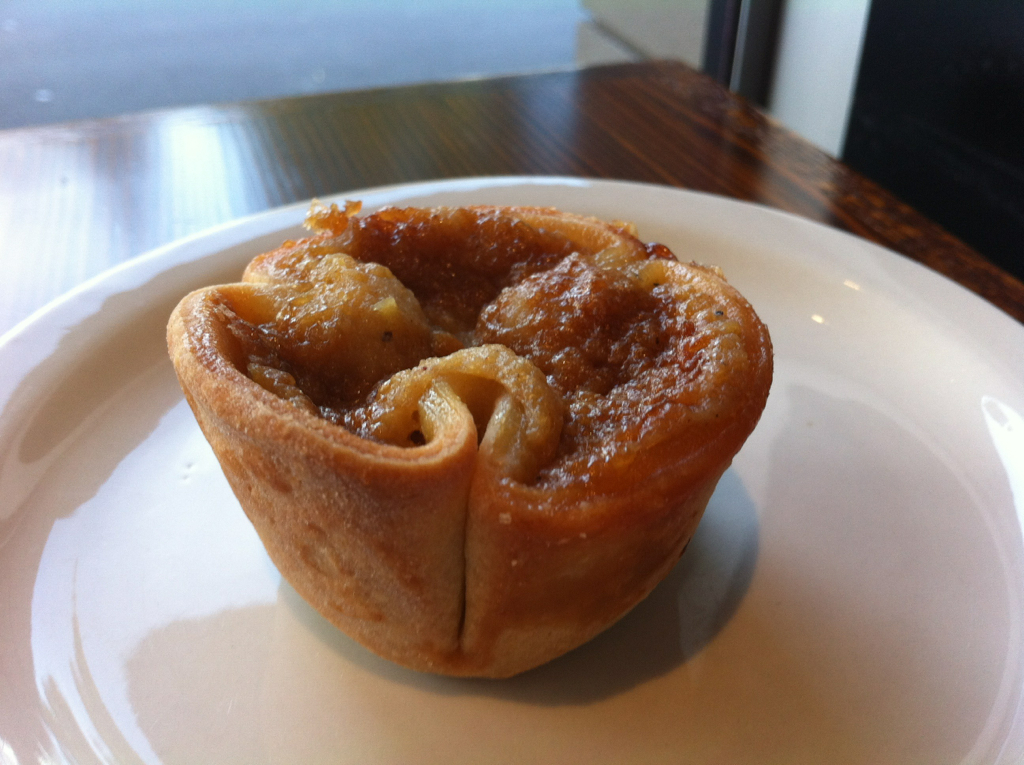
Photo: Jen Arrr via Wikimedia Commons
7. Add Nuts for Crunch
Chopped walnuts or pecans are the third great butter tart faction, after raisin and plain. Toast 60 g of nuts at 180°C for six minutes first — raw nuts taste flat against all that caramel.
Sprinkle a few pieces into each shell before adding the filling so they stay put. The crunch against the gooey centre is genuinely wonderful, and nut tarts look beautiful in a gift box.

Photo: Glen.wilkinson via Wikimedia Commons
8. Cool Completely Before Moving
Leave the tarts in the tin on a wire rack until completely cool — at least one hour. The filling is molten when it comes out of the oven and needs time to set around the edges.
Run a thin knife around each tart before lifting it out. Trying to unmould a warm butter tart is how you end up with filling on the counter and pastry in the tin.

Photo: Alex Lozupone via Wikimedia Commons
9. Finish With Flaky Sea Salt
A tiny pinch of flaky sea salt on each cooled tart is the modern bakery trick that makes people ask for your recipe. Salt sharpens the caramel notes and balances the sweetness.
Add it after cooling, not before baking — salt on top in the oven just dissolves into the filling. Maldon-style flakes look prettiest, but any coarse sea salt works.

Photo: Didriks via Wikimedia Commons
10. Bake a Double Batch for the Freezer
Butter tarts freeze beautifully for up to three months, so there is no reason to bake just twelve. Double the pastry and filling, and you have gifts, bake-sale stock, and emergency desserts handled.
Freeze them in a single layer, then bag them once solid. Thaw at room temperature for an hour — never microwave, which turns the pastry rubbery. For more make-ahead winter cooking, see our freezer meals for winter guide.

Photo: Laurel L. Russwurm via Wikimedia Commons
Frequently Asked Questions
Should butter tarts have raisins in them?
Both versions are traditional. Raisin tarts are the classic Ontario style; plain tarts are favoured in Quebec and the Maritimes. Make both and decide for yourself.
How do I get gooey centres instead of firm ones?
Underbake slightly — pull the tarts when the centres still wobble at 18 to 20 minutes. They set up as they cool.
Why did my filling boil over the shells?
The shells were overfilled. Fill only two-thirds full, and make sure the oven is fully preheated so the pastry sets quickly.
Can I freeze butter tarts?
Yes, up to three months. Freeze in a single layer, then bag. Thaw at room temperature for an hour before serving.
Should I use corn syrup or maple syrup?
Classic tarts use corn syrup for the signature goo. Maple syrup makes a delicious, deeper-flavoured variation worth trying.
Final Thoughts
A perfect butter tart is a small thing — two bites — but it carries a whole country's baking pride. Flaky shell, gooey centre, and your own answer to the raisin question: that is all it takes.
Keep this butter tarts recipe classic by not overthinking it: cold pastry, gentle mixing, and the courage to pull them from the oven early. Pair them with more sweet winter baking from our winter breakfast ideas collection.
Sources
- https://recipemaestro.com/classic-butter-tarts-easy-recipe/
- https://www.mokze.com/classic-canadian-butter-tarts/
- https://gimmeyummy.com/old-fashioned-butter-tarts/
- https://recipemaestro.com/butter-tarts-recipe-best-classic-canadian/
- https://www.theblackpeppercorn.com/classic-butter-tarts/
Gallery

Photo: Geo Swan via Wikimedia Commons

Photo: Alex Lozupone via Wikimedia Commons

Photo: Hisakazu Watanabe via Wikimedia Commons

No comments:
Post a Comment