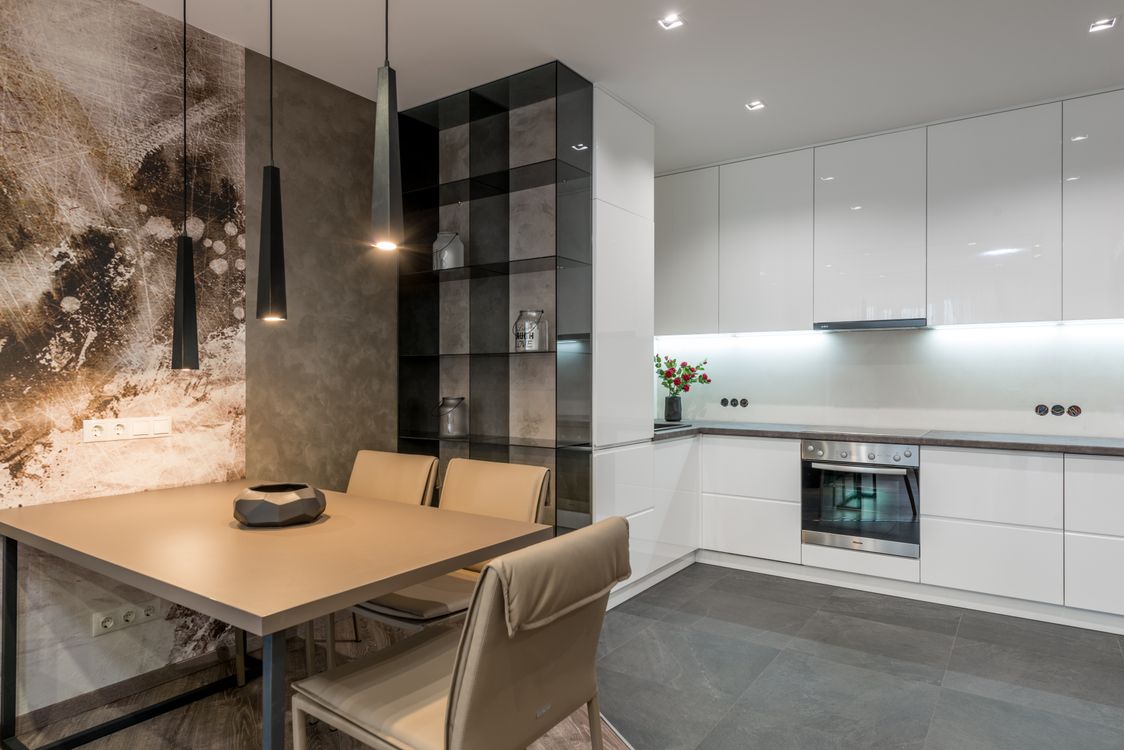
A fresh, modern kitchen achieved with budget-friendly updates. Photo via Pexels.
Your Kitchen Doesn't Need a $20,000 Remodel
I have some good news if you're staring at dated cabinets, tired countertops, or a kitchen that just feels "blah." You do not need a contractor, demolition crew, or a second mortgage to make your kitchen feel brand new.
Strategic upgrades can transform a kitchen on a surprisingly tight budget. In this guide, I'll share 12 kitchen refresh ideas for under $200 each, including the wins, the mistakes, and the little design details that made the biggest difference.
Whether you're preparing to sell your home, or simply tired of cooking in a space that feels outdated, these ideas deliver serious impact without draining your bank account.
Why This Matters
A kitchen refresh isn't just about aesthetics. Small upgrades can make cooking more enjoyable, improve storage efficiency, reduce visual clutter, and increase perceived home value. According to many real estate professionals, kitchens are among the first spaces buyers evaluate.
The best part? Most of these projects can be completed in a weekend.
1. Install Peel-and-Stick Backsplash Tiles
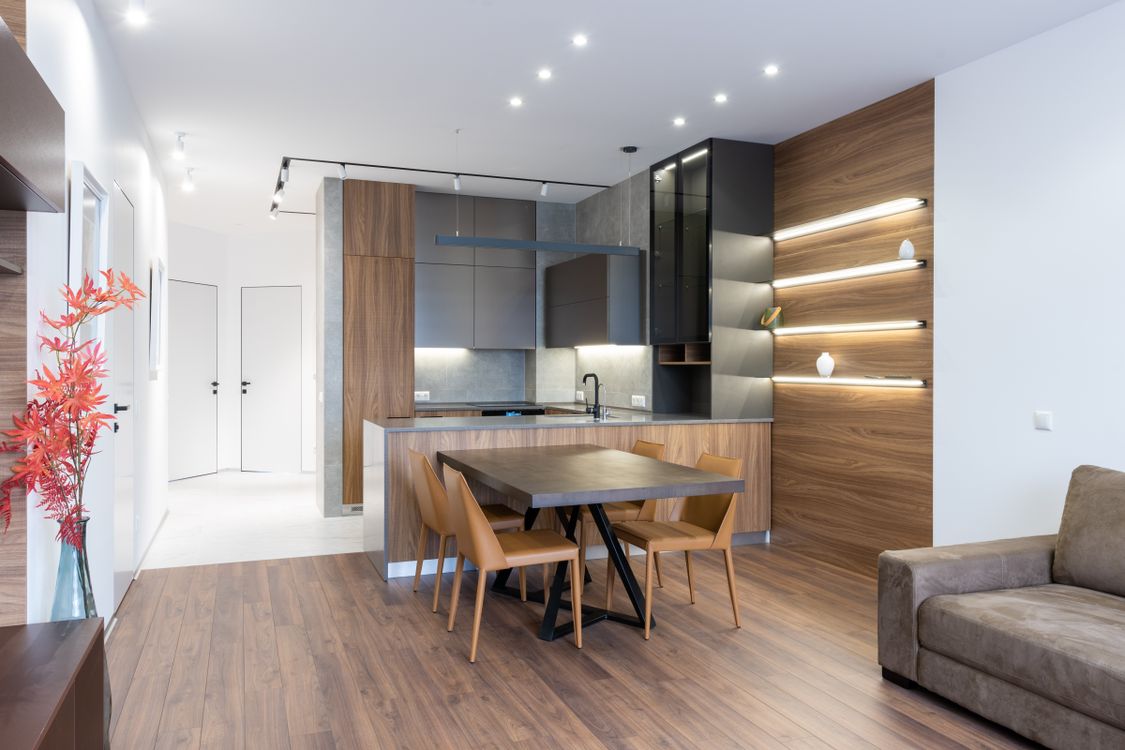
A peel-and-stick backsplash creates dramatic impact for under $150. Photo via Pexels.
Cost: $40–$150
This remains one of the highest-impact upgrades. In a small apartment kitchen, a white subway-style peel-and-stick backsplash behind the stove and sink made a dramatic difference.
What worked best: Vinyl composite tiles with a textured finish, matte surfaces rather than glossy plastic-looking options, and light colors for small kitchens.
What to avoid: Inexpensive tiles near a gas range can lift due to heat exposure. Leave a small gap around heat sources and choose products specifically rated for kitchen use.
Pro Tip: Run the backsplash all the way to the underside of upper cabinets. Stopping halfway up instantly makes the installation look DIY.
2. Replace Cabinet Hardware
Cost: $30–$120
Nothing dates cabinets faster than old brass knobs from the 1990s. Swapping cabinet pulls is a Saturday project that immediately makes the entire kitchen feel more expensive.
Best finishes: Brushed nickel, matte black, champagne bronze.
Measurements Matter: Before ordering, measure center-to-center screw spacing. Common sizes include 3 inches, 96 mm, and 128 mm. Ordering the wrong size is one of the most common mistakes homeowners make.
3. Add Under-Cabinet LED Lighting
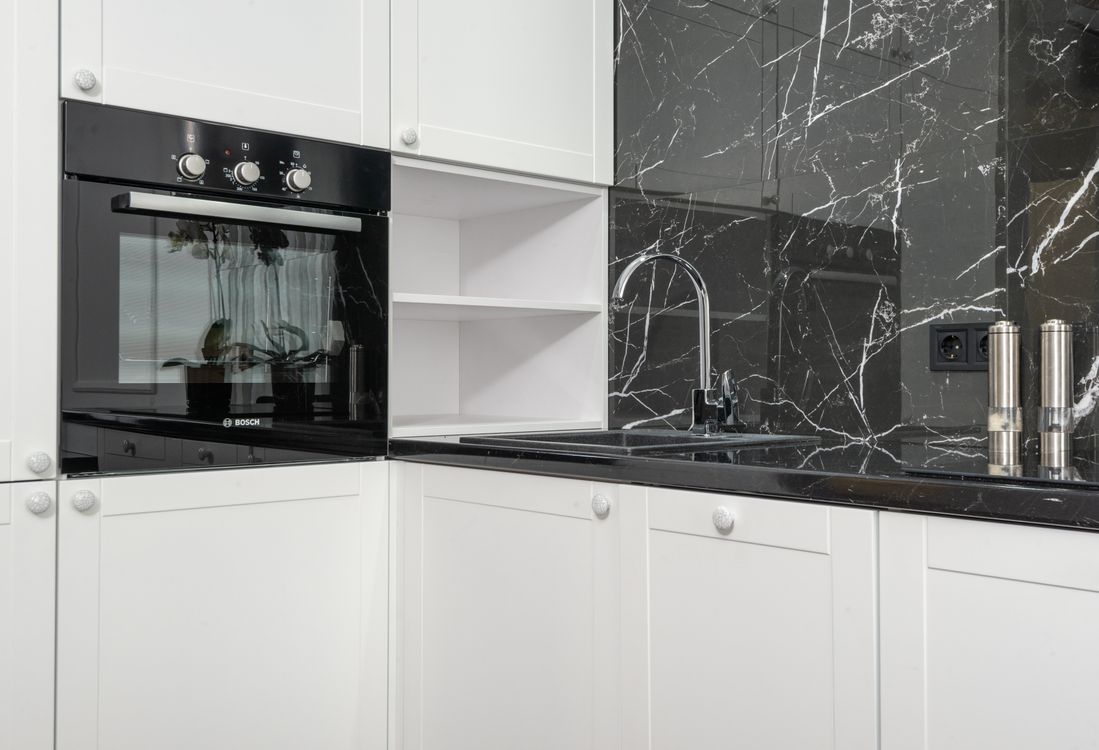
Under-cabinet lighting makes counters feel larger and prep safer. Photo via Pexels.
Cost: $25–$100
This is one upgrade people consistently underestimate. Under-cabinet LEDs in a dark galley kitchen can make it feel like you gained two feet of counter space. The counters didn't change — the lighting did.
Use These Specs: Color temperature 3000K warm white, CRI 90+, dimmable if possible.
Avoid: Blue-toned 5000K strips, visible LED dots, exposed wiring.
4. Paint the Walls Instead of the Cabinets
Cost: $40–$80
Everyone talks about painting cabinets. Almost nobody mentions that painting the walls often provides 80% of the transformation for 20% of the effort. Changing dark beige walls to a soft warm white can instantly modernize a room.
Designer Favorites: Warm white, soft greige, pale sage green.
Wall painting is forgiving. If your budget is limited, start with the walls.
5. Upgrade the Faucet
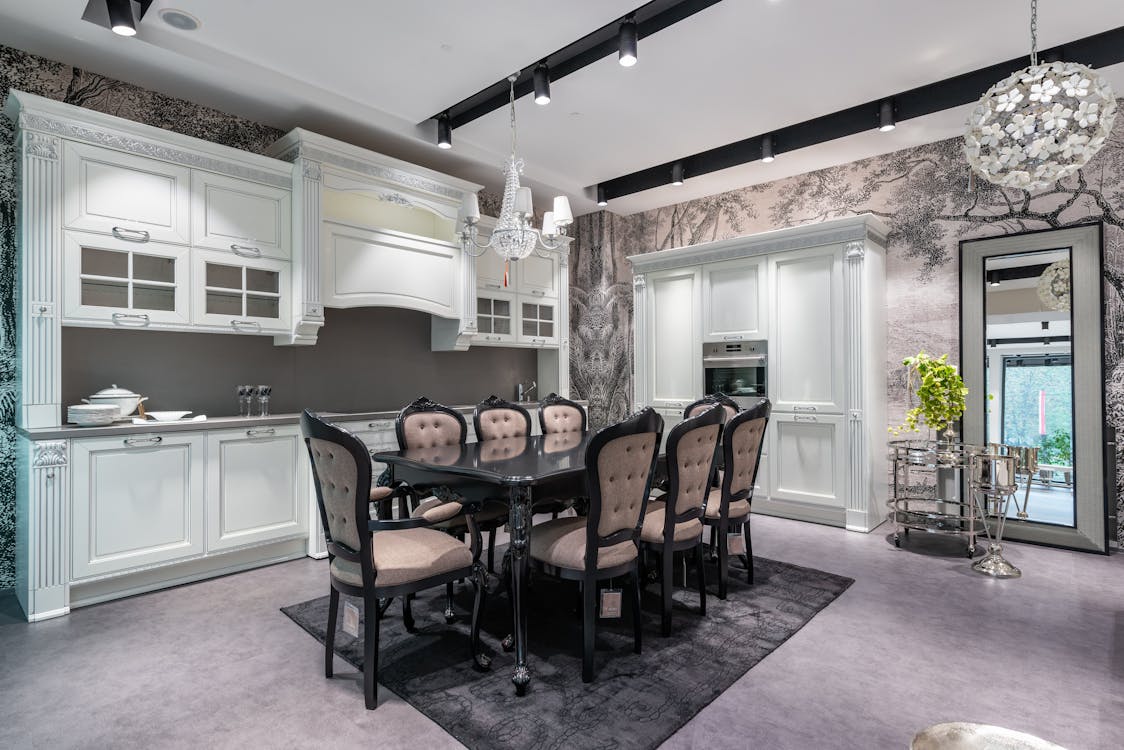
A new faucet improves both looks and daily function. Photo via Pexels.
Cost: $60–$180
A faucet is one of the most touched items in any kitchen. Replacing an outdated faucet creates both visual and functional improvement.
Features Worth Paying For: Pull-down sprayer, ceramic disc cartridge, high-arc spout.
Watch the Height: Before purchasing, measure the distance from sink to upper cabinets to ensure you can fully lift the handle.
6. Create a Styled Countertop Zone
Cost: $20–$60
Beautiful kitchens rarely have empty counters. Instead, they feature intentional groupings. Use one wooden cutting board, one small plant, and one ceramic container. Group them in a triangle arrangement. This creates visual balance while keeping surfaces functional.
Design Rule: Limit countertop decor to 10–15% of visible surface area. More than that begins to feel cluttered.
7. Cover Ugly Countertops with Modern Contact Paper
Cost: $30–$80
Premium stone-look contact paper can be surprisingly convincing from normal viewing distances. Best patterns include white marble, concrete, and soapstone. Avoid busy granite prints, high-gloss finishes, and thin bargain rolls.
Durability depends entirely on preparation. Degrease thoroughly before installation.
8. Refresh Open Shelving Displays
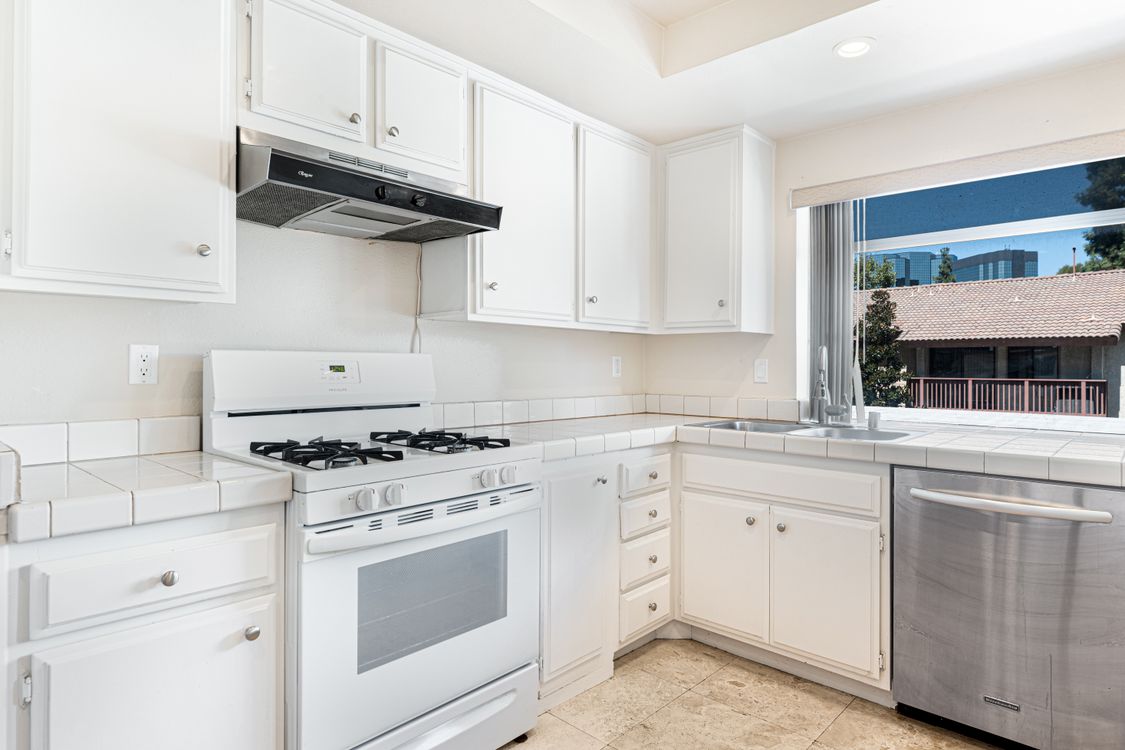
Curated open shelving looks clean and intentional. Photo via Pexels.
Cost: $0–$75
Sometimes the kitchen doesn't need new shelves. It needs better styling. Remove random mugs, plastic packaging, and mismatched containers. Display neutral dishes, glass jars, cookbooks, and small plants.
Remove 30% of displayed items before adding anything new. The result always looks cleaner.
9. Add a Washable Kitchen Runner
Cost: $40–$120
A runner can completely redefine a kitchen's personality. For galley kitchens, choose a width of 24–30 inches, leaving 3–4 inches of flooring visible on each side. This framing effect makes the room feel larger.
Choose washable materials, low pile construction, and non-slip backing for durability.
10. Organize Cabinets with Clear Bins
Cost: $30–$100
This upgrade isn't flashy, but it's transformative. Use separate zones for breakfast, snacks, baking, and dinner ingredients. Visibility reduces food waste because ingredients are easier to locate before expiration.
11. Introduce One Natural Material
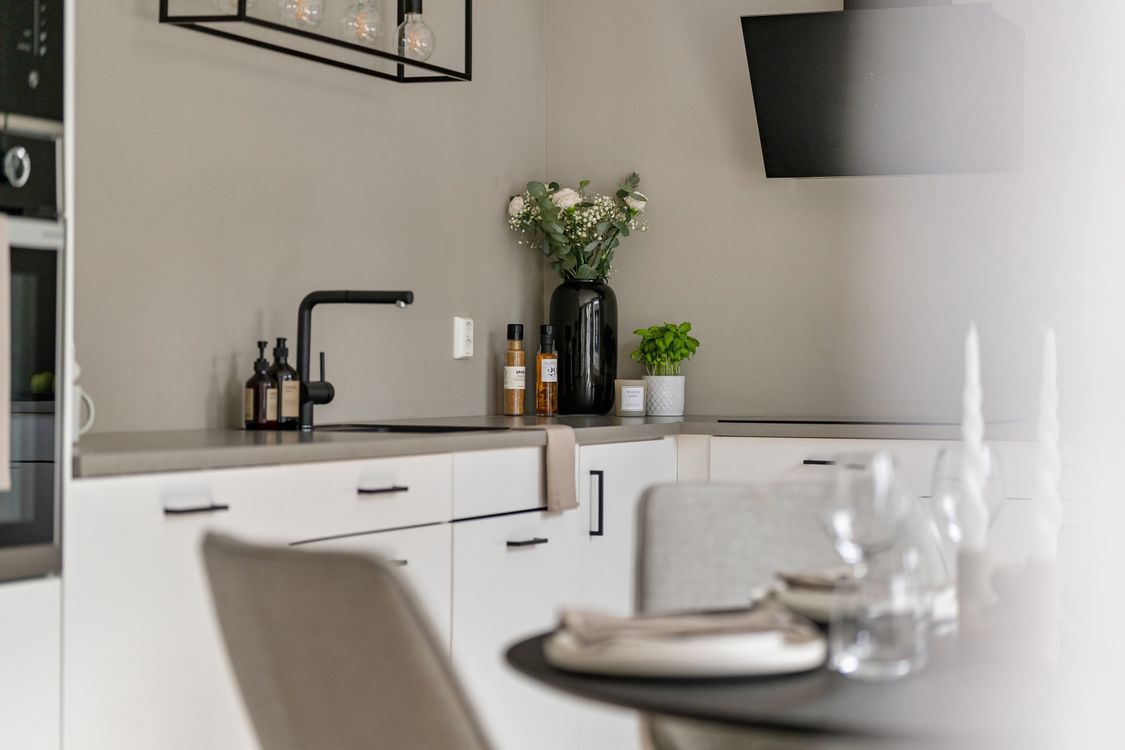
Natural wood accents warm up sterile kitchen surfaces. Photo via Pexels.
Cost: $20–$150
Many kitchens feel sterile because every surface is hard and shiny. Wood instantly changes that. Try walnut cutting boards, oak trays, or wood utensil crocks. Natural materials improve visual comfort by breaking up reflective surfaces. The room feels warmer even when nothing else changes.
12. Replace Outdated Light Fixtures
Cost: $80–$200
If your kitchen still has a builder-grade "boob light," replacing it may produce the biggest transformation of all. In a small apartment kitchen, changing the ceiling fixture altered the entire character of the room.
Ideal Specs: 2700K–3000K bulbs, frosted diffusers, 800–1600 lumens depending on room size.
Three Kitchen Design Secrets
1. The Reflection Test
Stand at the main kitchen entrance. Notice what reflects in appliances, ovens, and microwaves. Refreshing that reflected area often creates a bigger visual impact than refreshing the area itself.
2. The "One Luxury Item" Strategy
Instead of buying ten cheap accessories, invest in one premium-looking element: a designer-style faucet, an oversized cutting board, or a statement light fixture. The eye naturally gravitates toward quality.
3. The 70/20/10 Color Rule
For balanced kitchens: 70% primary color, 20% secondary color, 10% accent color. This simple formula prevents refresh projects from looking chaotic.
What to Avoid
Buying Decor Before Solving Storage: Clutter cannot be decorated away. Fix organization first.
Choosing Trendy Finishes Without a Plan: A matte black faucet, brass handles, and chrome lighting rarely work together. Pick one dominant finish.
Ignoring Lighting Temperature: Mixing 2700K, 4000K, and 5000K bulbs creates an inconsistent appearance. Stick to one temperature range.
Painting Cabinets Without Proper Prep: DIY cabinet paint jobs fail within months if surfaces aren't cleaned and sanded properly. If you're not ready for extensive prep work, refresh something else first.
Ready to Refresh Your Kitchen?
The most satisfying kitchen transformations aren't always the most expensive. Start with one improvement. Replace hardware. Add under-cabinet lighting. Style a countertop corner. Lay down a washable runner.
Small upgrades compound quickly. By next weekend, your kitchen could feel brighter, more functional, and far more expensive — without spending anywhere near renovation-level money.
Thoughtful design beats a big budget every single time.

No comments:
Post a Comment